Click on the thumbnails to open up a larger version of each picture.
Photos of Lois Edwards' House
|
|
|
|
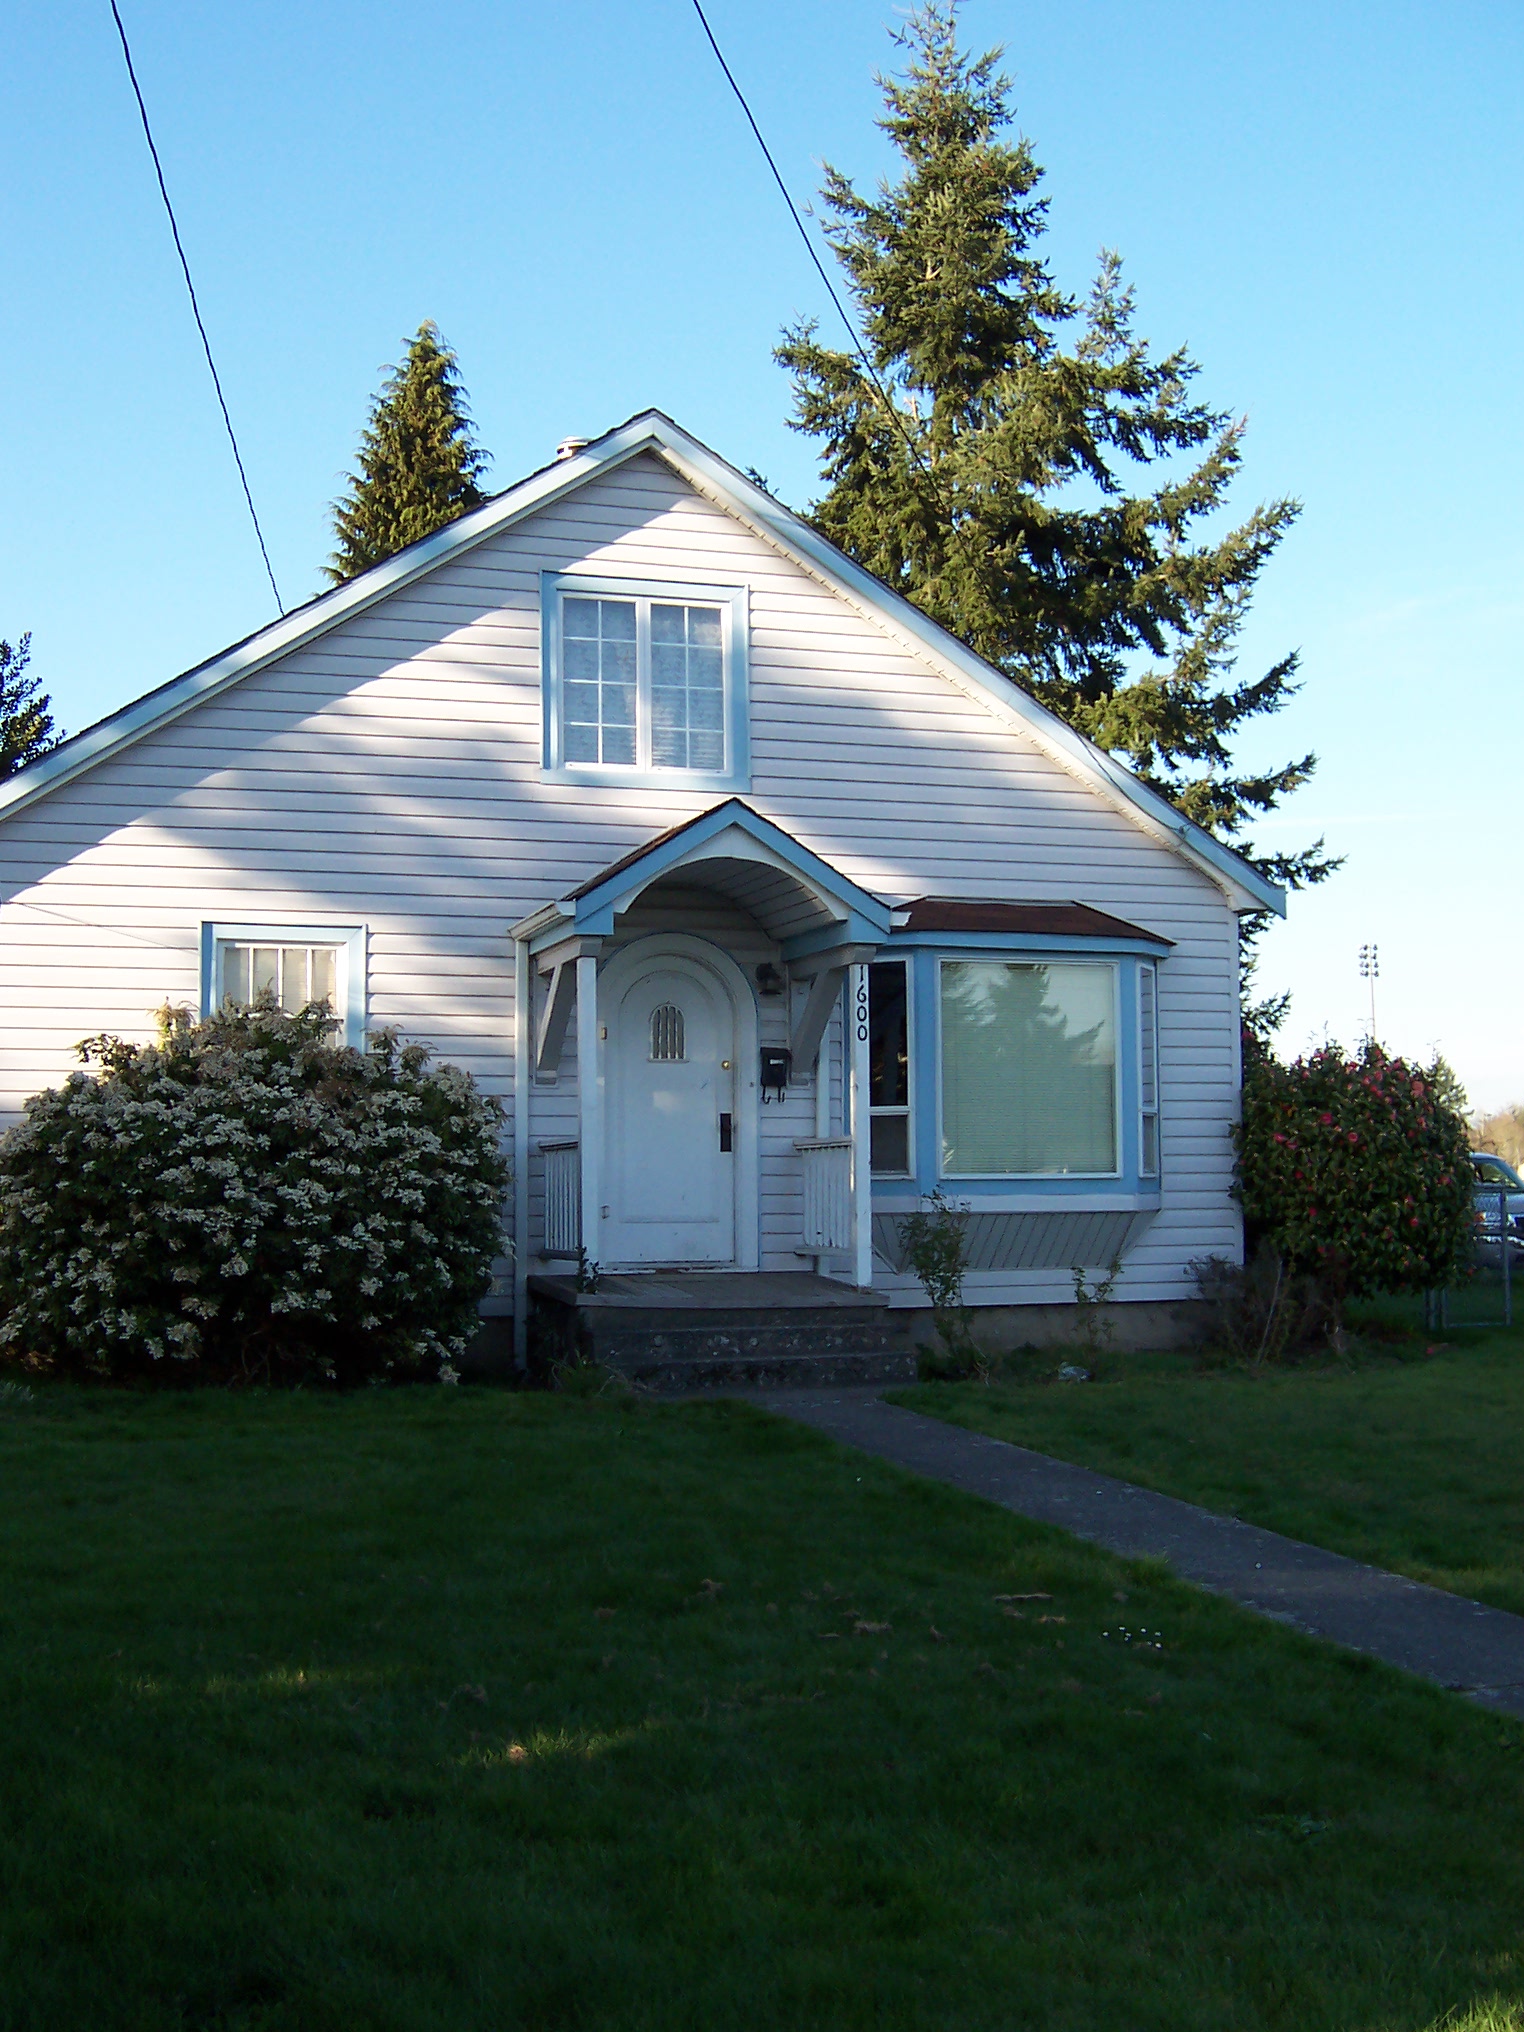
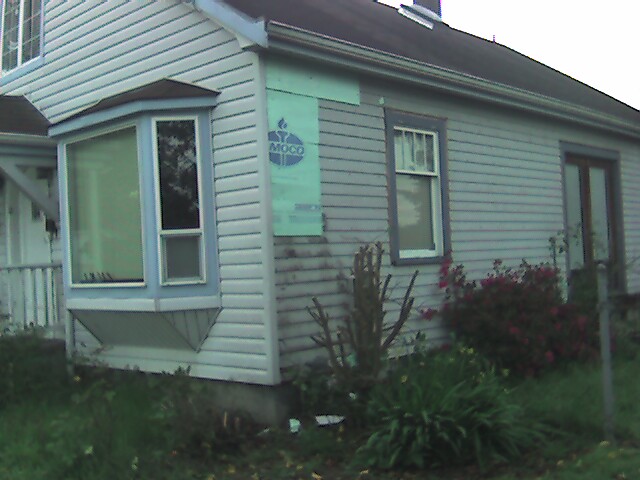
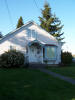
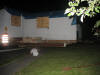
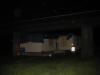
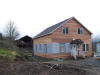
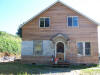
Front view of house.
|
|
|
|
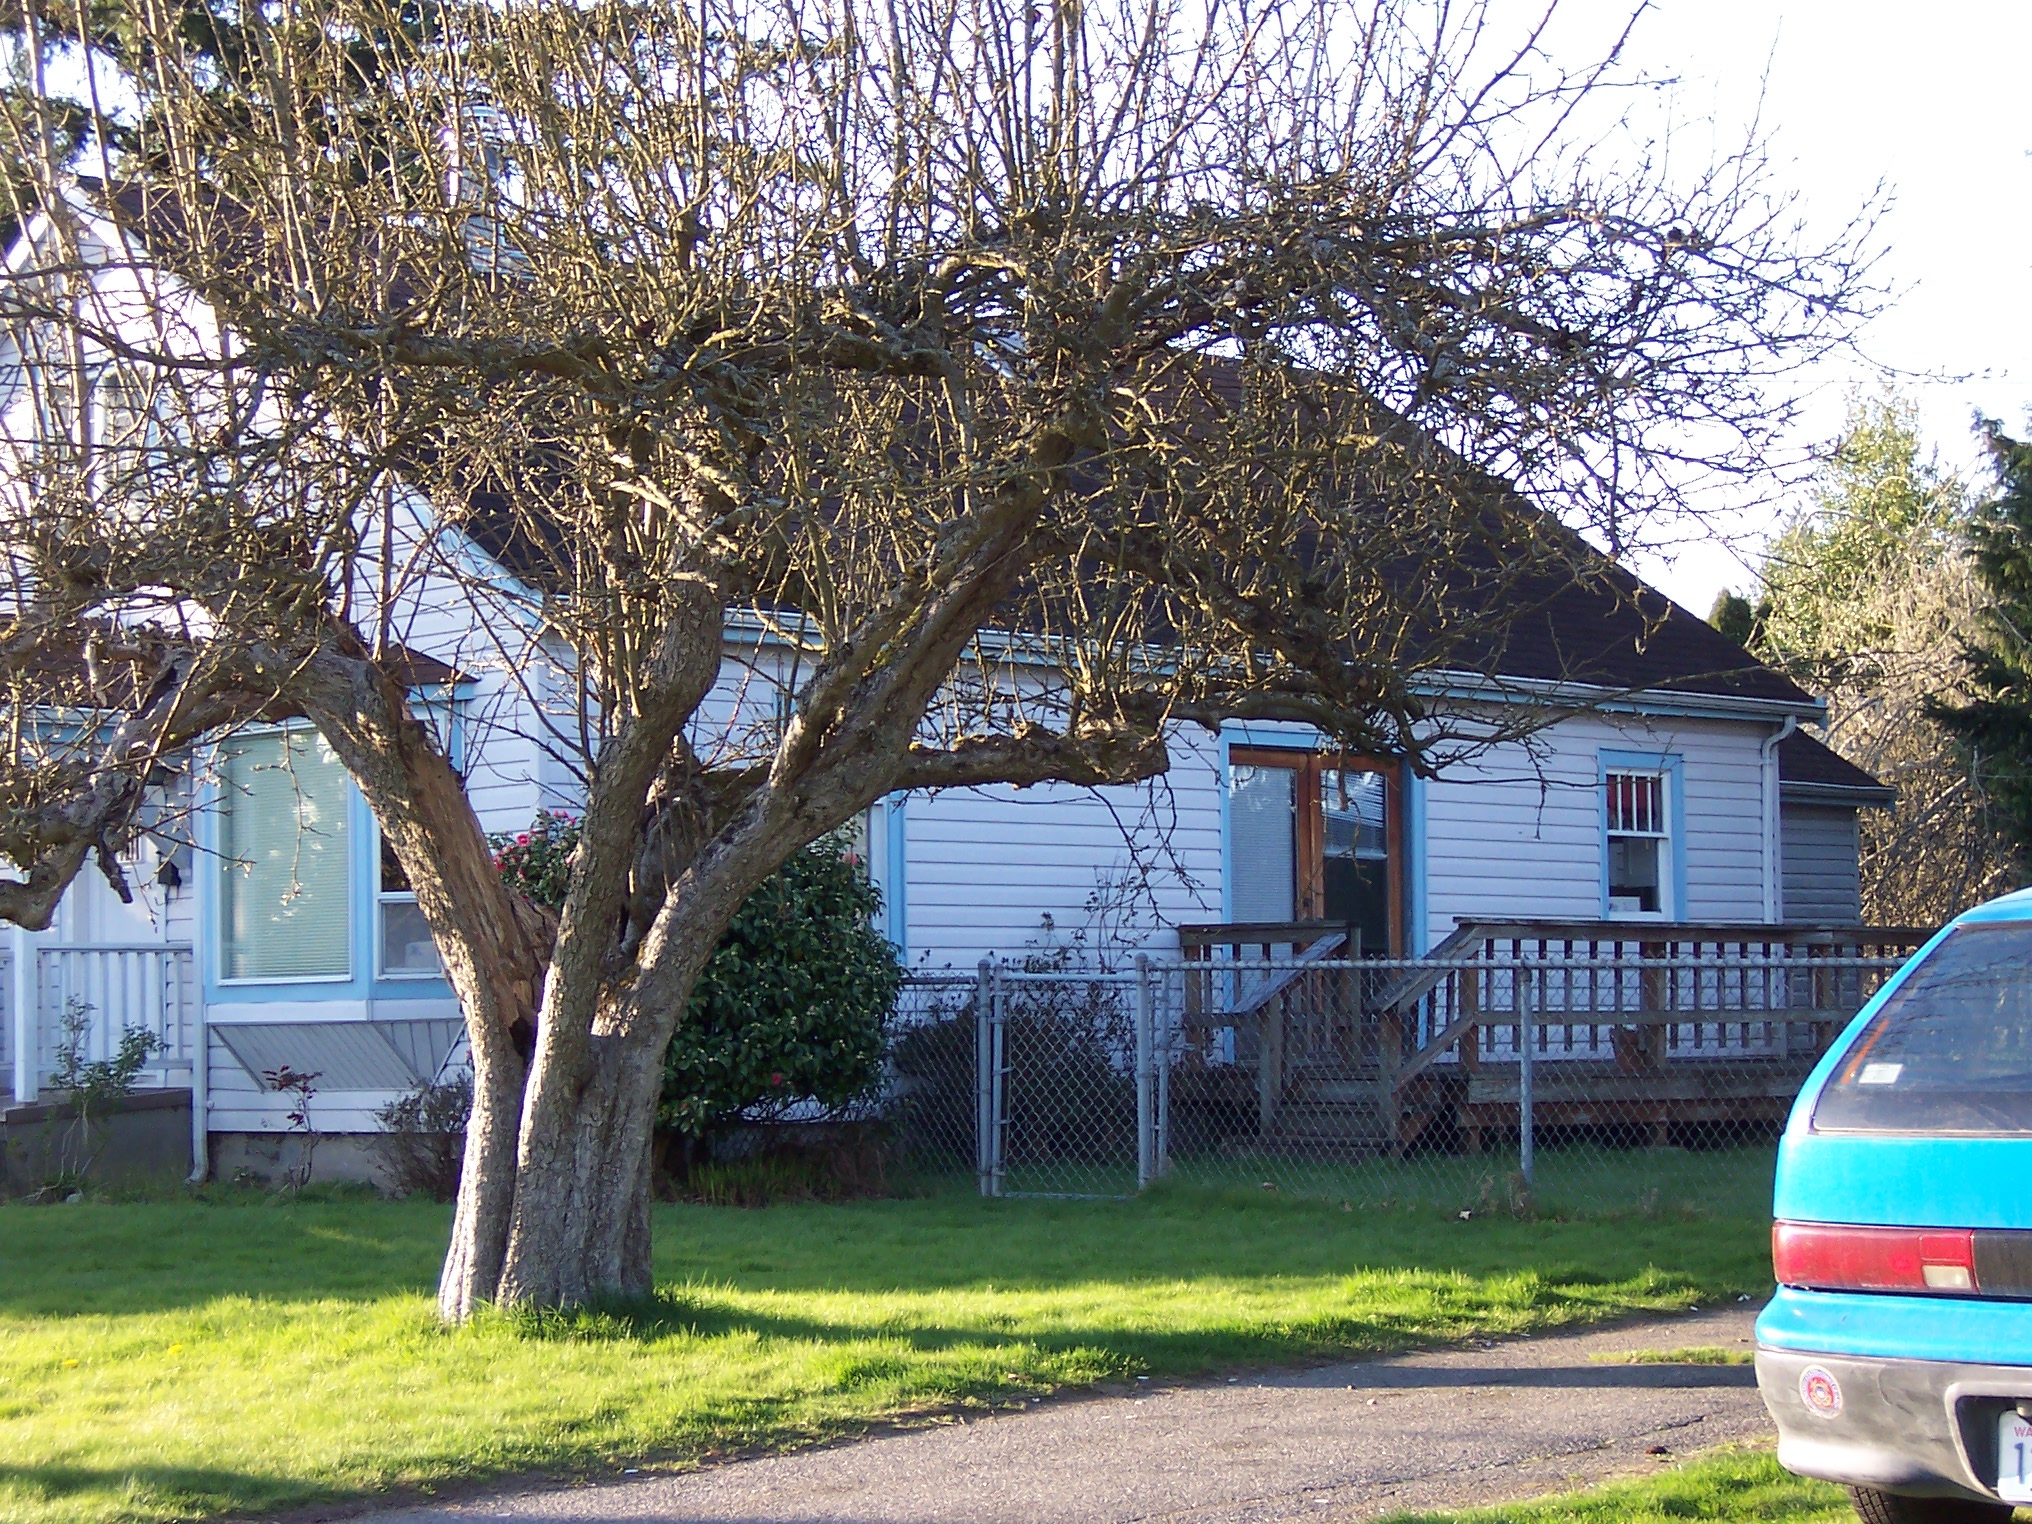
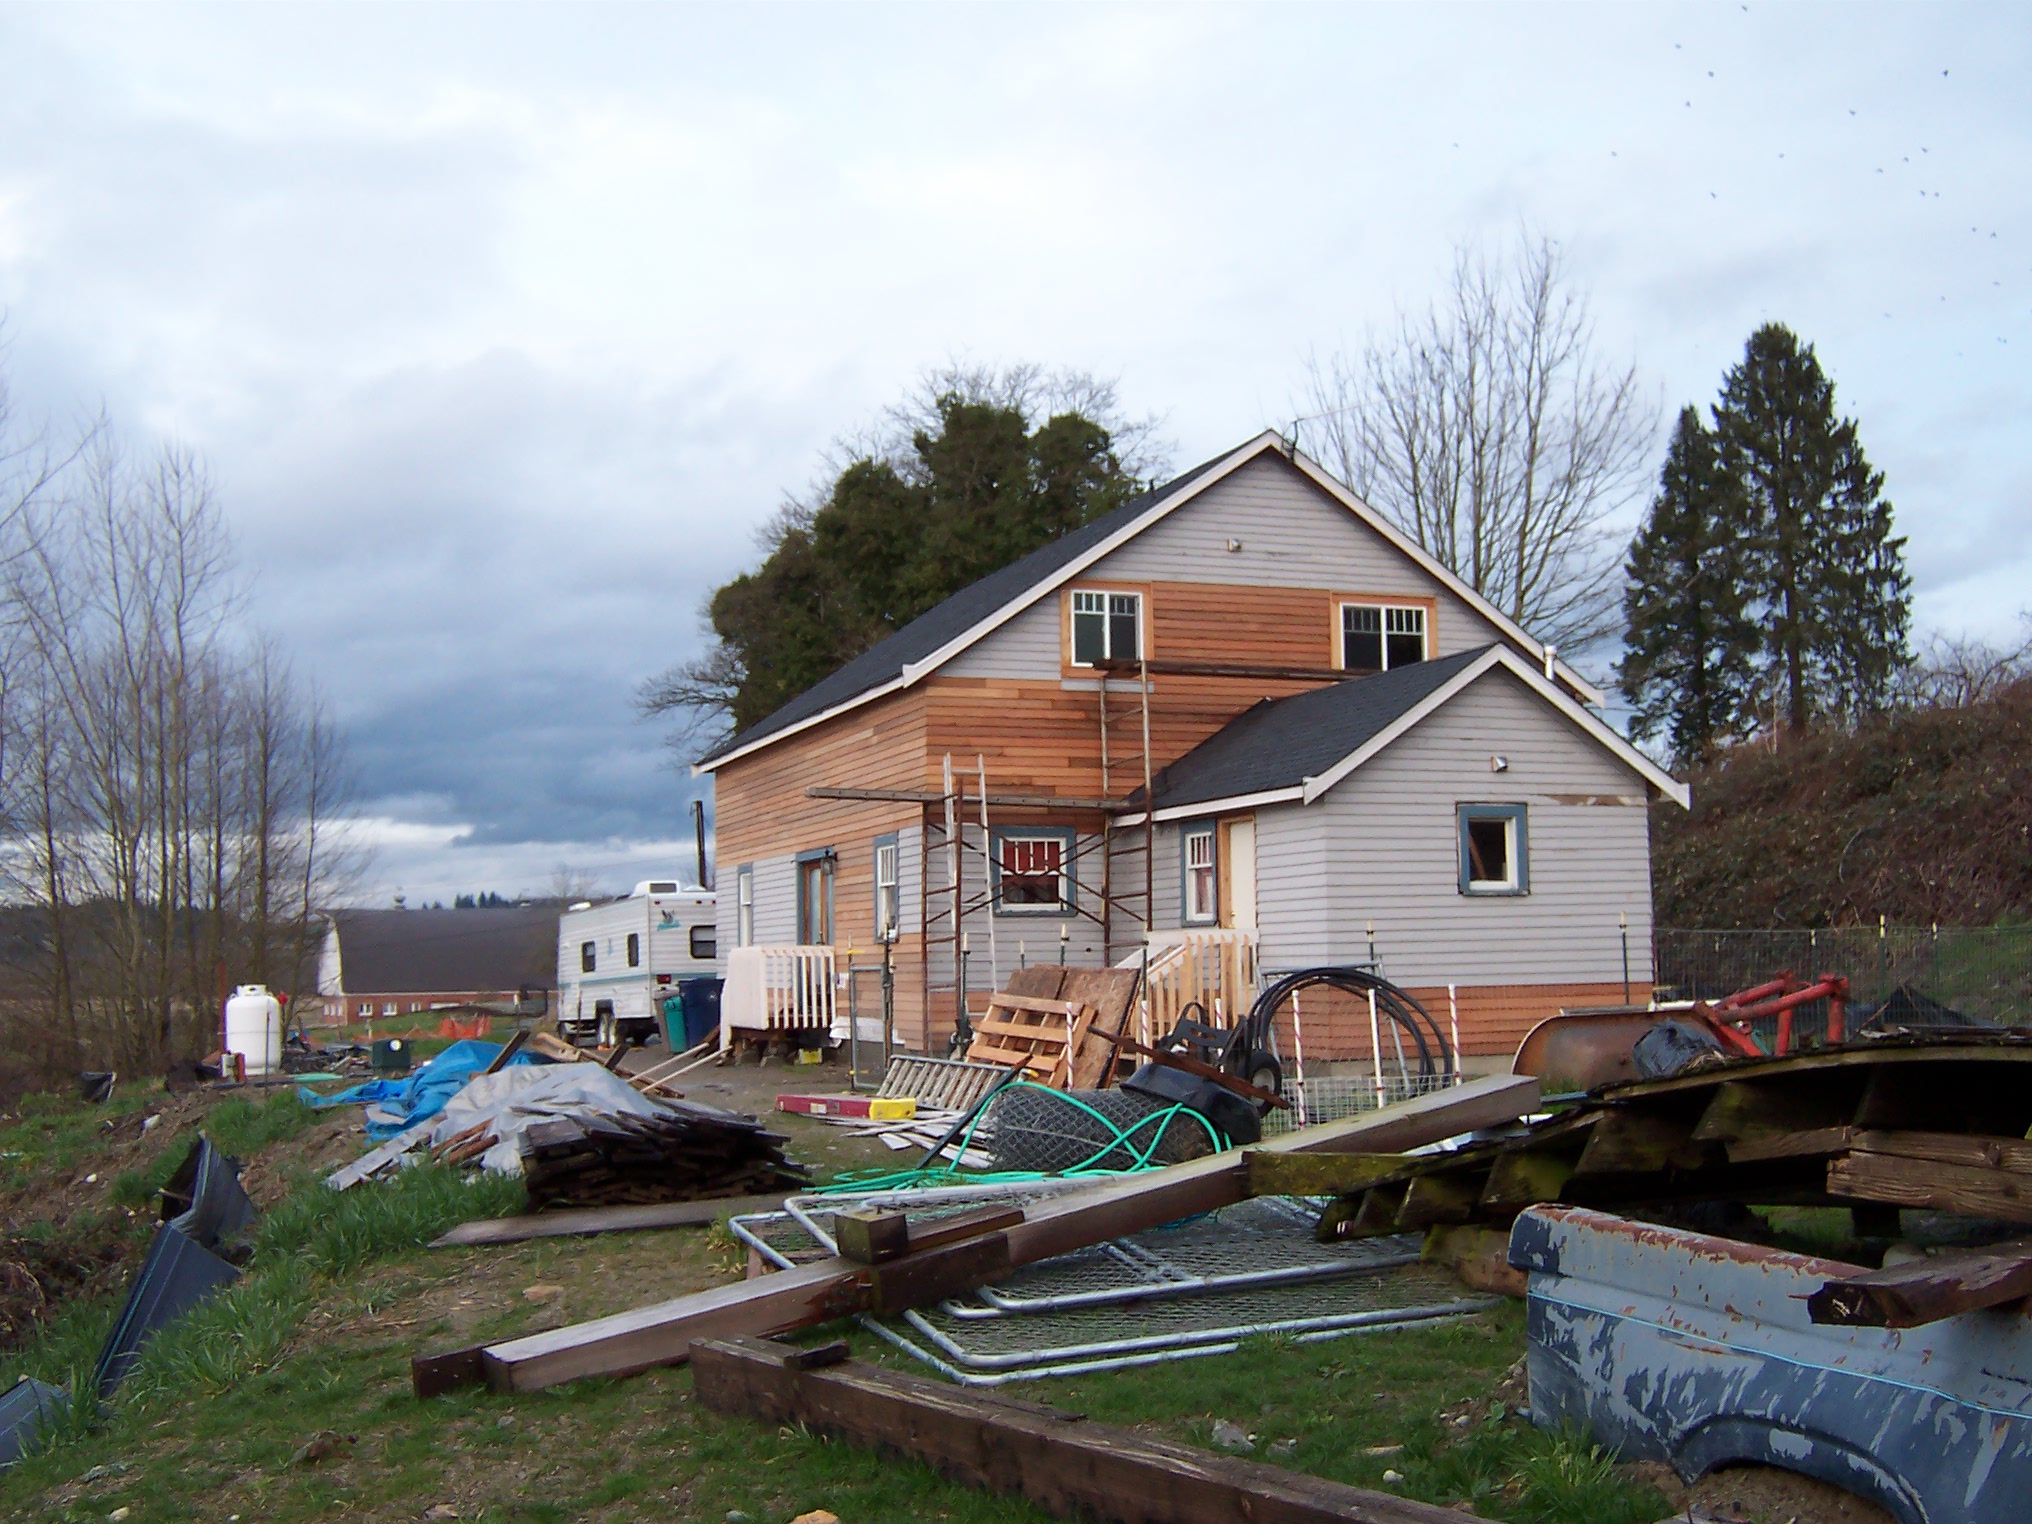
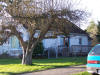
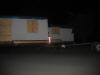
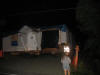
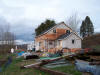
View from the street of the deck side of the house.
|
|

|
|
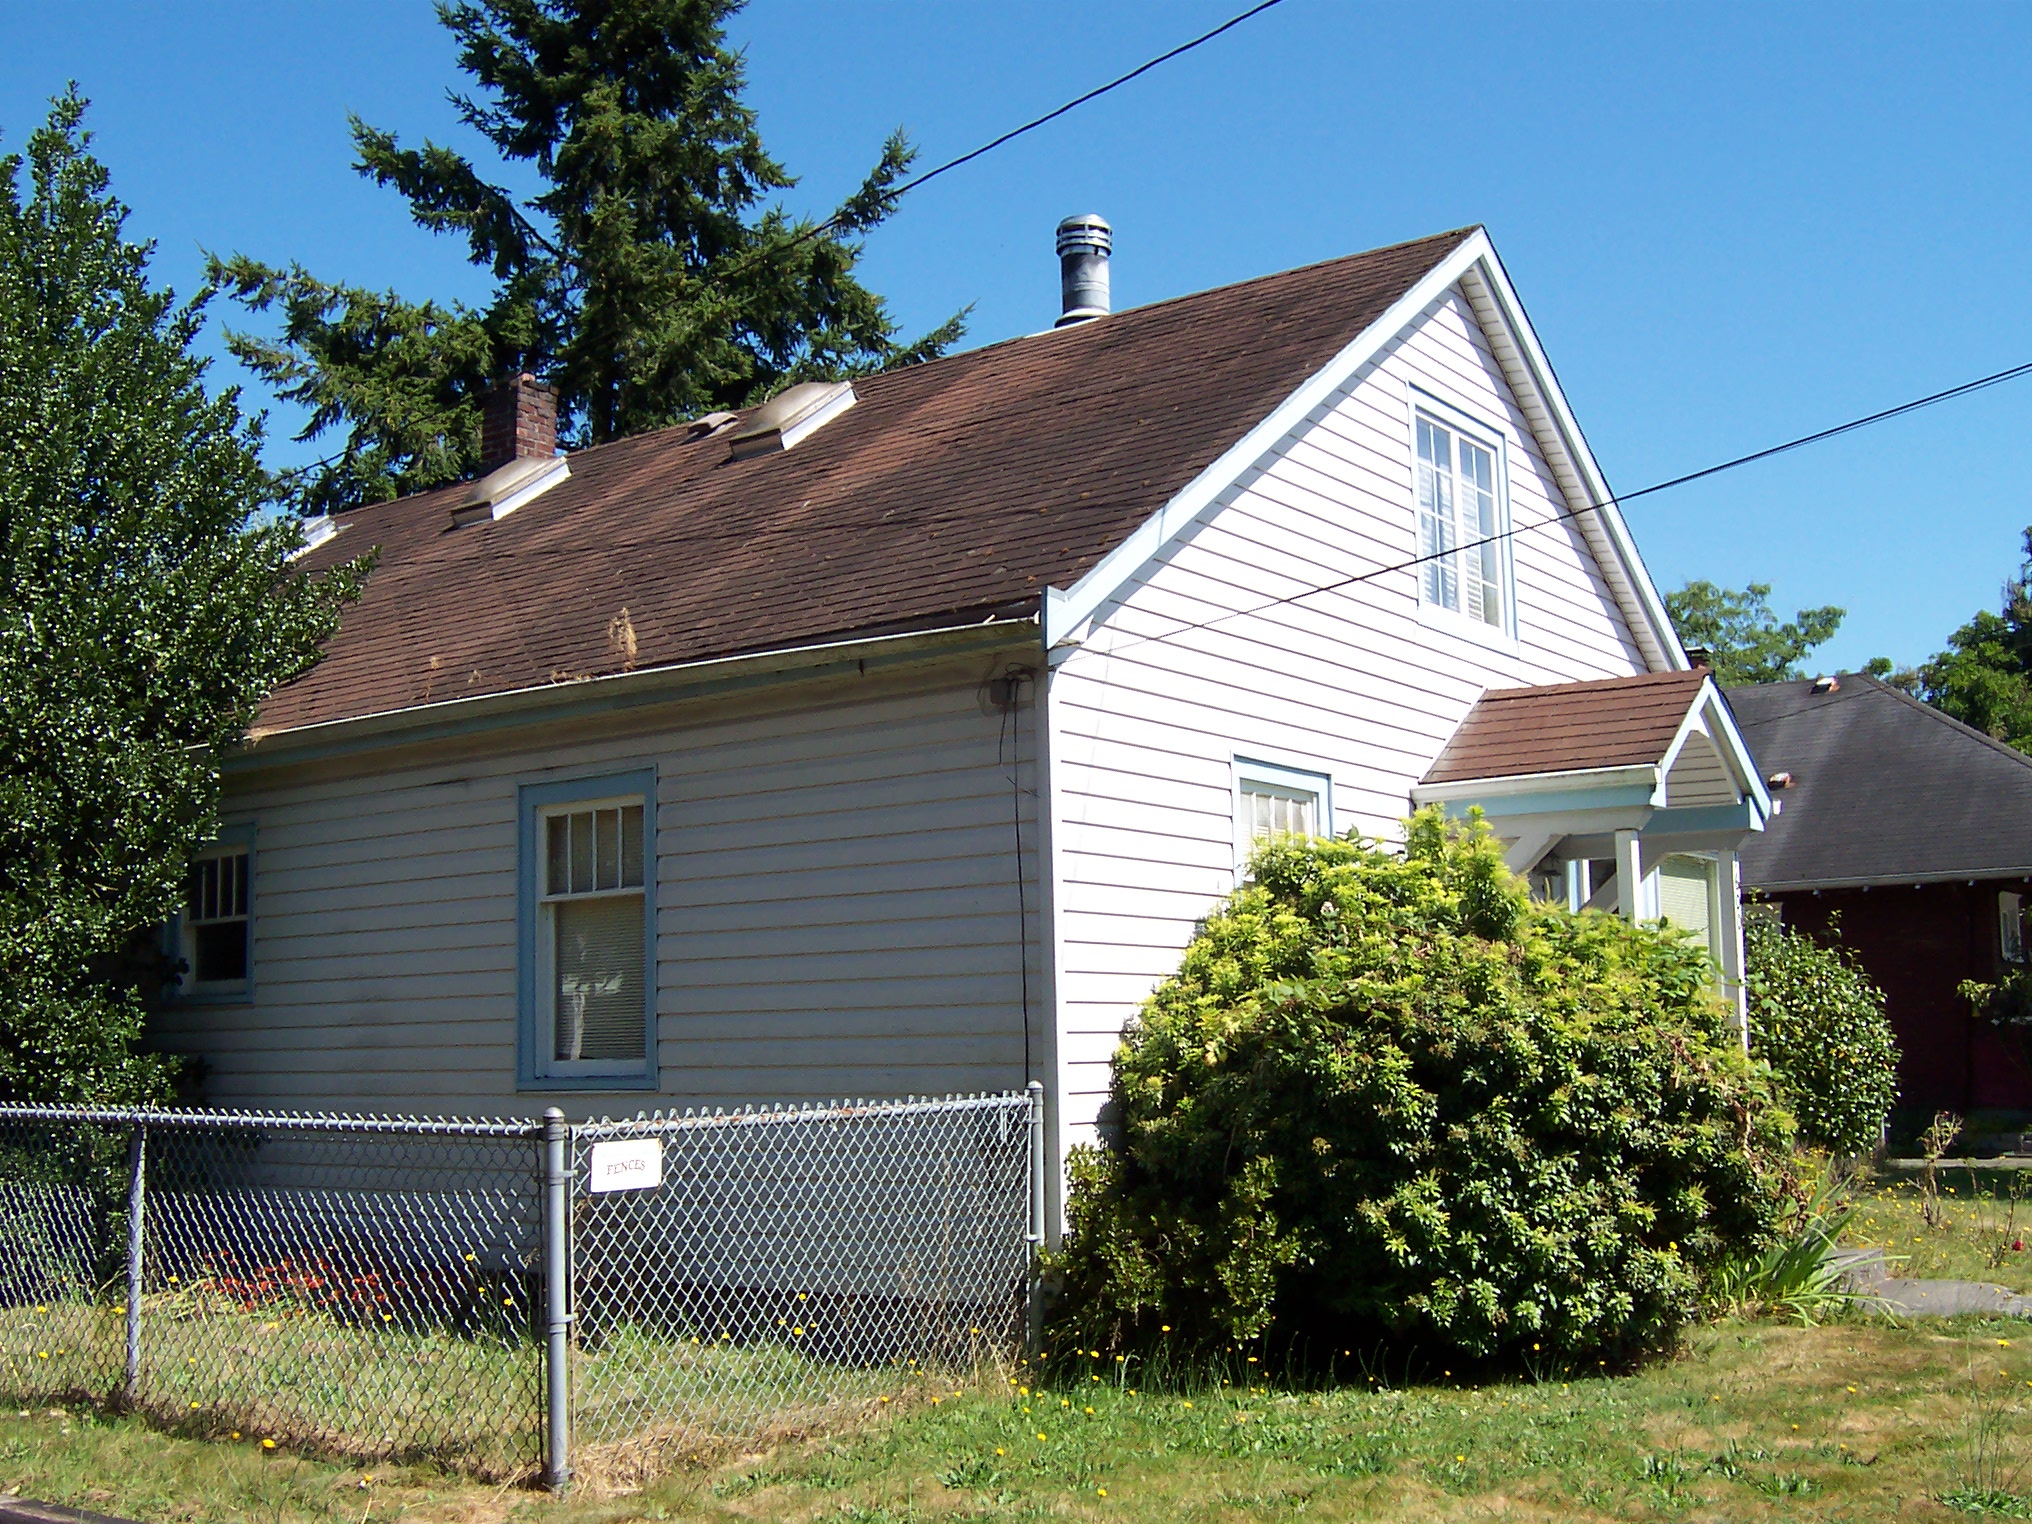
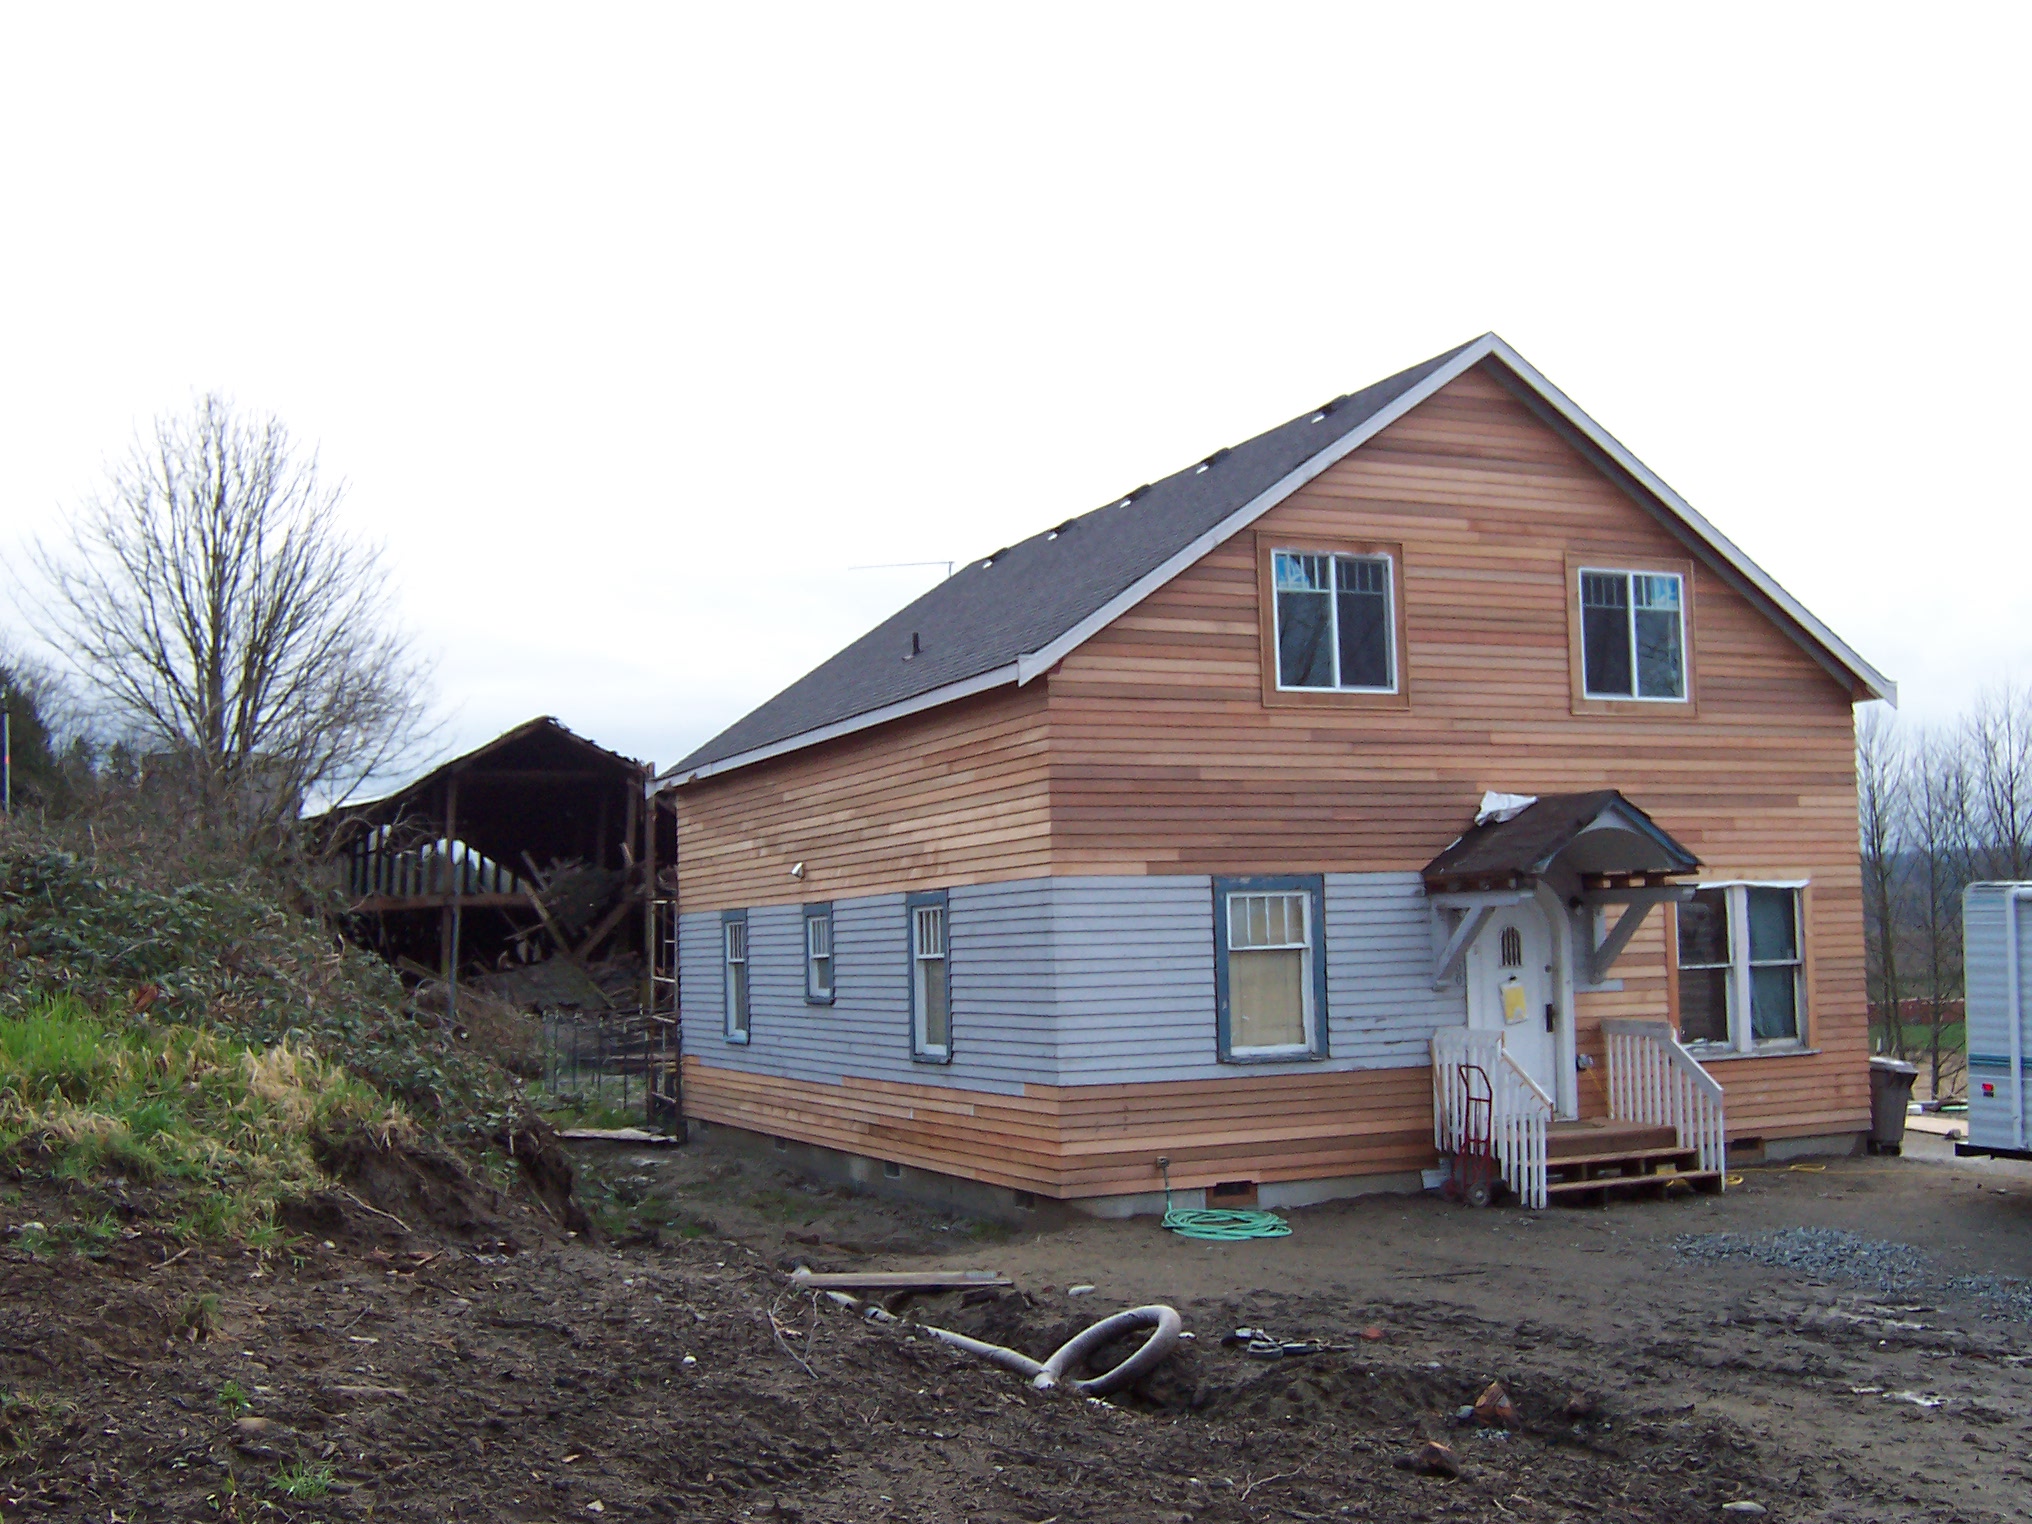
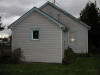
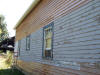
Other side of house. It still has all of its original matching windows.
|
|
|
|
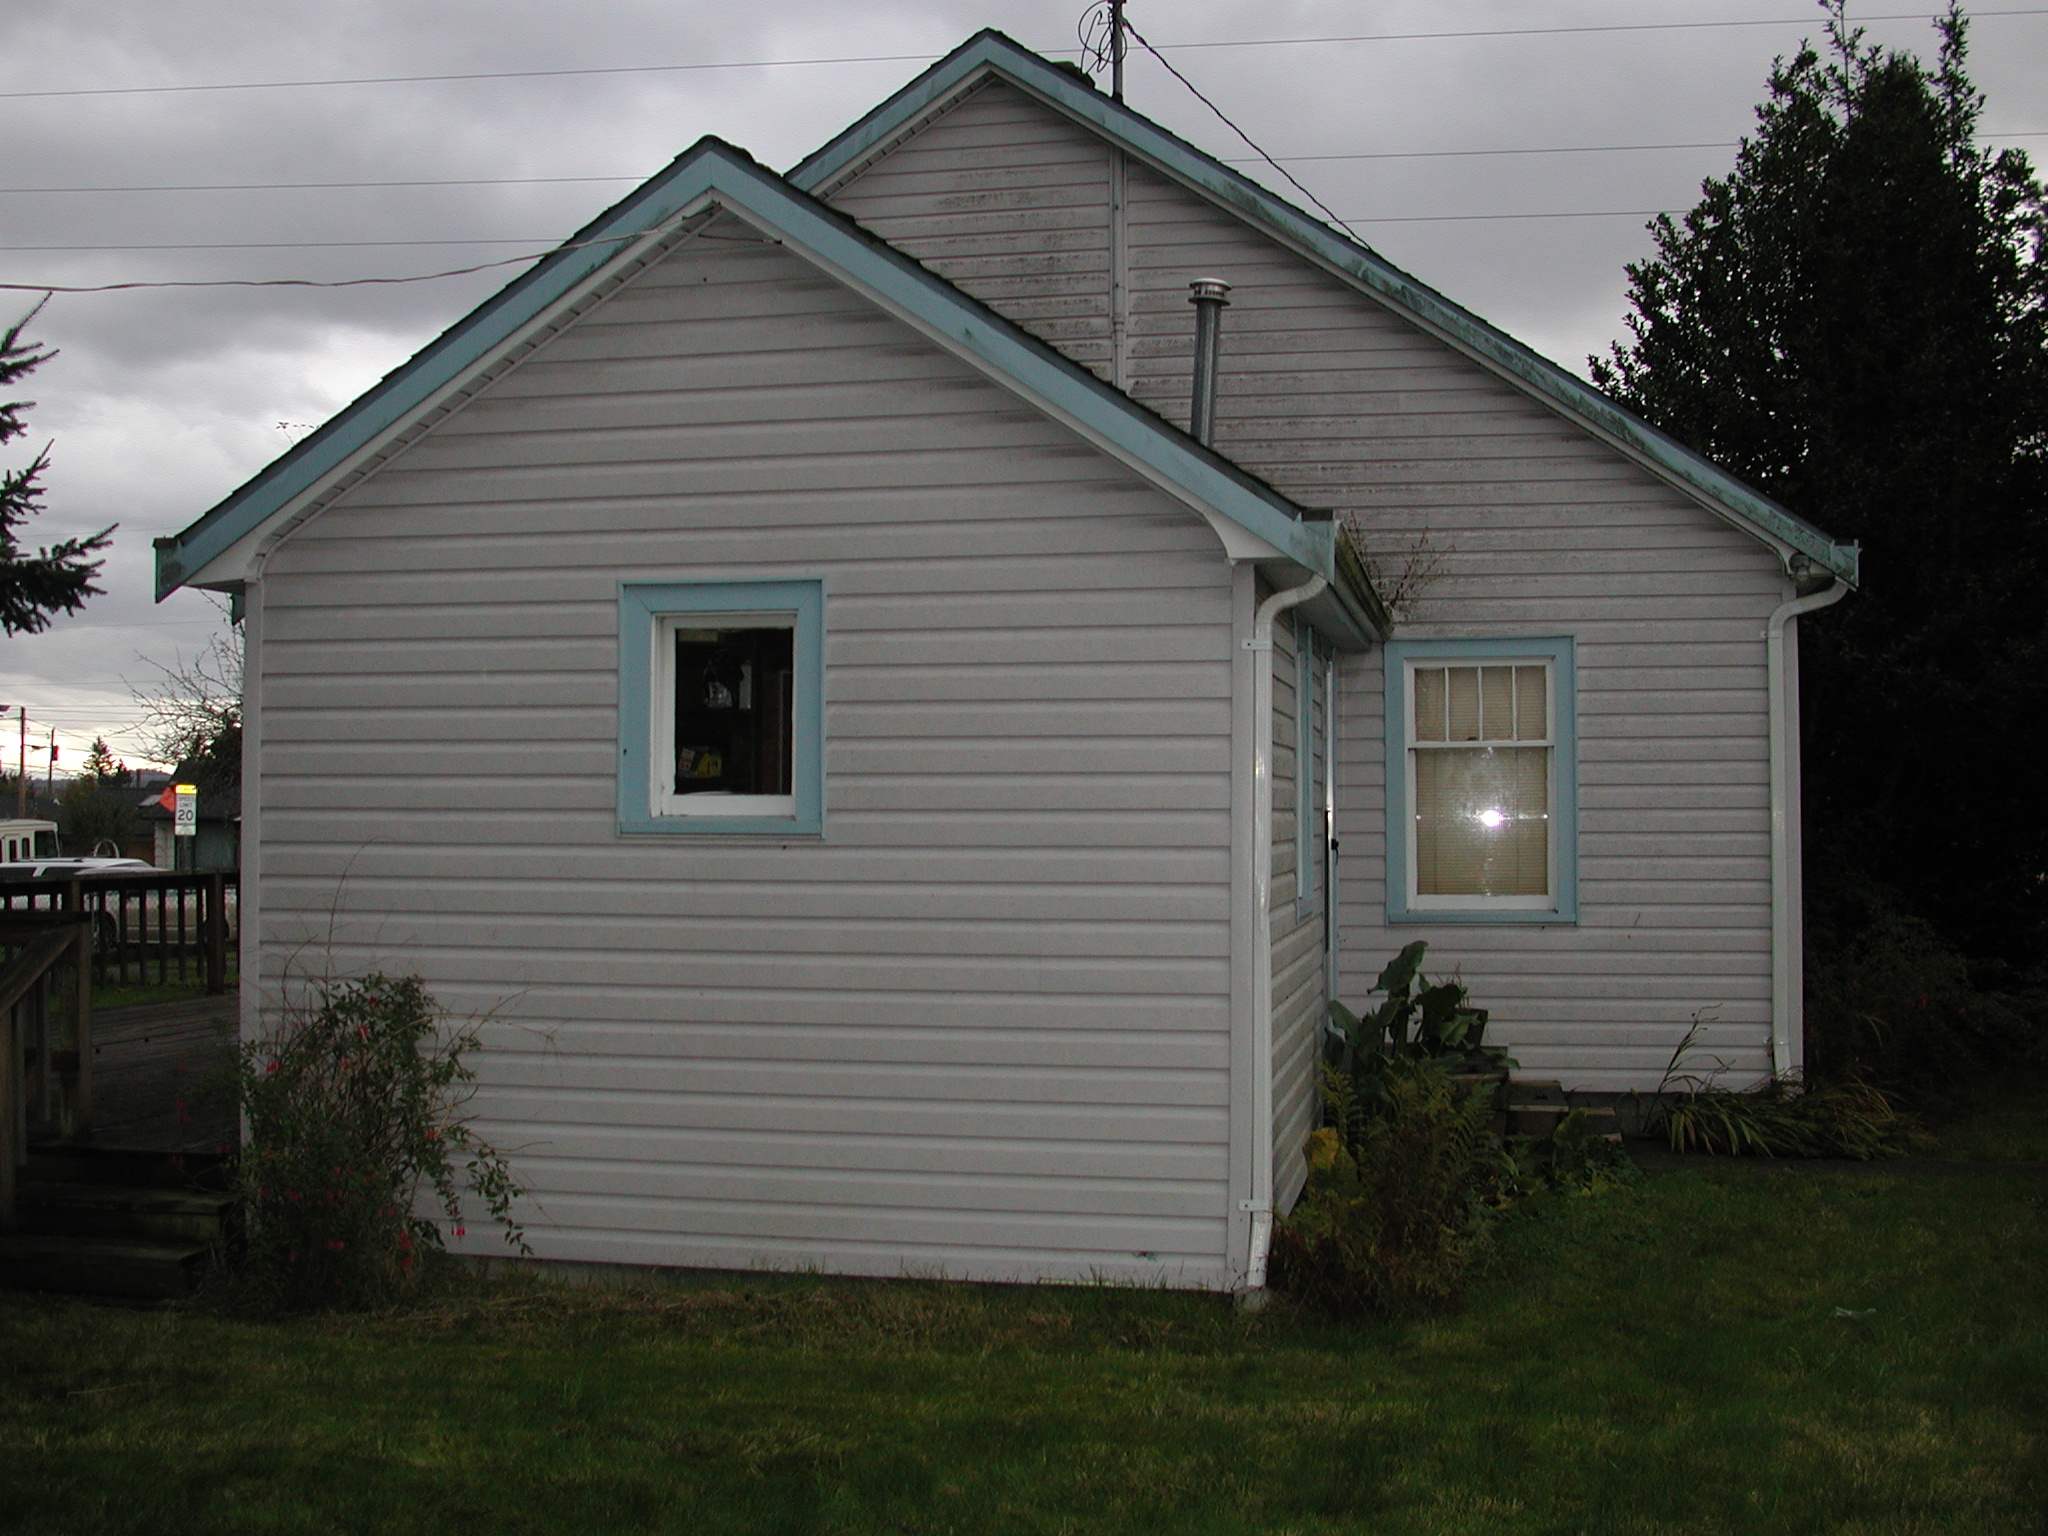
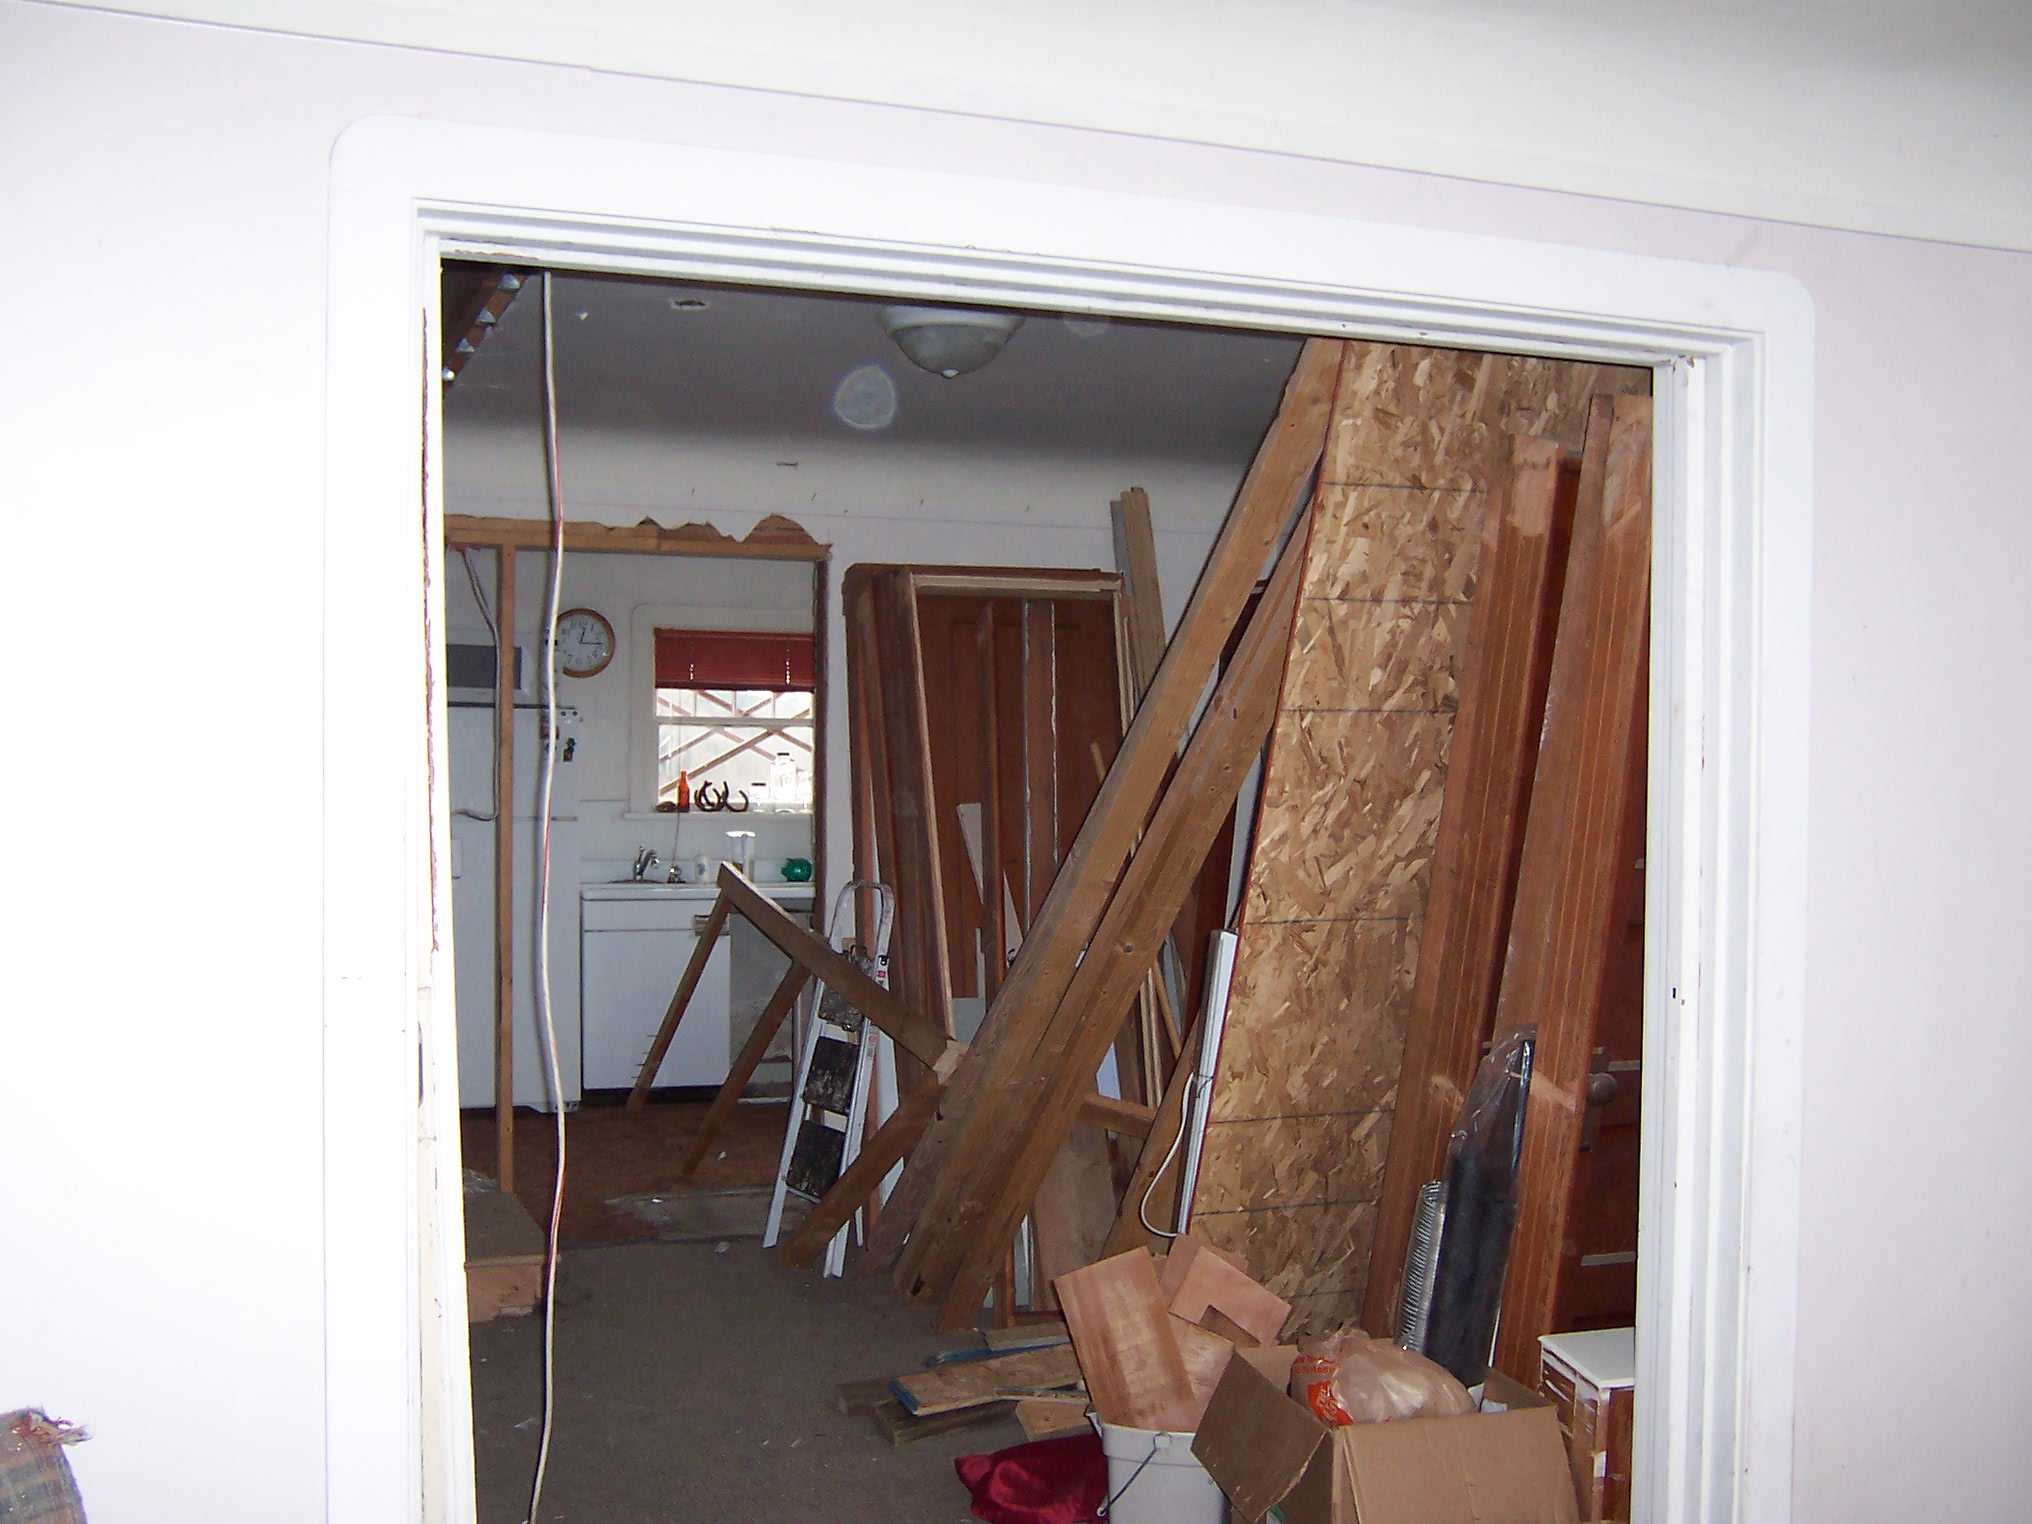
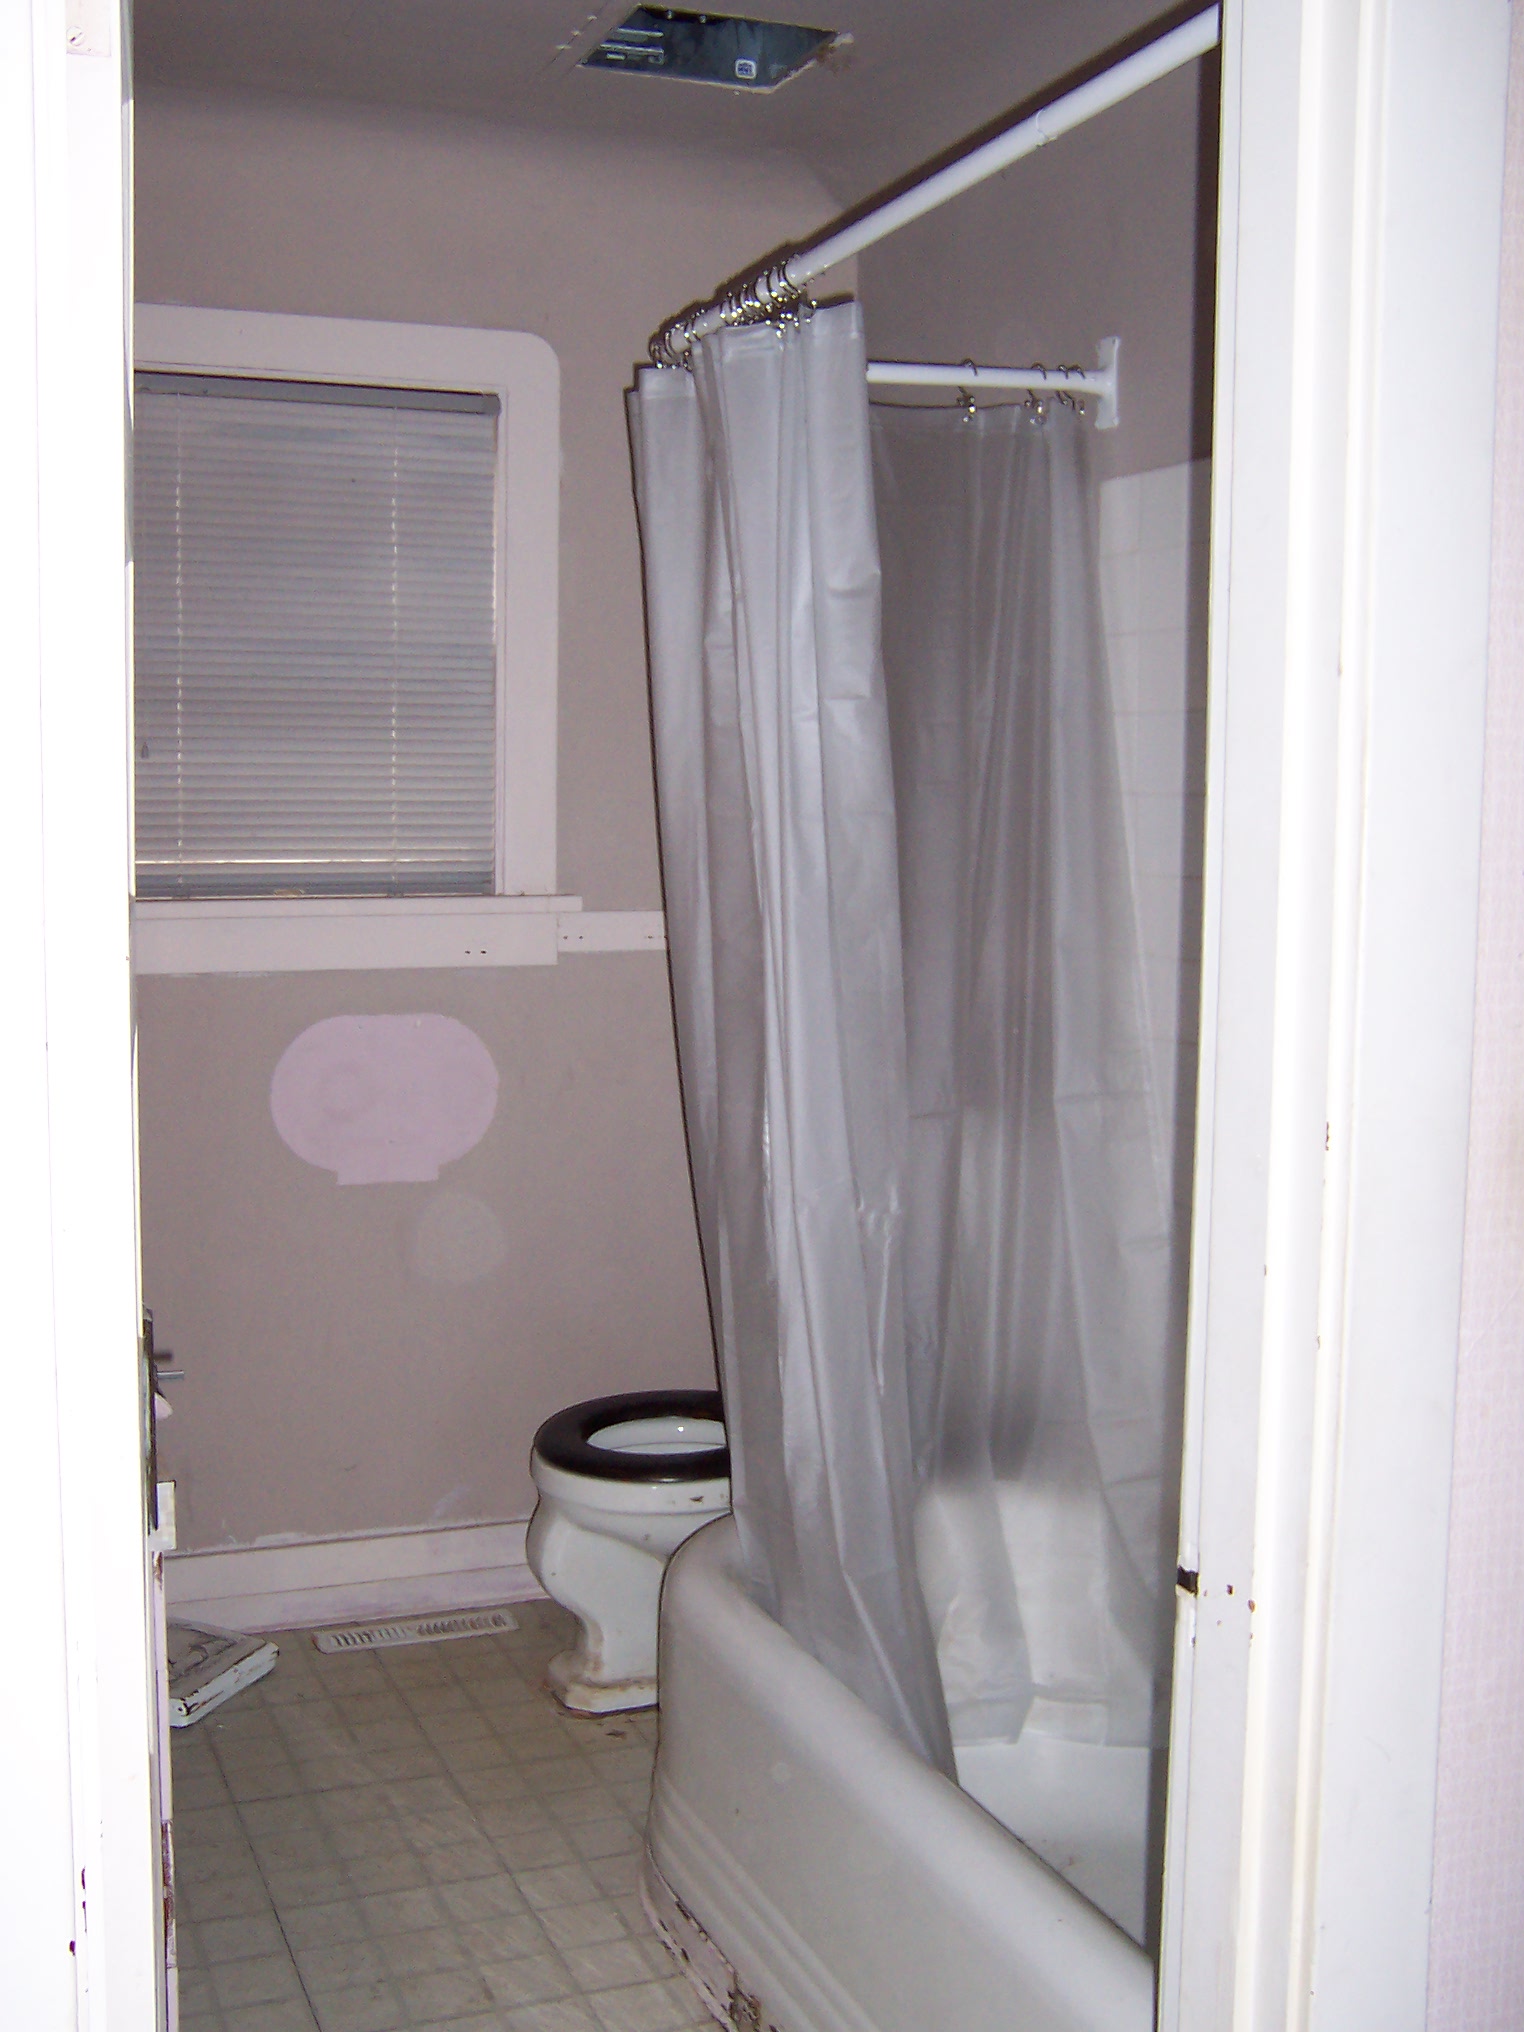
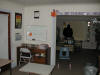
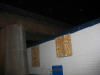
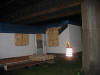
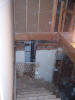
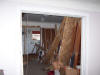
Back of house, this little room is a large pantry, laundry and bathroom area off the kitchen.
|
|
|
|
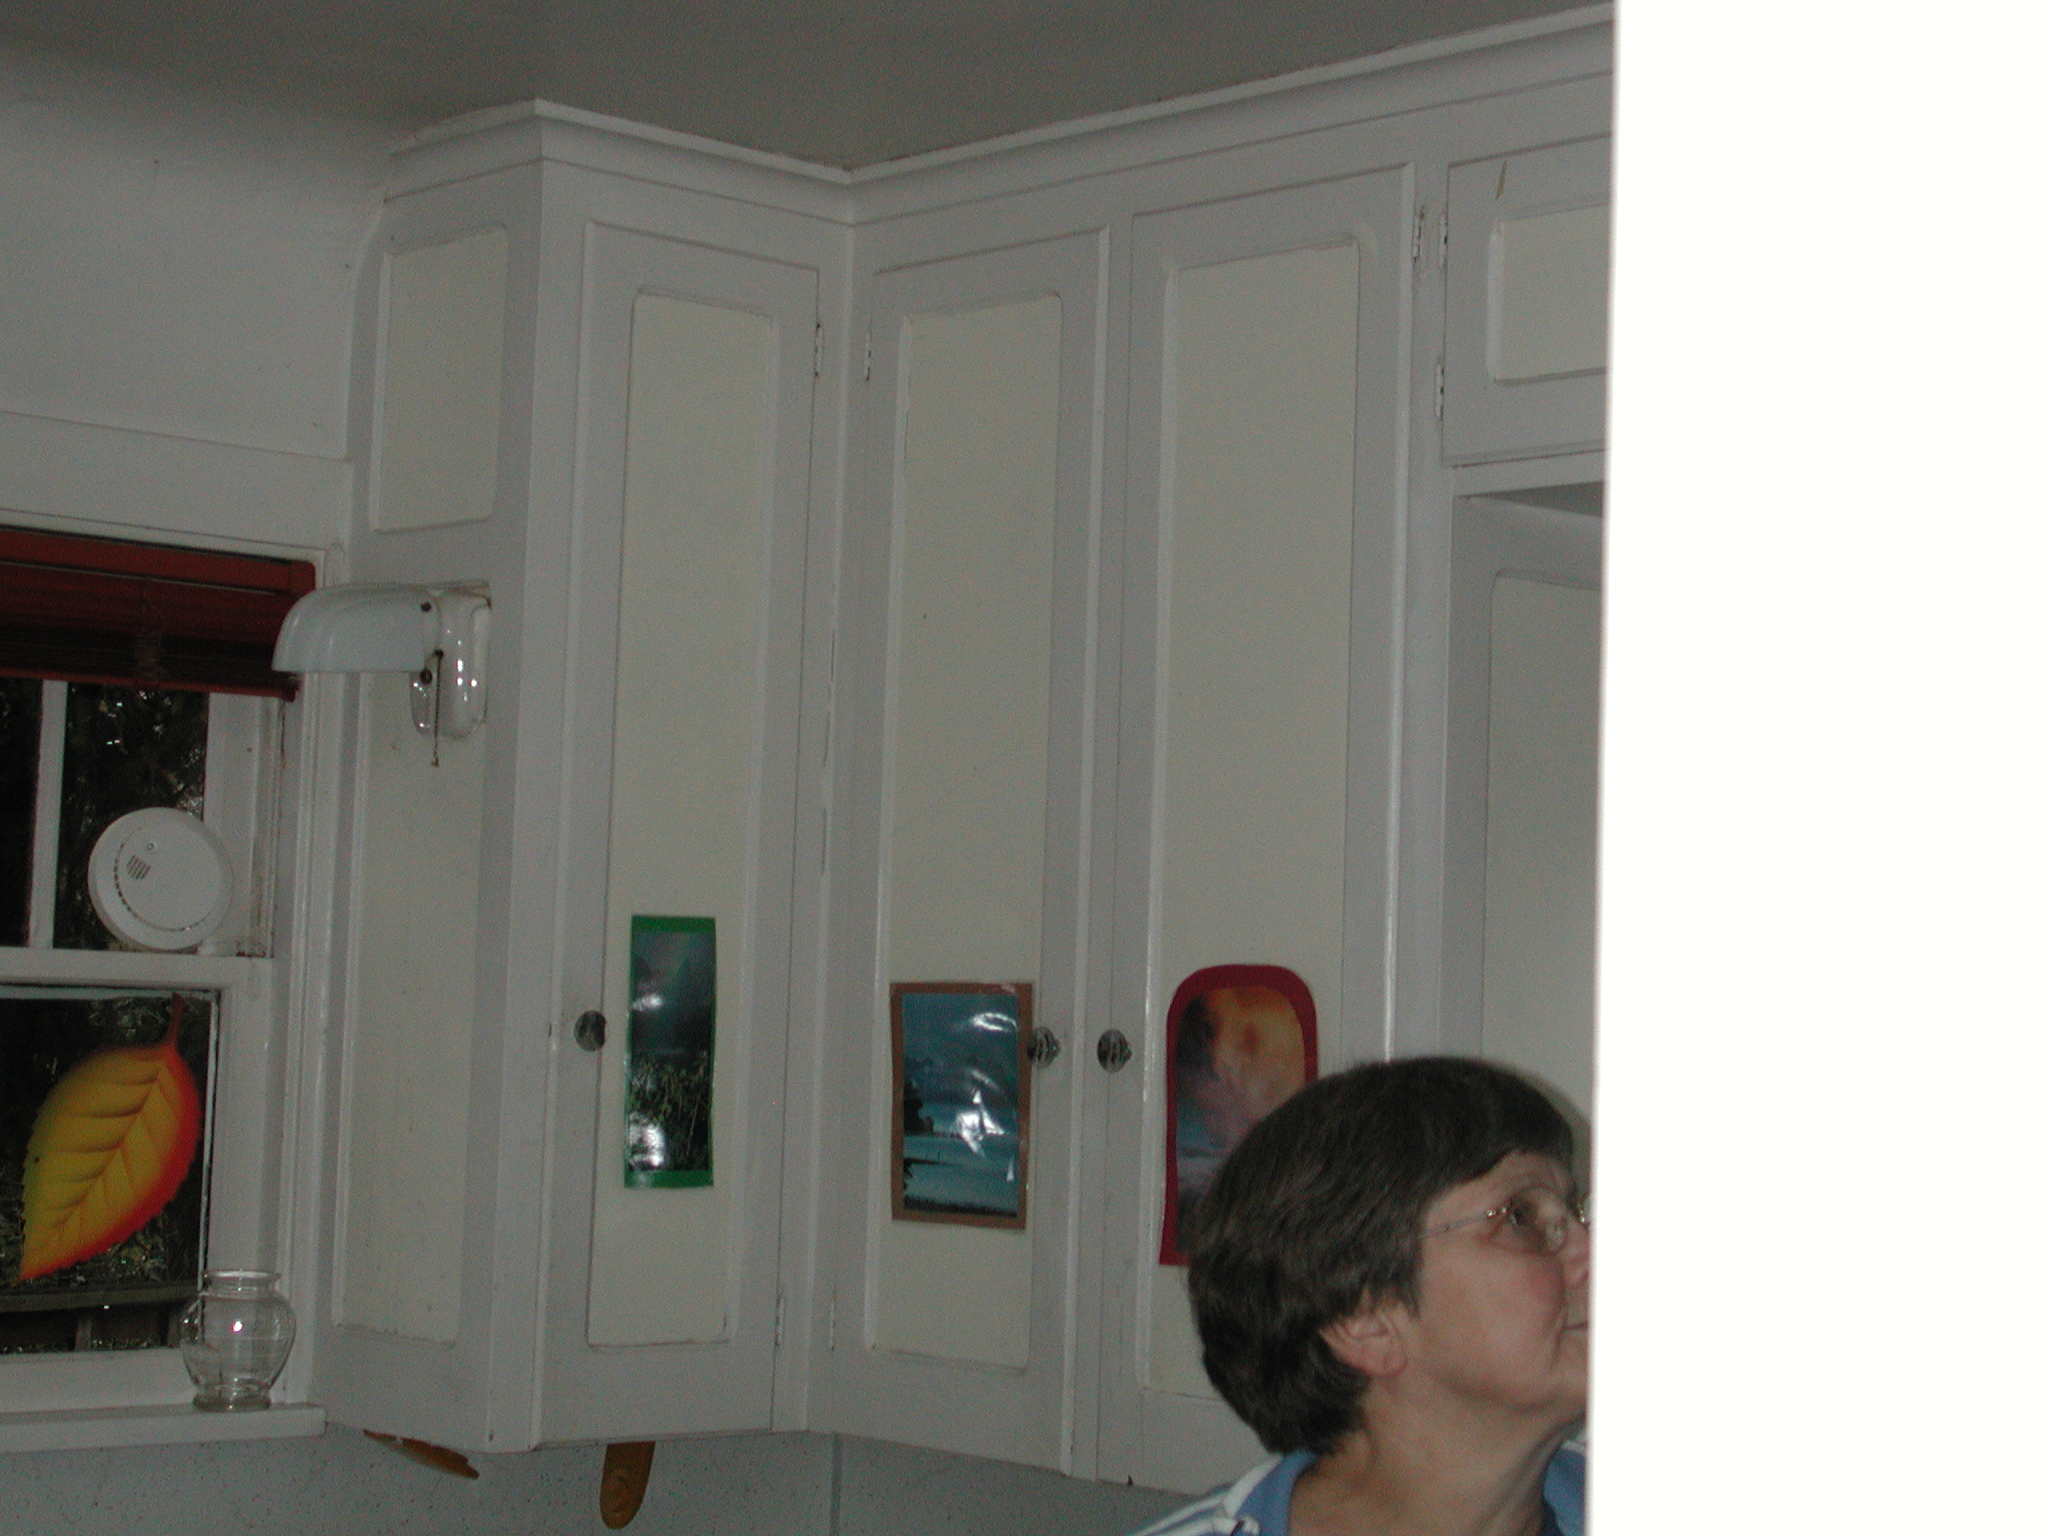
Kitchen cabinets.
|
|
|
|
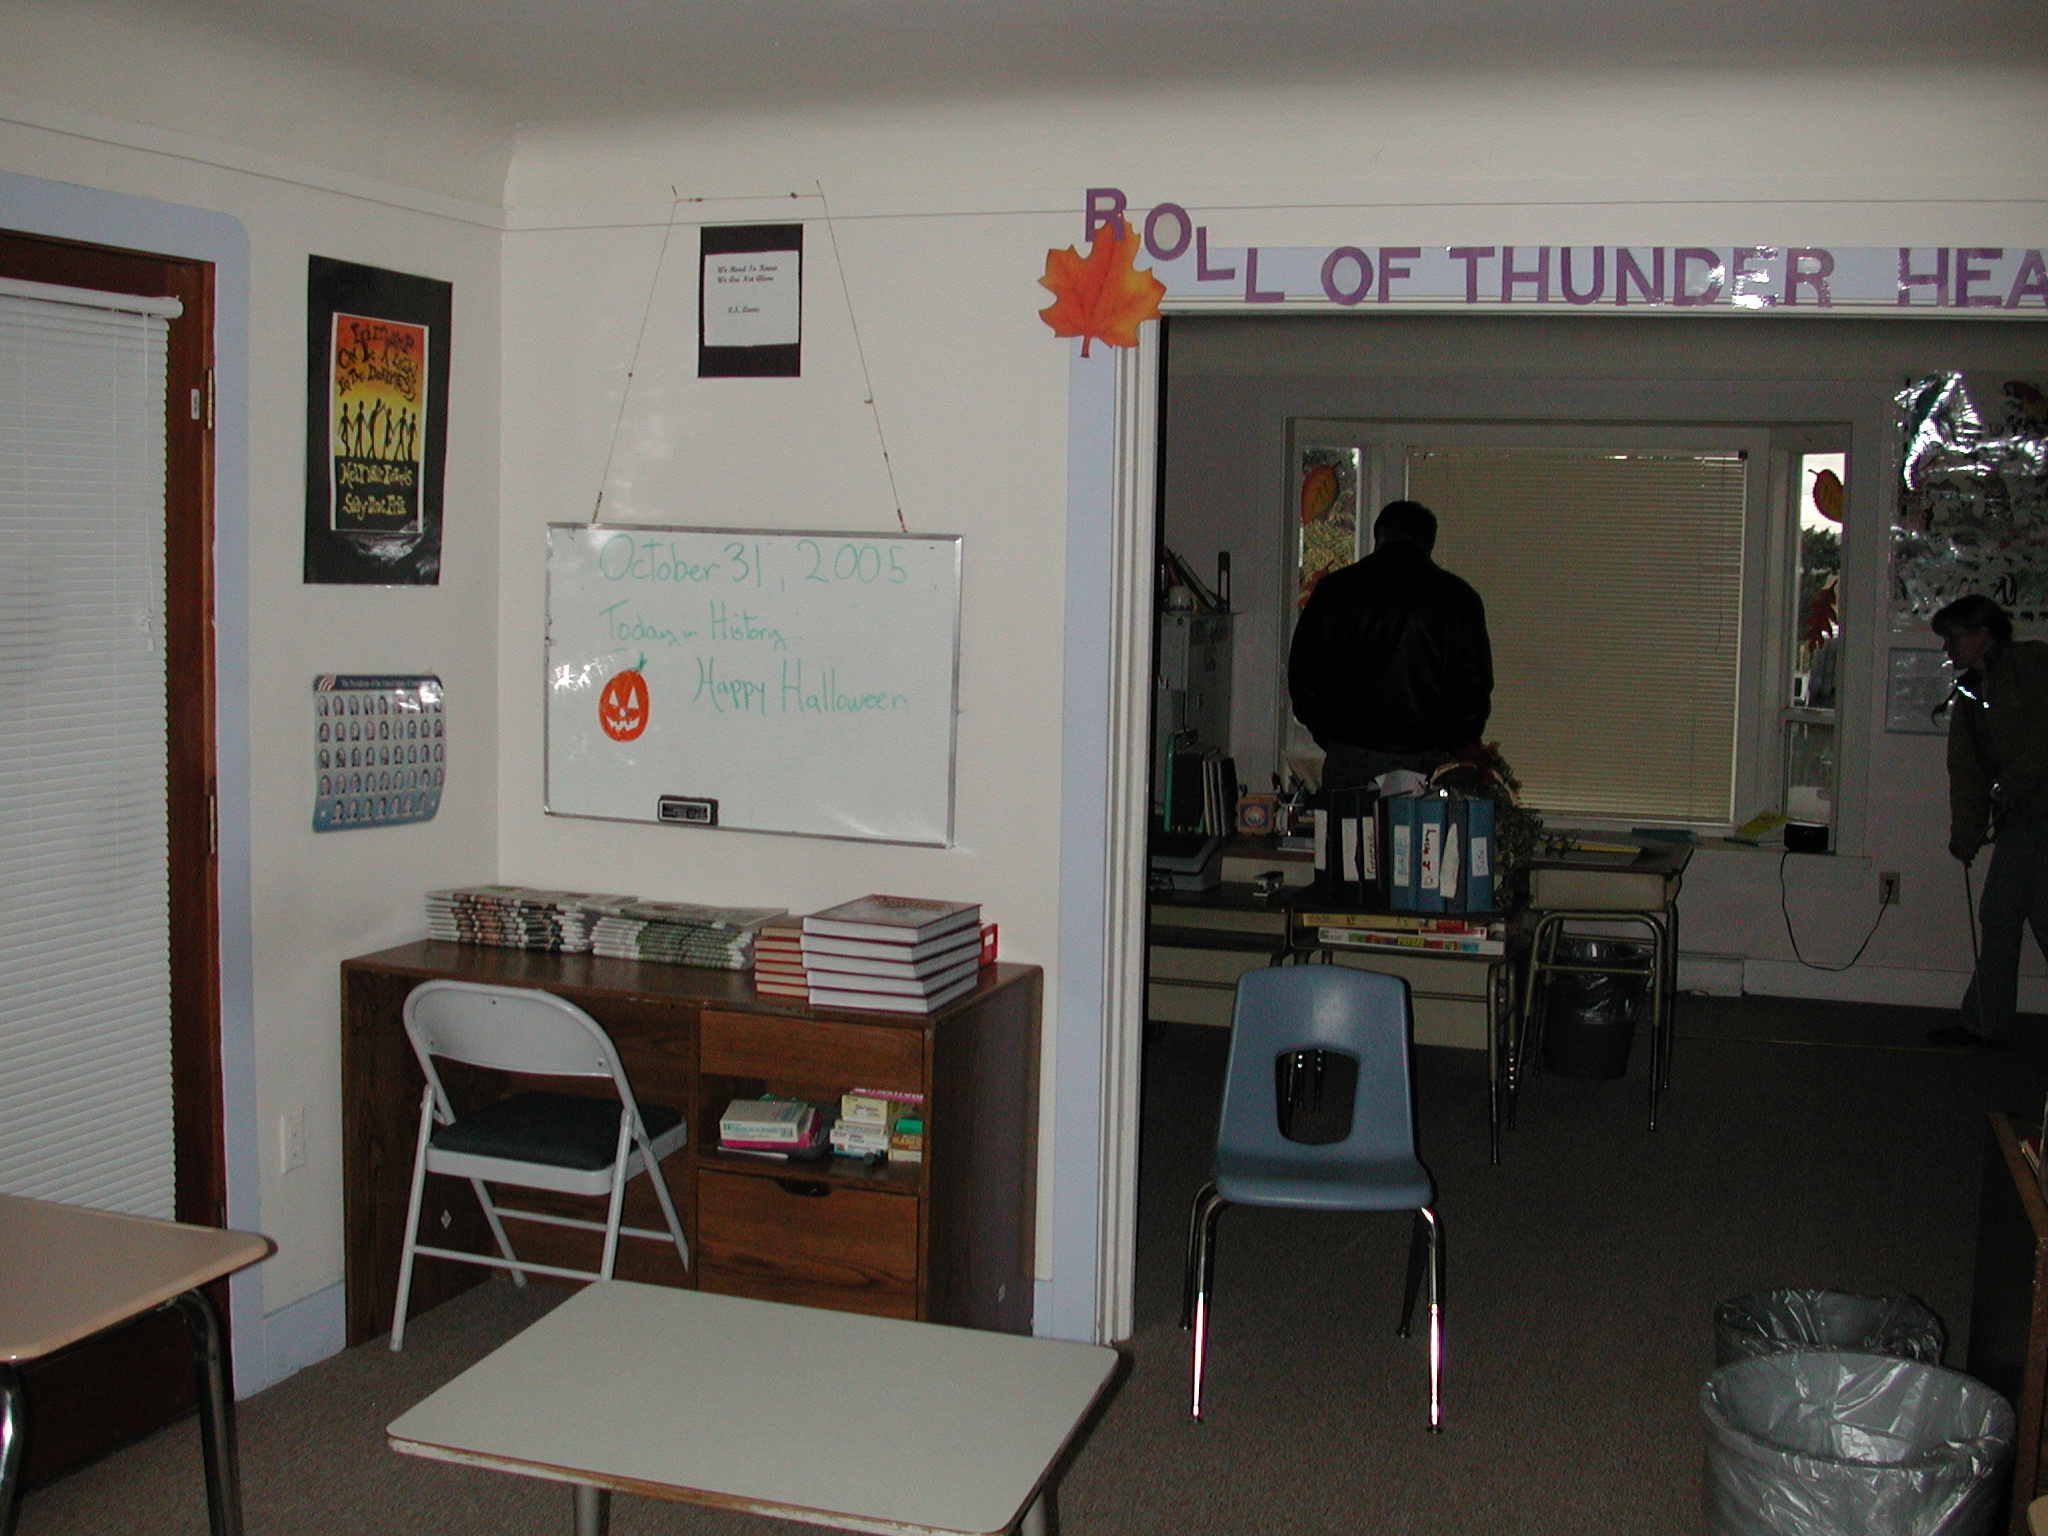
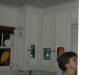
Living room when the school was using the house as a classroom.
|
|

|
|
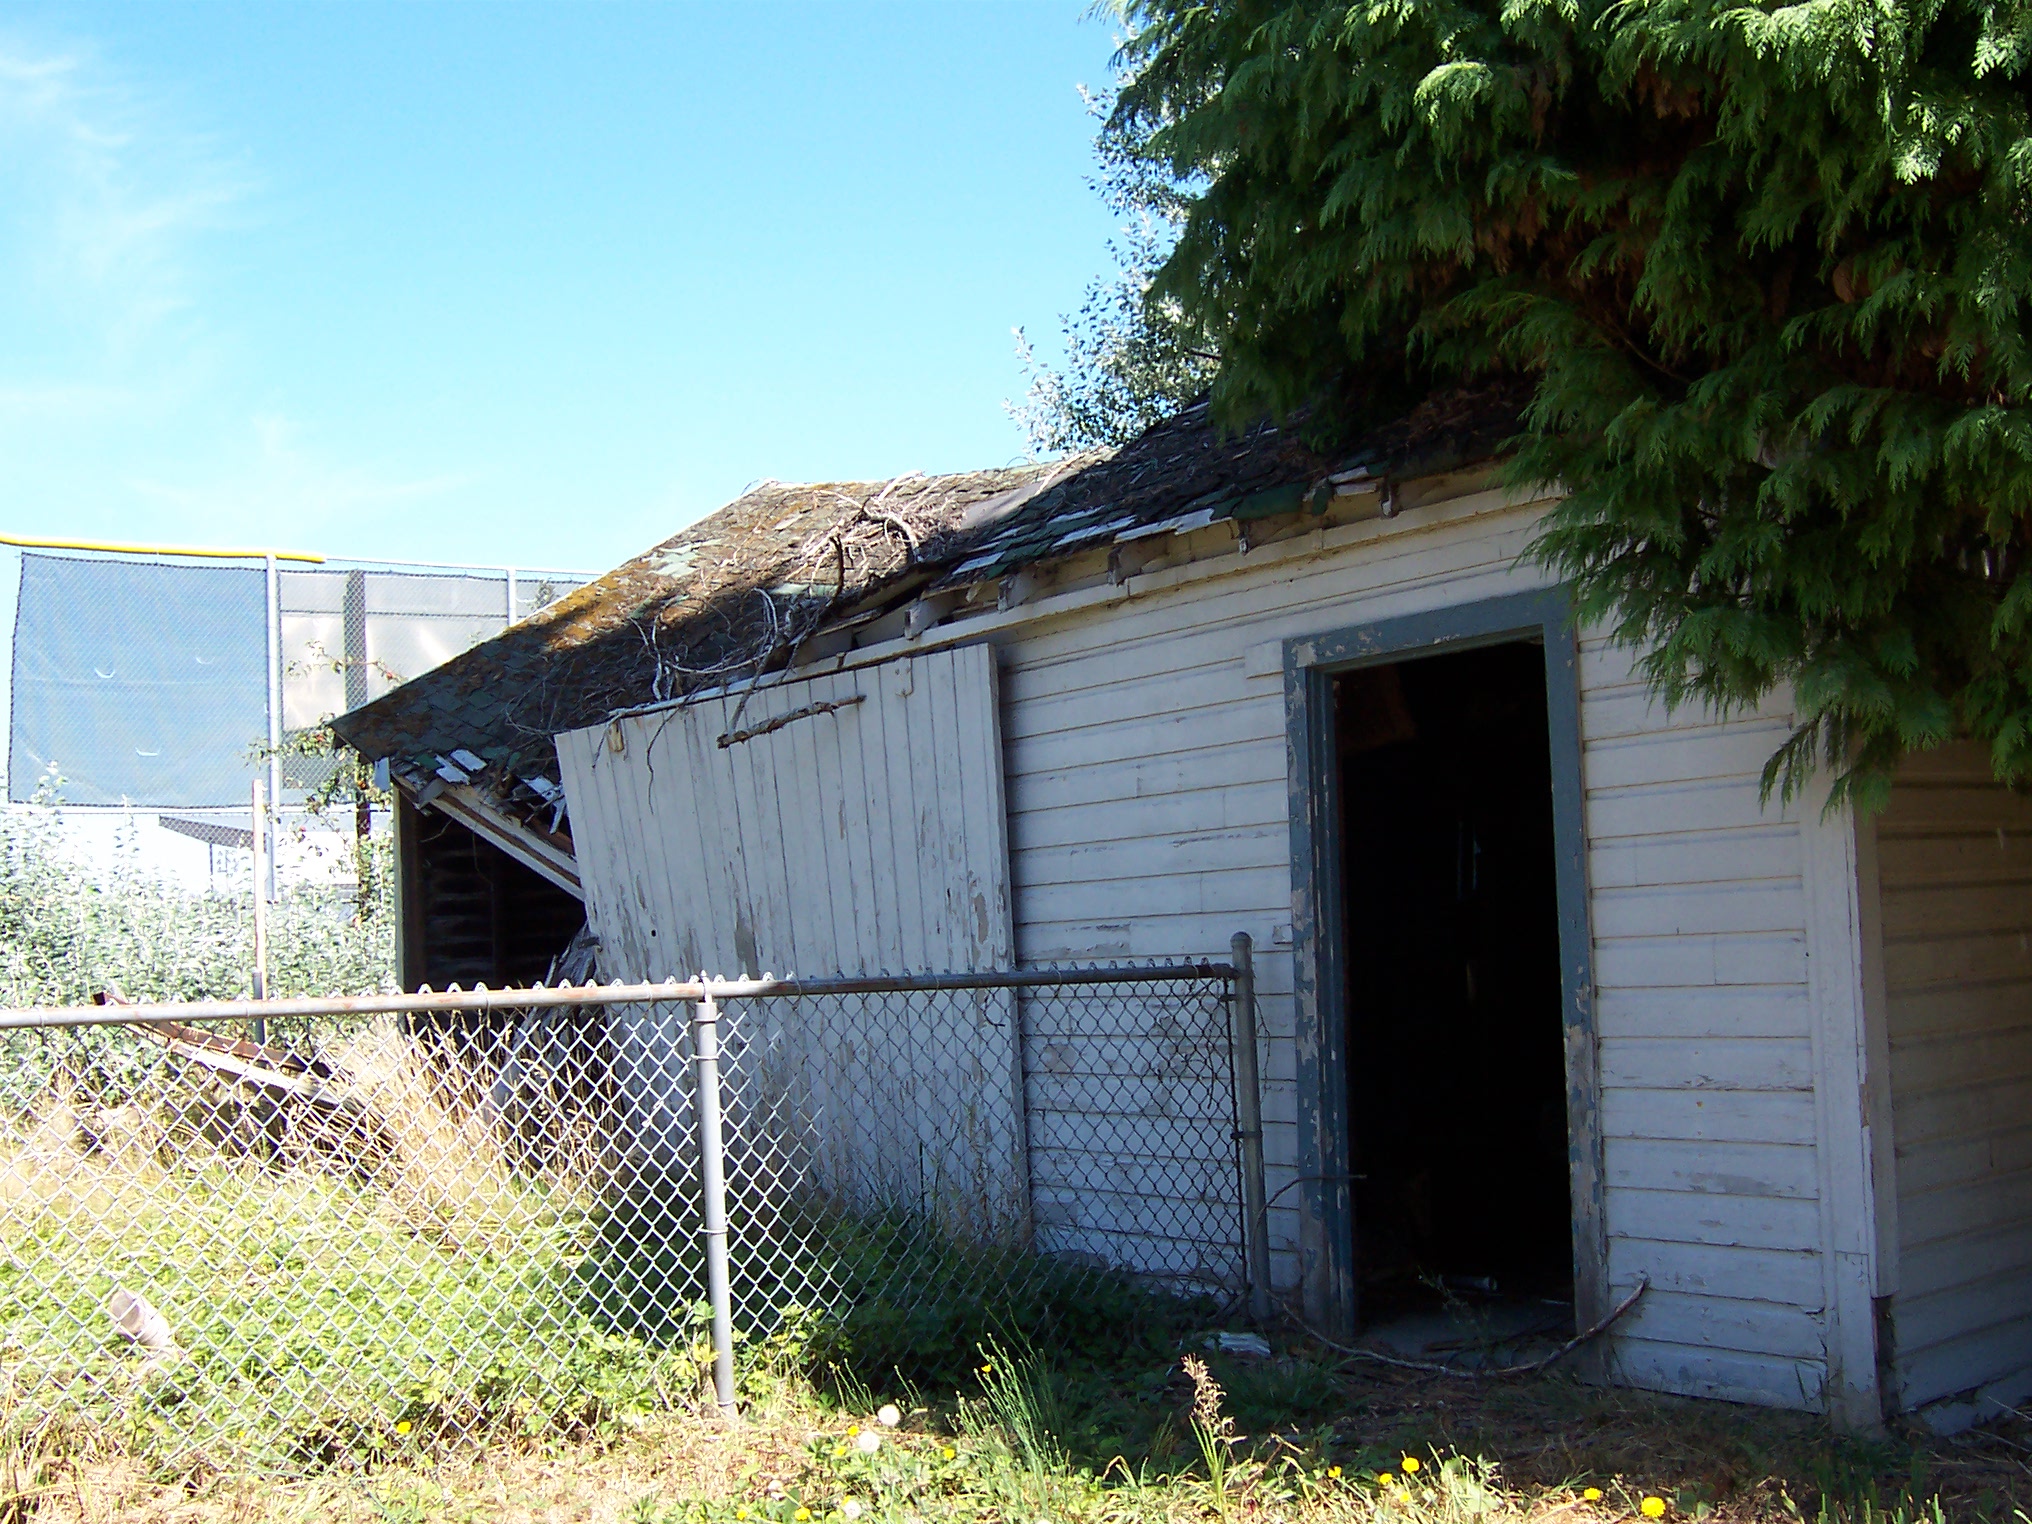
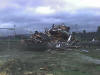
The old garage, it was destroyed by a tree. My old neighbors Rick & Dawn salvaged wood from this & the deck and built a great "pirate" tree house.
|
|
|
|
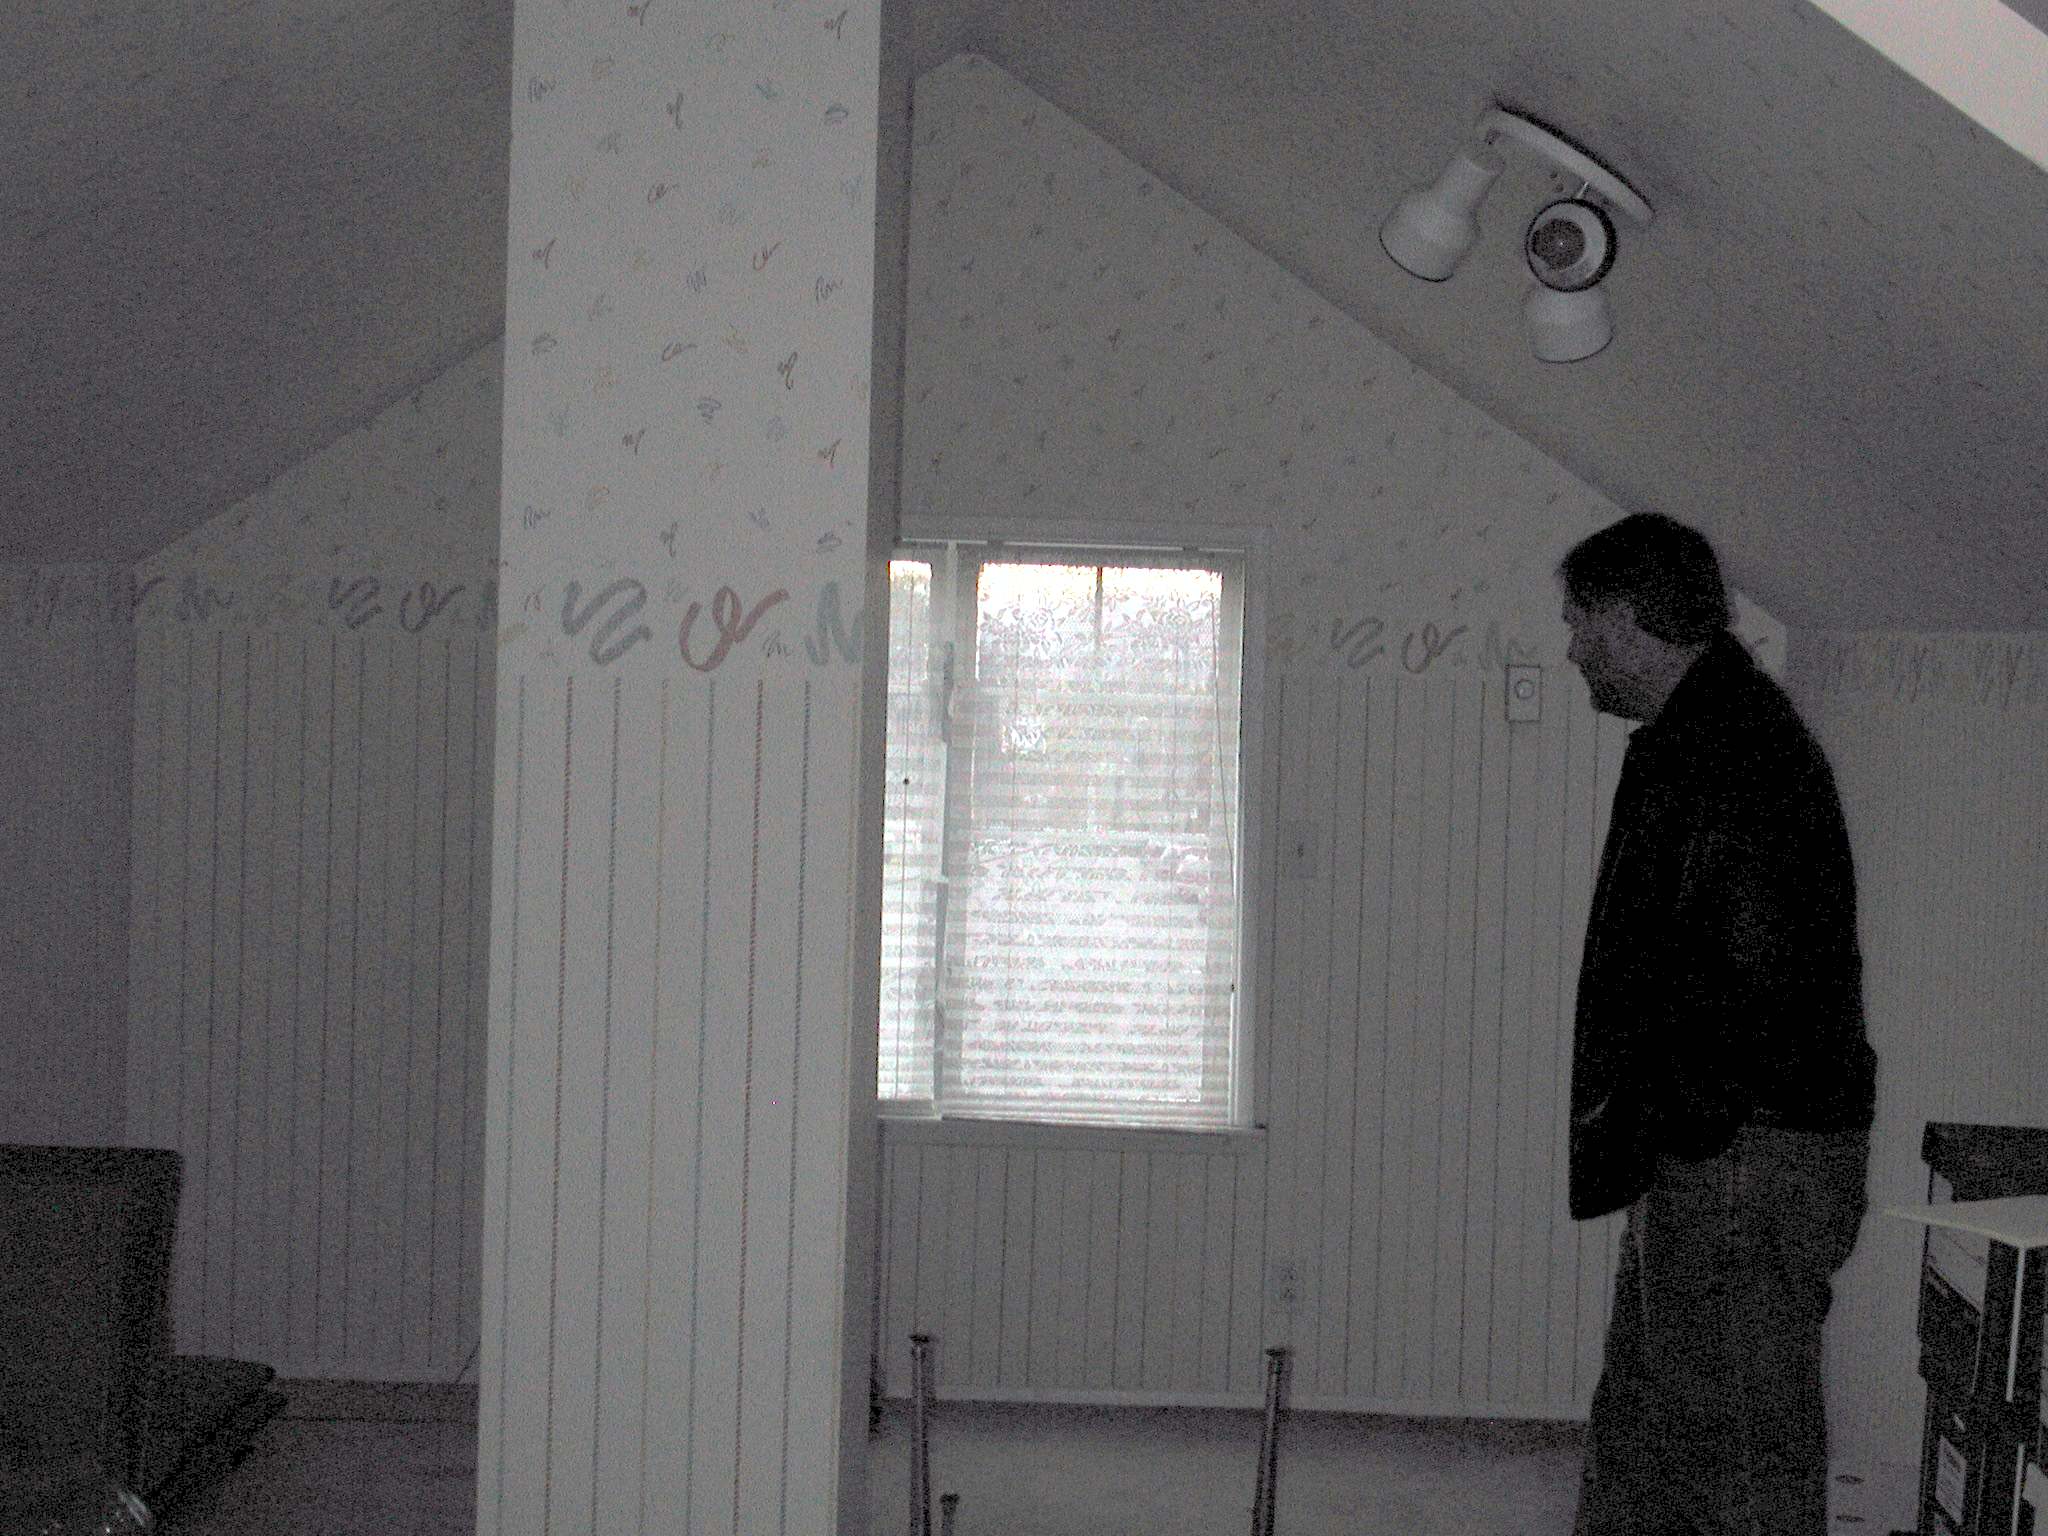
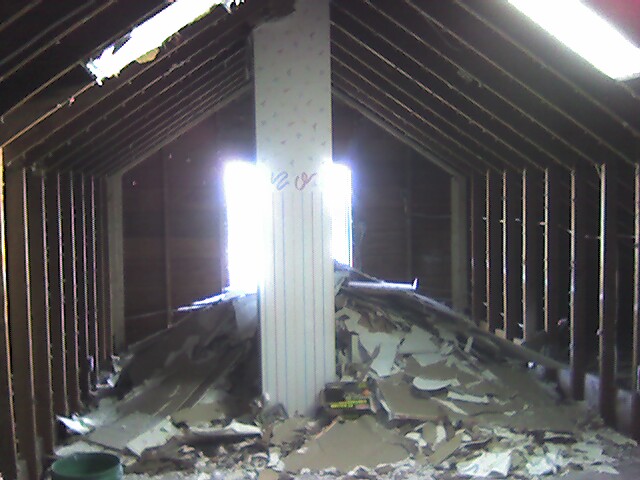
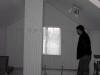
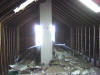
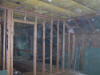
Here is what the upstairs looked like, after you climbed a pull-down attic ladder to get there.
|
|
|
Photos of the destination property:
|
|
|
|
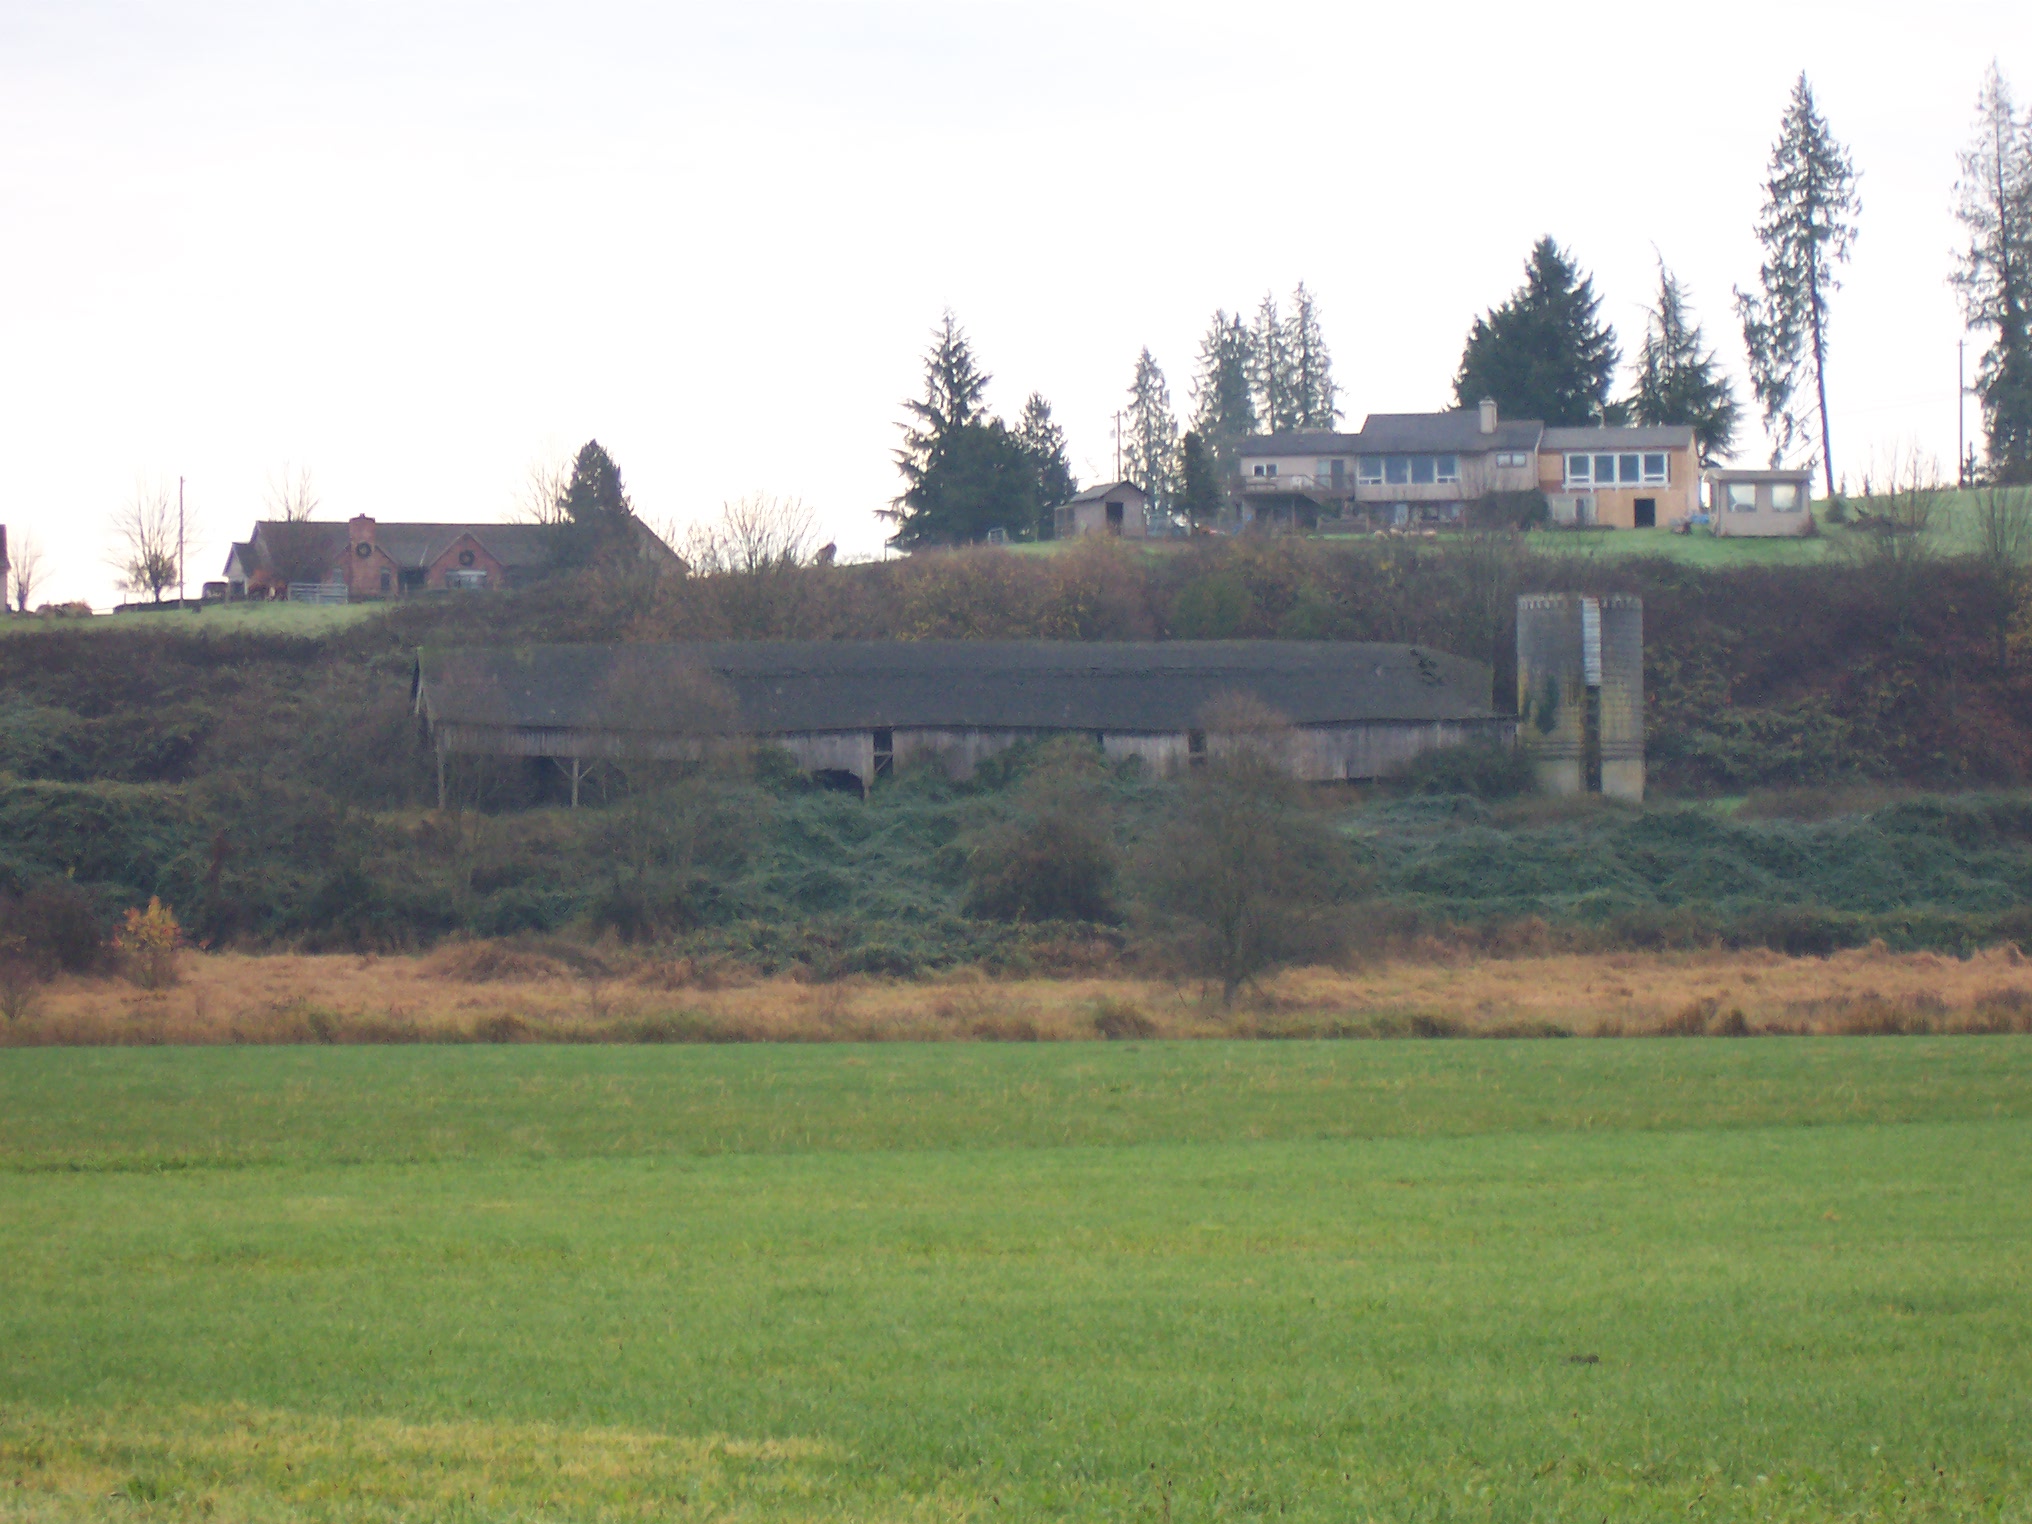
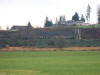
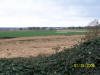
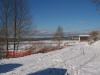
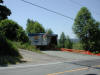
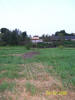
View from the valley, the house will go to the right of the barn.
|
|
|
|
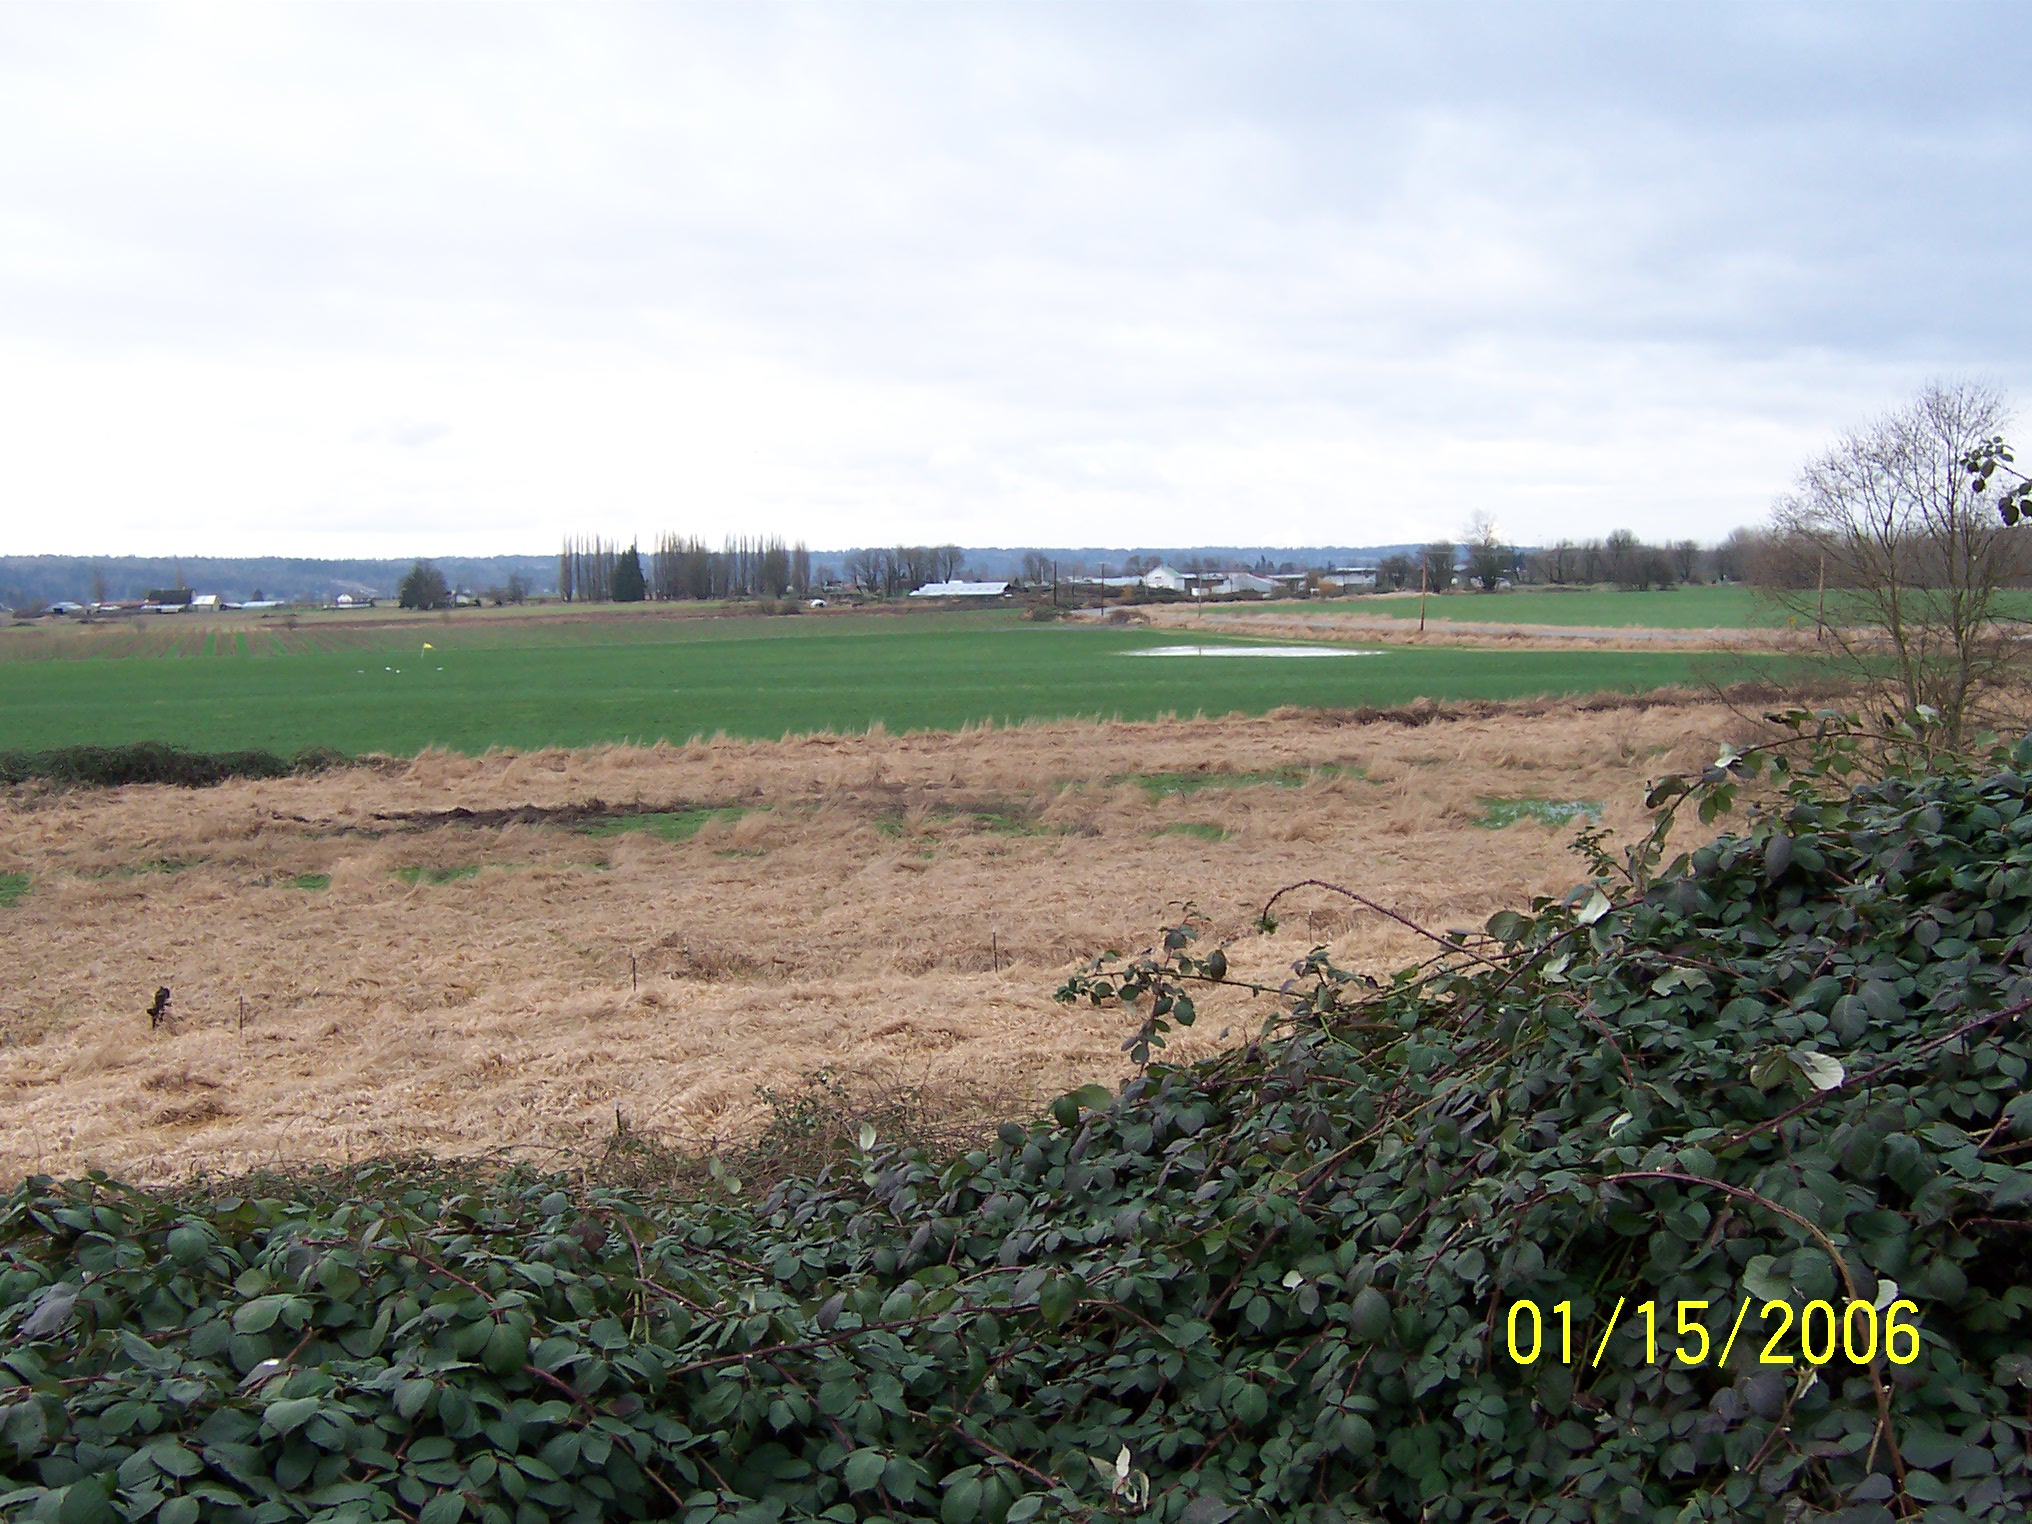
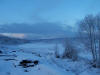
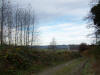
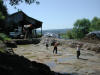
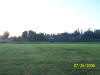
View of the valley
|
|
|
|
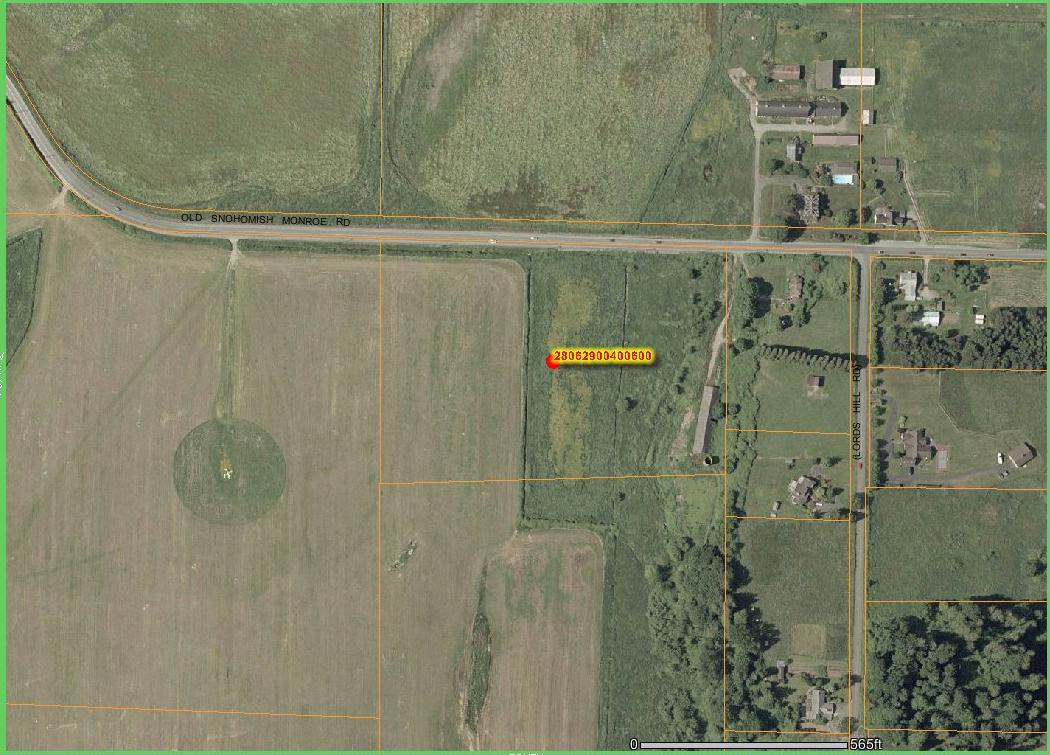
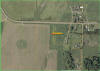
Aerial photo from tax records.
|
|
|
|
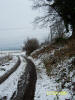
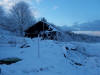
Looking north towards the Cedargreens' house.
|
|
|
|
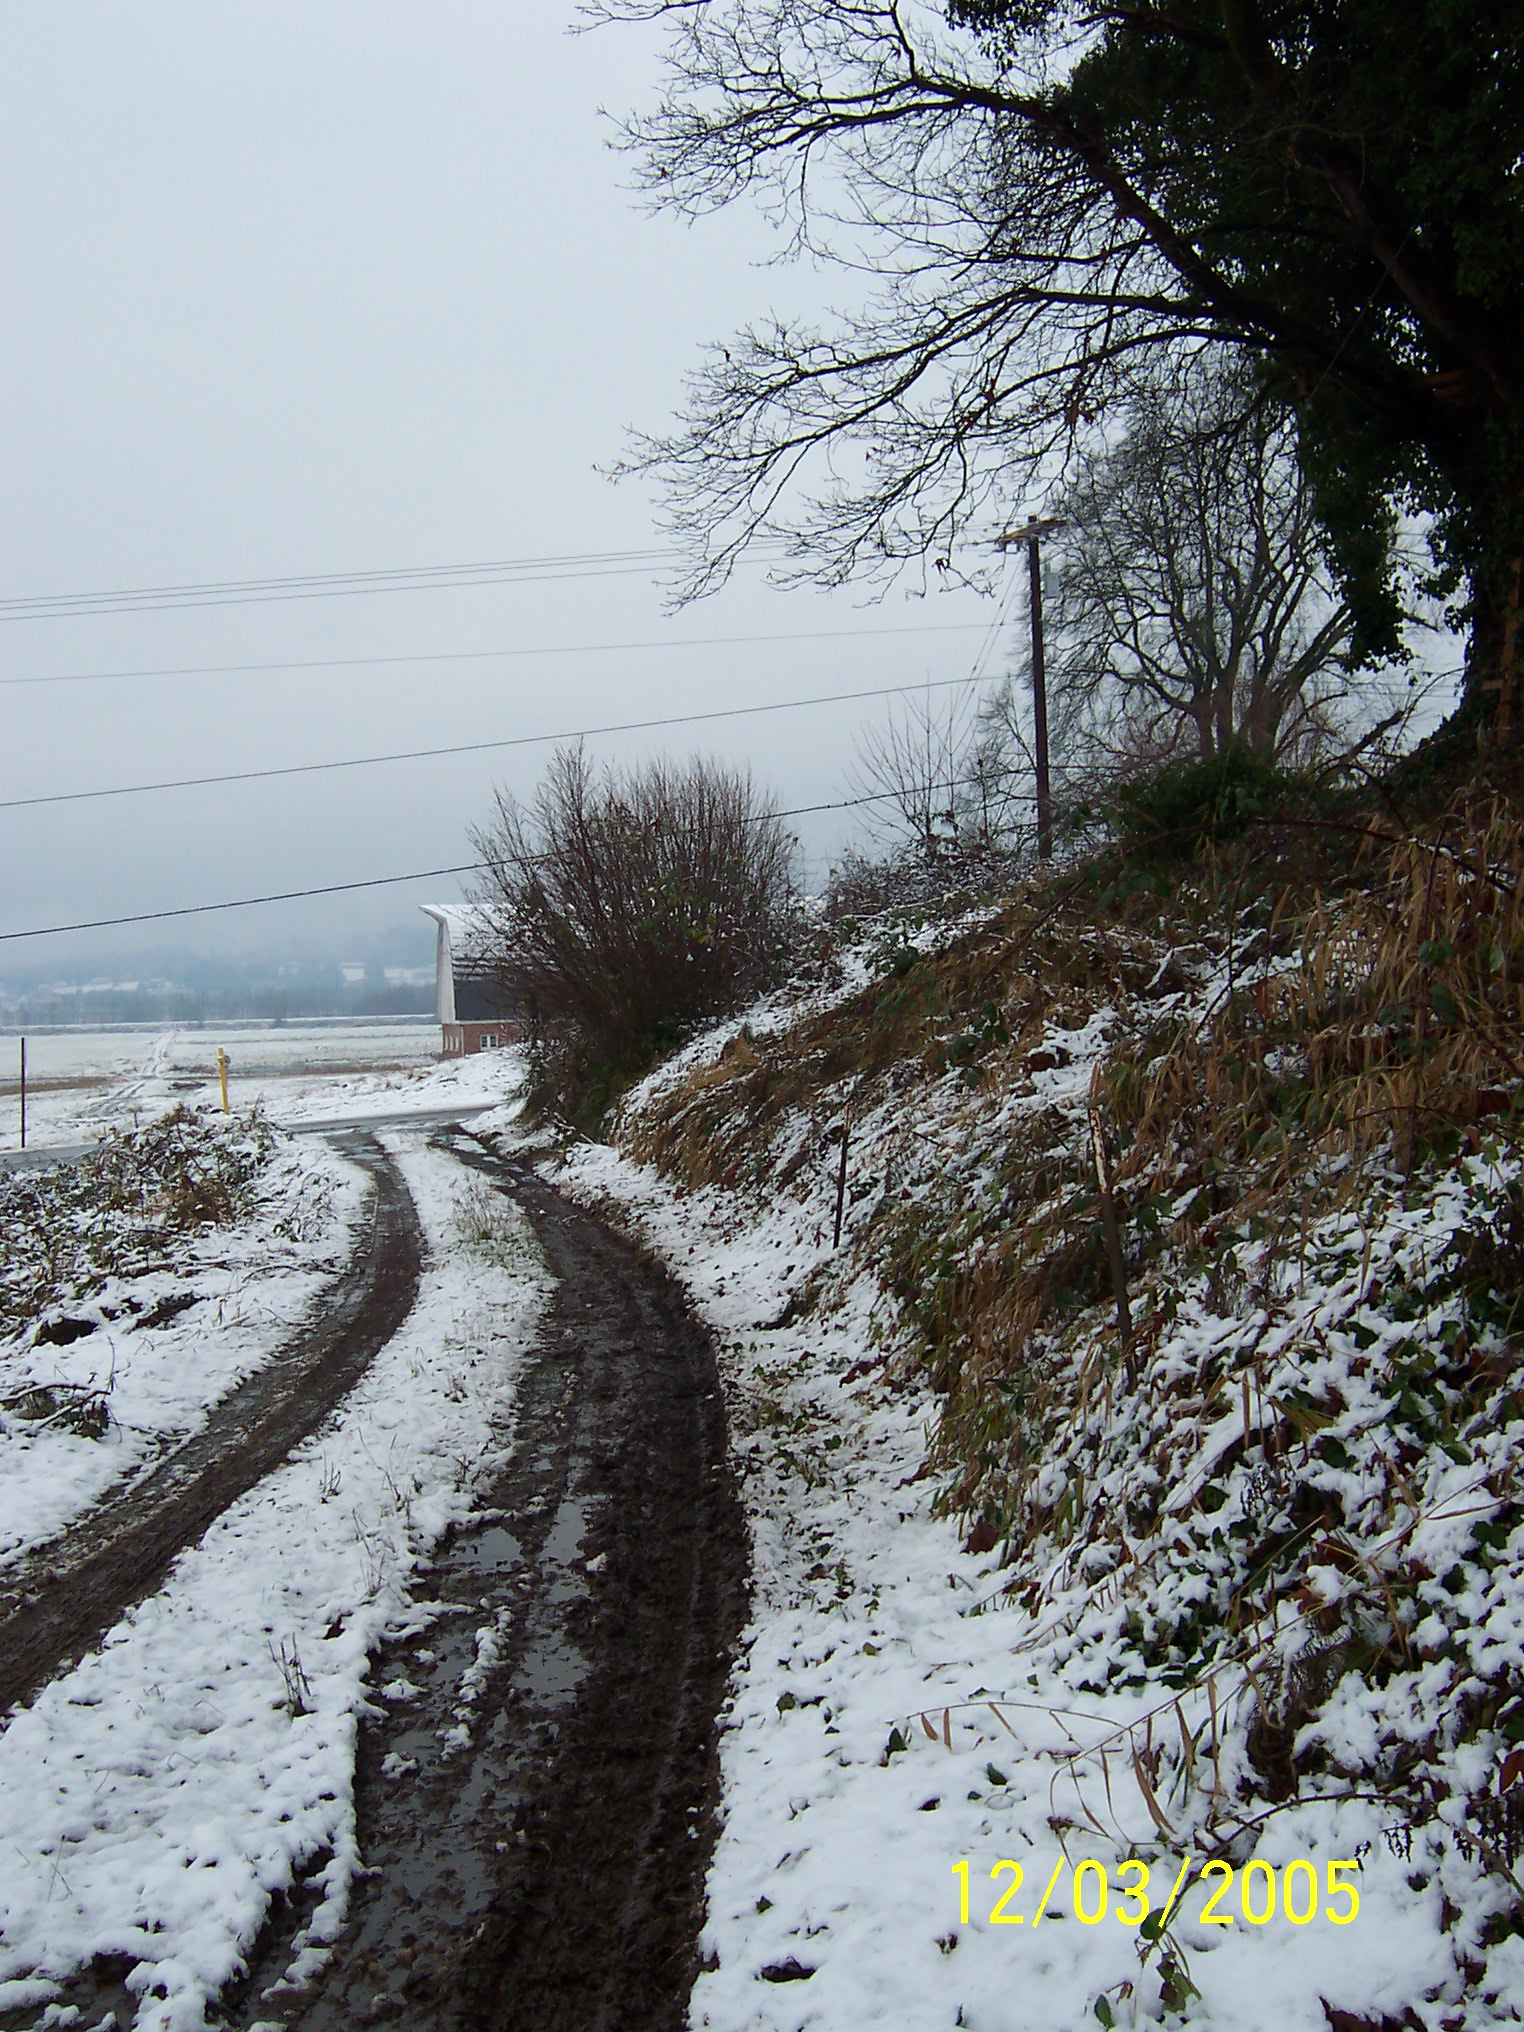
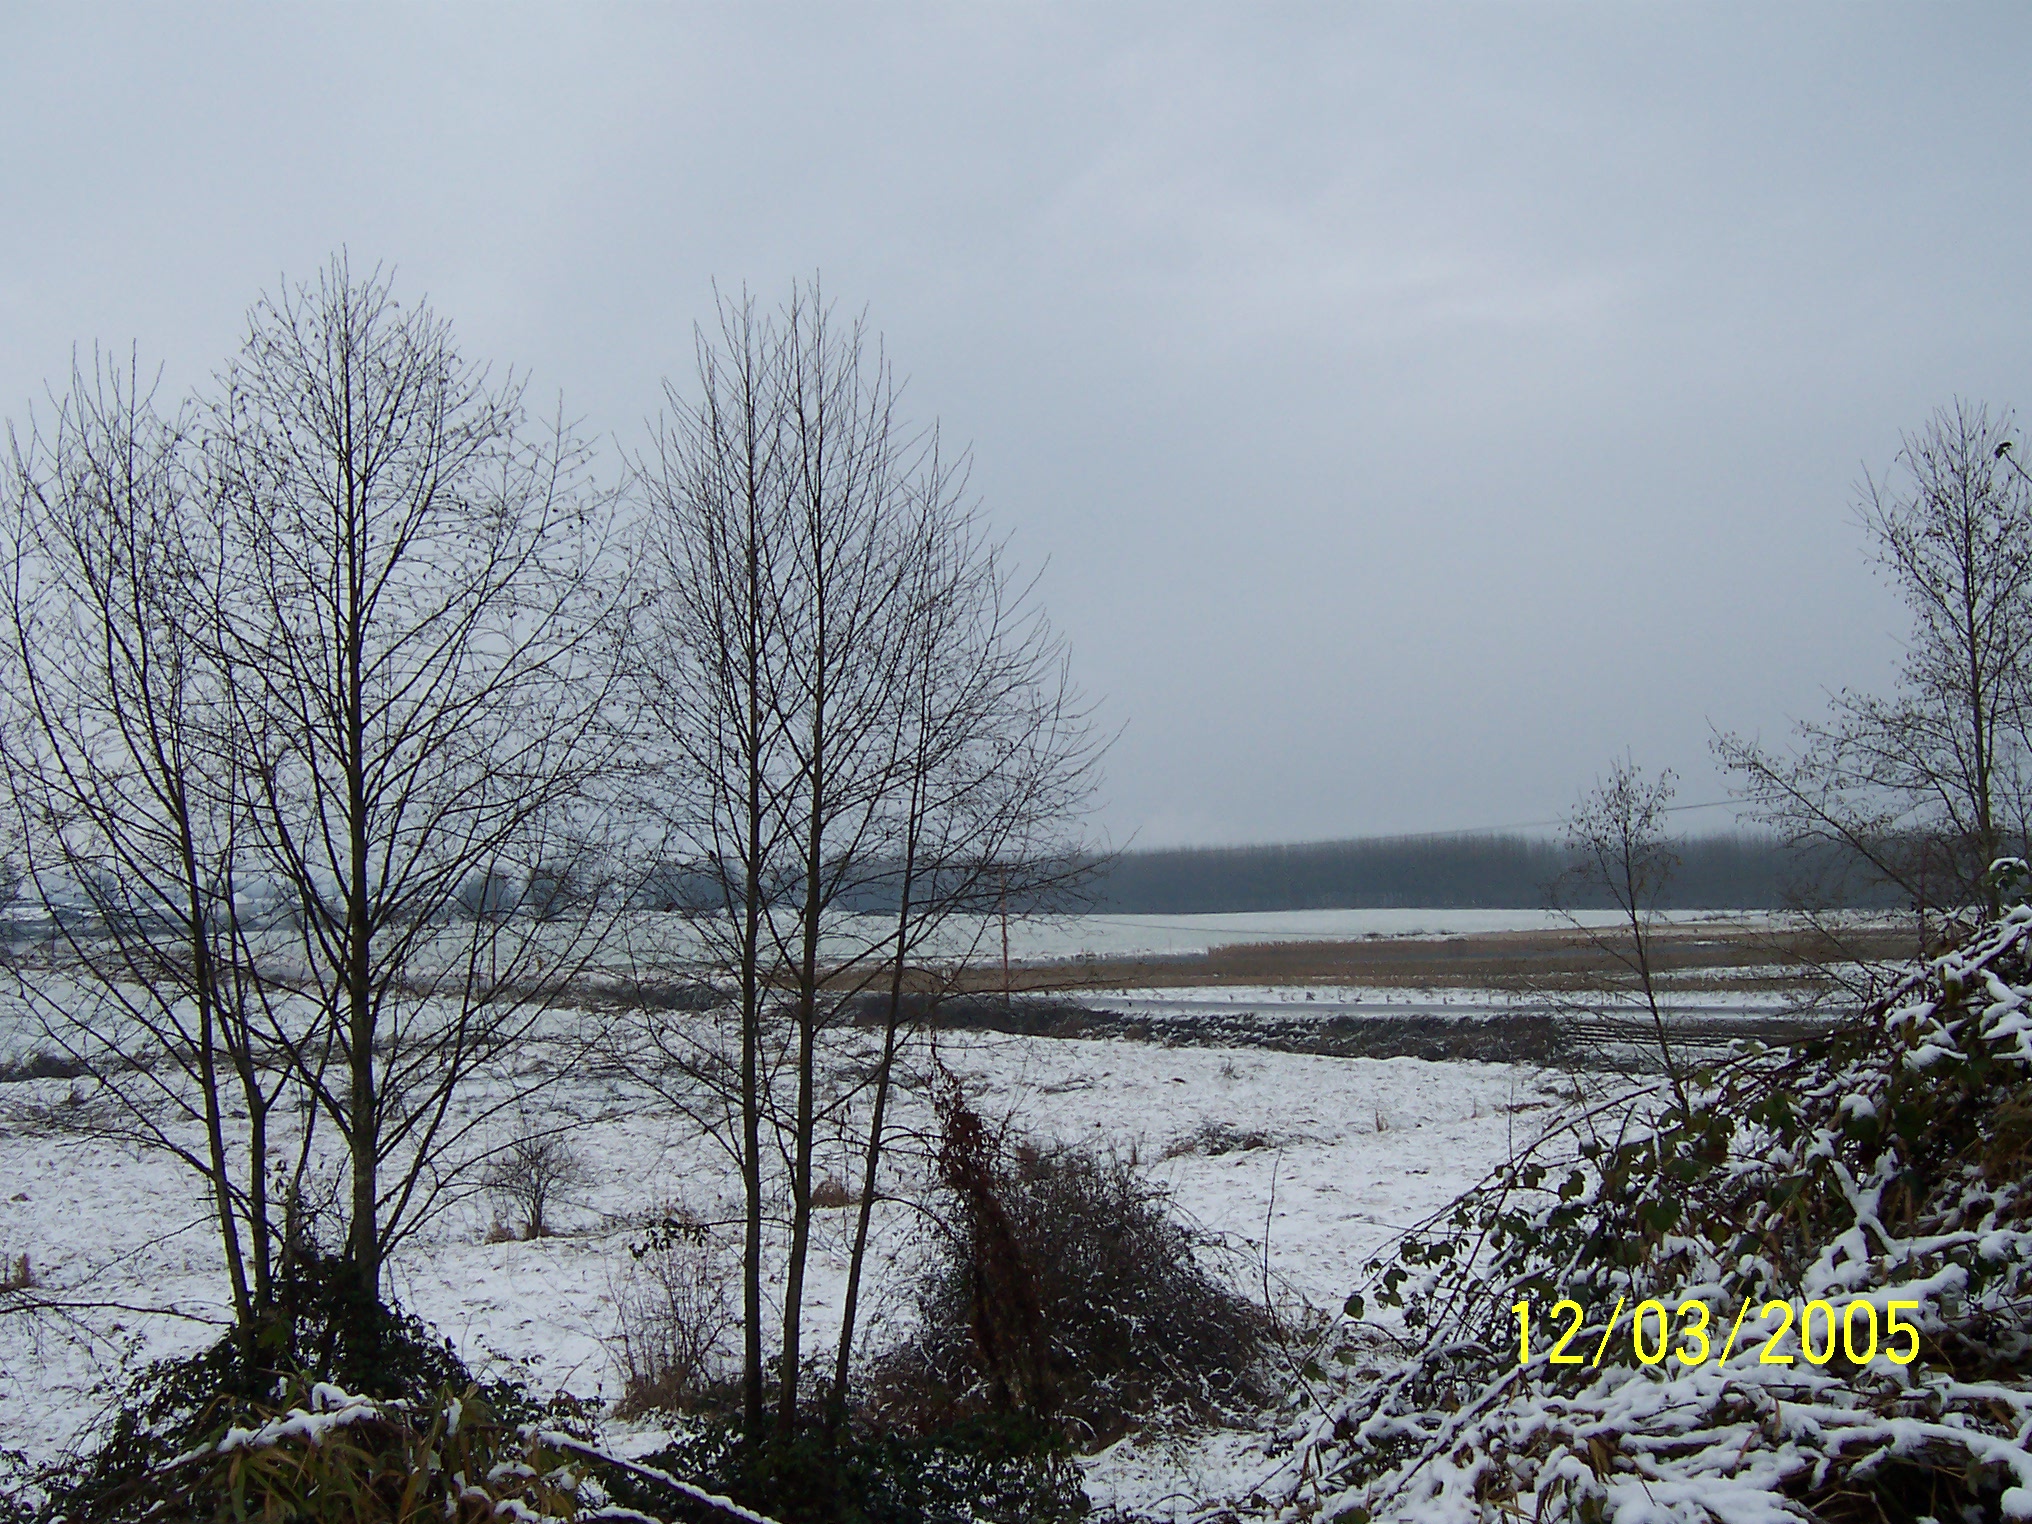
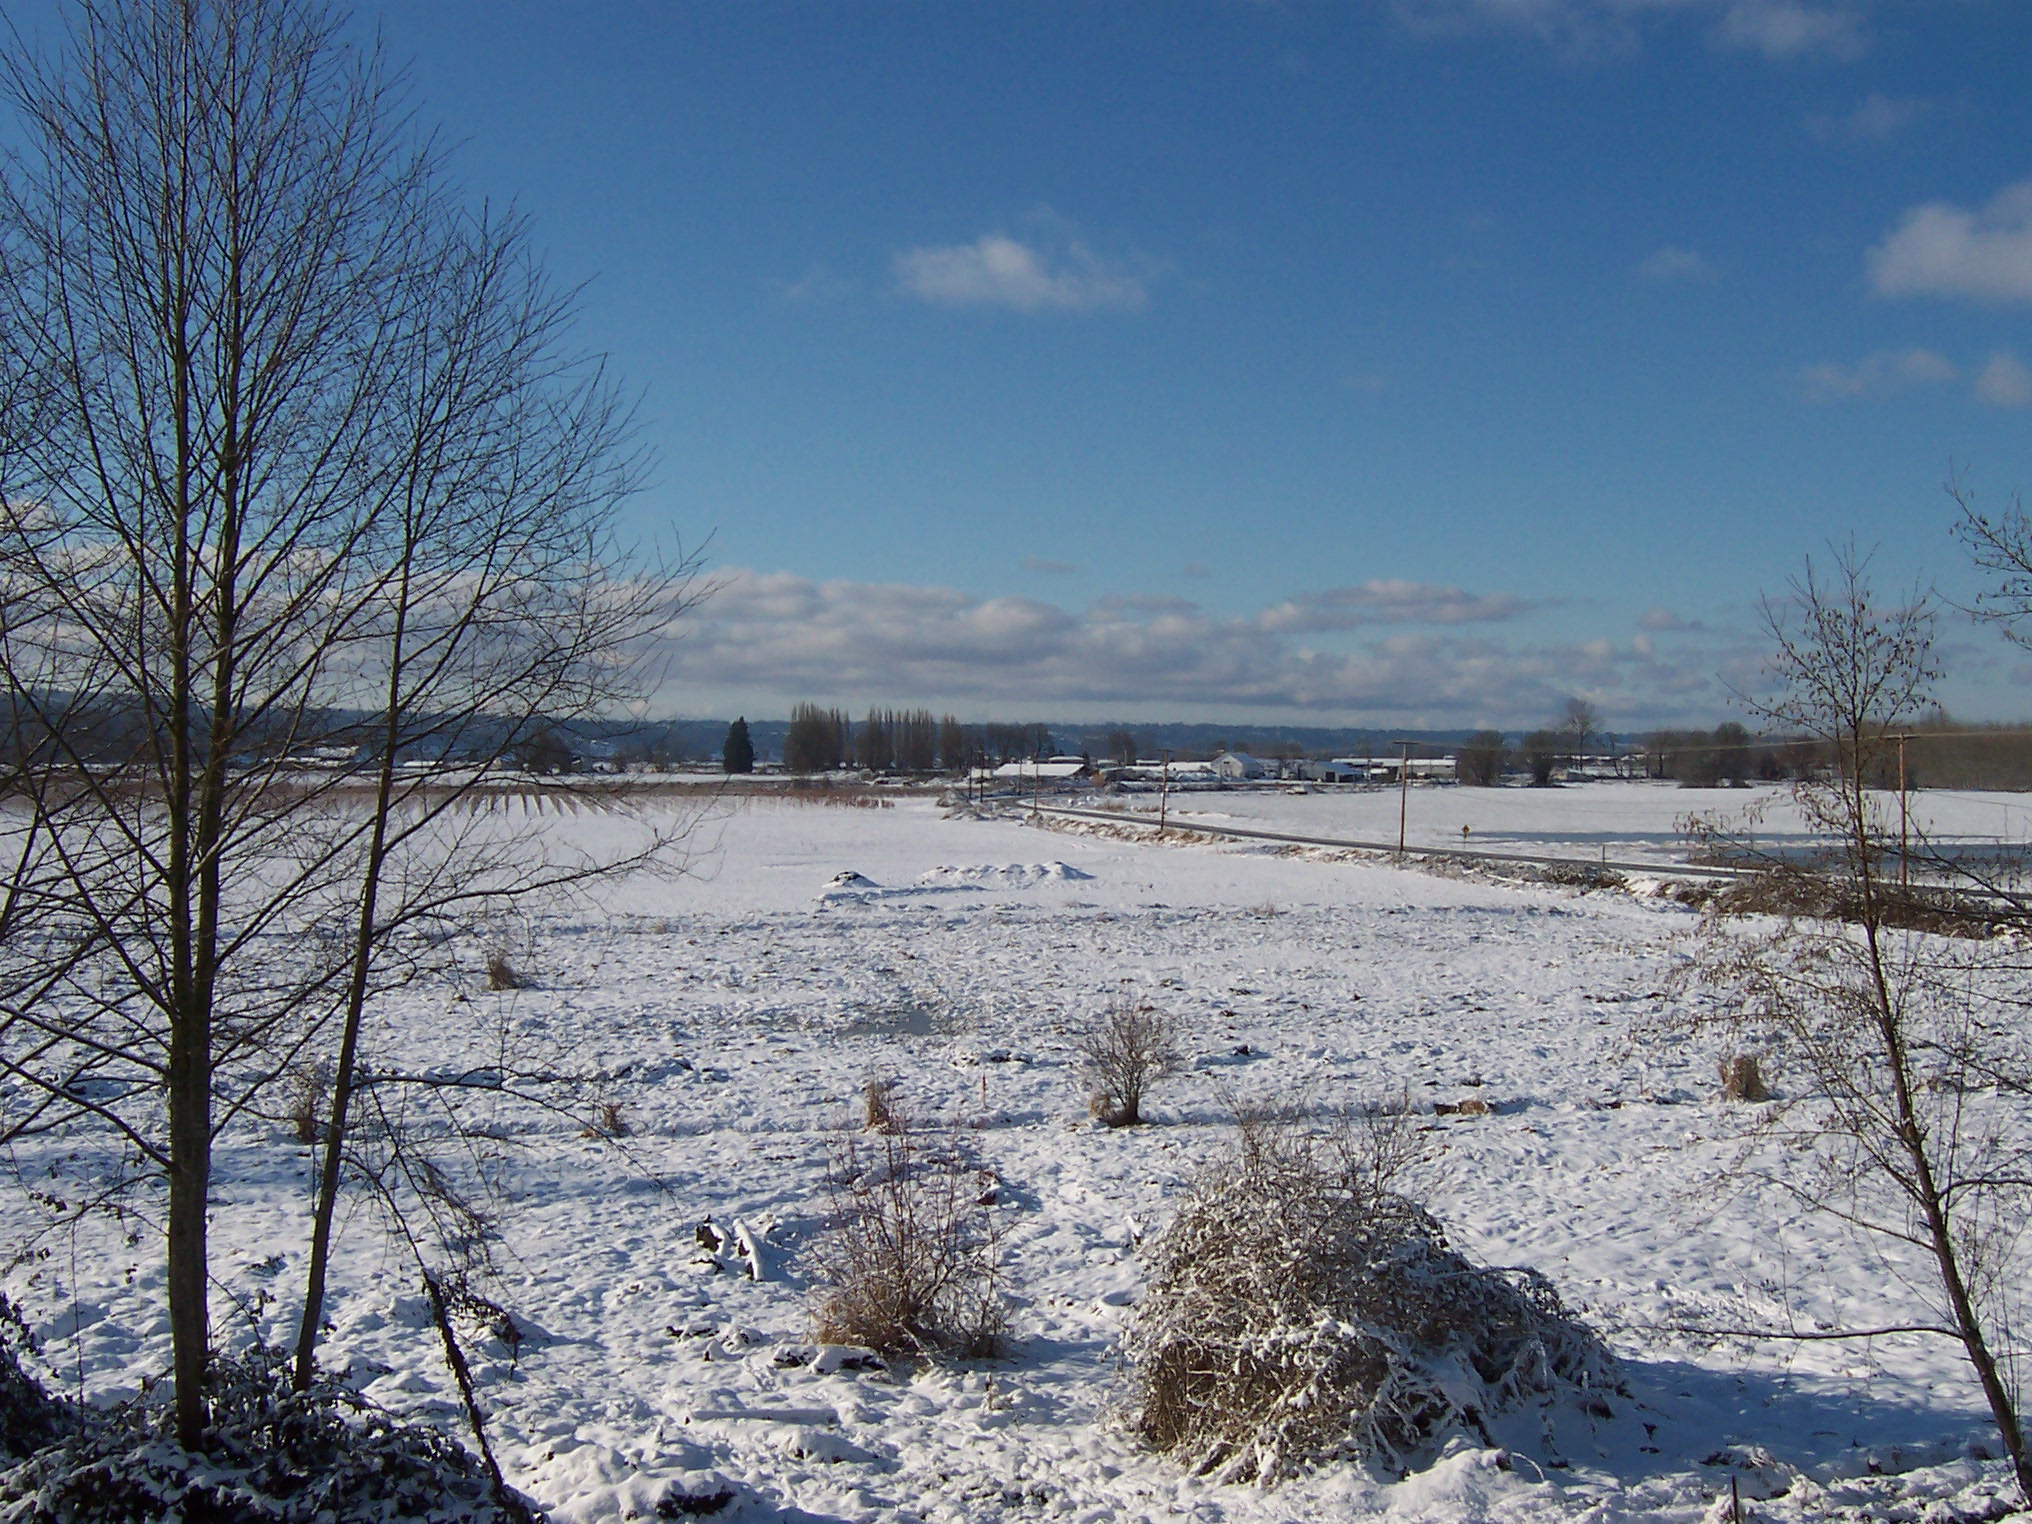
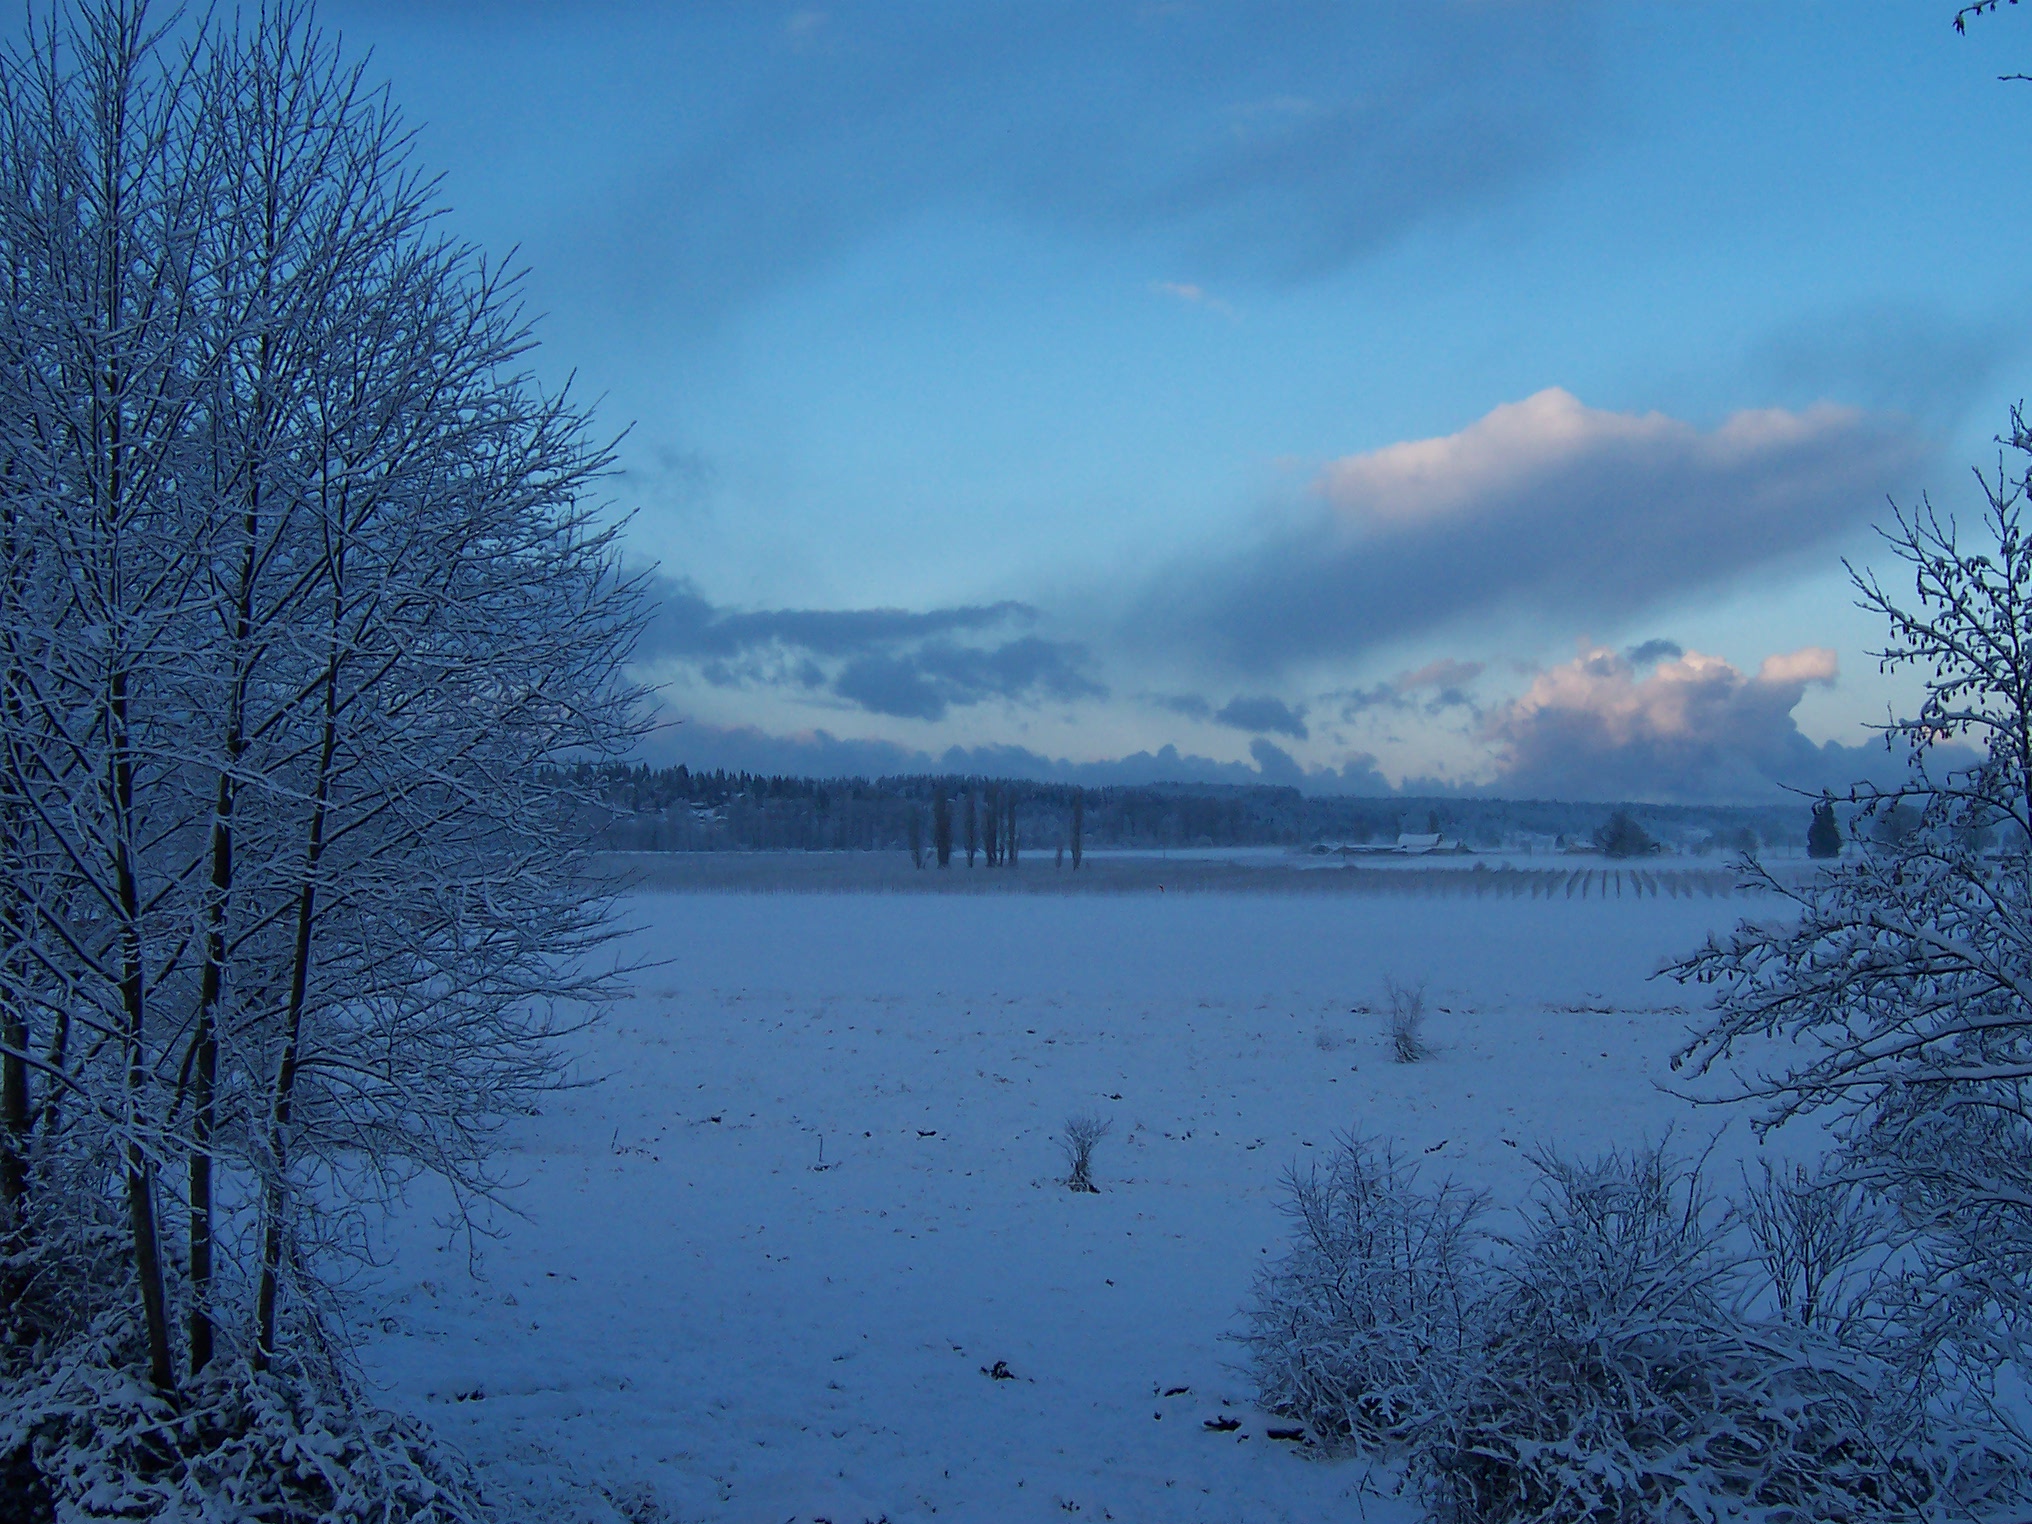
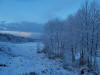
Snow day view.
|
|

|
|
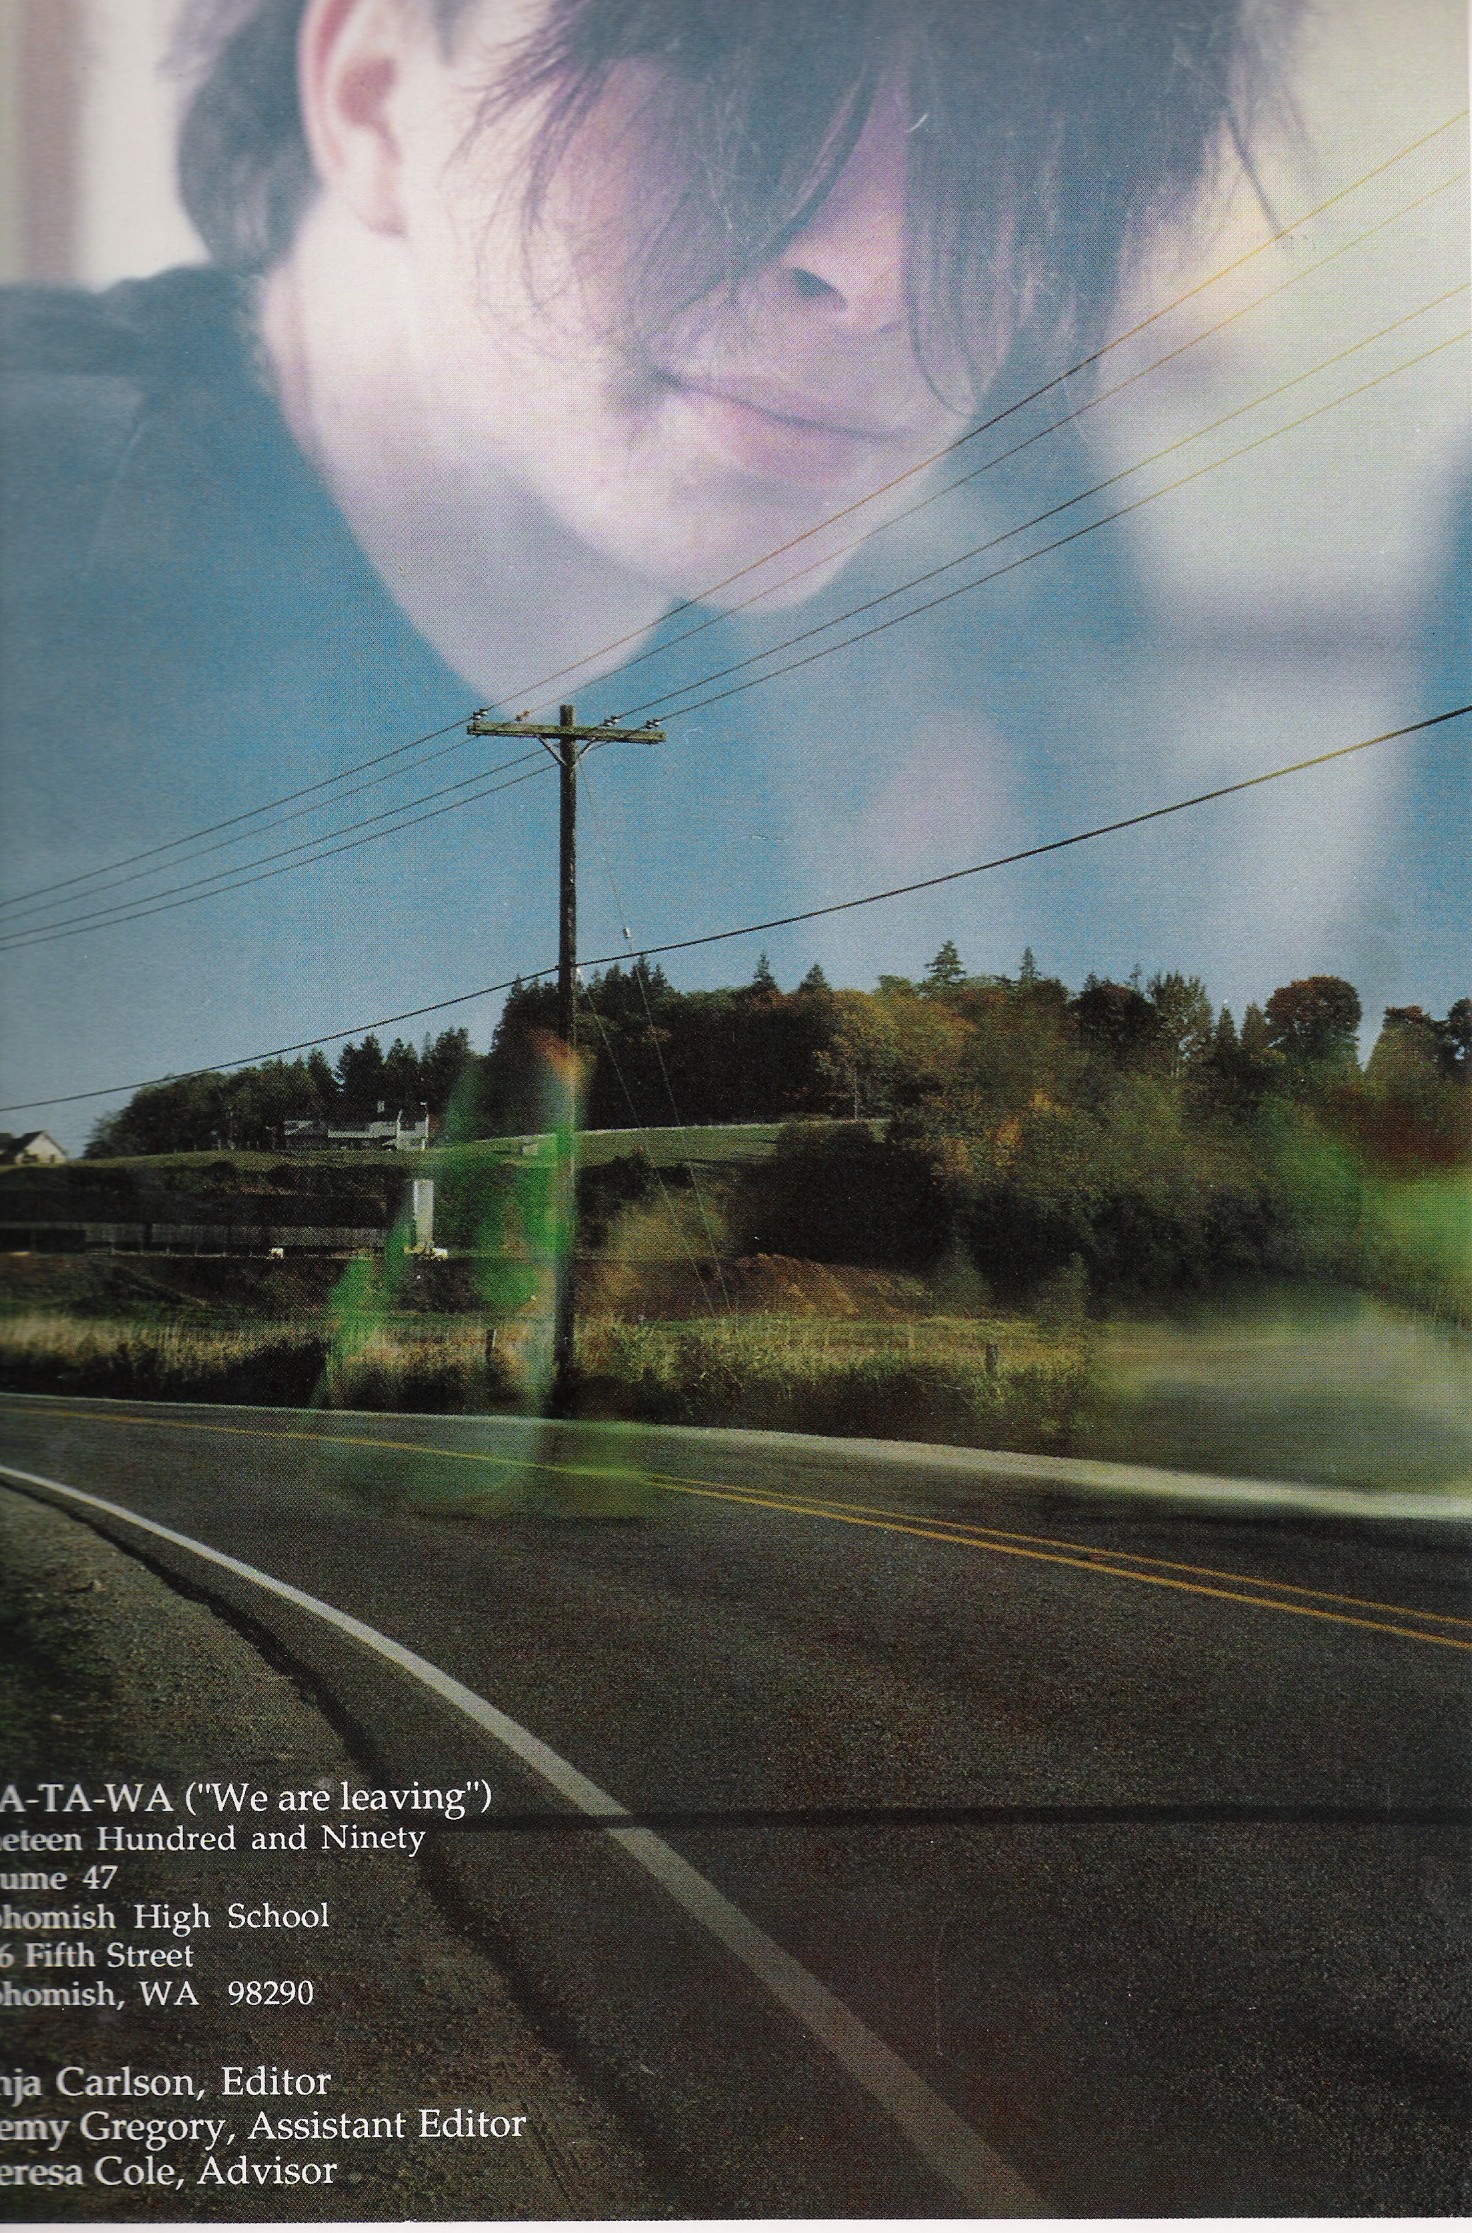
I took this photo in high school, it's the title page in the yearbook. I had no idea I would buy this lot one day!
|
|
|
|
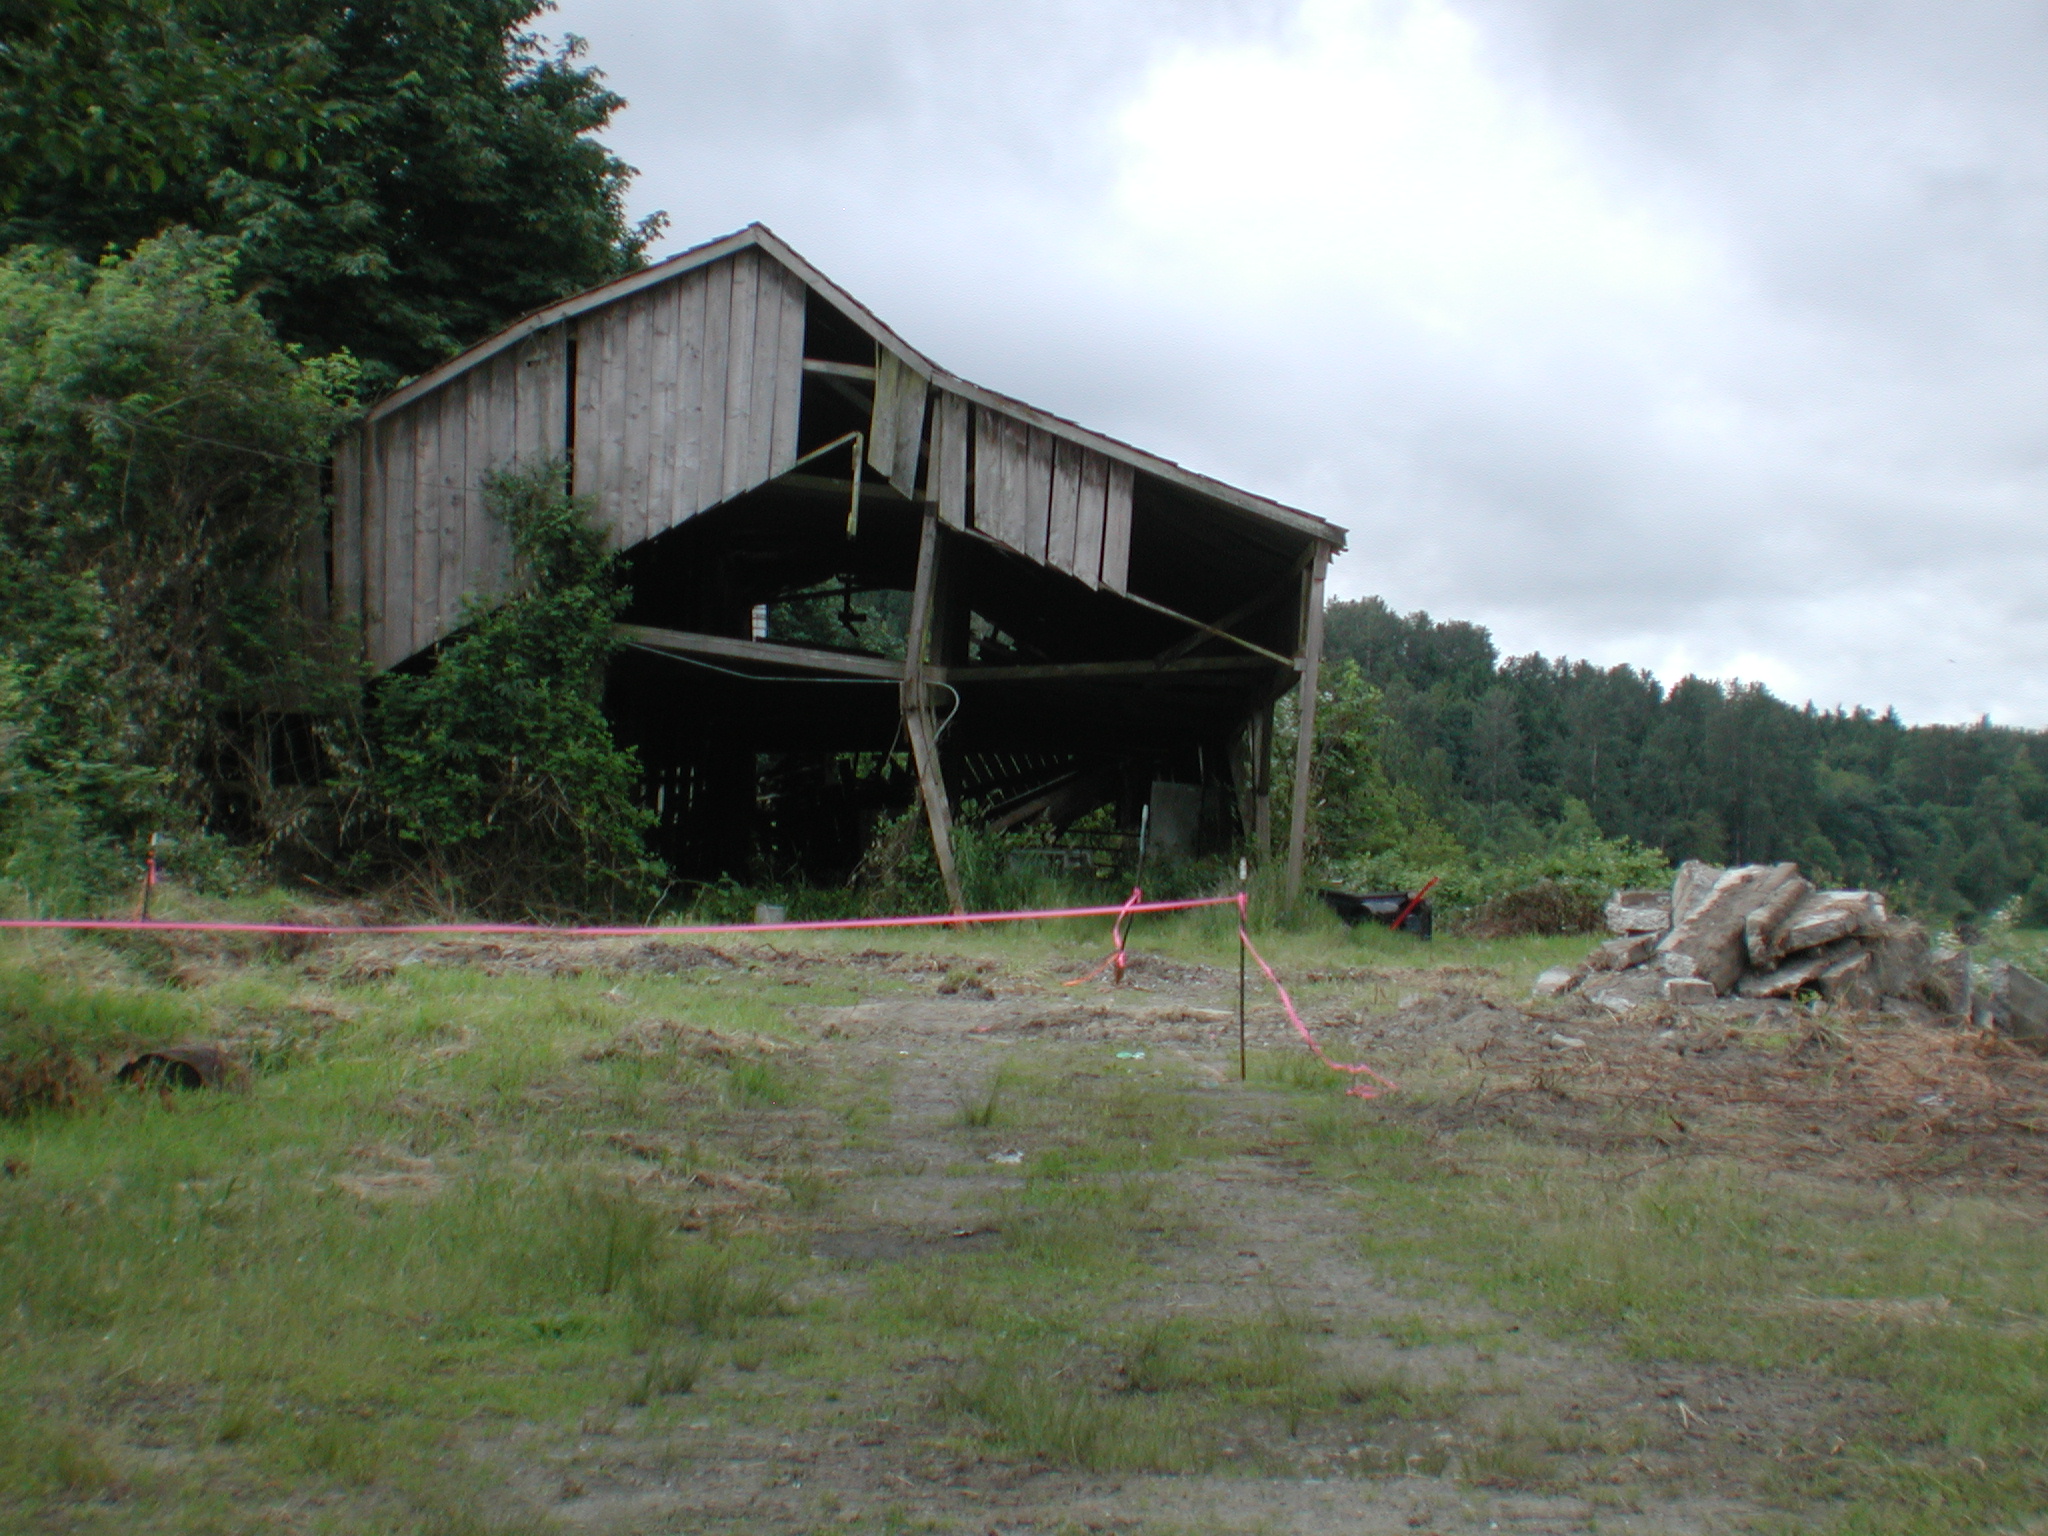
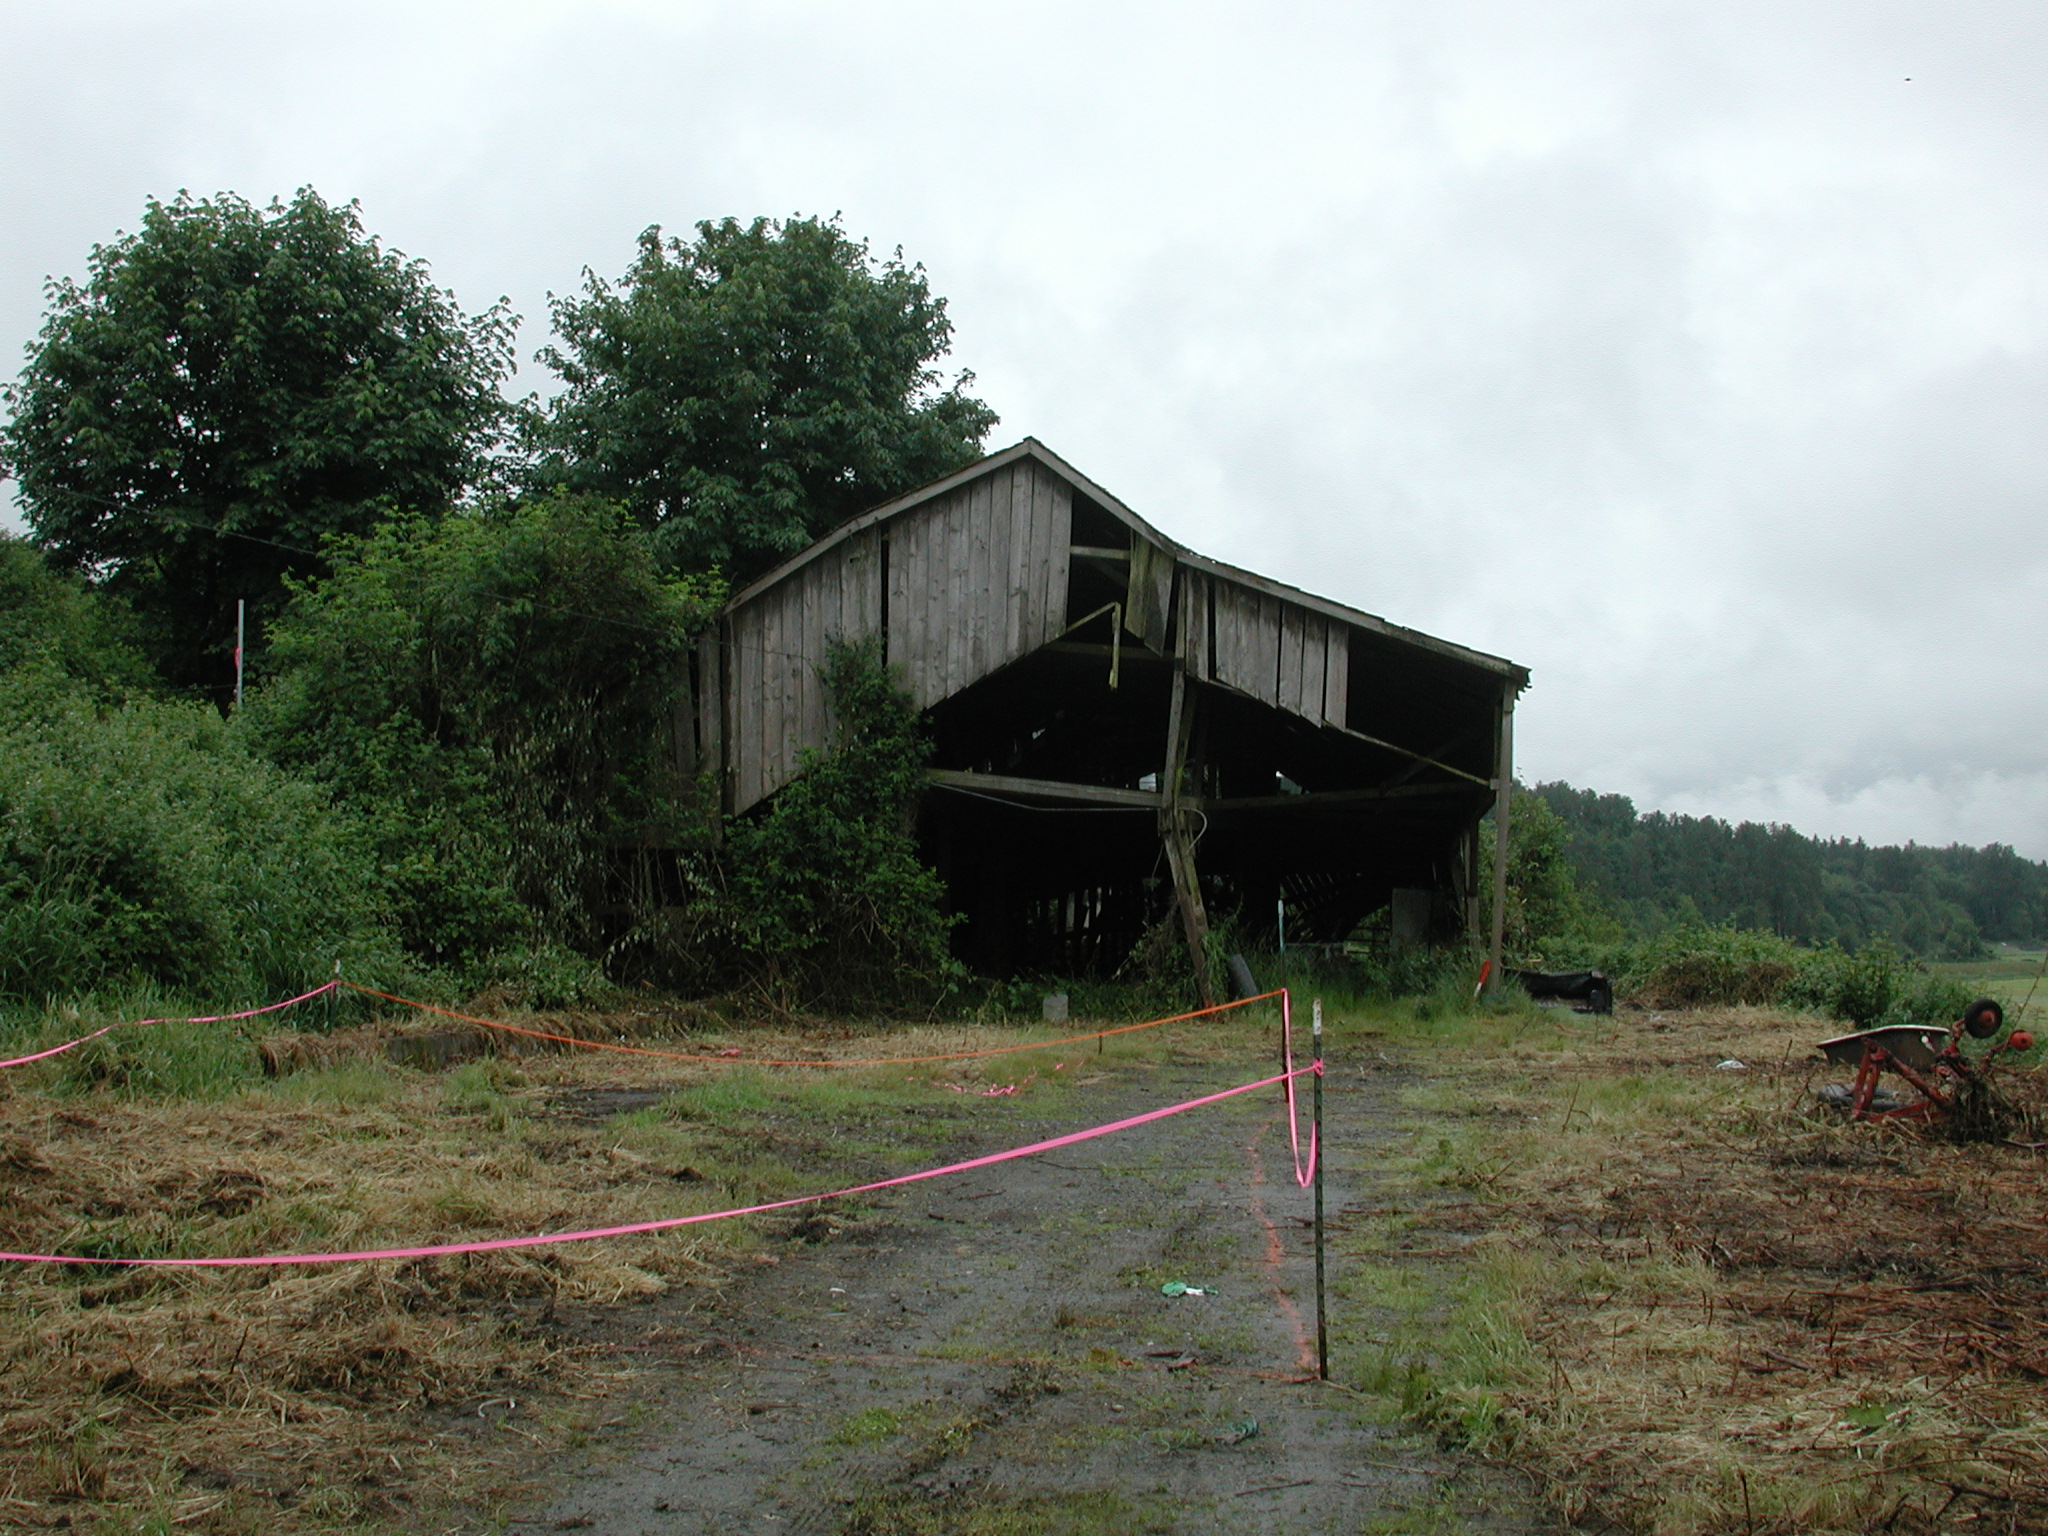
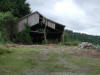
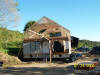
Front of barn.
|
|
|
|
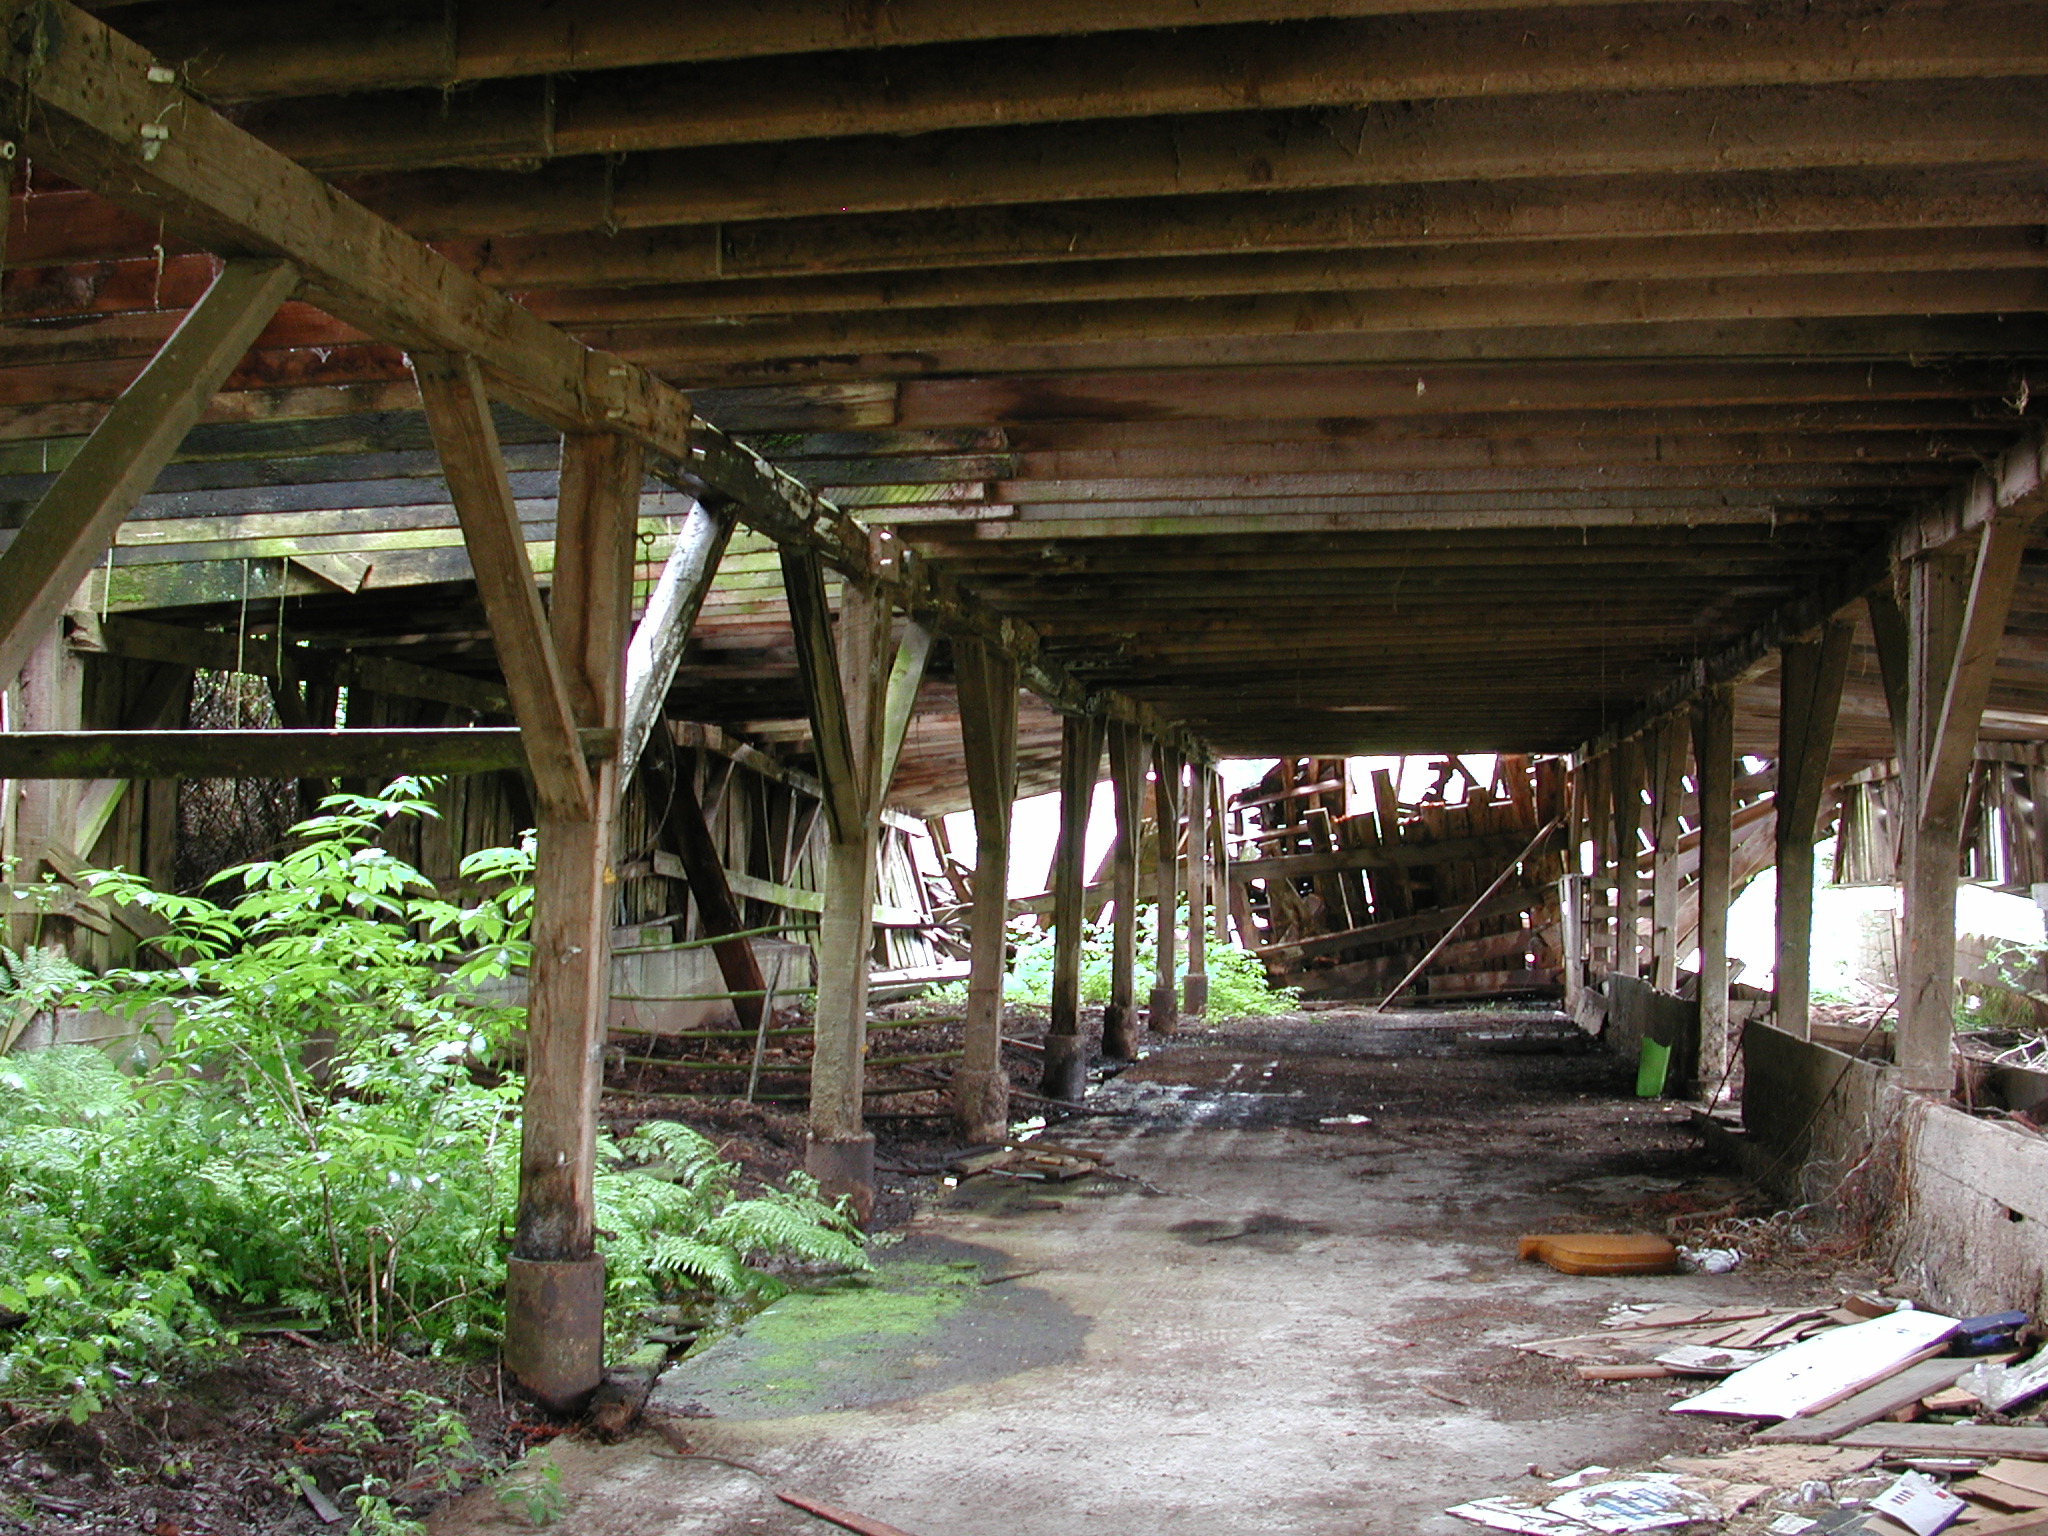
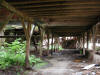
Interior of the barn.
|
|
|
|
|
|
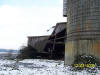
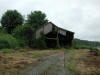
Silo end: you can see the barn was already starting to de-stabilize at the back end.
|
|
|
|
A section of the back end fell spring 2006.
|
|
|
|
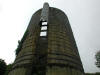
The silo.
|
|
|
|
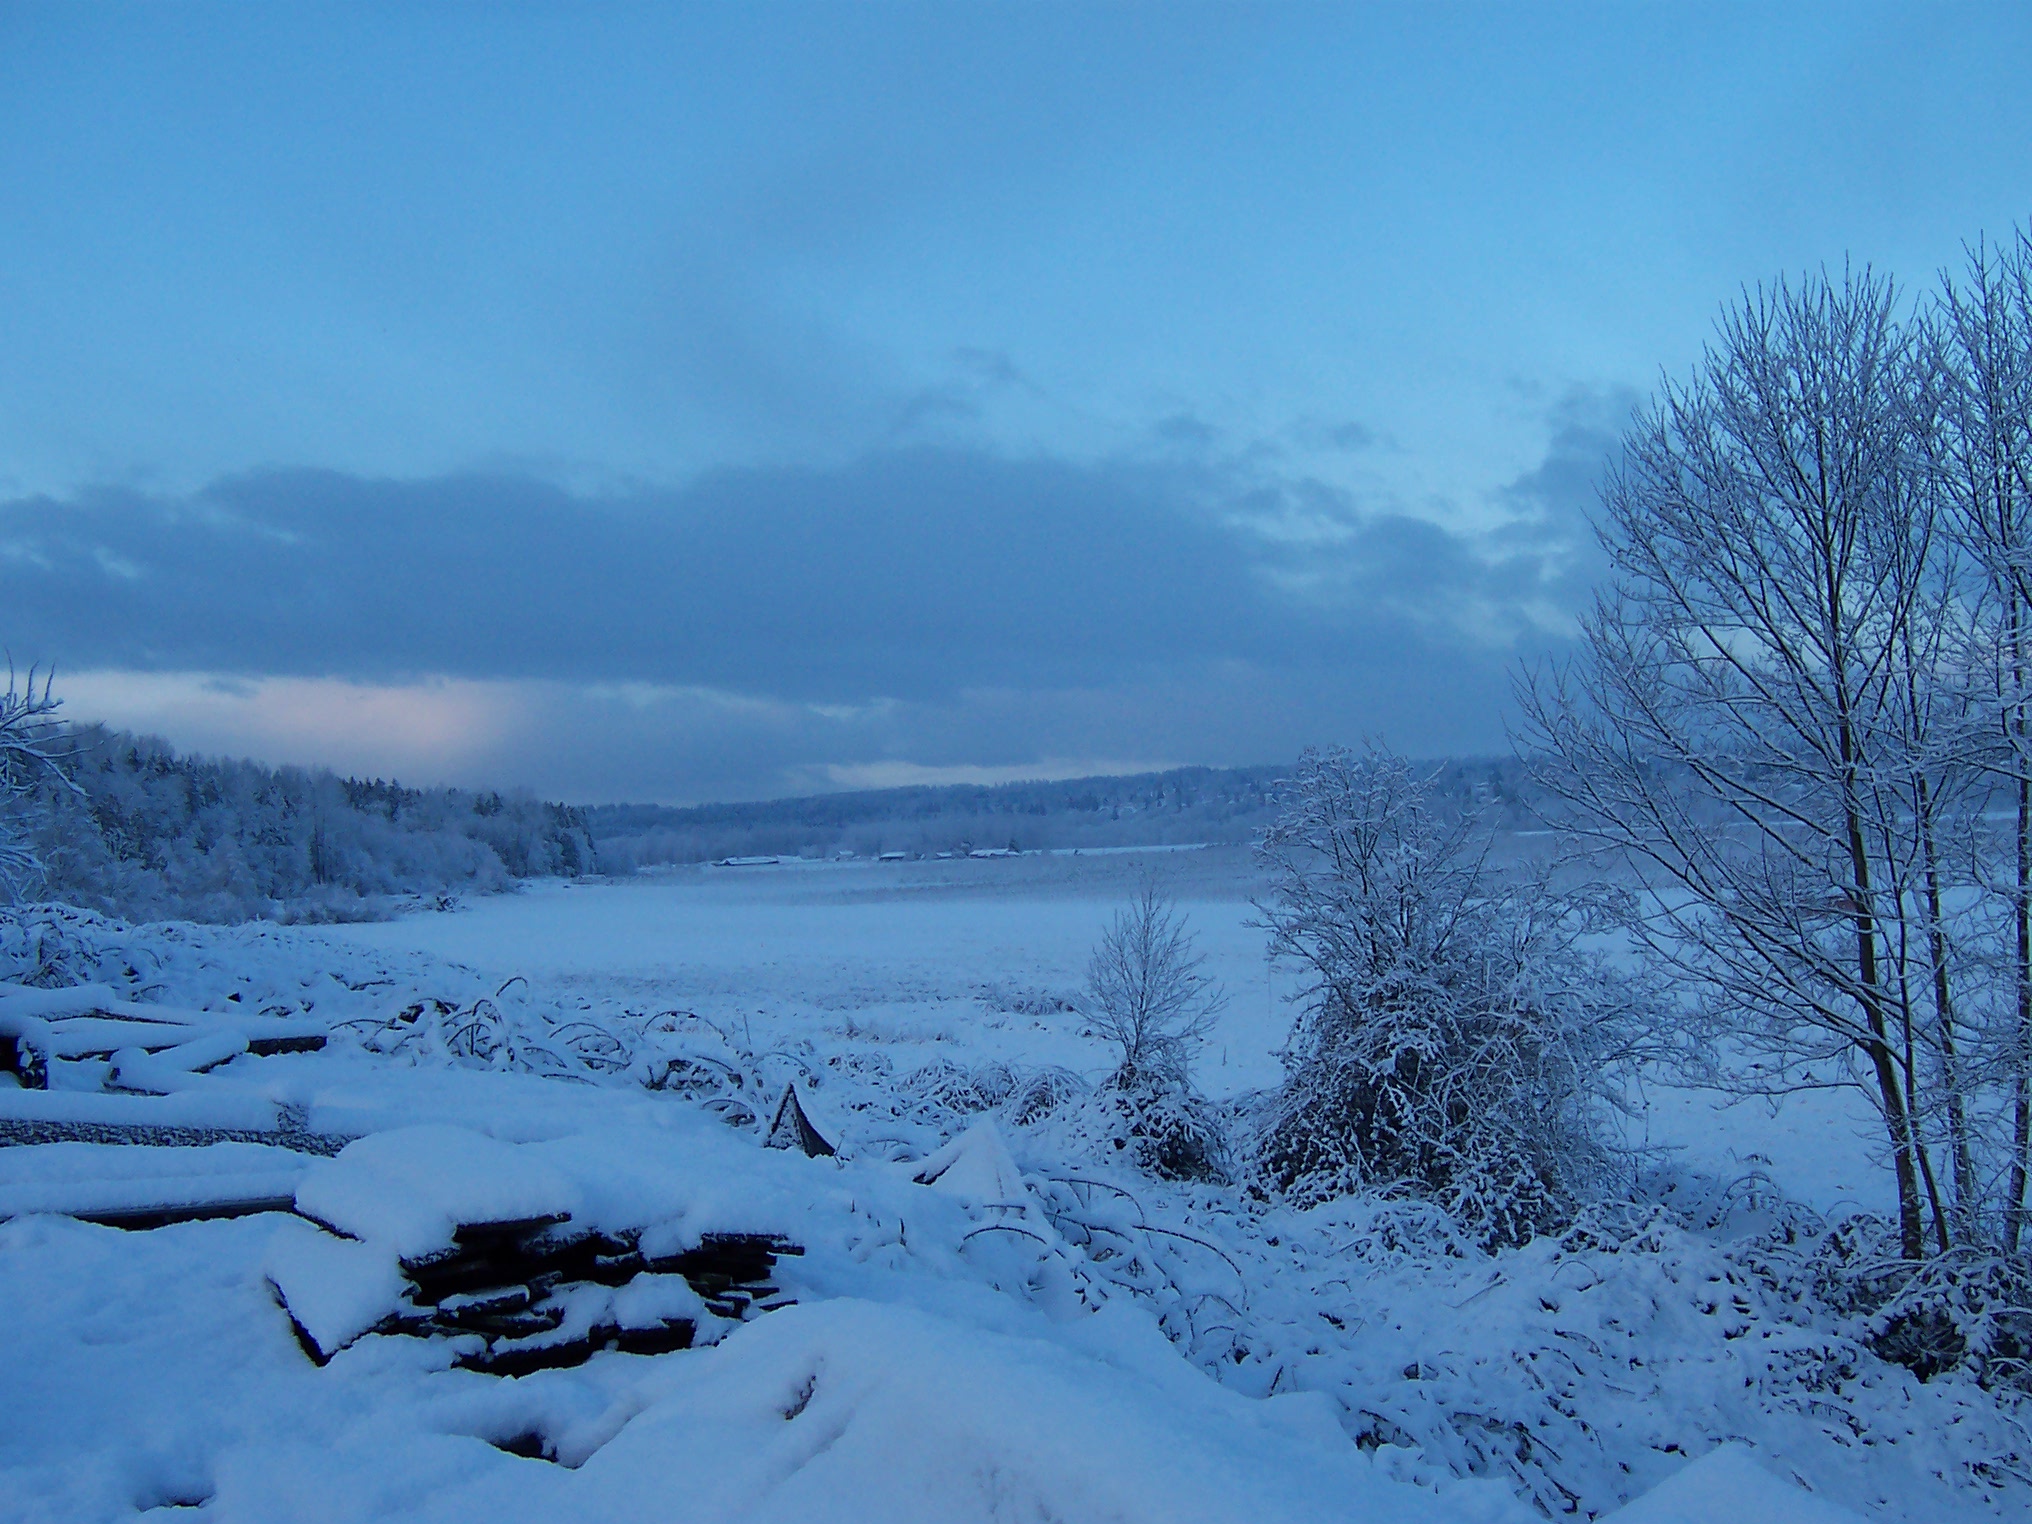
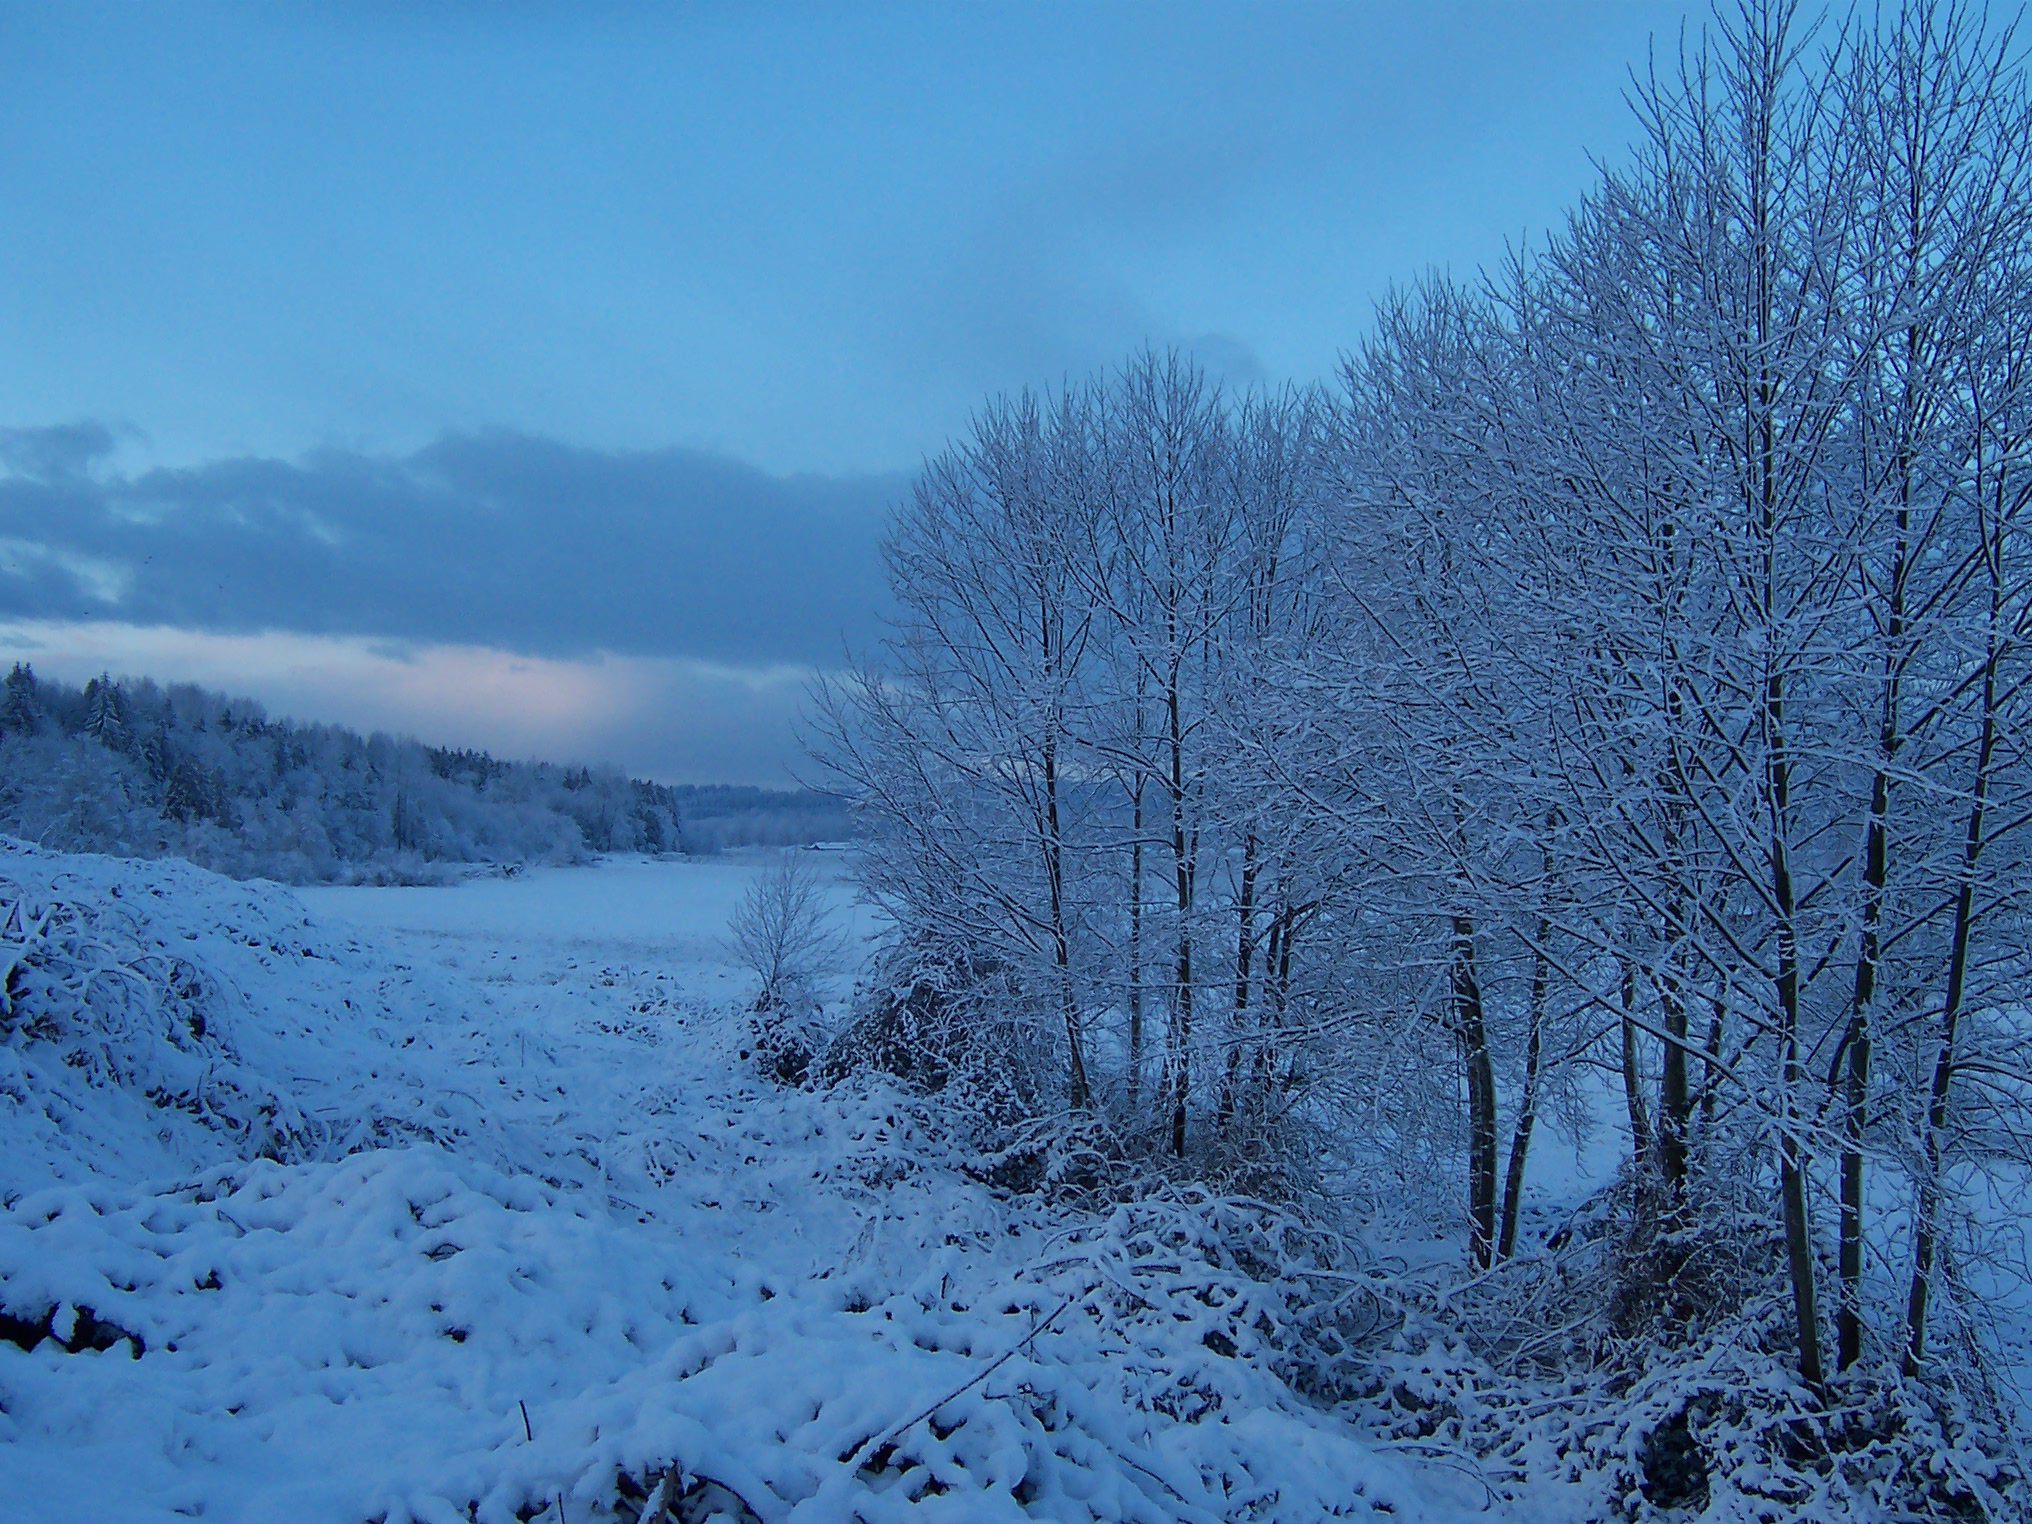
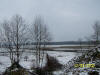
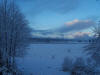
More snow.
|
|

|
|
More snow.
|
|

|
|
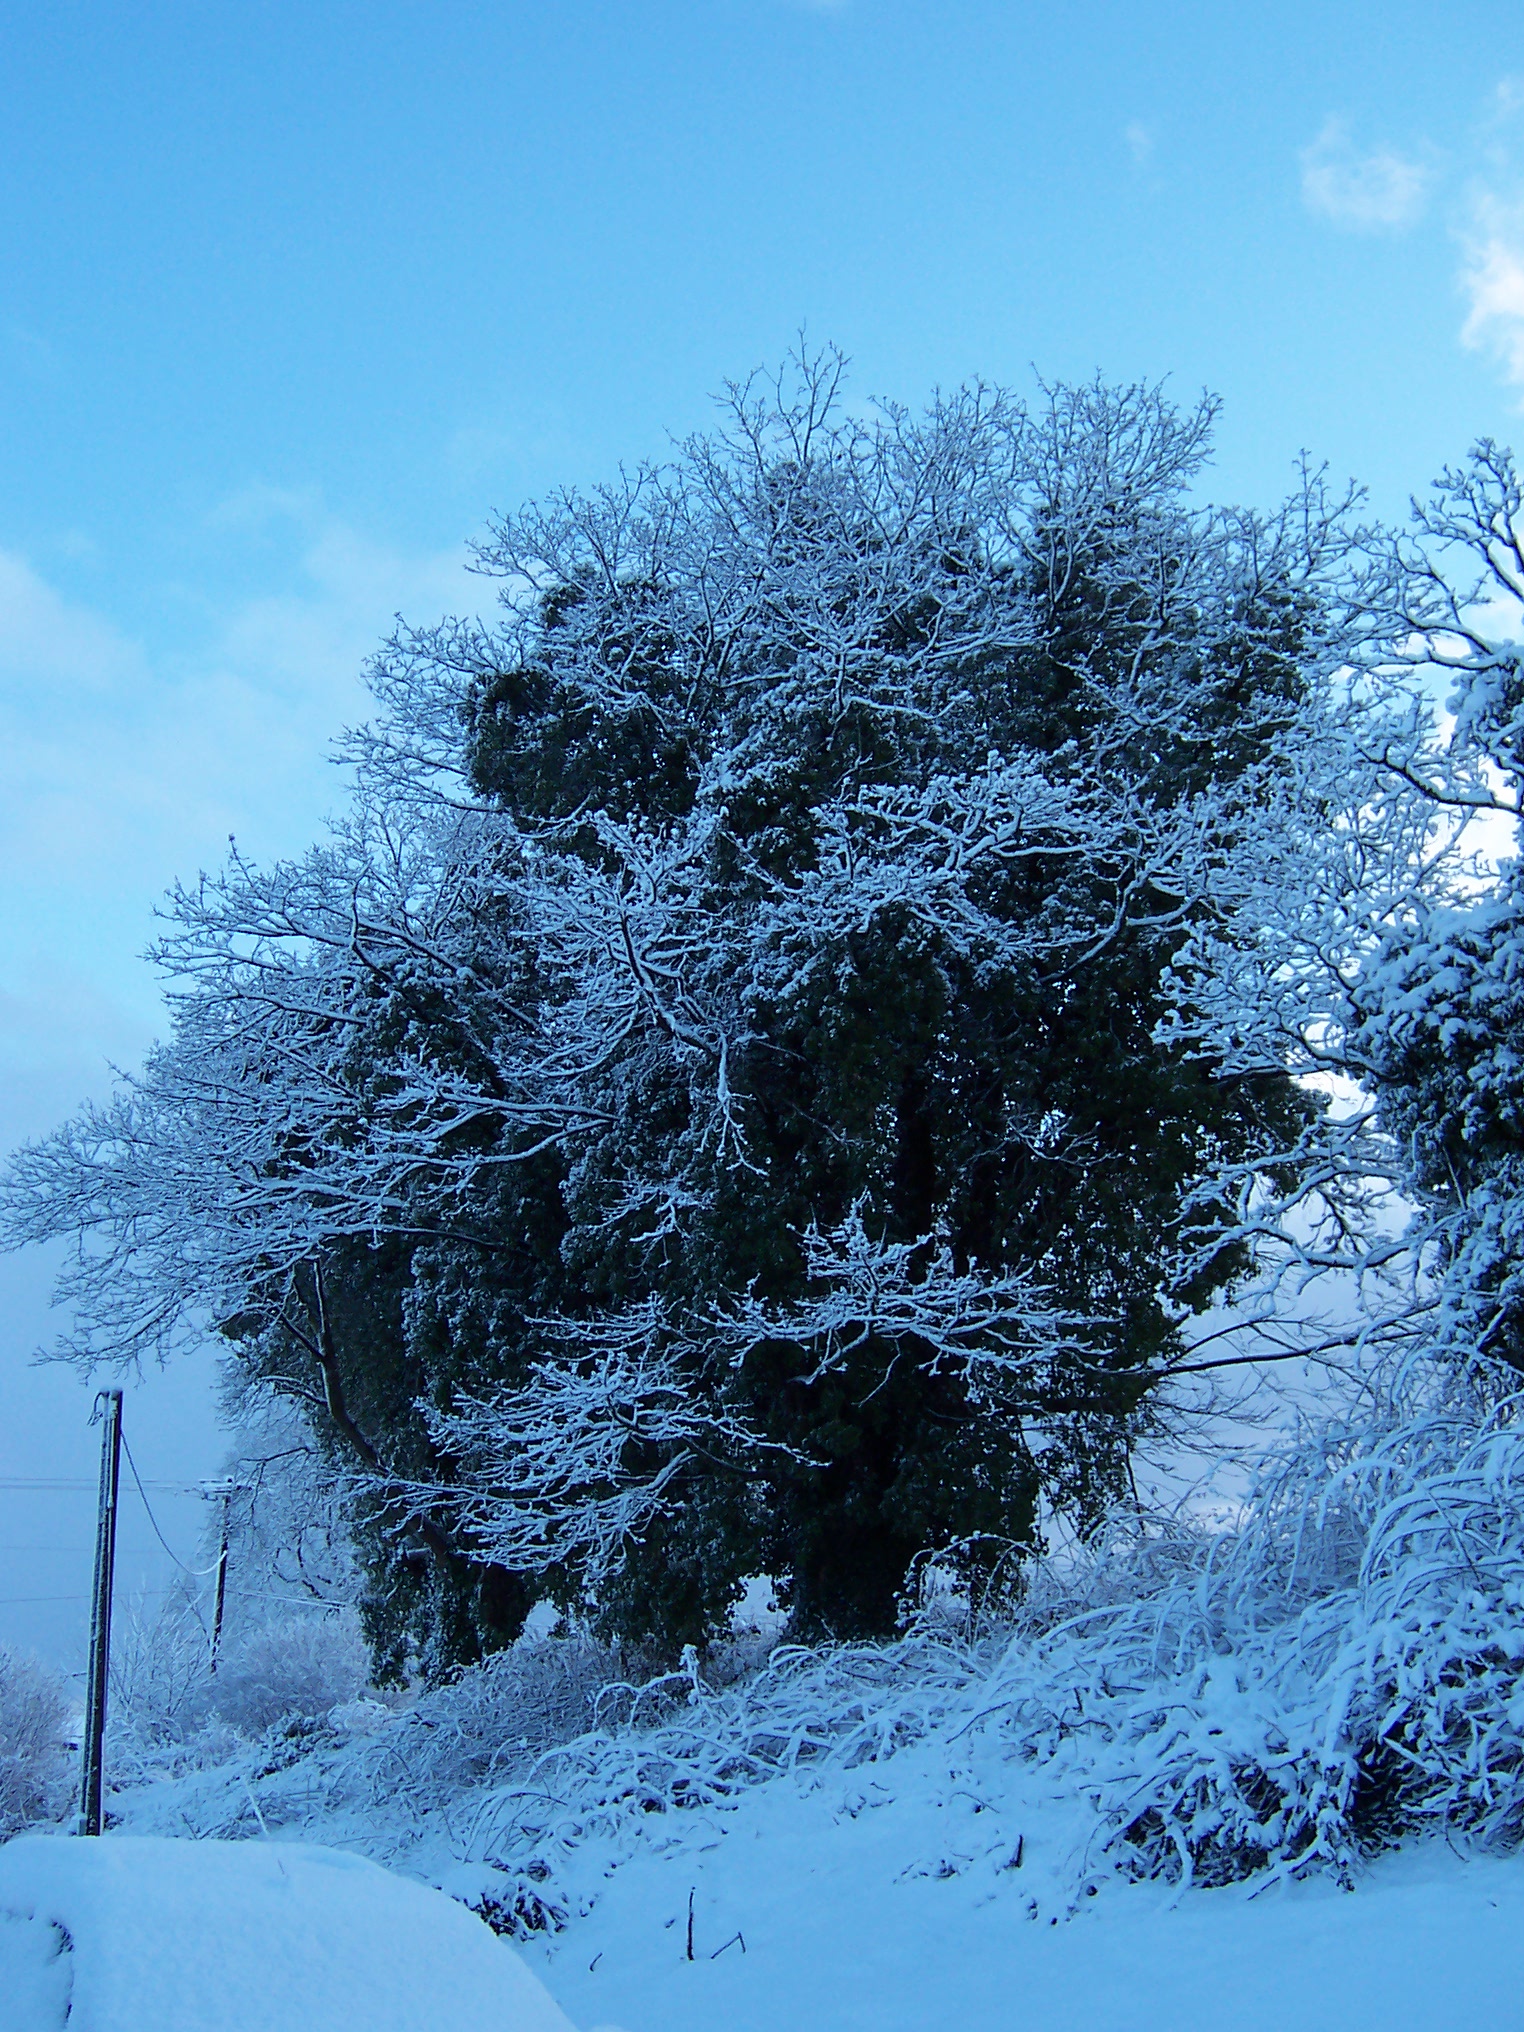
Snow in the Edmonds' maple trees.
|
|
|
|
Looking towards Craven Farms.
|
|
|
|
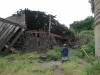
Snow helped some of the front of the barn fall down, windstorms & heavy rains also took their toll.
|
|
|
|
|
|
More snow.
|
|
|
|
More snow views.
|
|
|
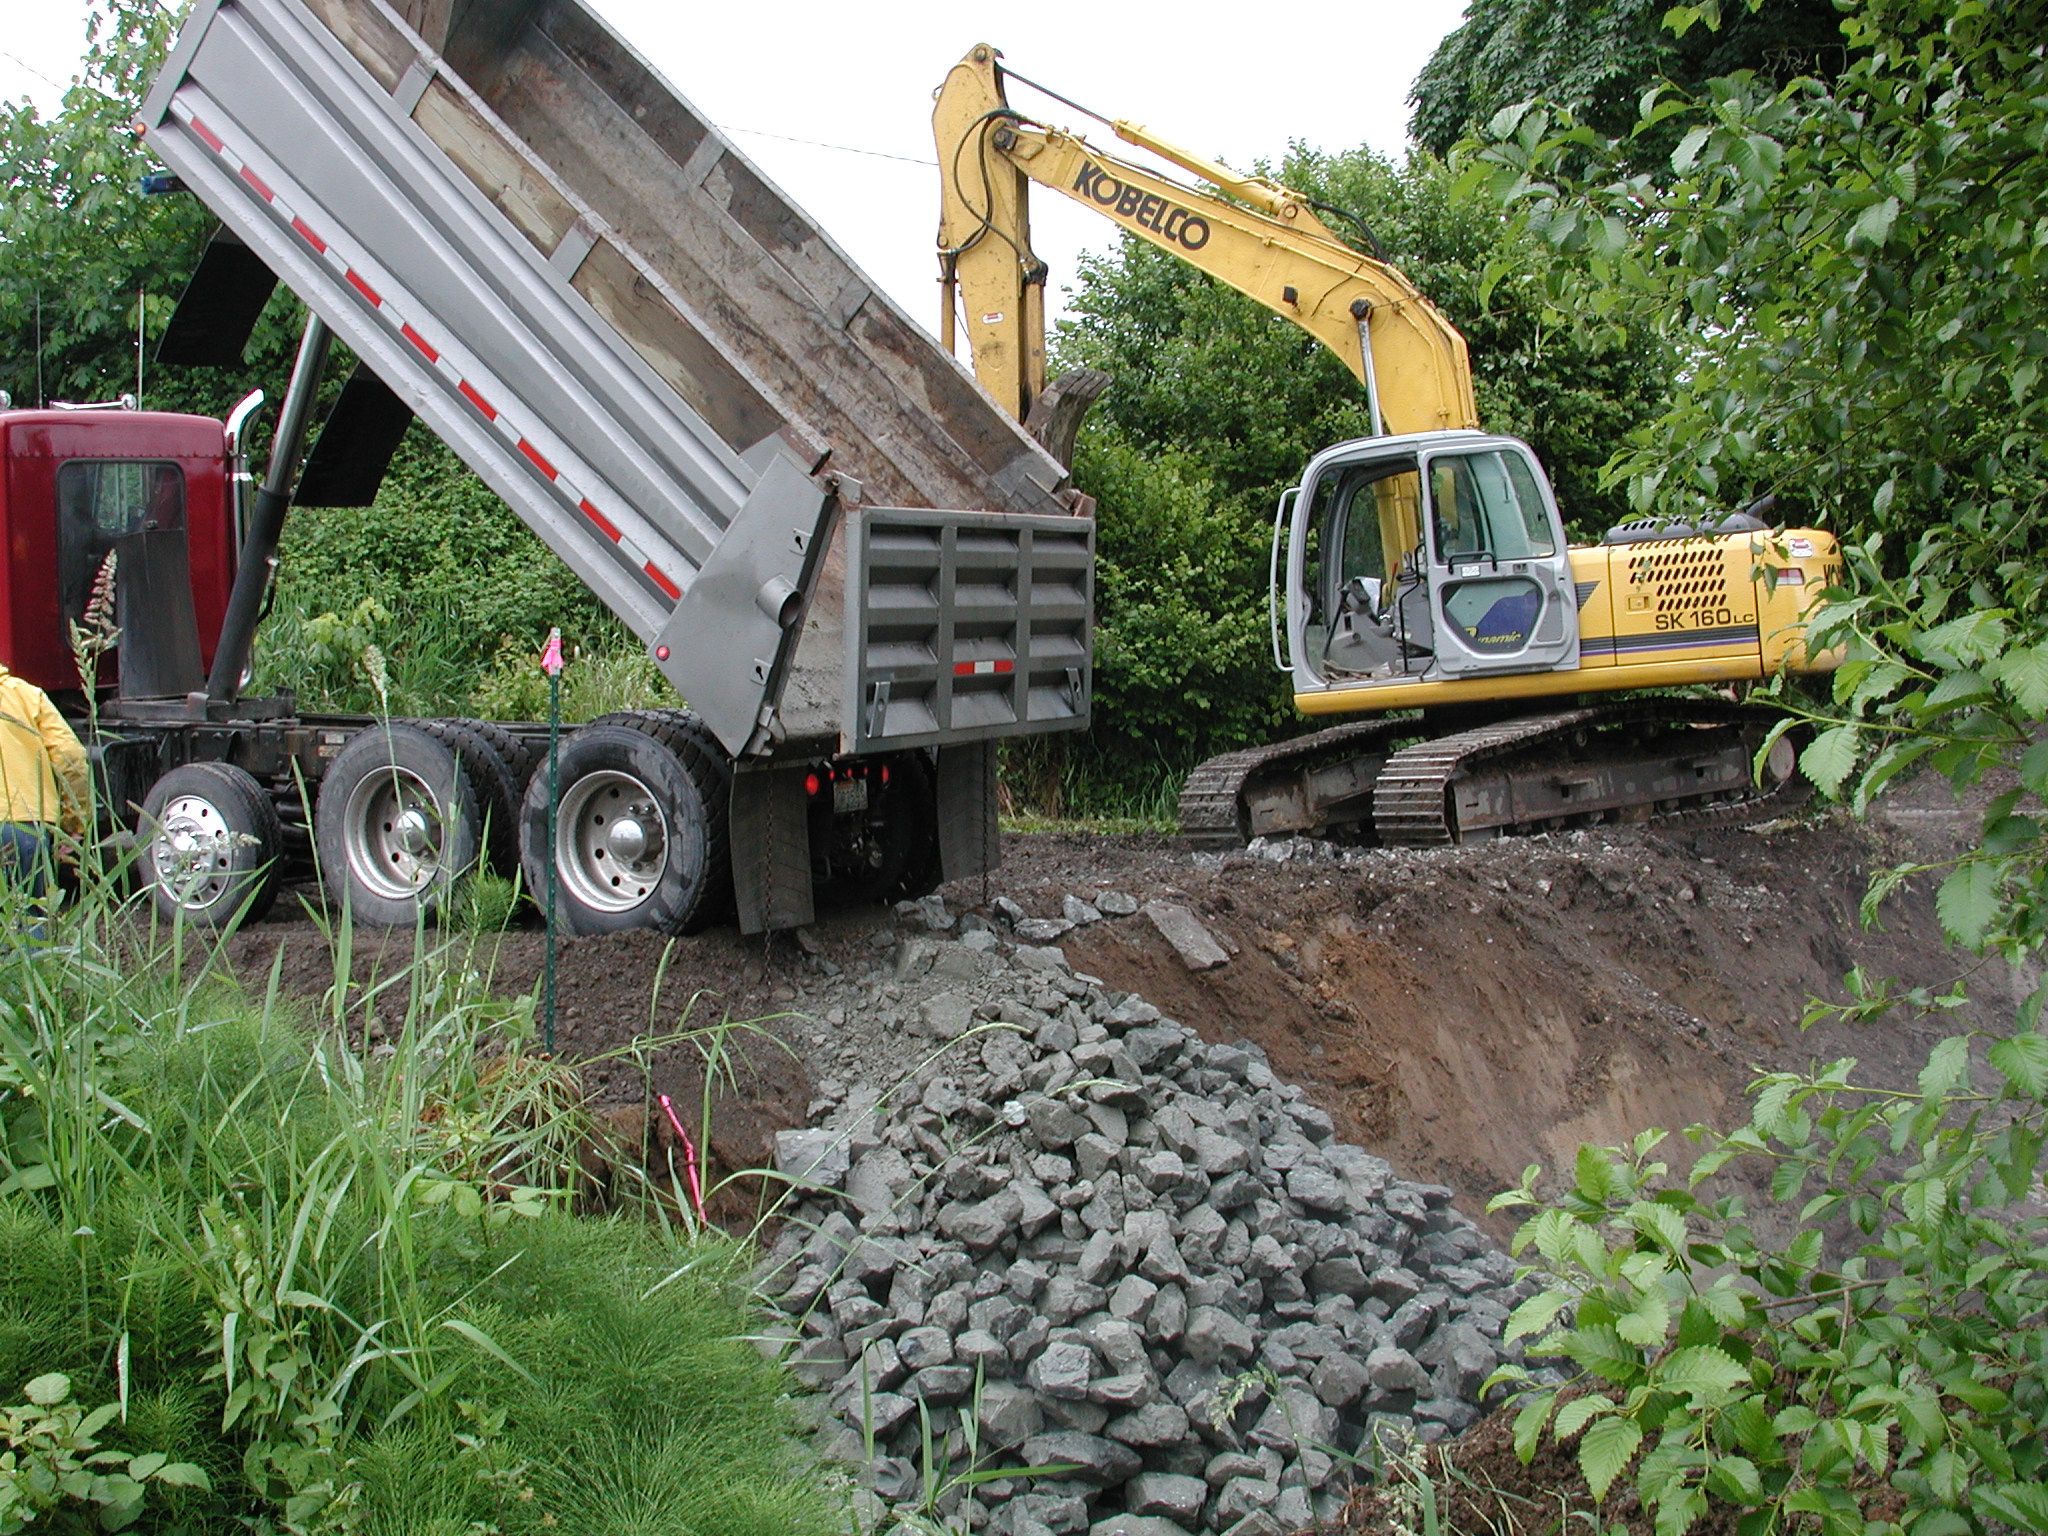
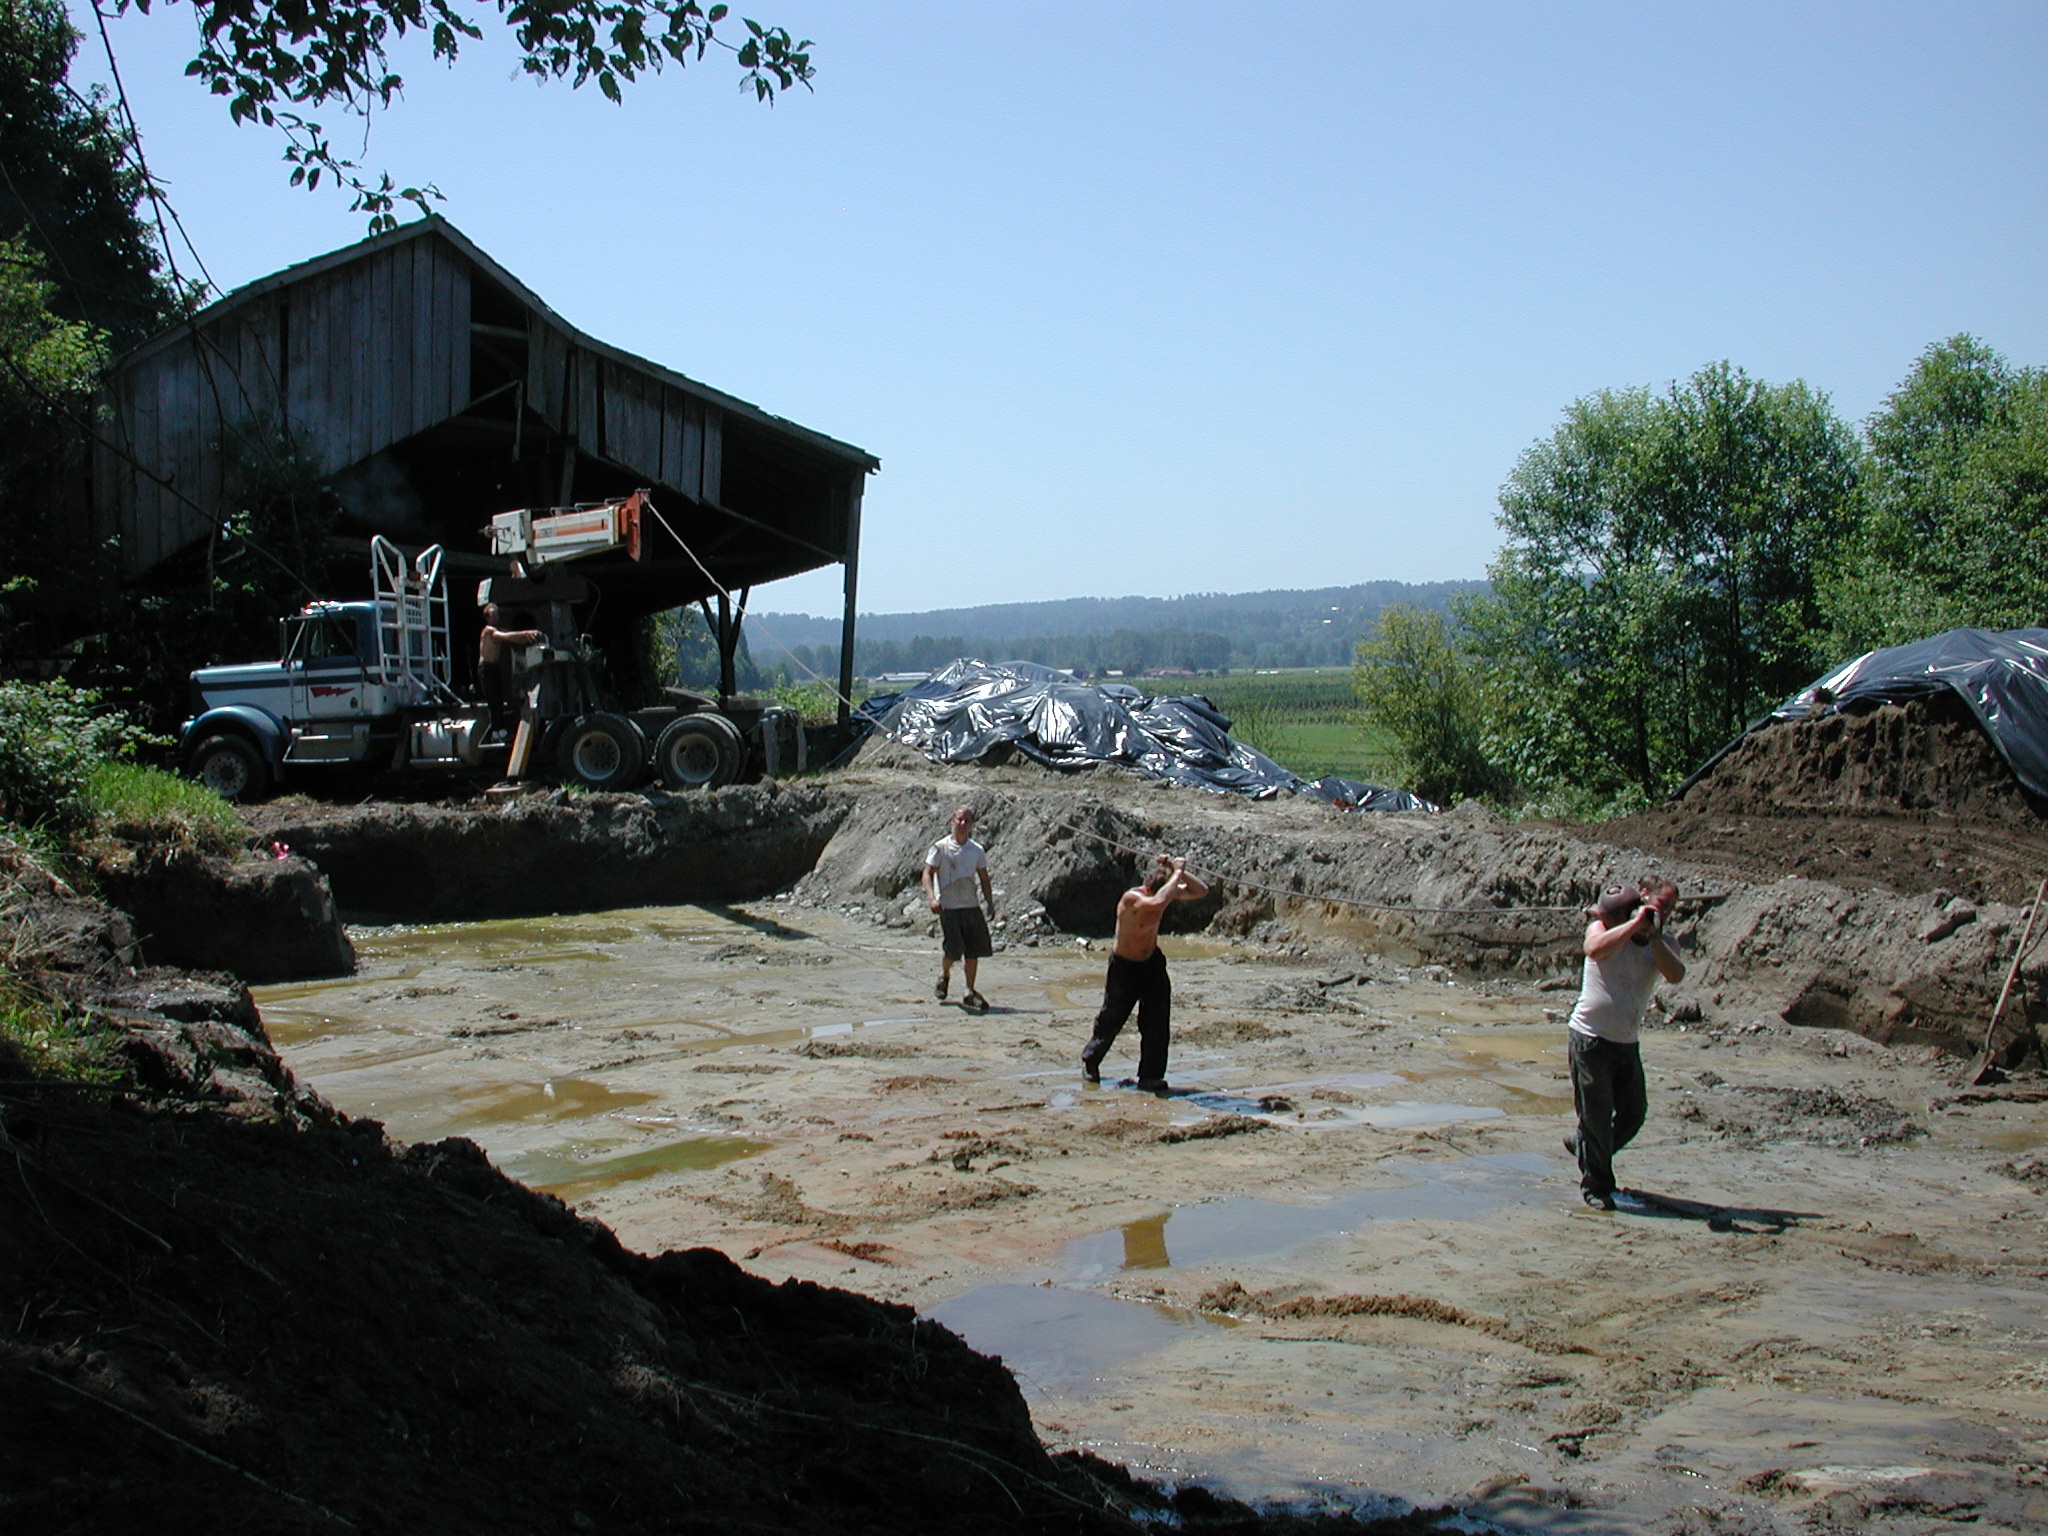
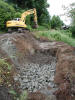
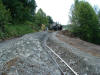
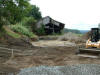
Excavation work: a day's minor driveway widening turned into a week's crater
excavation! Later I learned that much of this hillside was created from sawmill
waste, so by this time, it was rotten and too unstable to cover with gravel.
|
|
|
|
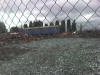
This is where the house shall go.
|
|
|
|
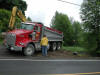
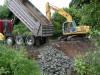
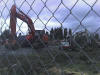
One of World Excavating's dump trucks.
|
|
|
|
Start of the hole...
|
|
|
|
Seemed like teaspoons being added to the hole. For months afterward, I'd feel anxiety every time I heard dump truck compression brakes!
|
|
|
|
The hole got bigger until the excavator was smaller than the hole!
|
|
|
|
Another view of the engulfed excavator.
|
|

|
|
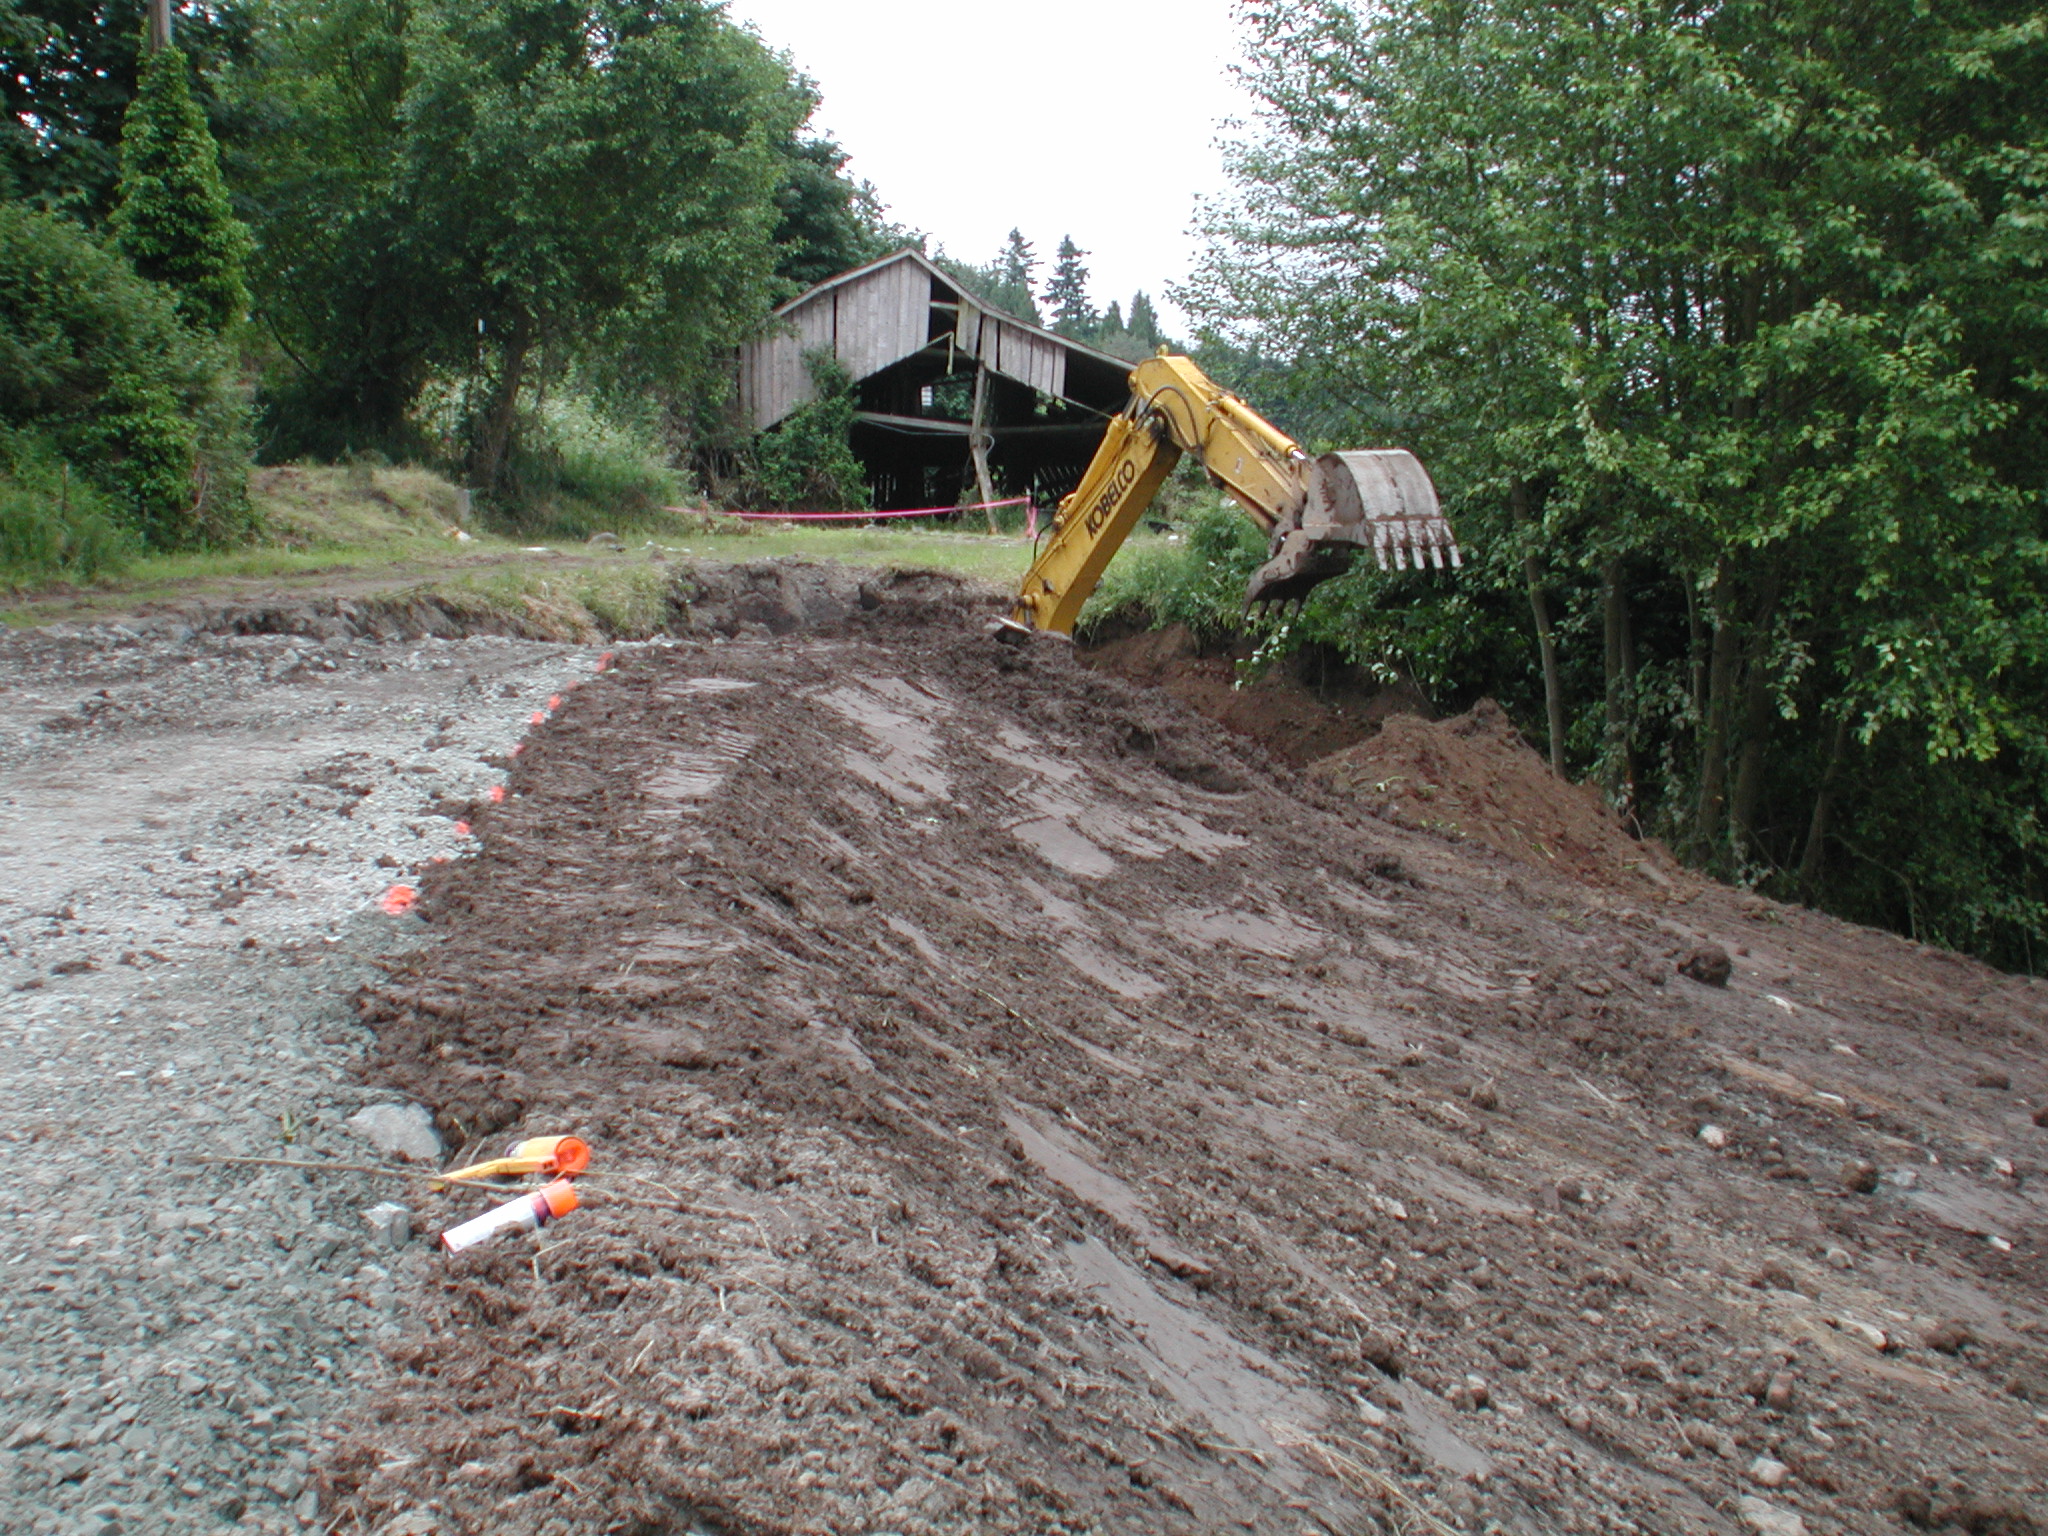
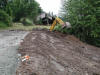
Excavator putting the dirt back on the driveway slope.
|
|
|
|
Water lines & power conduit gets run from the street.
|
|
|
|
|
|
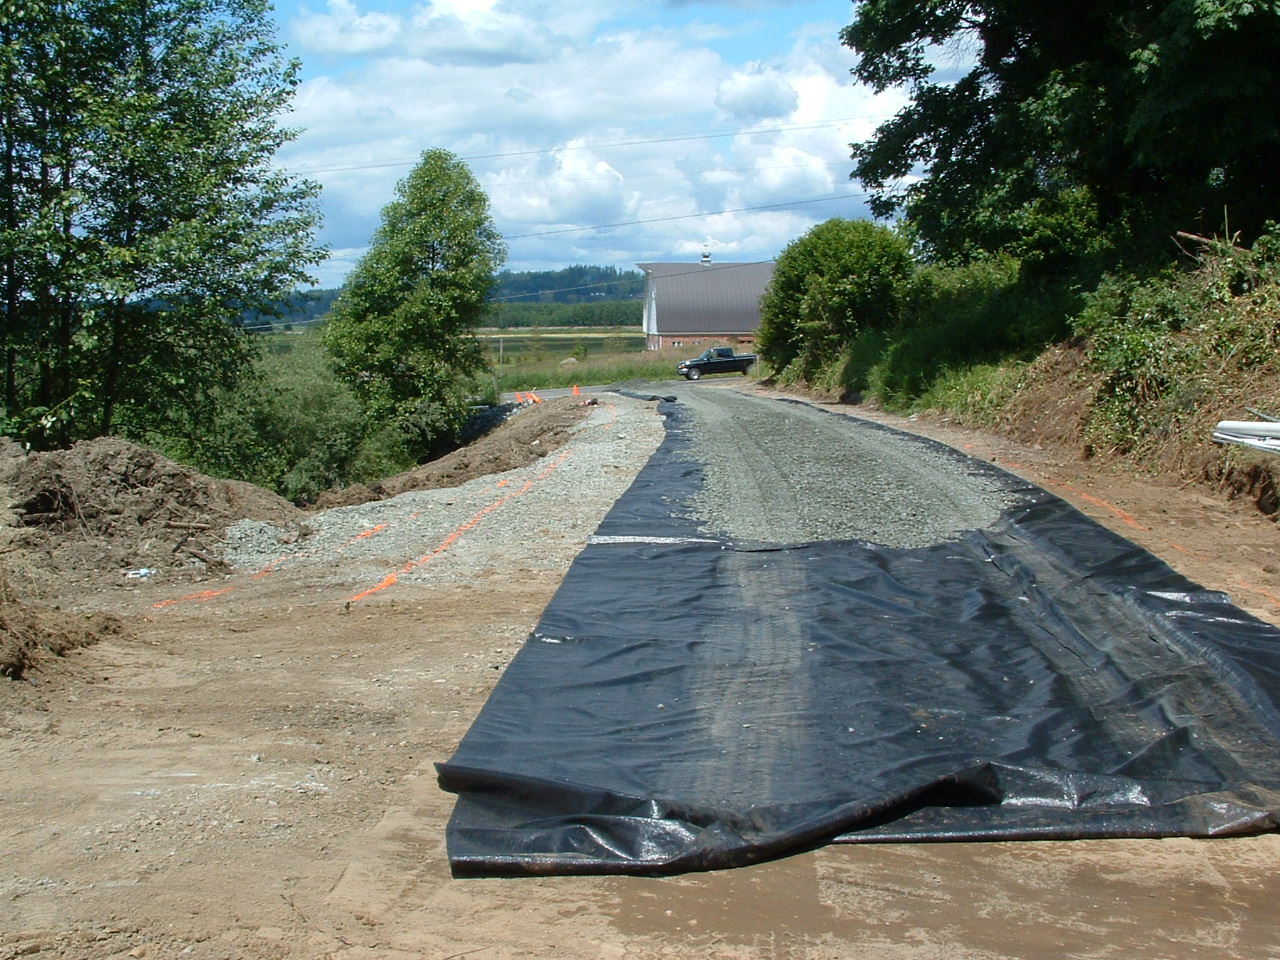
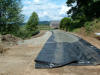
Reinforcement fabric laid below final gravel layer.
|
|
|
|
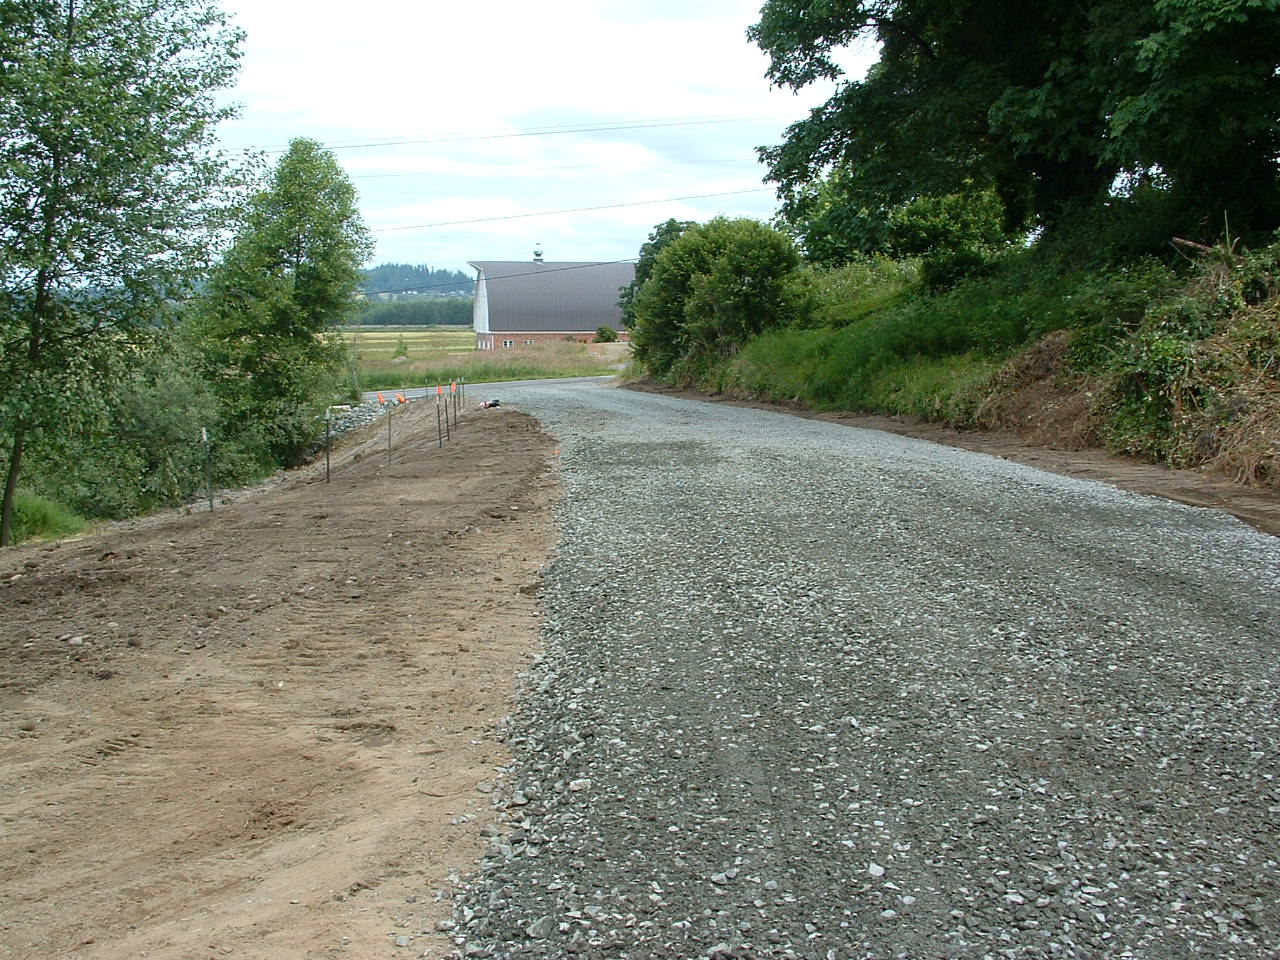
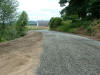
Final driveway looking towards road.
|
|
|
|
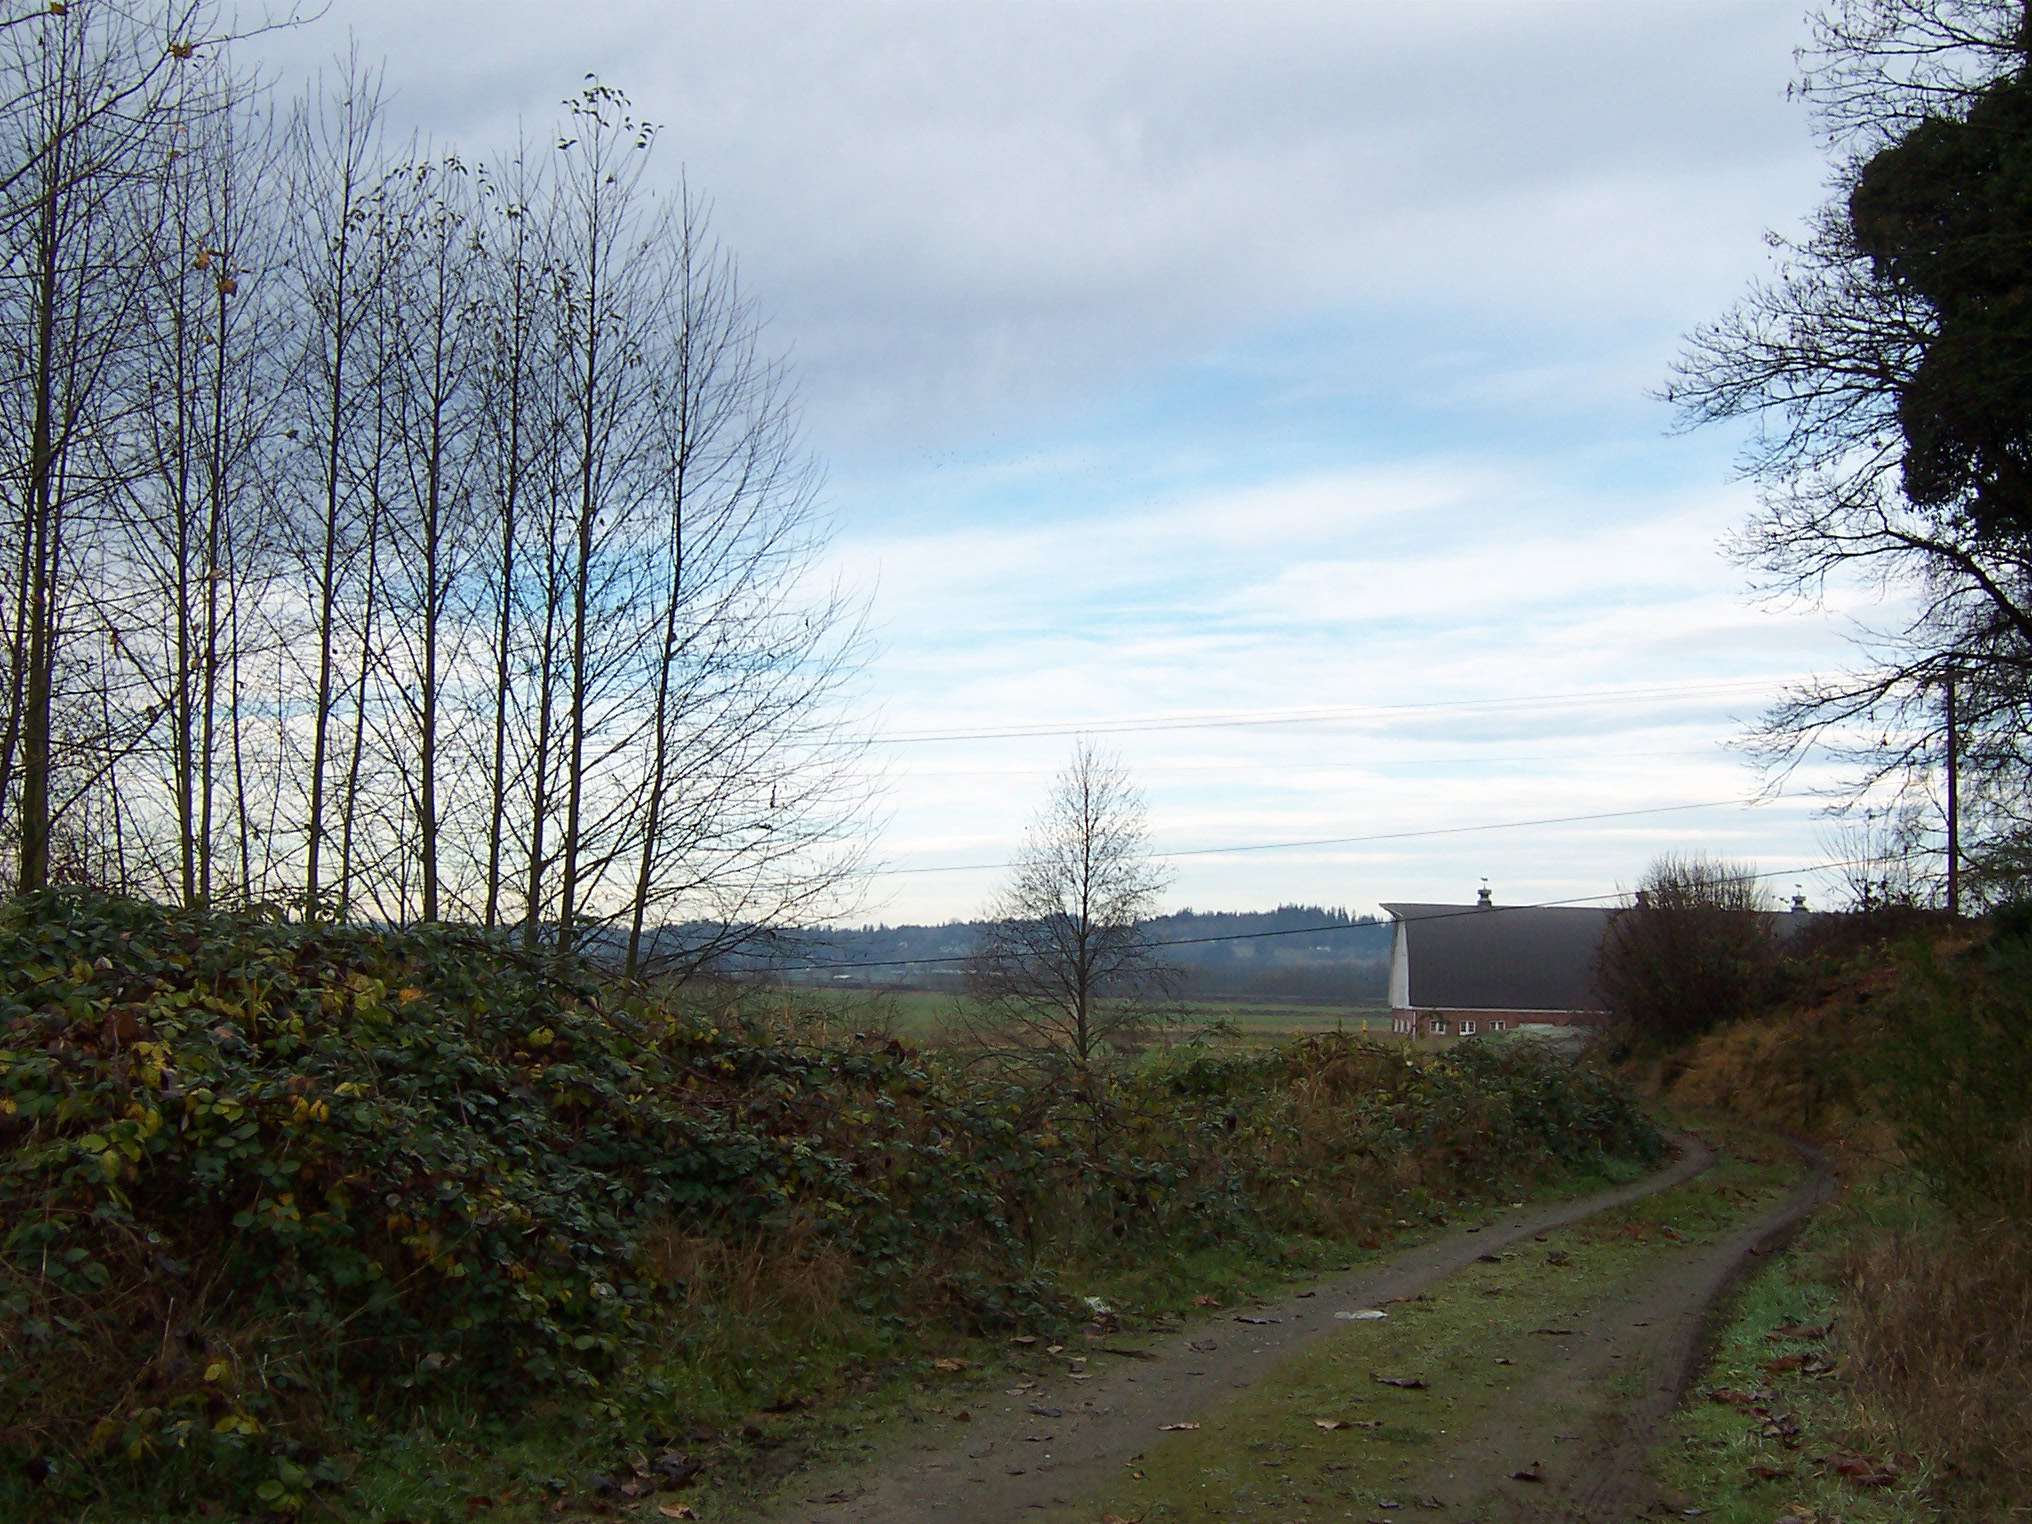
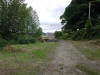
"Before" view of driveway, showing how narrow it was originally.
|
|
|
|
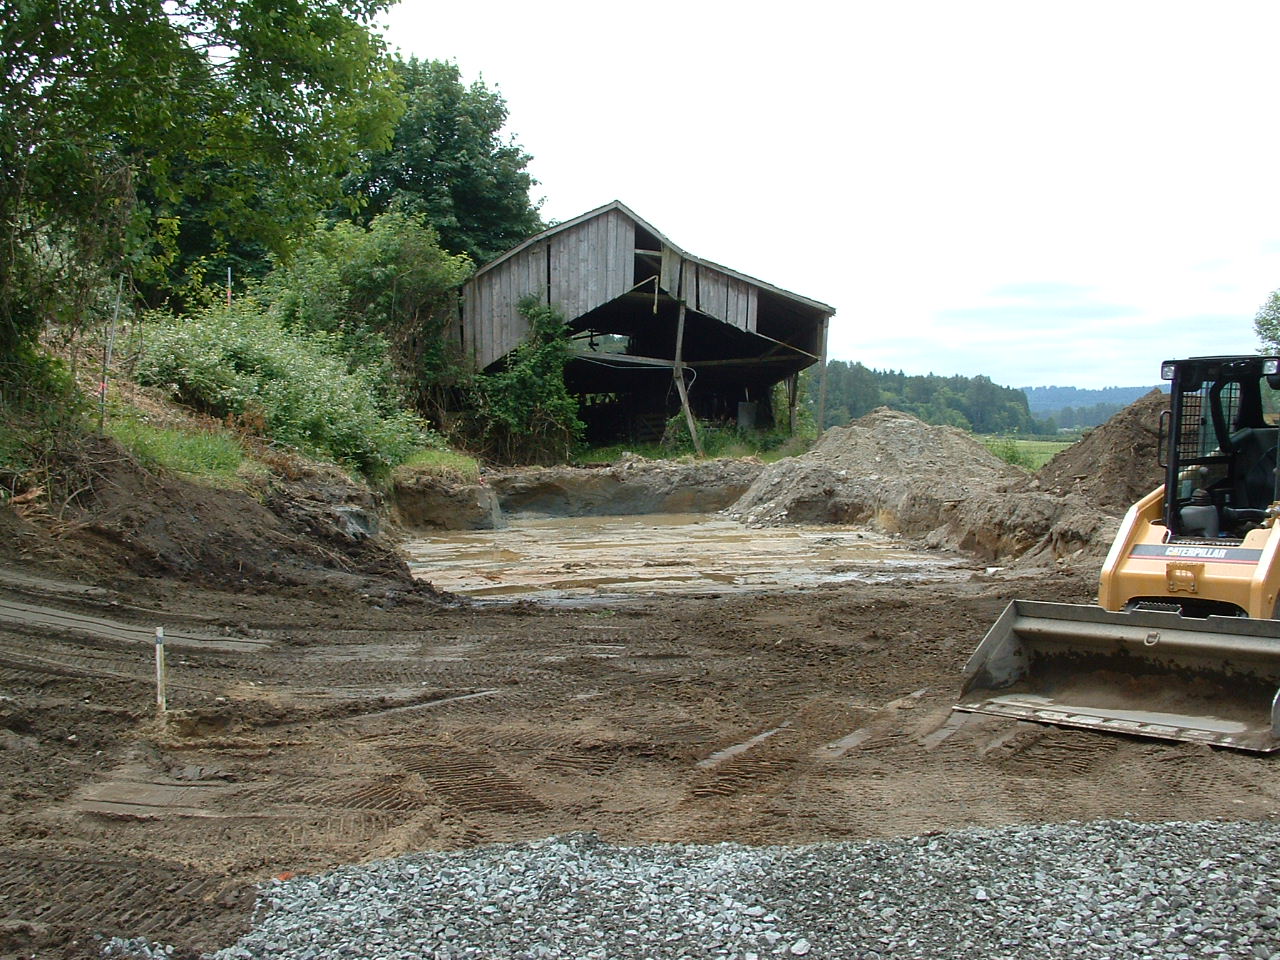
The foundation hole. There were underground springs here, so I had to install extra drainage to move the water out of the foundation.
|
|
|
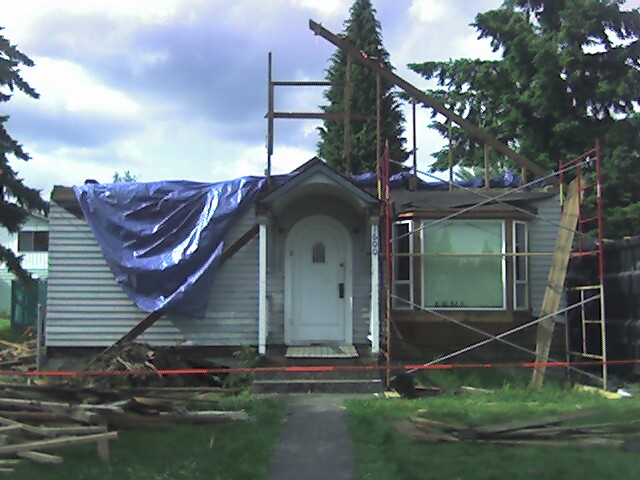
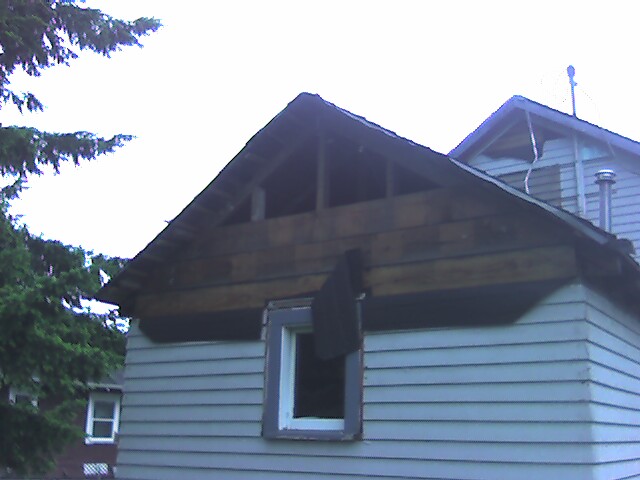
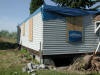
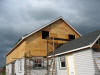
Preparing the house for moving: cut off roof, did initial rot repair, & removed
vinyl siding. Then Bob Cook's crew punched holes in the foundation, slid in a
couple of I-beams, jacked it up, and inserted dollies.
|
|
|
|
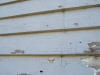
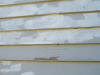
Taking off vinyl siding: though it was similar in color, the original cedar beveled siding was much classier looking.
|
|
|
|
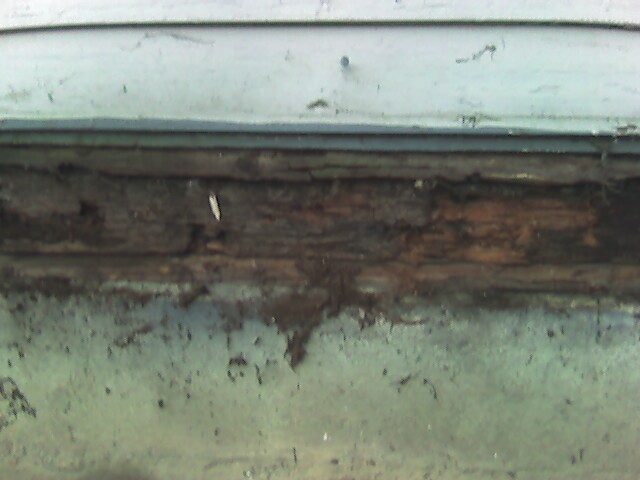
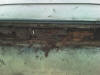
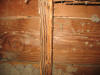
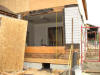
Dry rot in the rim joists from gutter leaks & poor deck construction.
|
|
|
|
Stripping 2nd floor 80's remodel.
|
|

|
|
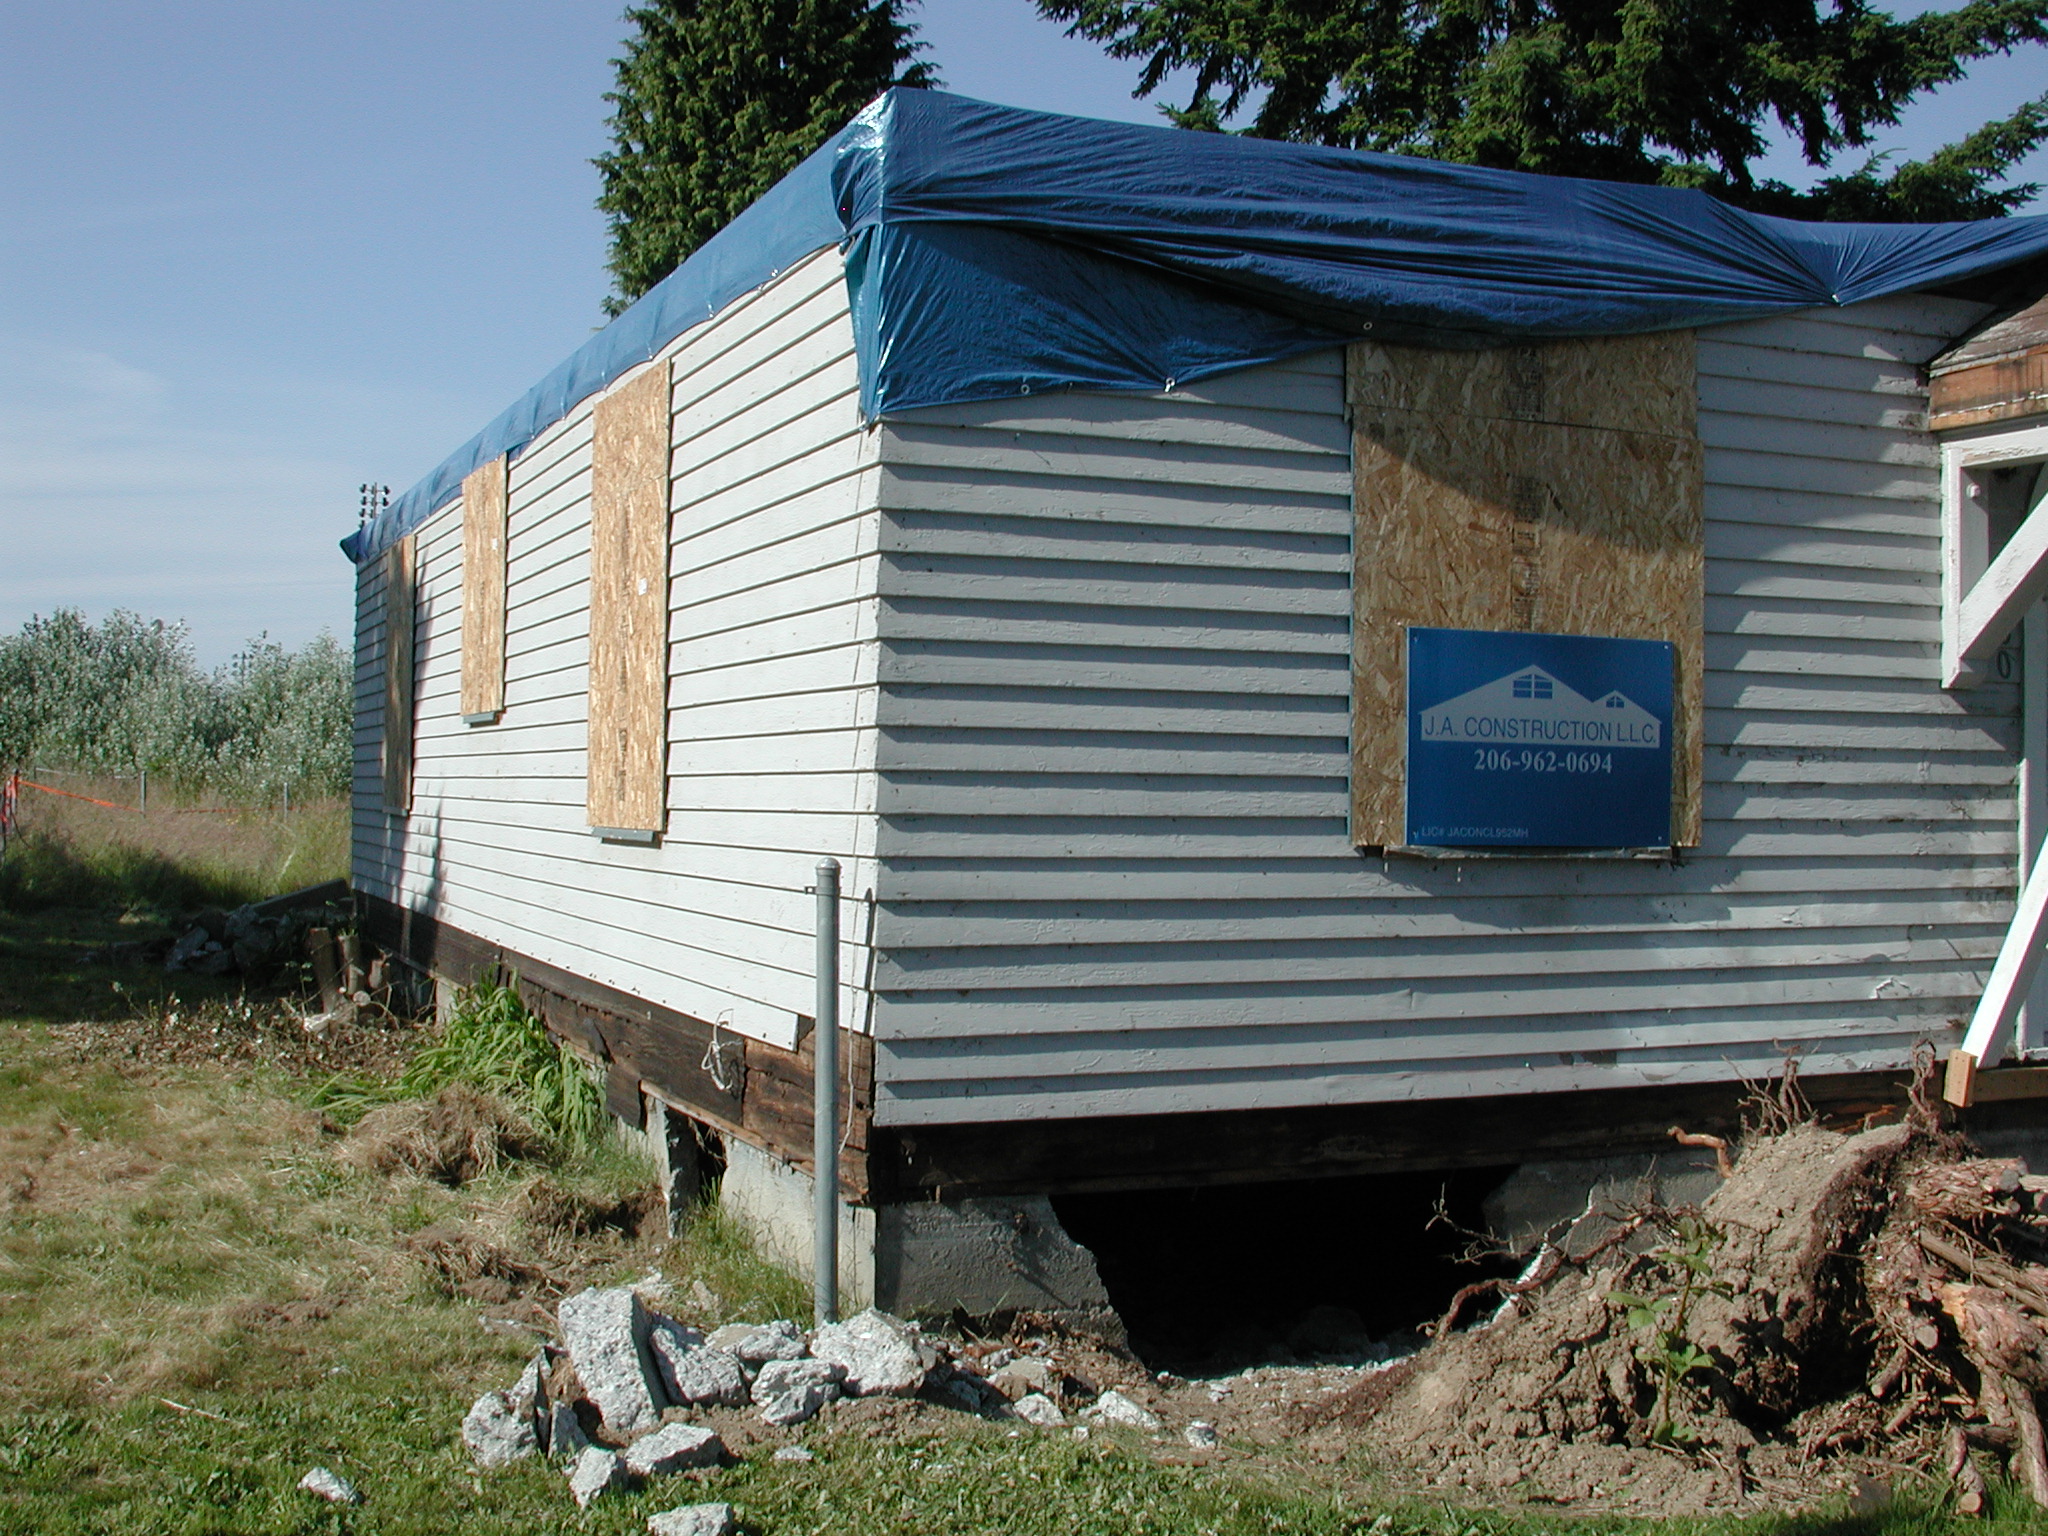
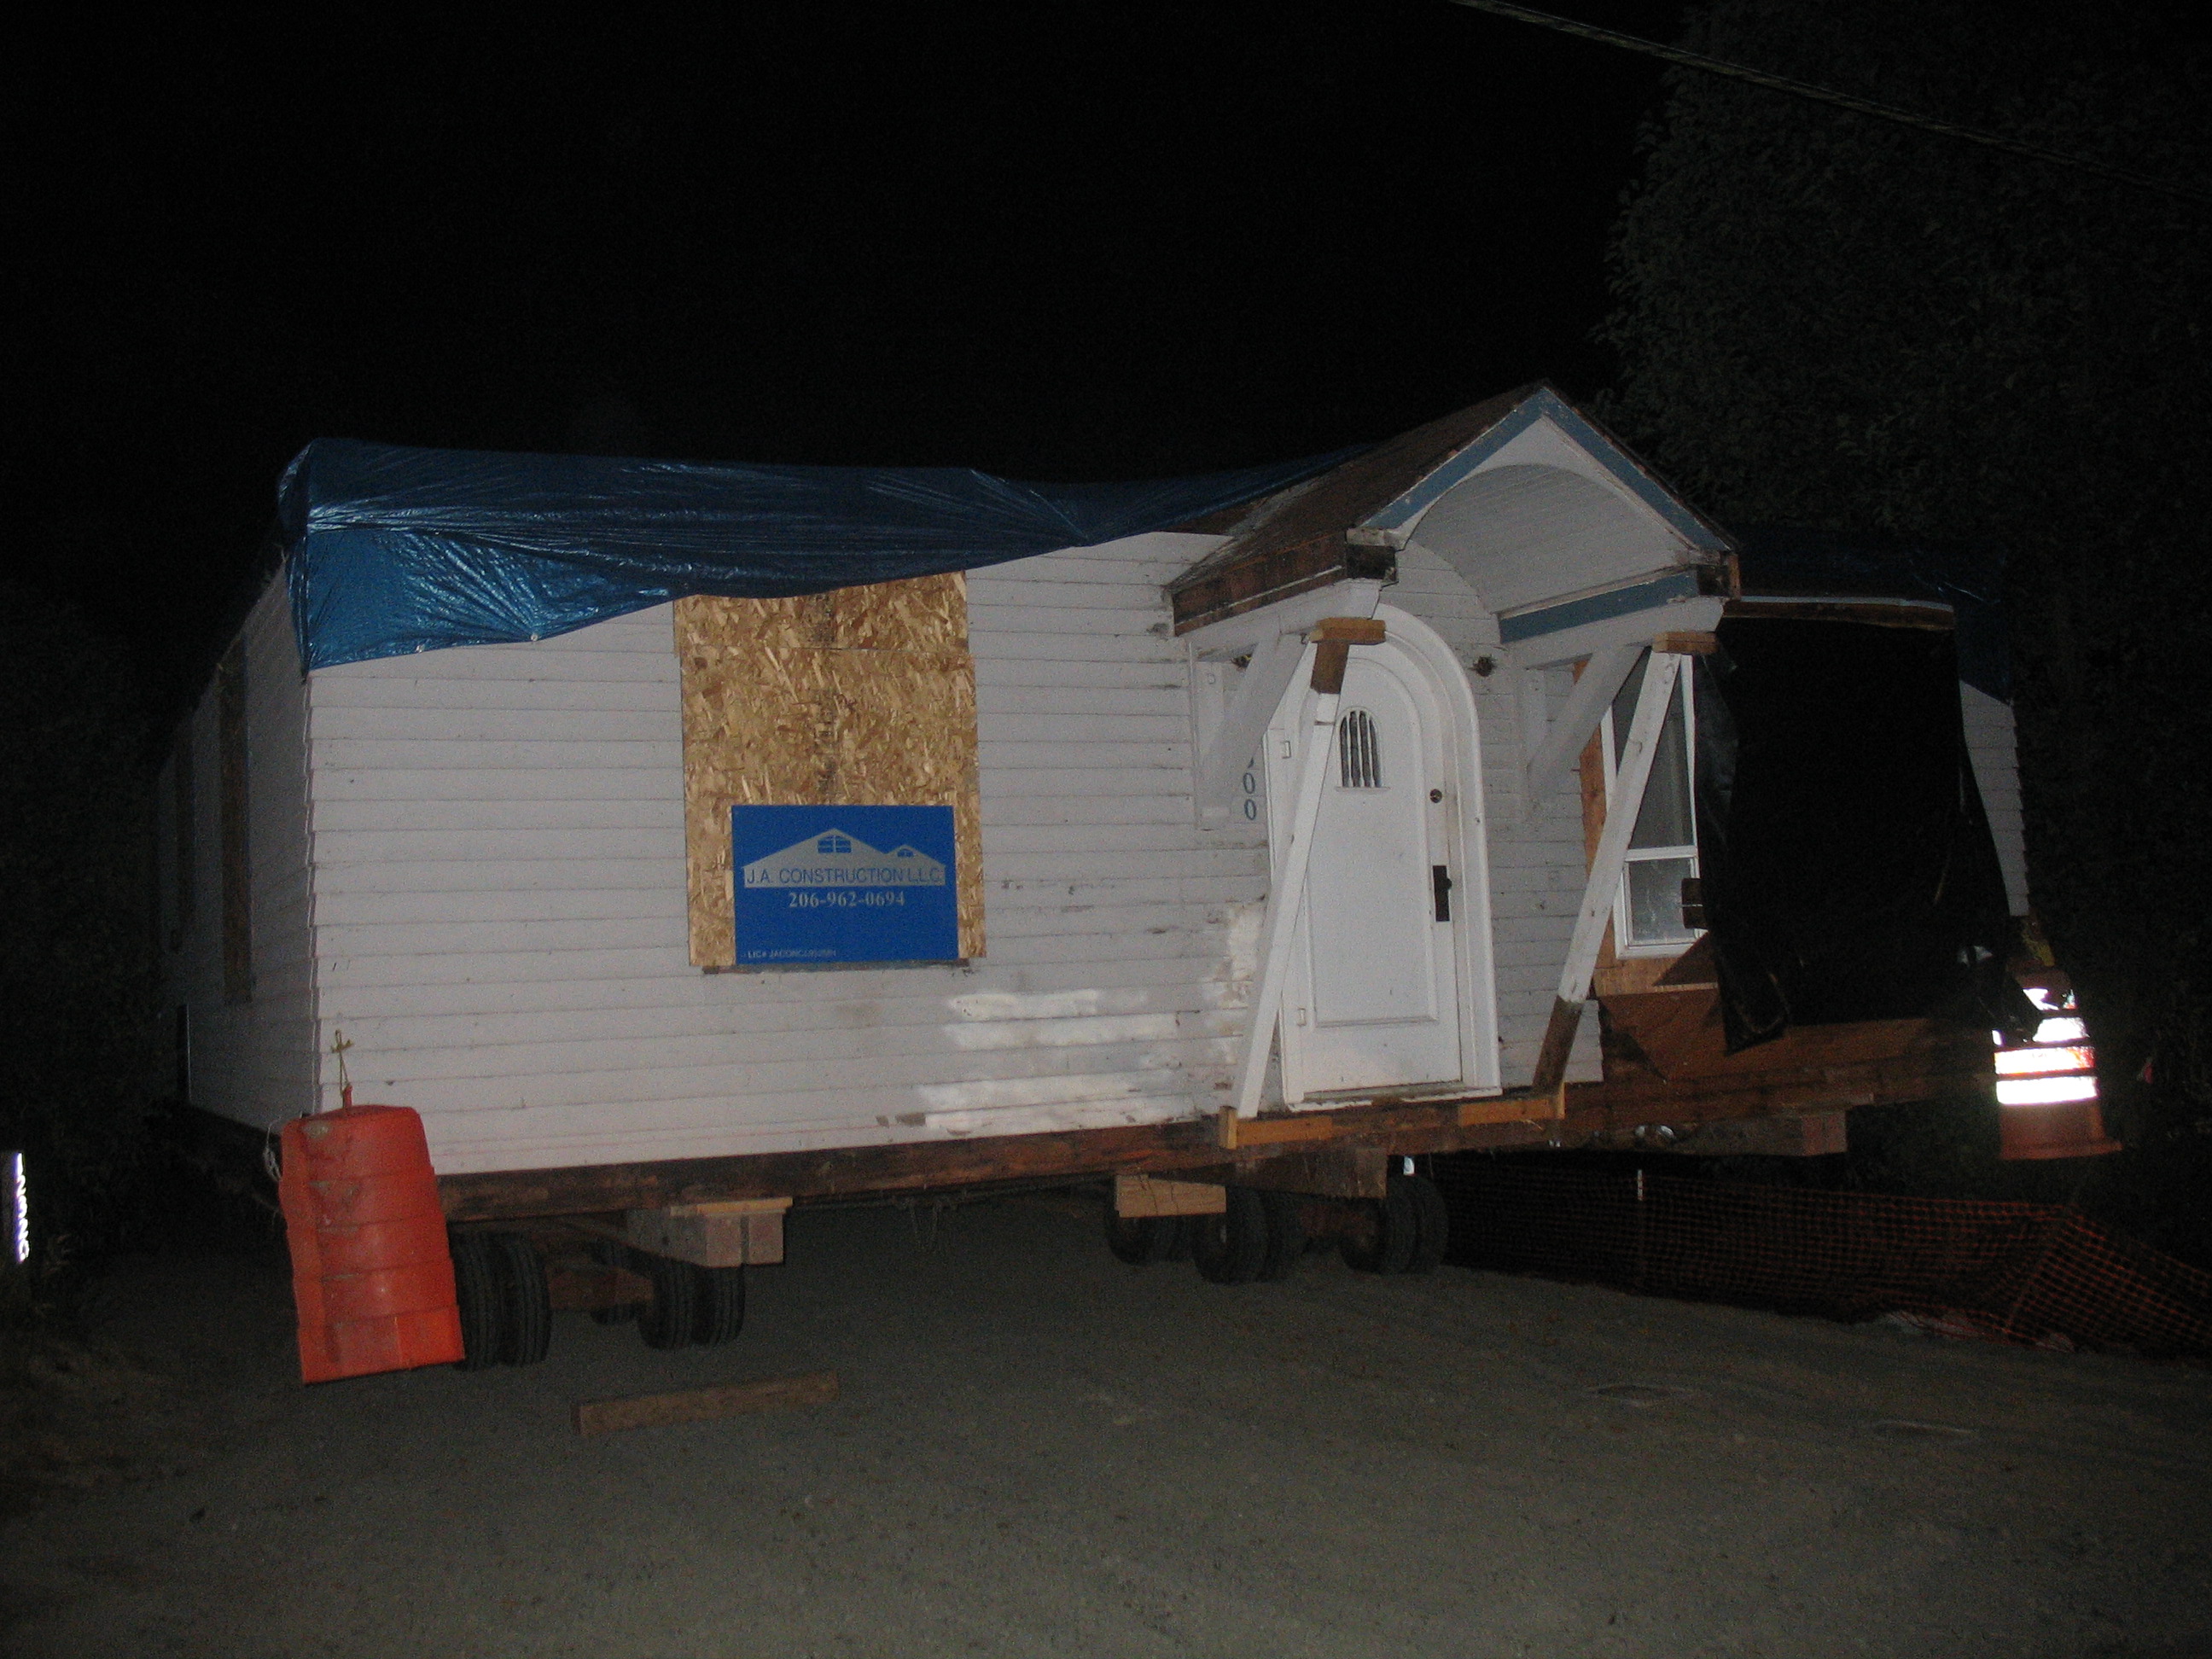
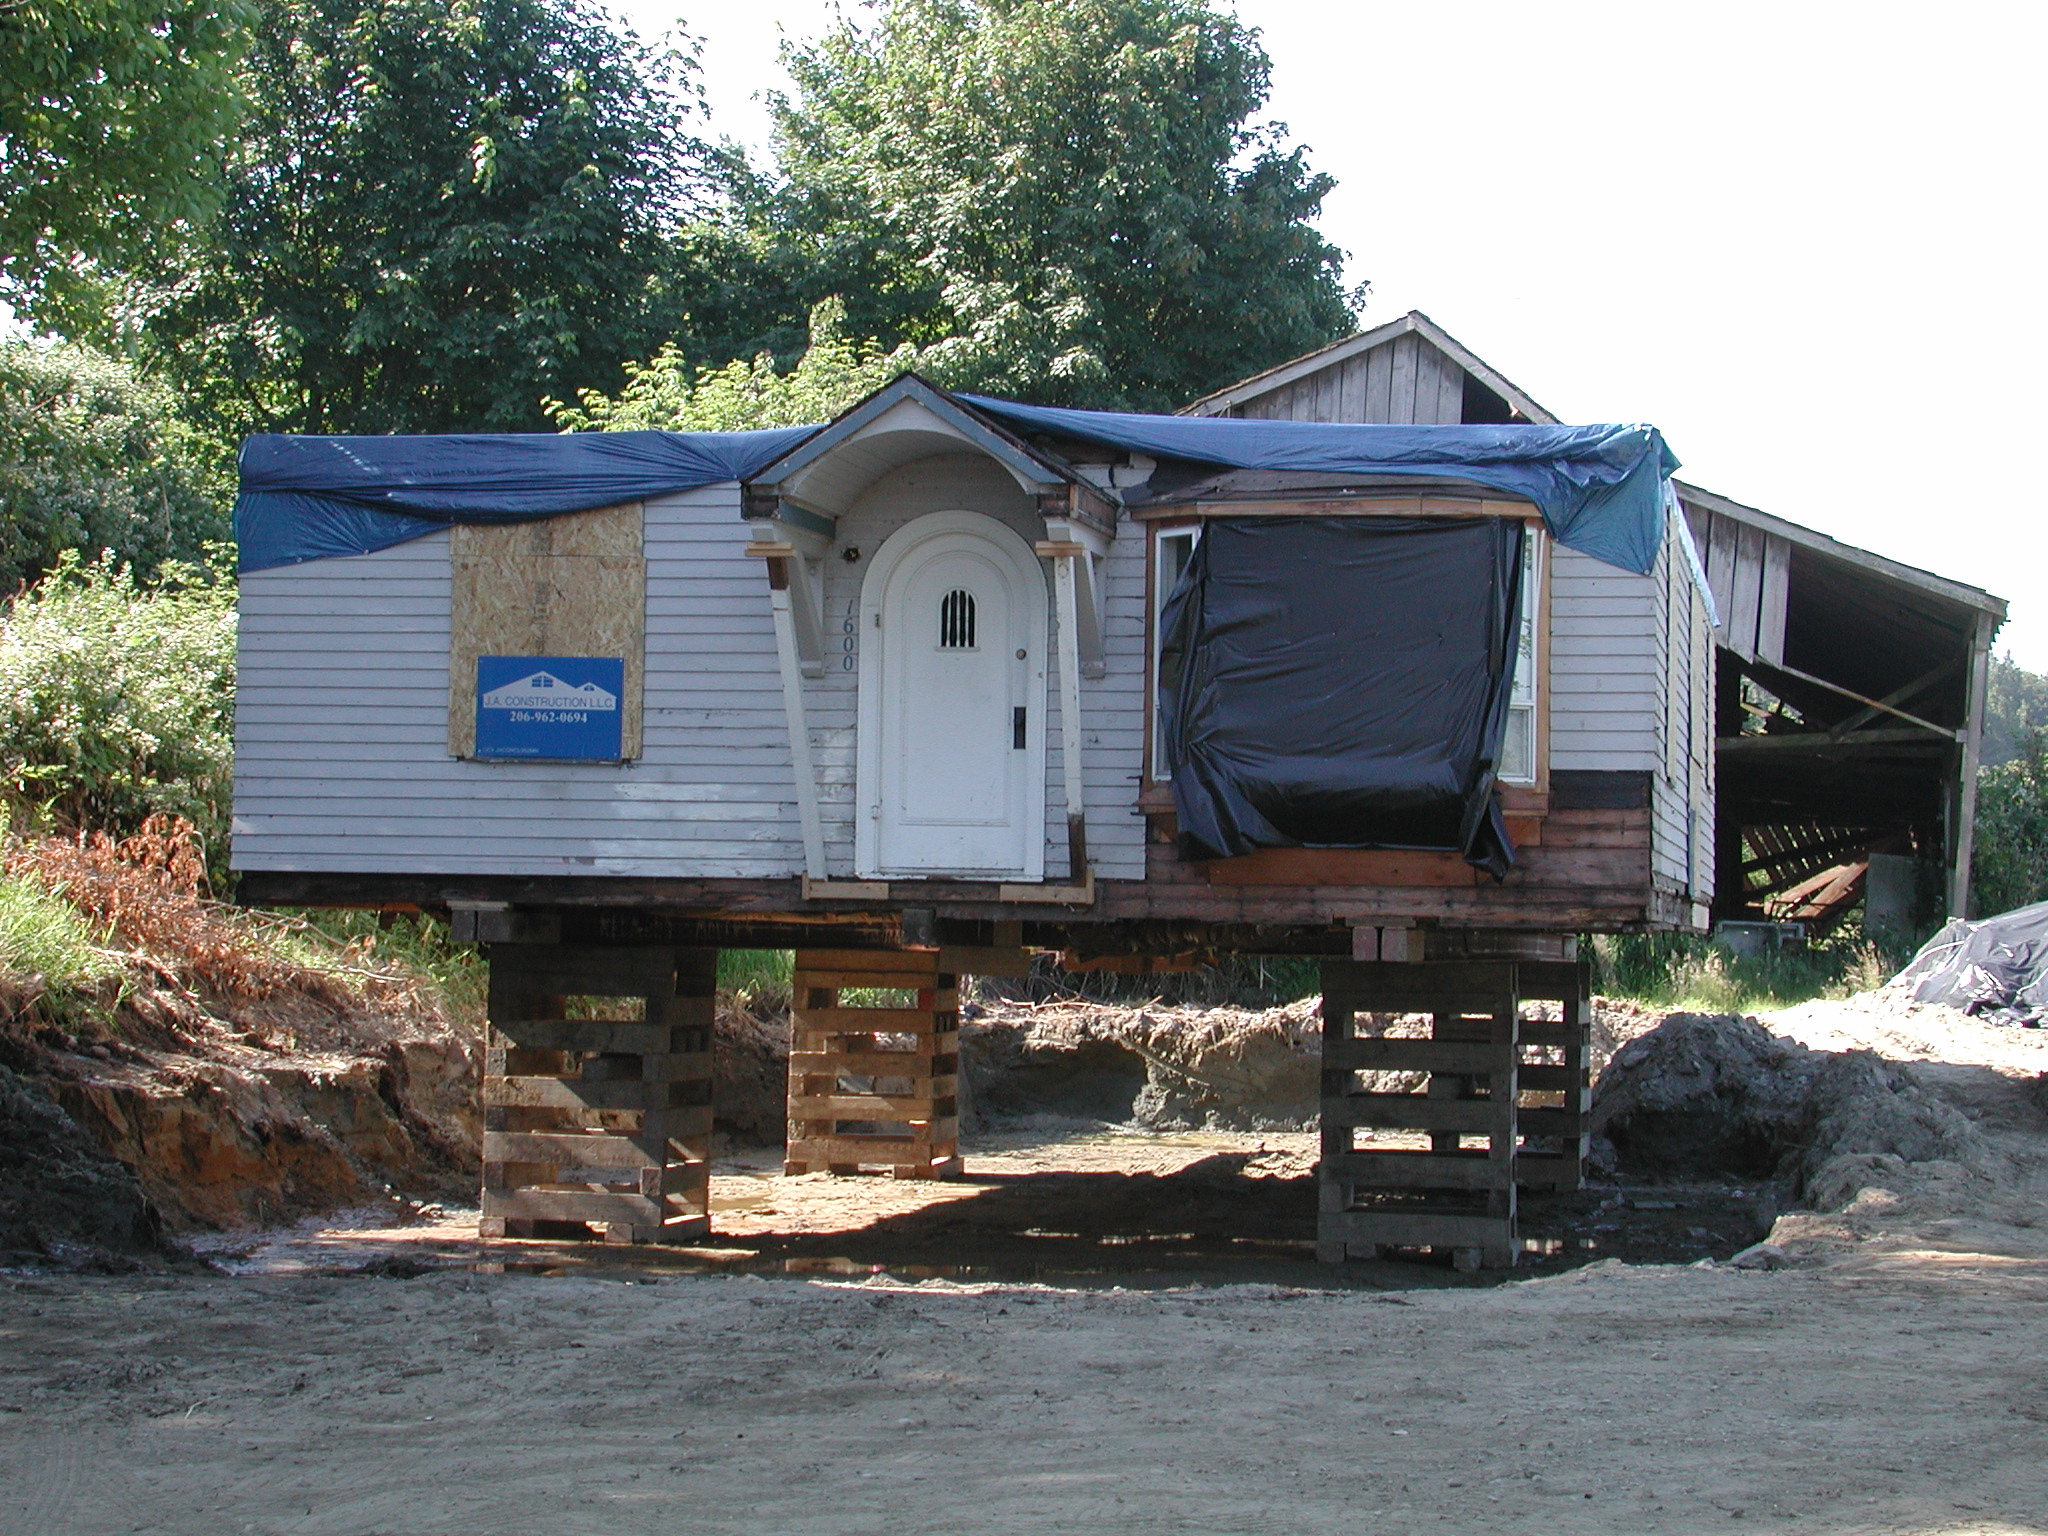
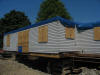
The last of the wall framing gets cut off & the house is tarped.
|
|

|
|
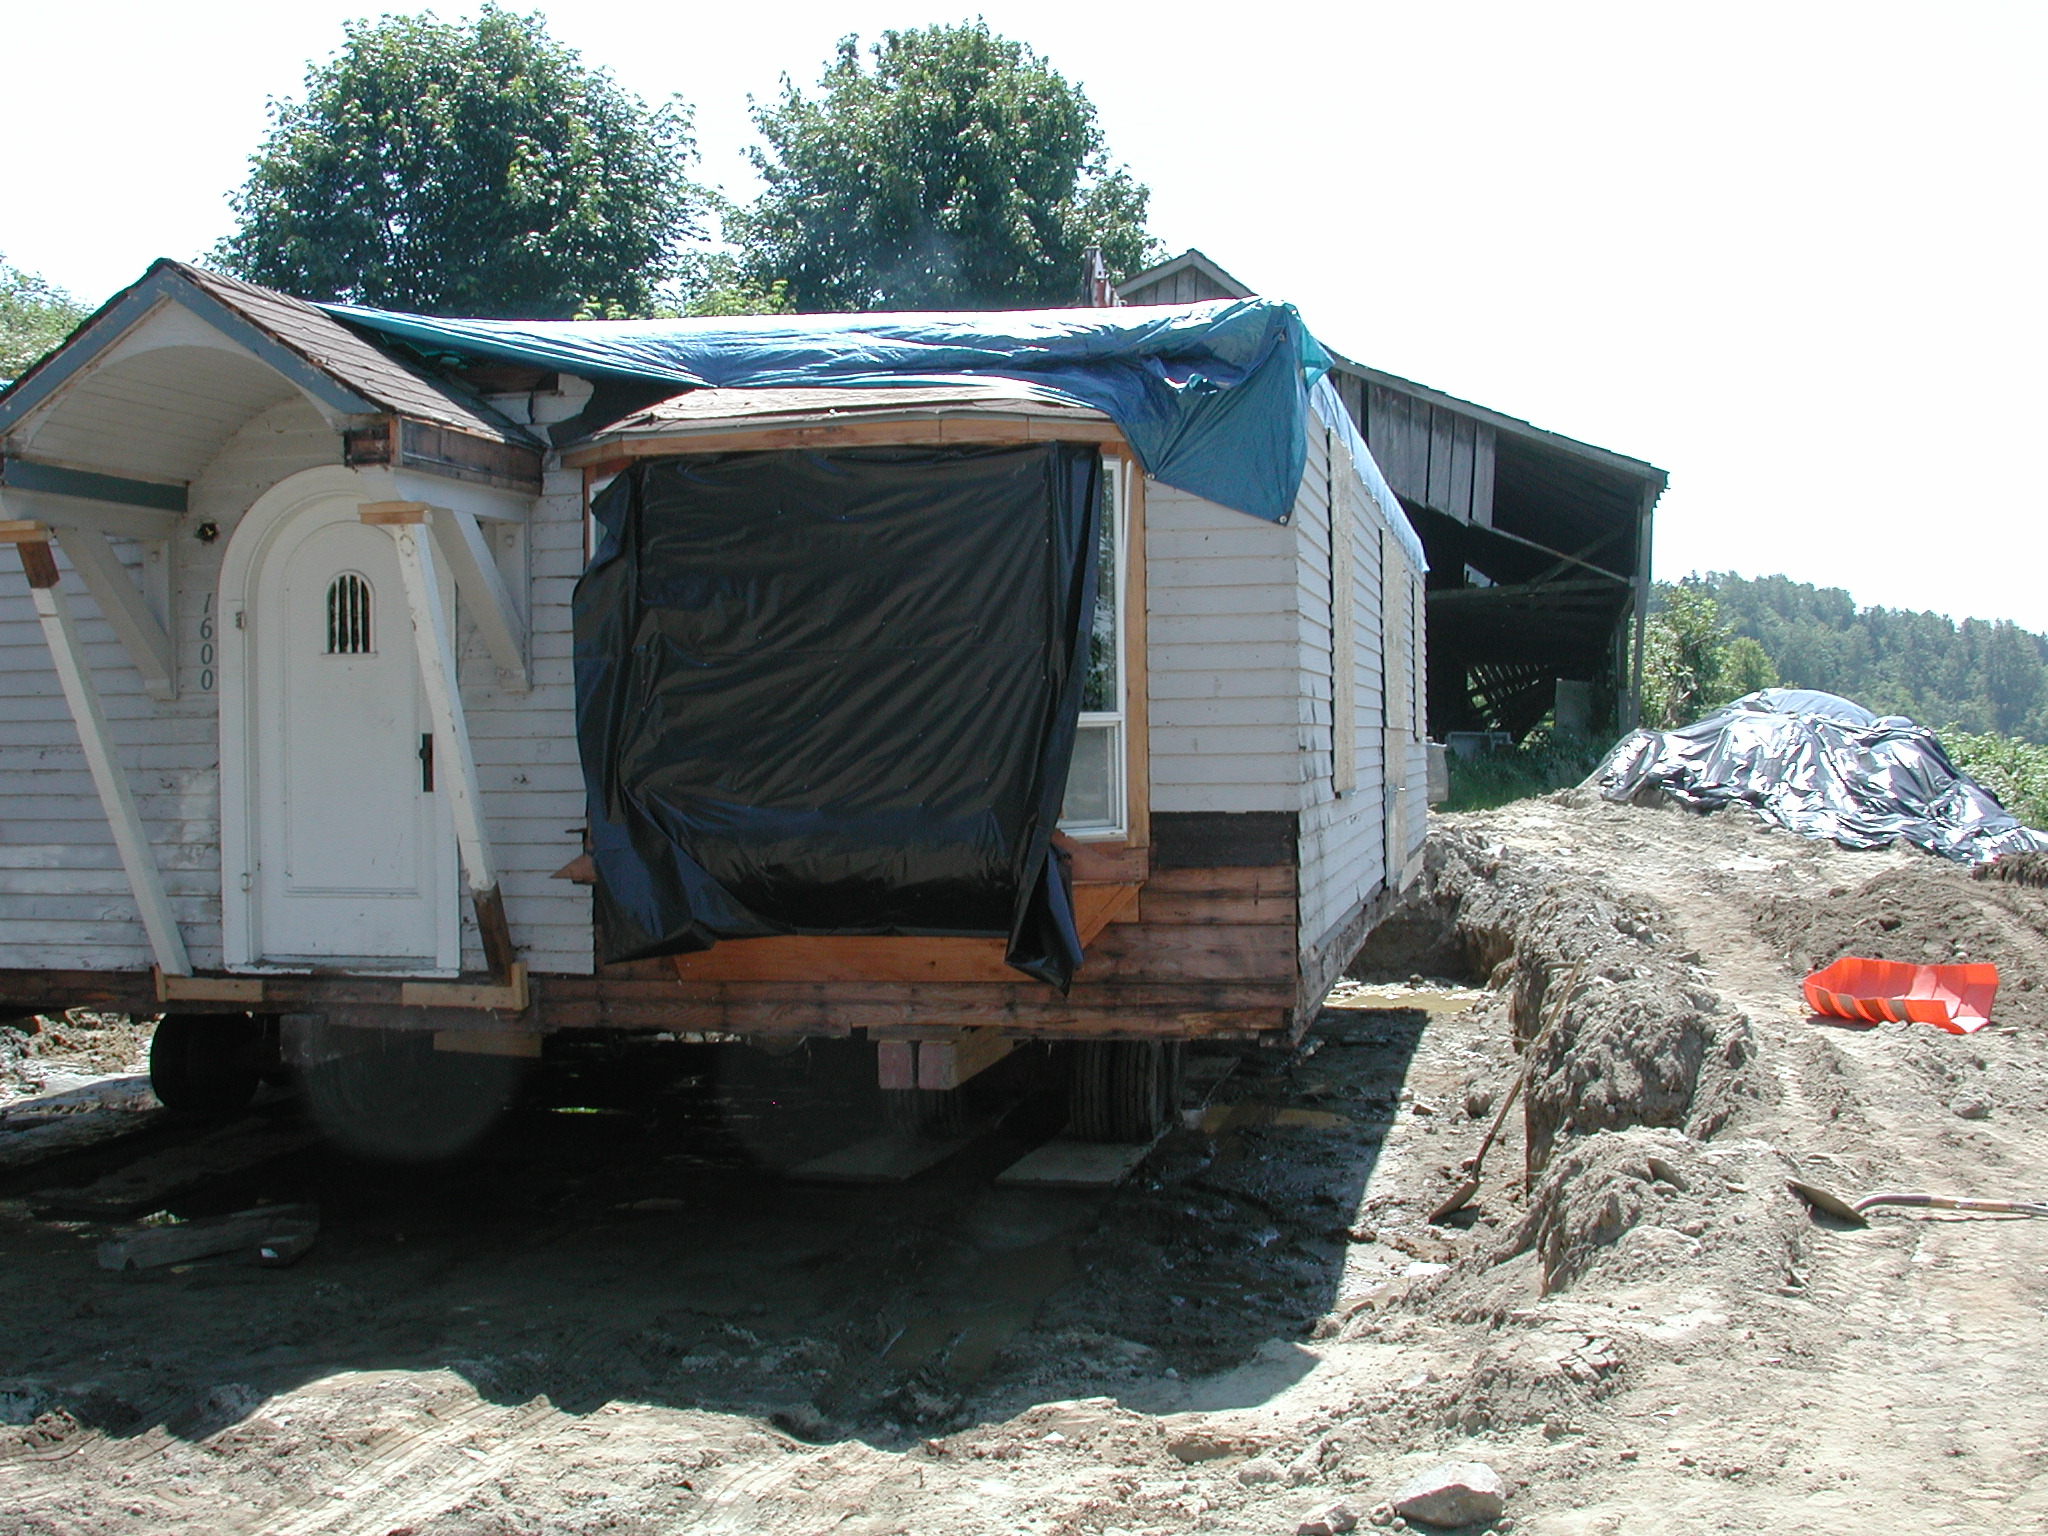
The little laundry room roof came off too.
|
|
|
|

|
|
Final tarp job kept it dry throughout the ordeal.
|
|
|
|
Punching holes for the beams. This is done the old fashioned way, with a sledgehammer.
|
|

|
|
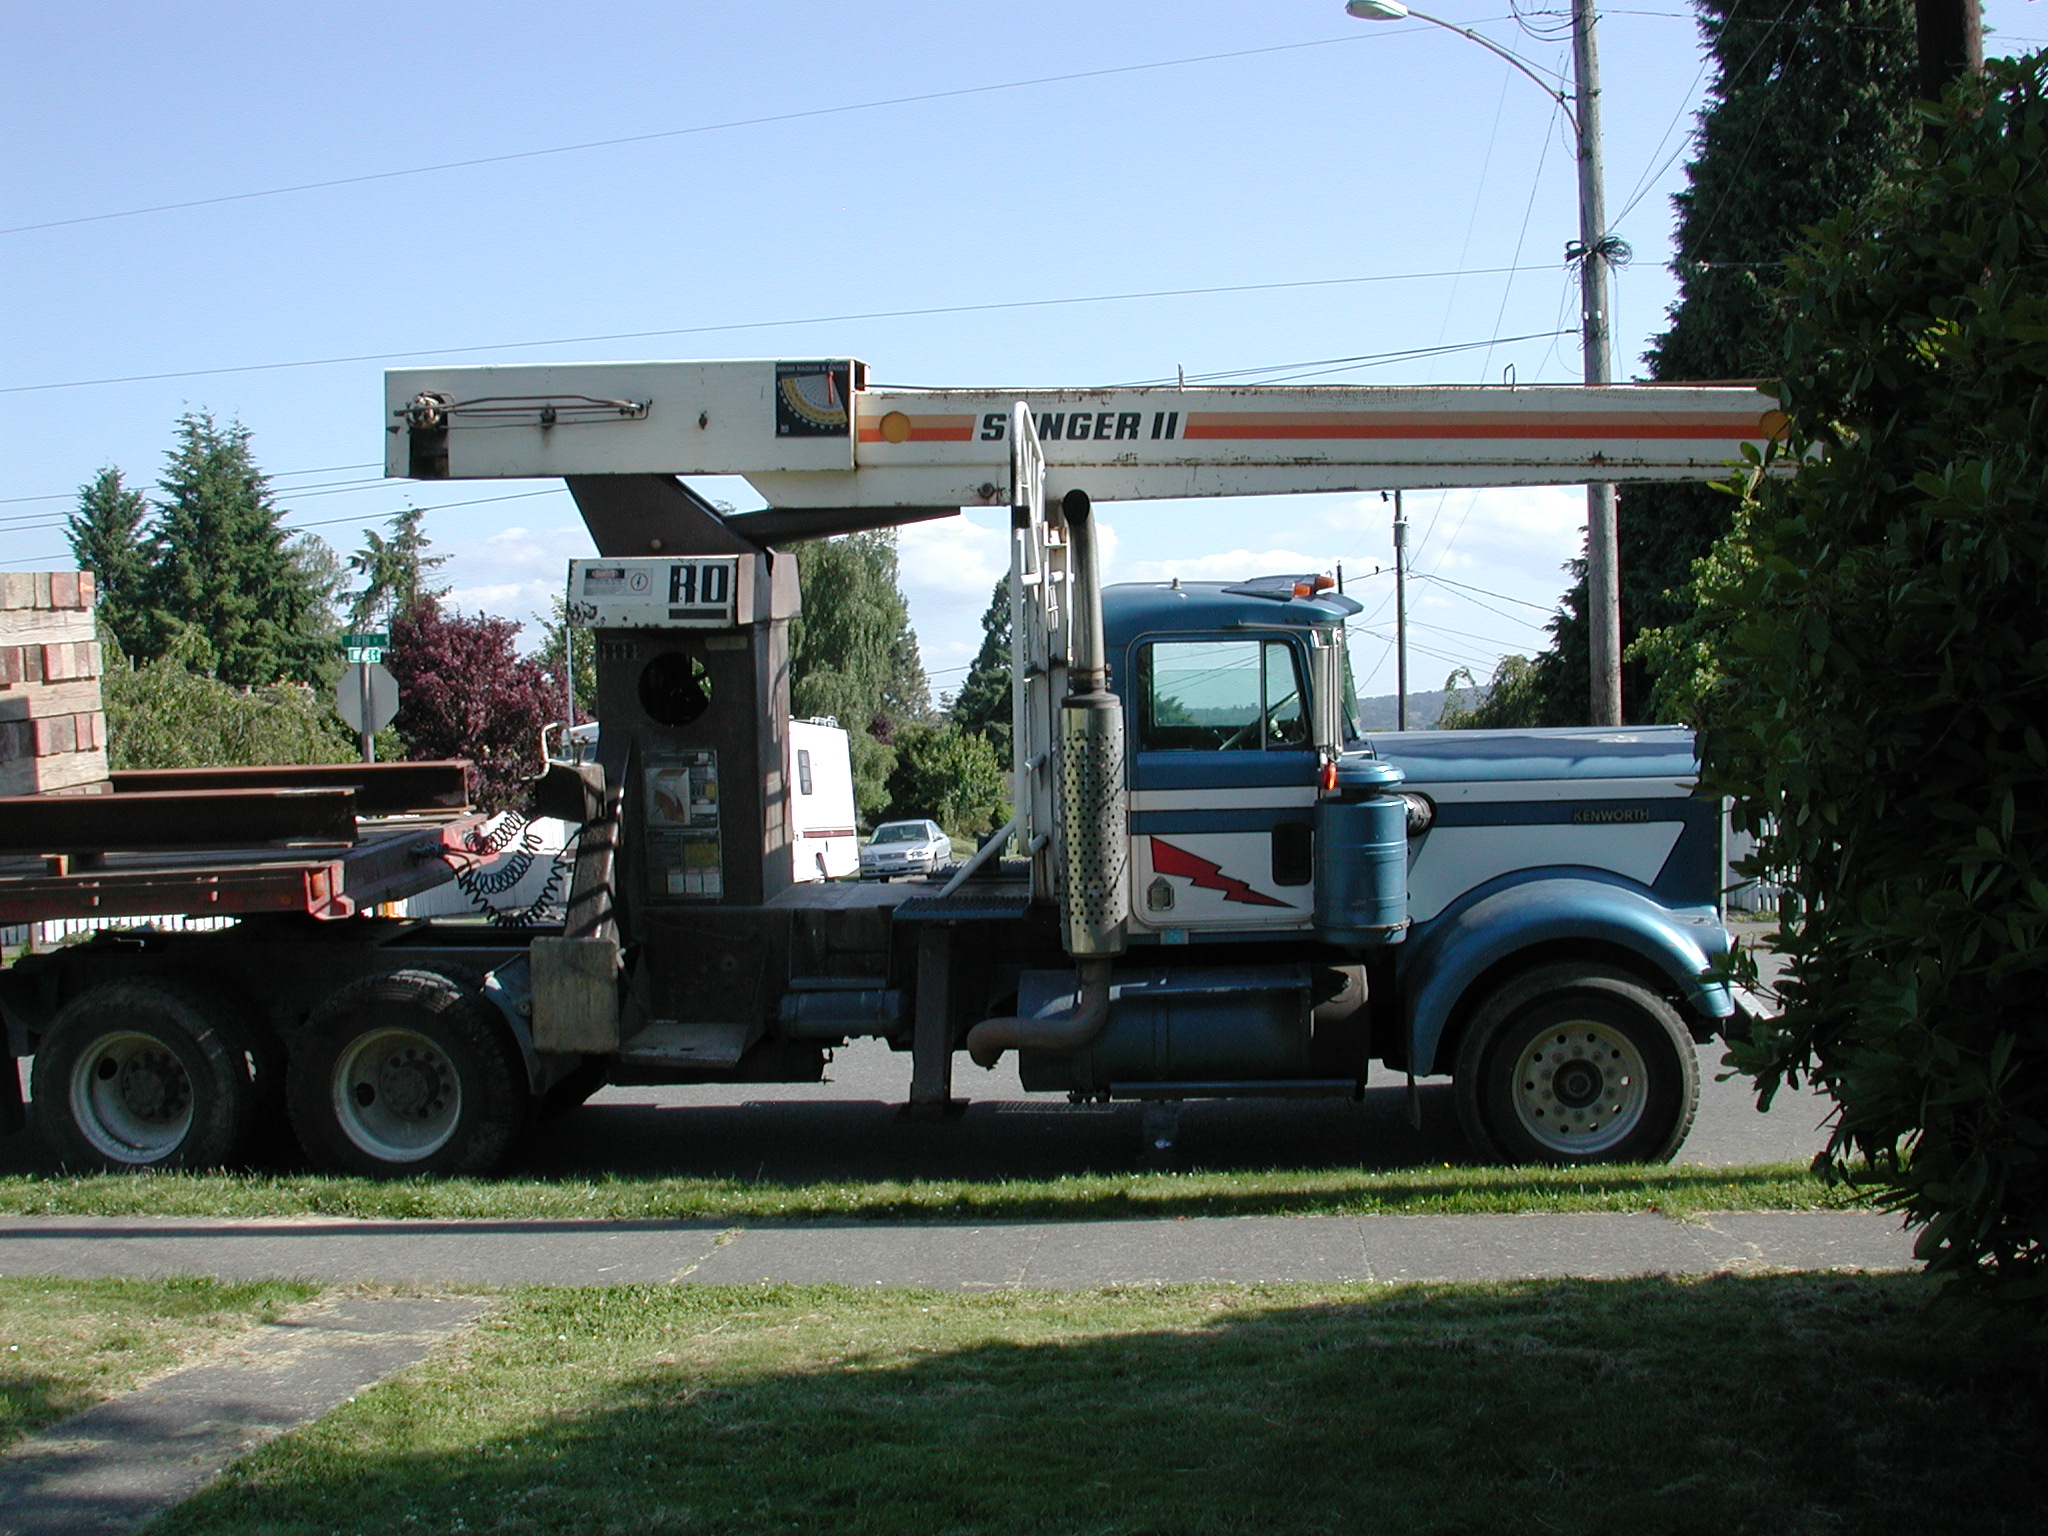
Bob's "Smokey & The Bandit" era boom truck. It died once in Ed Stocker's pasture during the move! (it was a loose wire) :-0
|
|

|
|
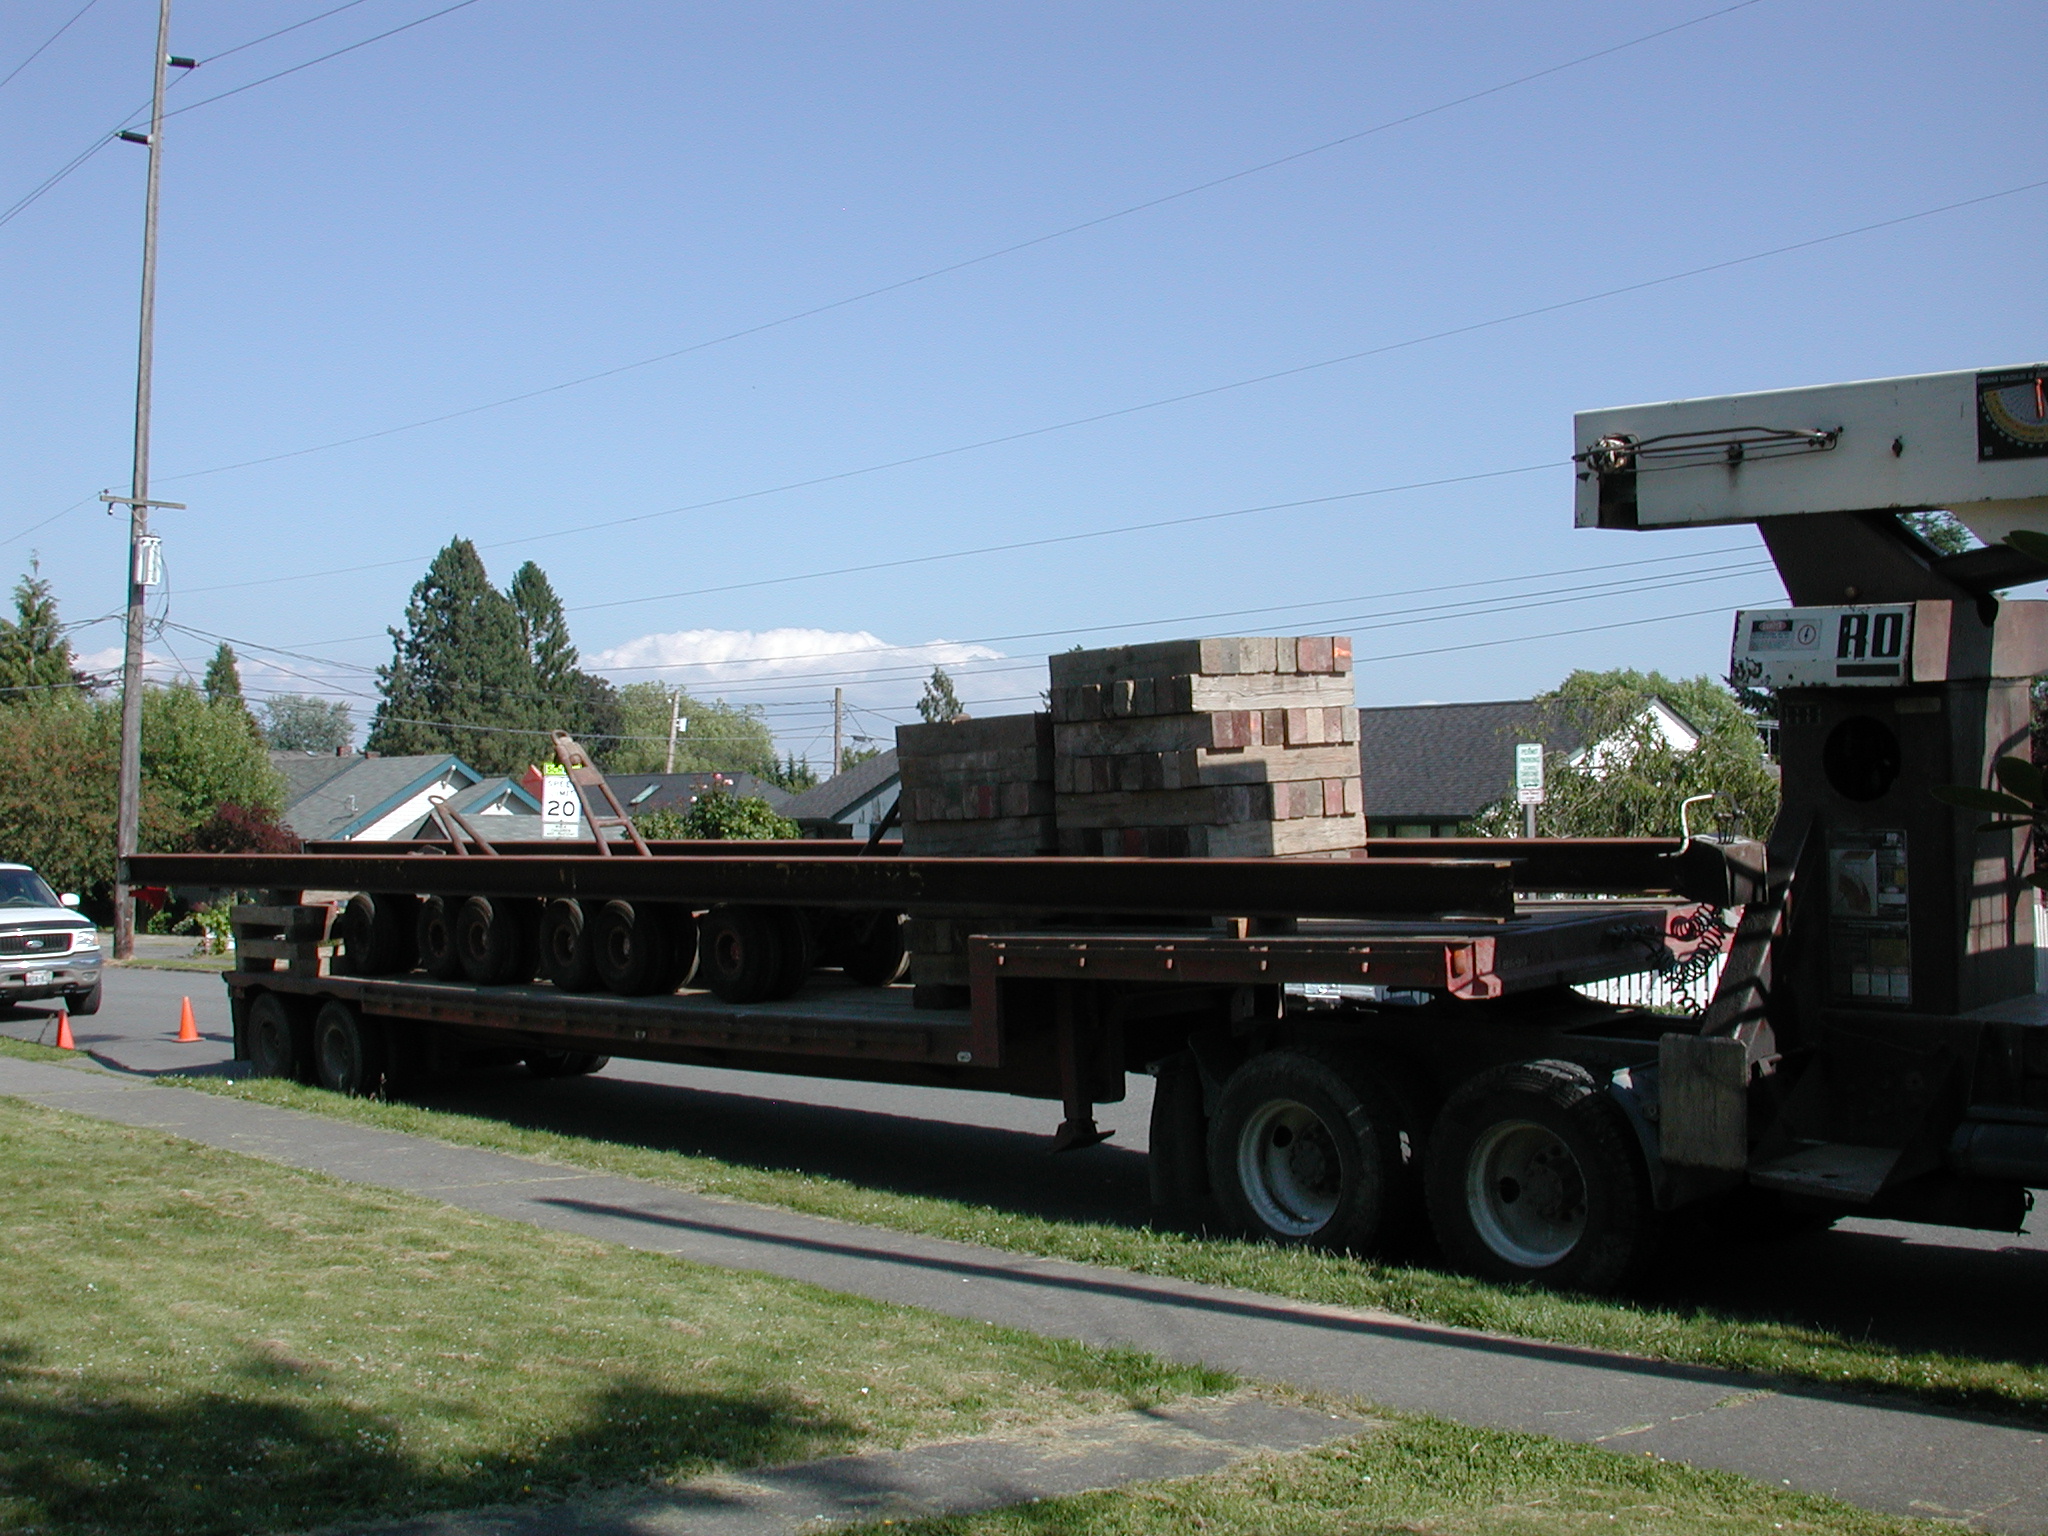
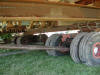
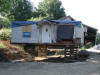
Ingredients for moving a house: a boom truck, some cribs, some beams, some dollies & some hydraulic jacks.
|
|

|
|
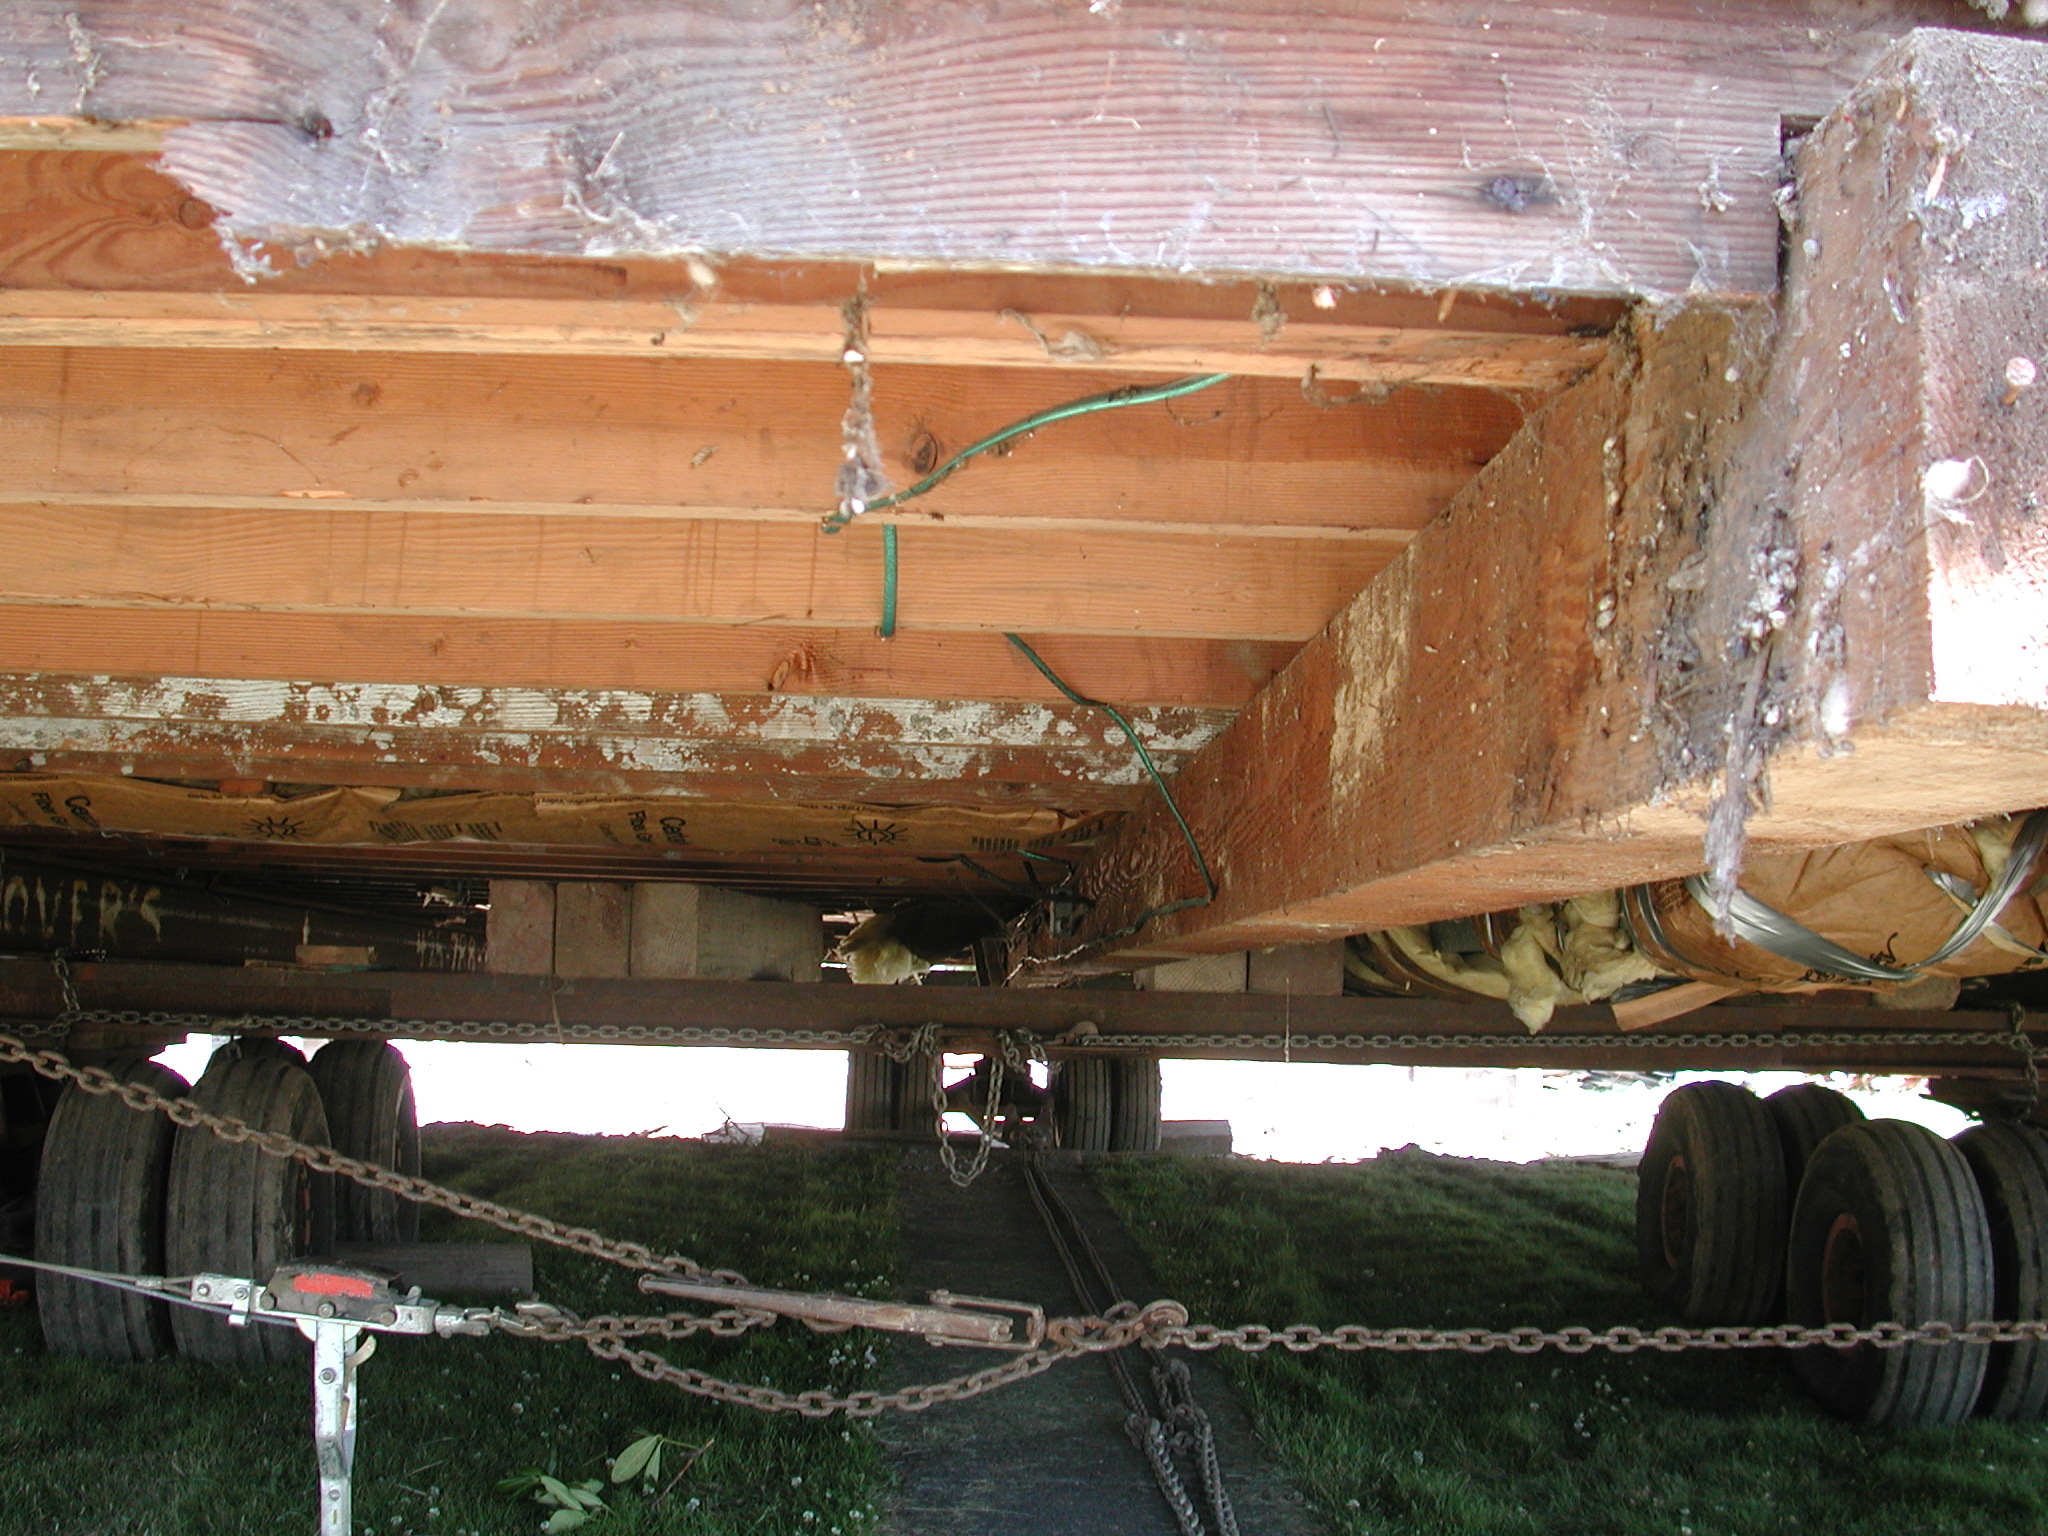
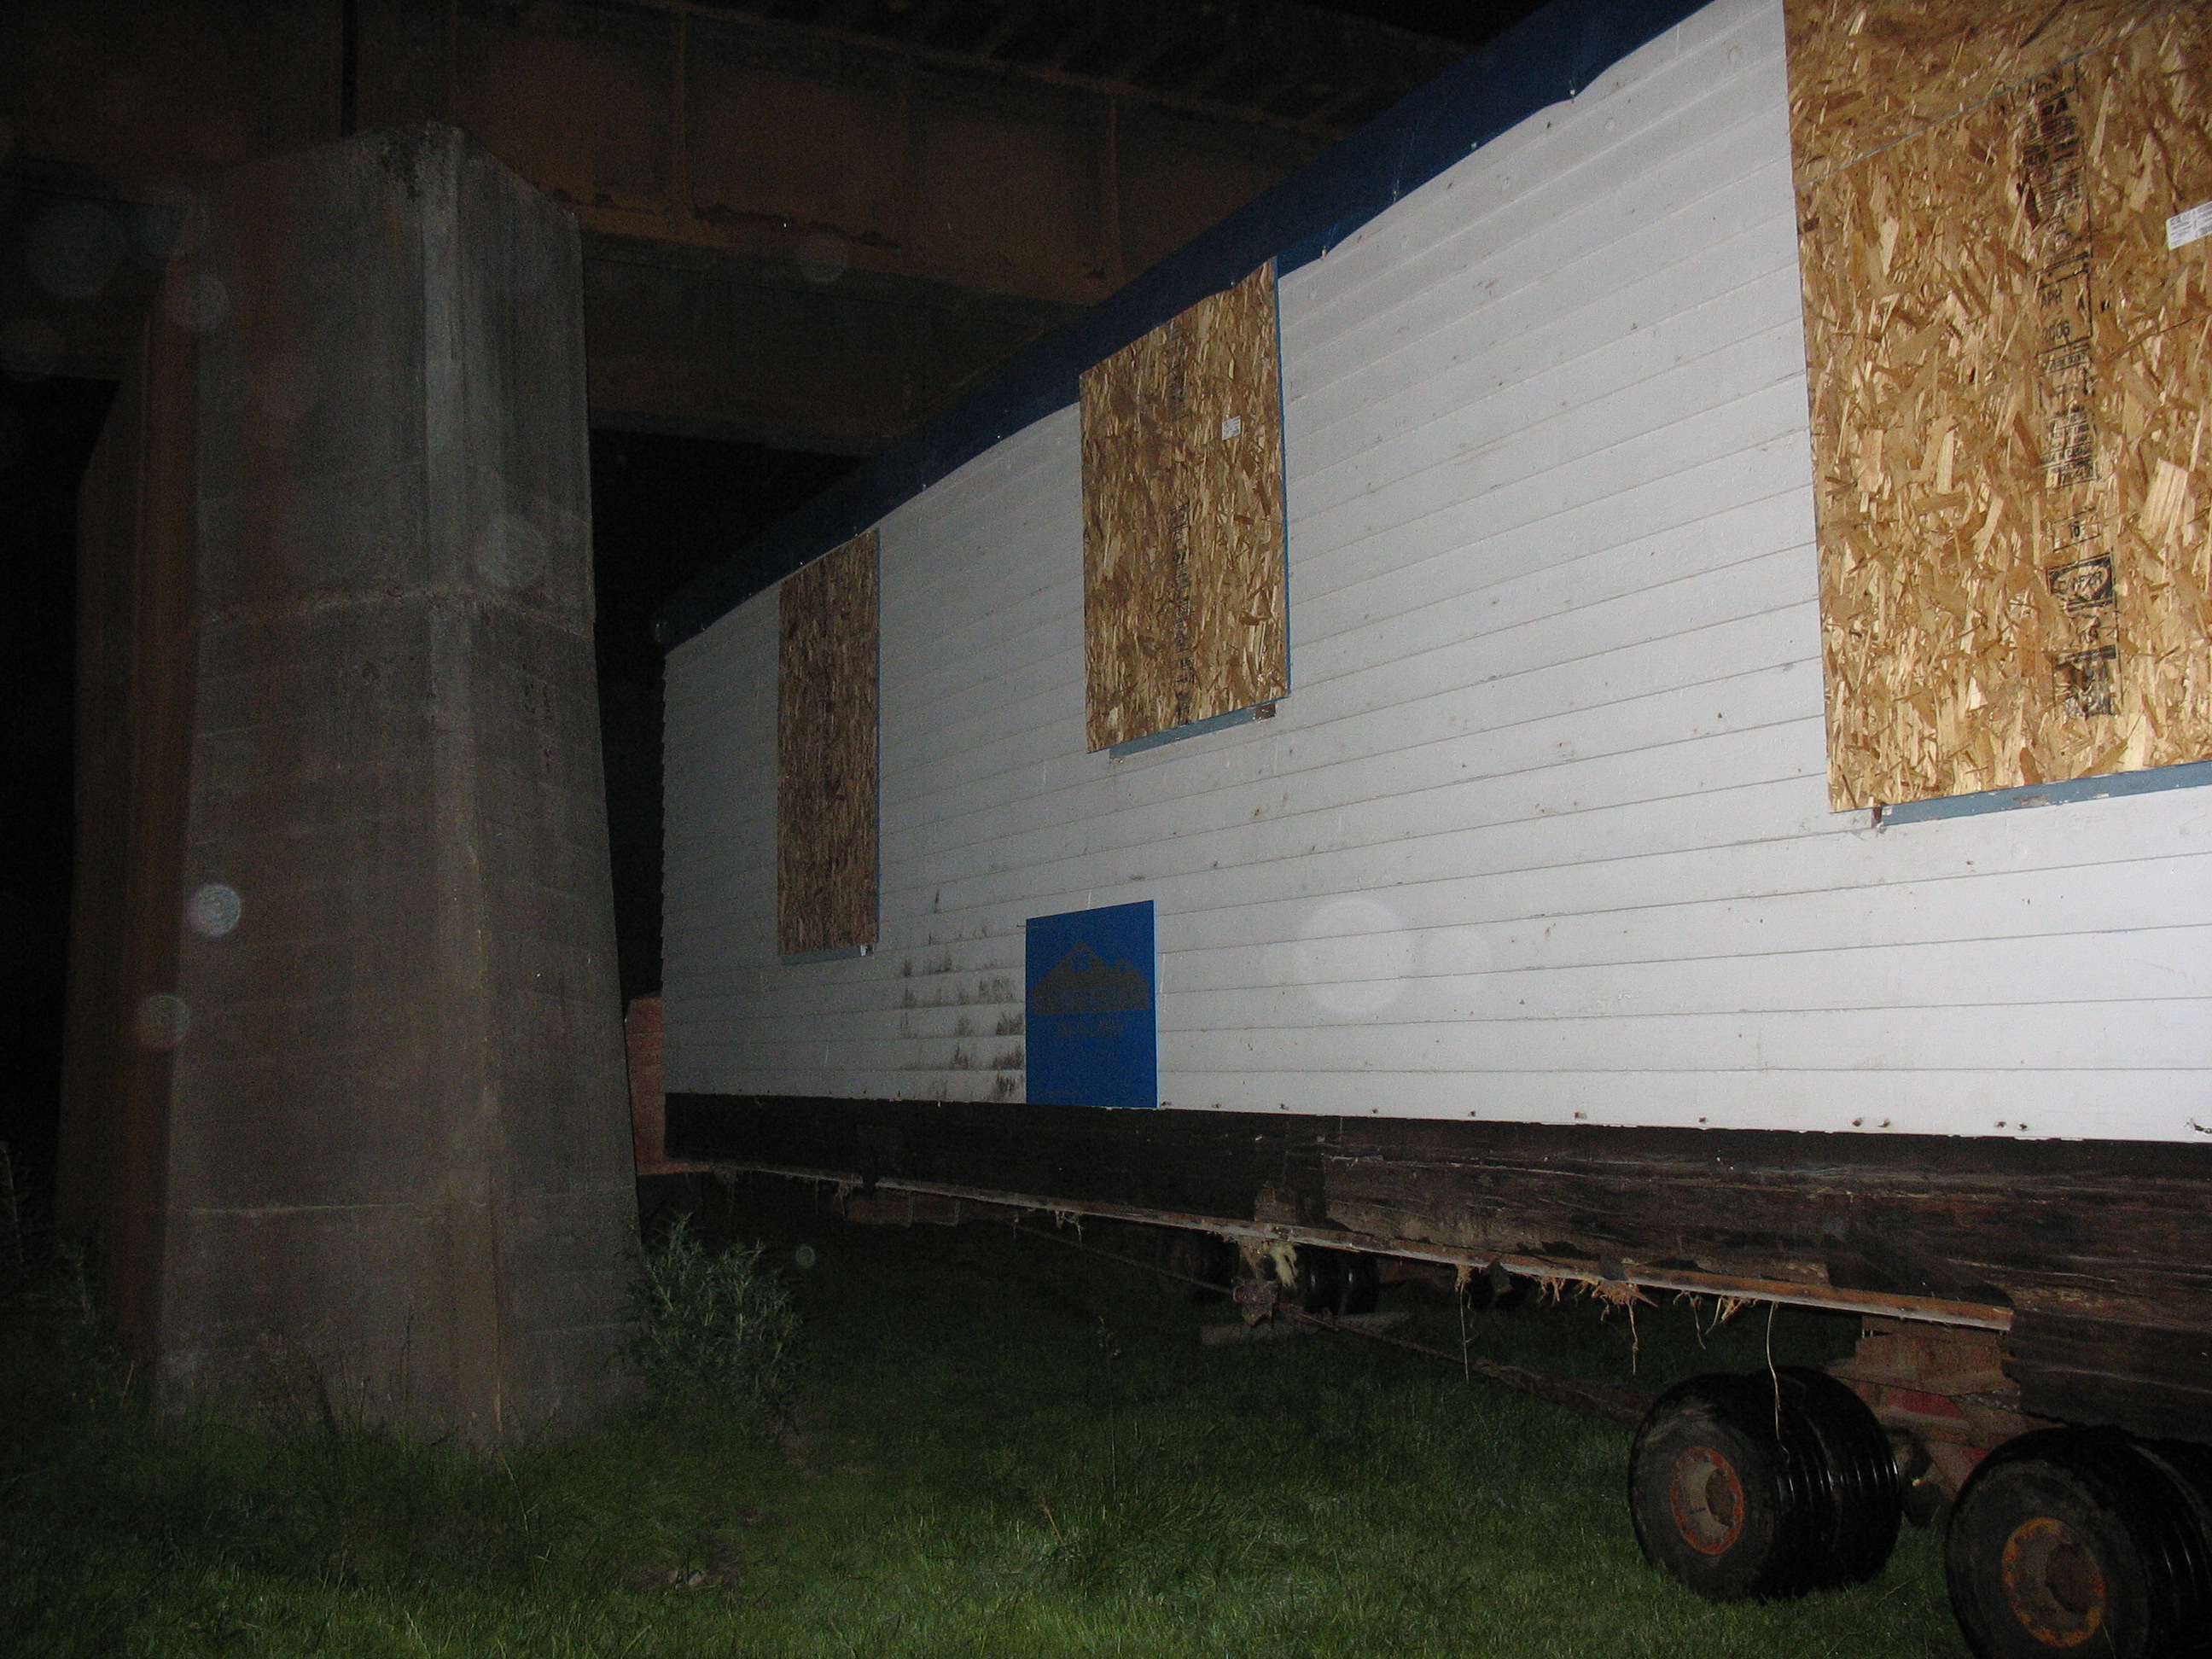
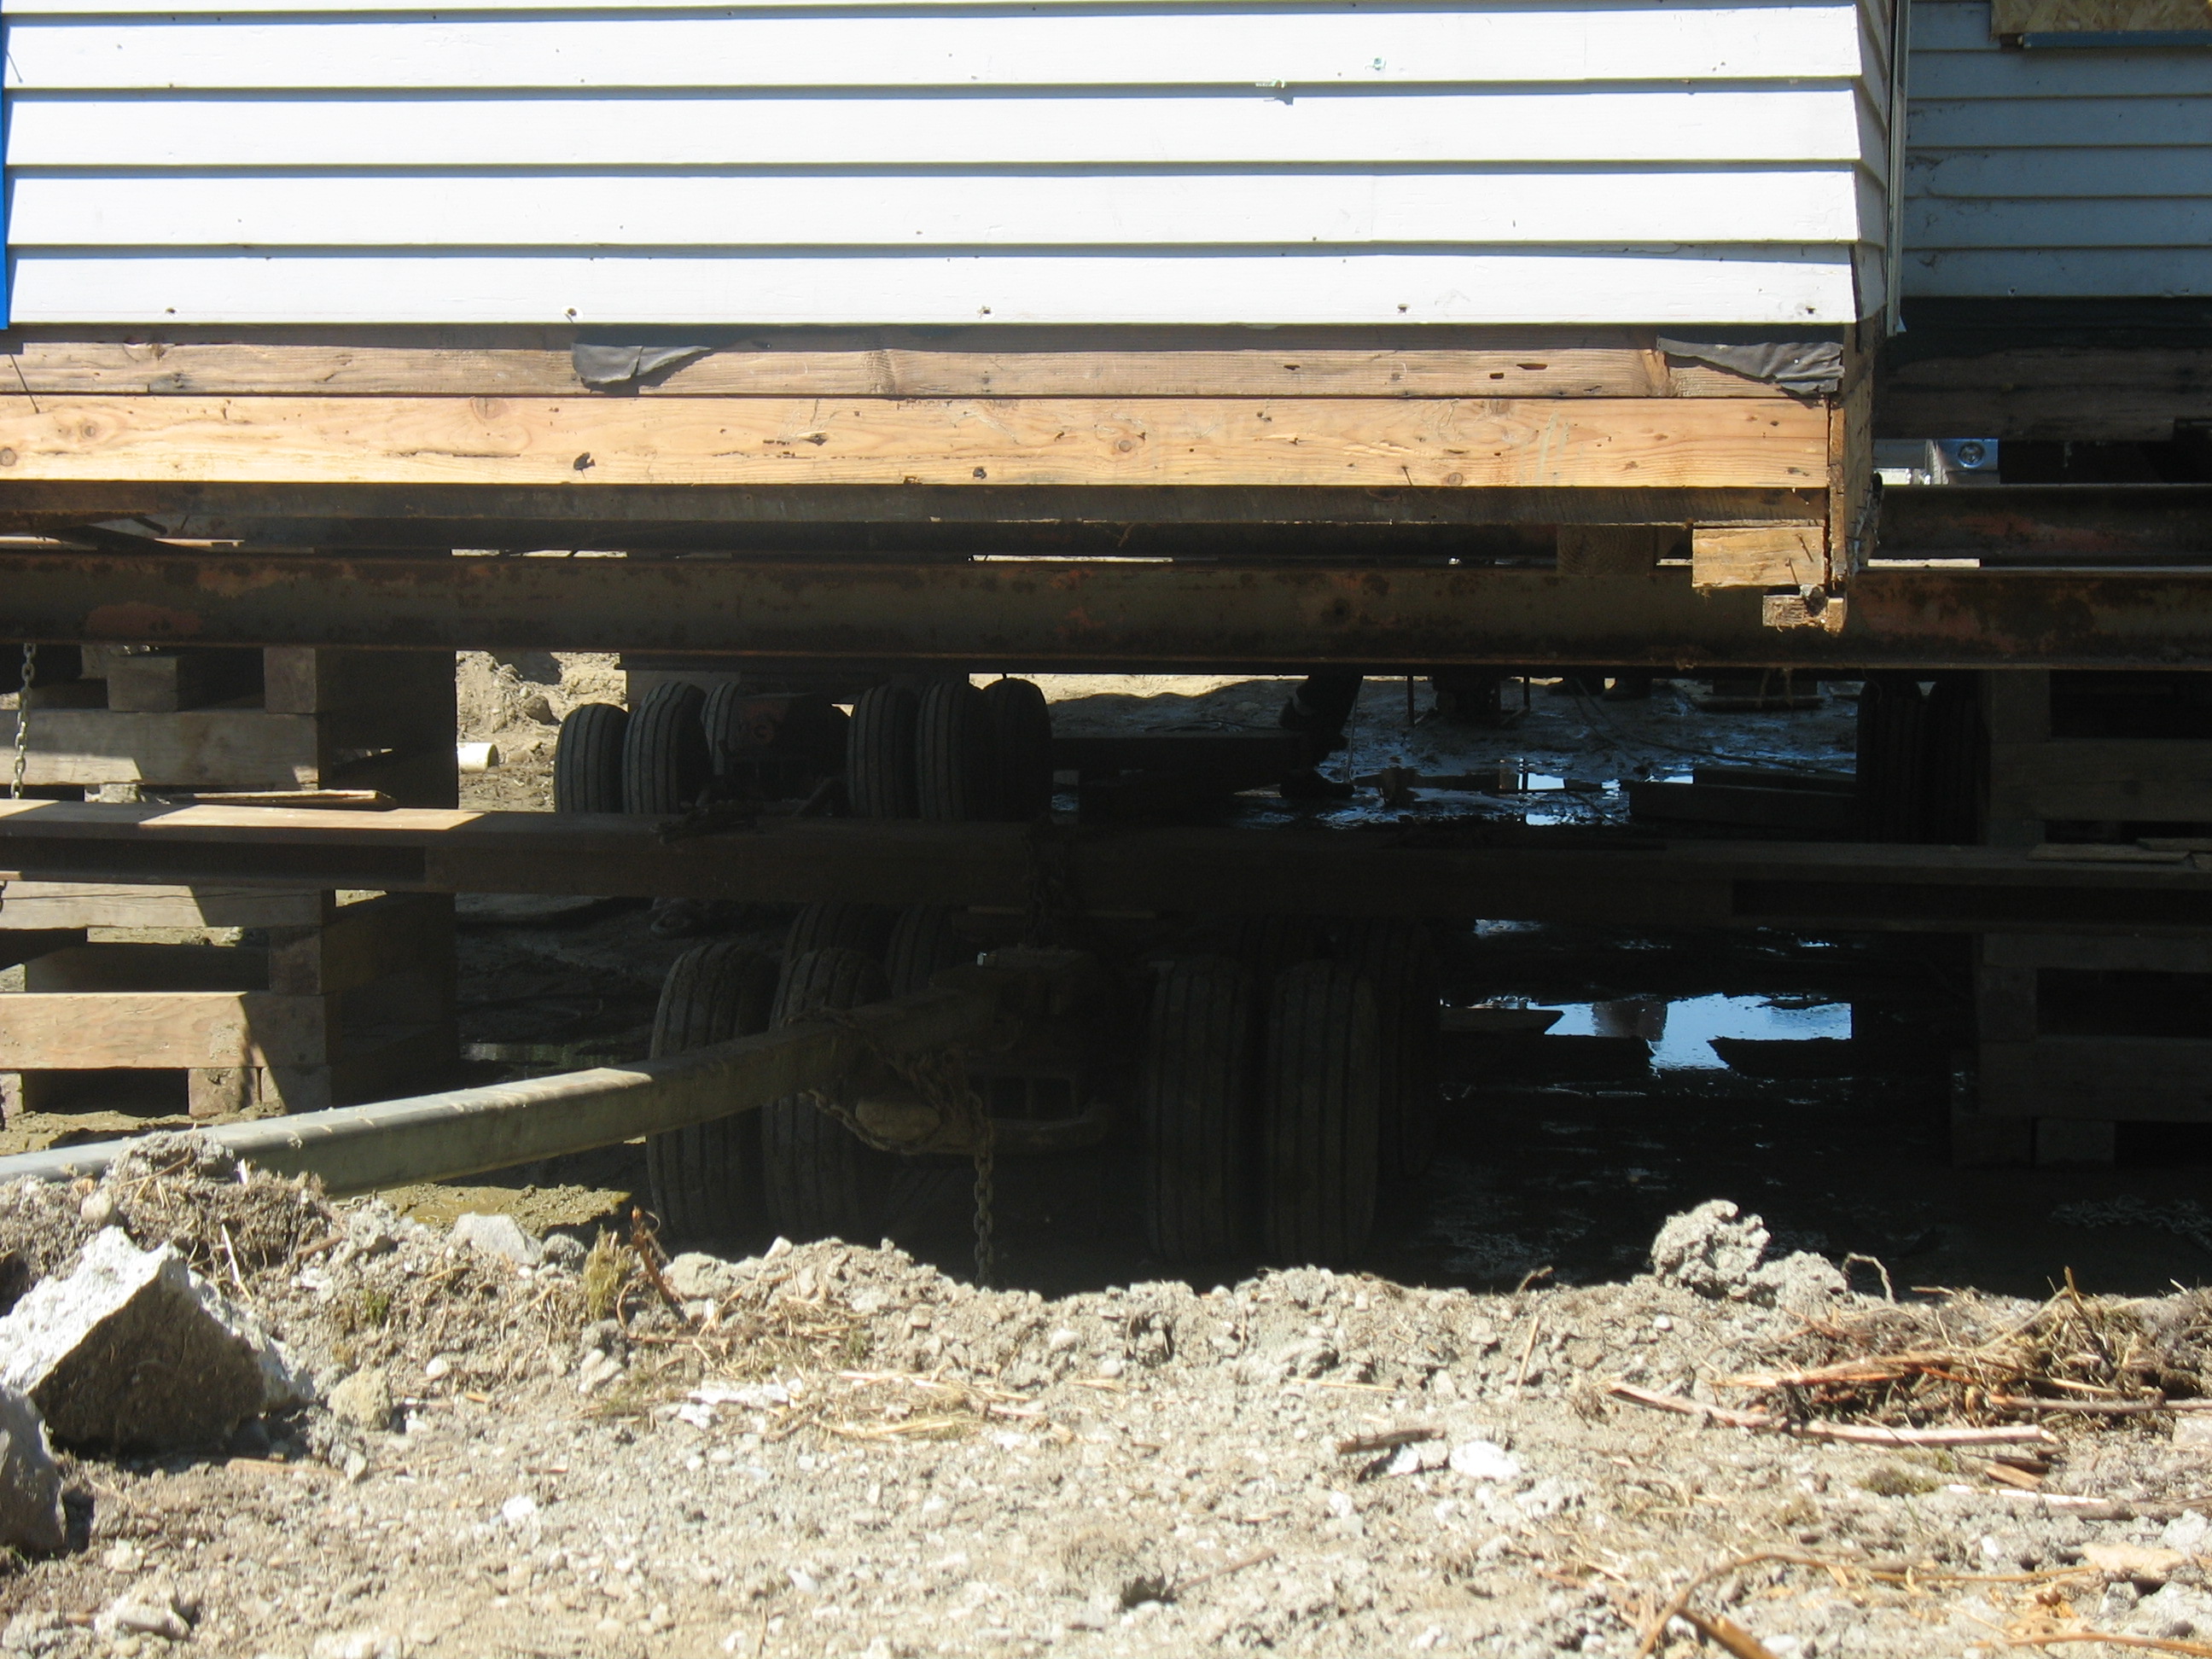
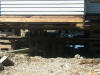
What it looks like underneath.
|
|
|
|
|
|
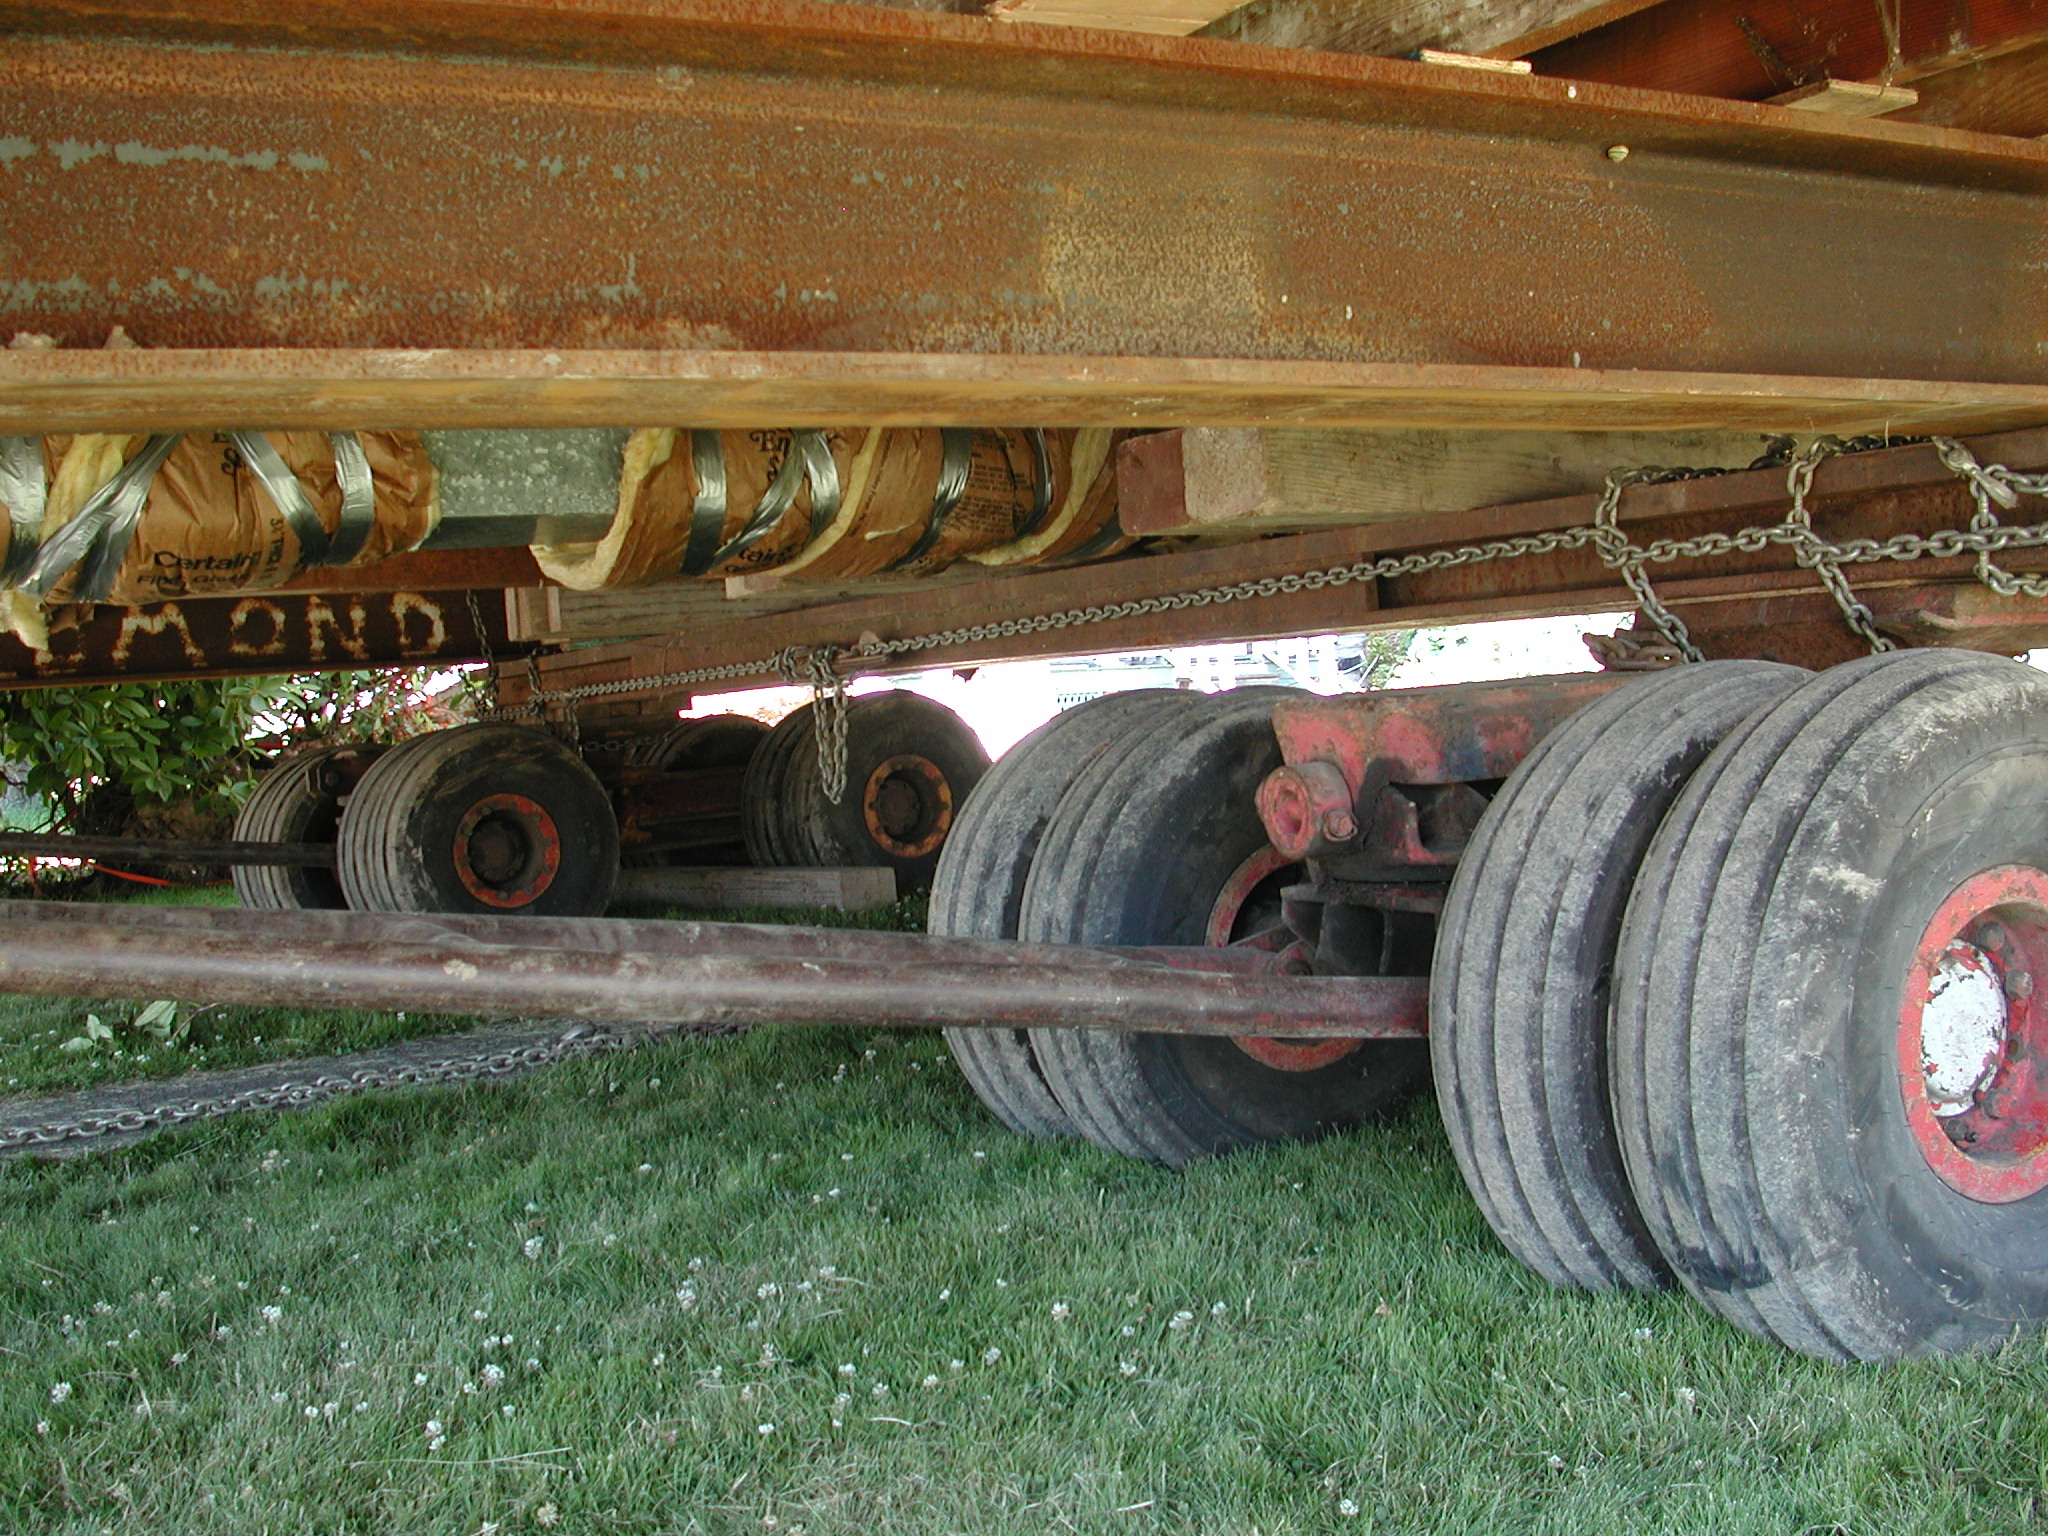
More underneath.
|
|

|
|
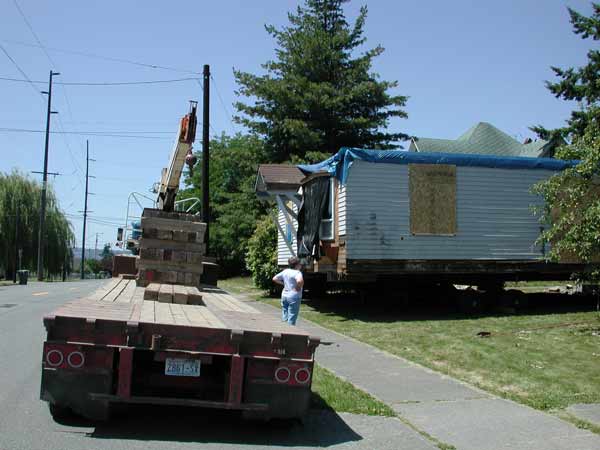
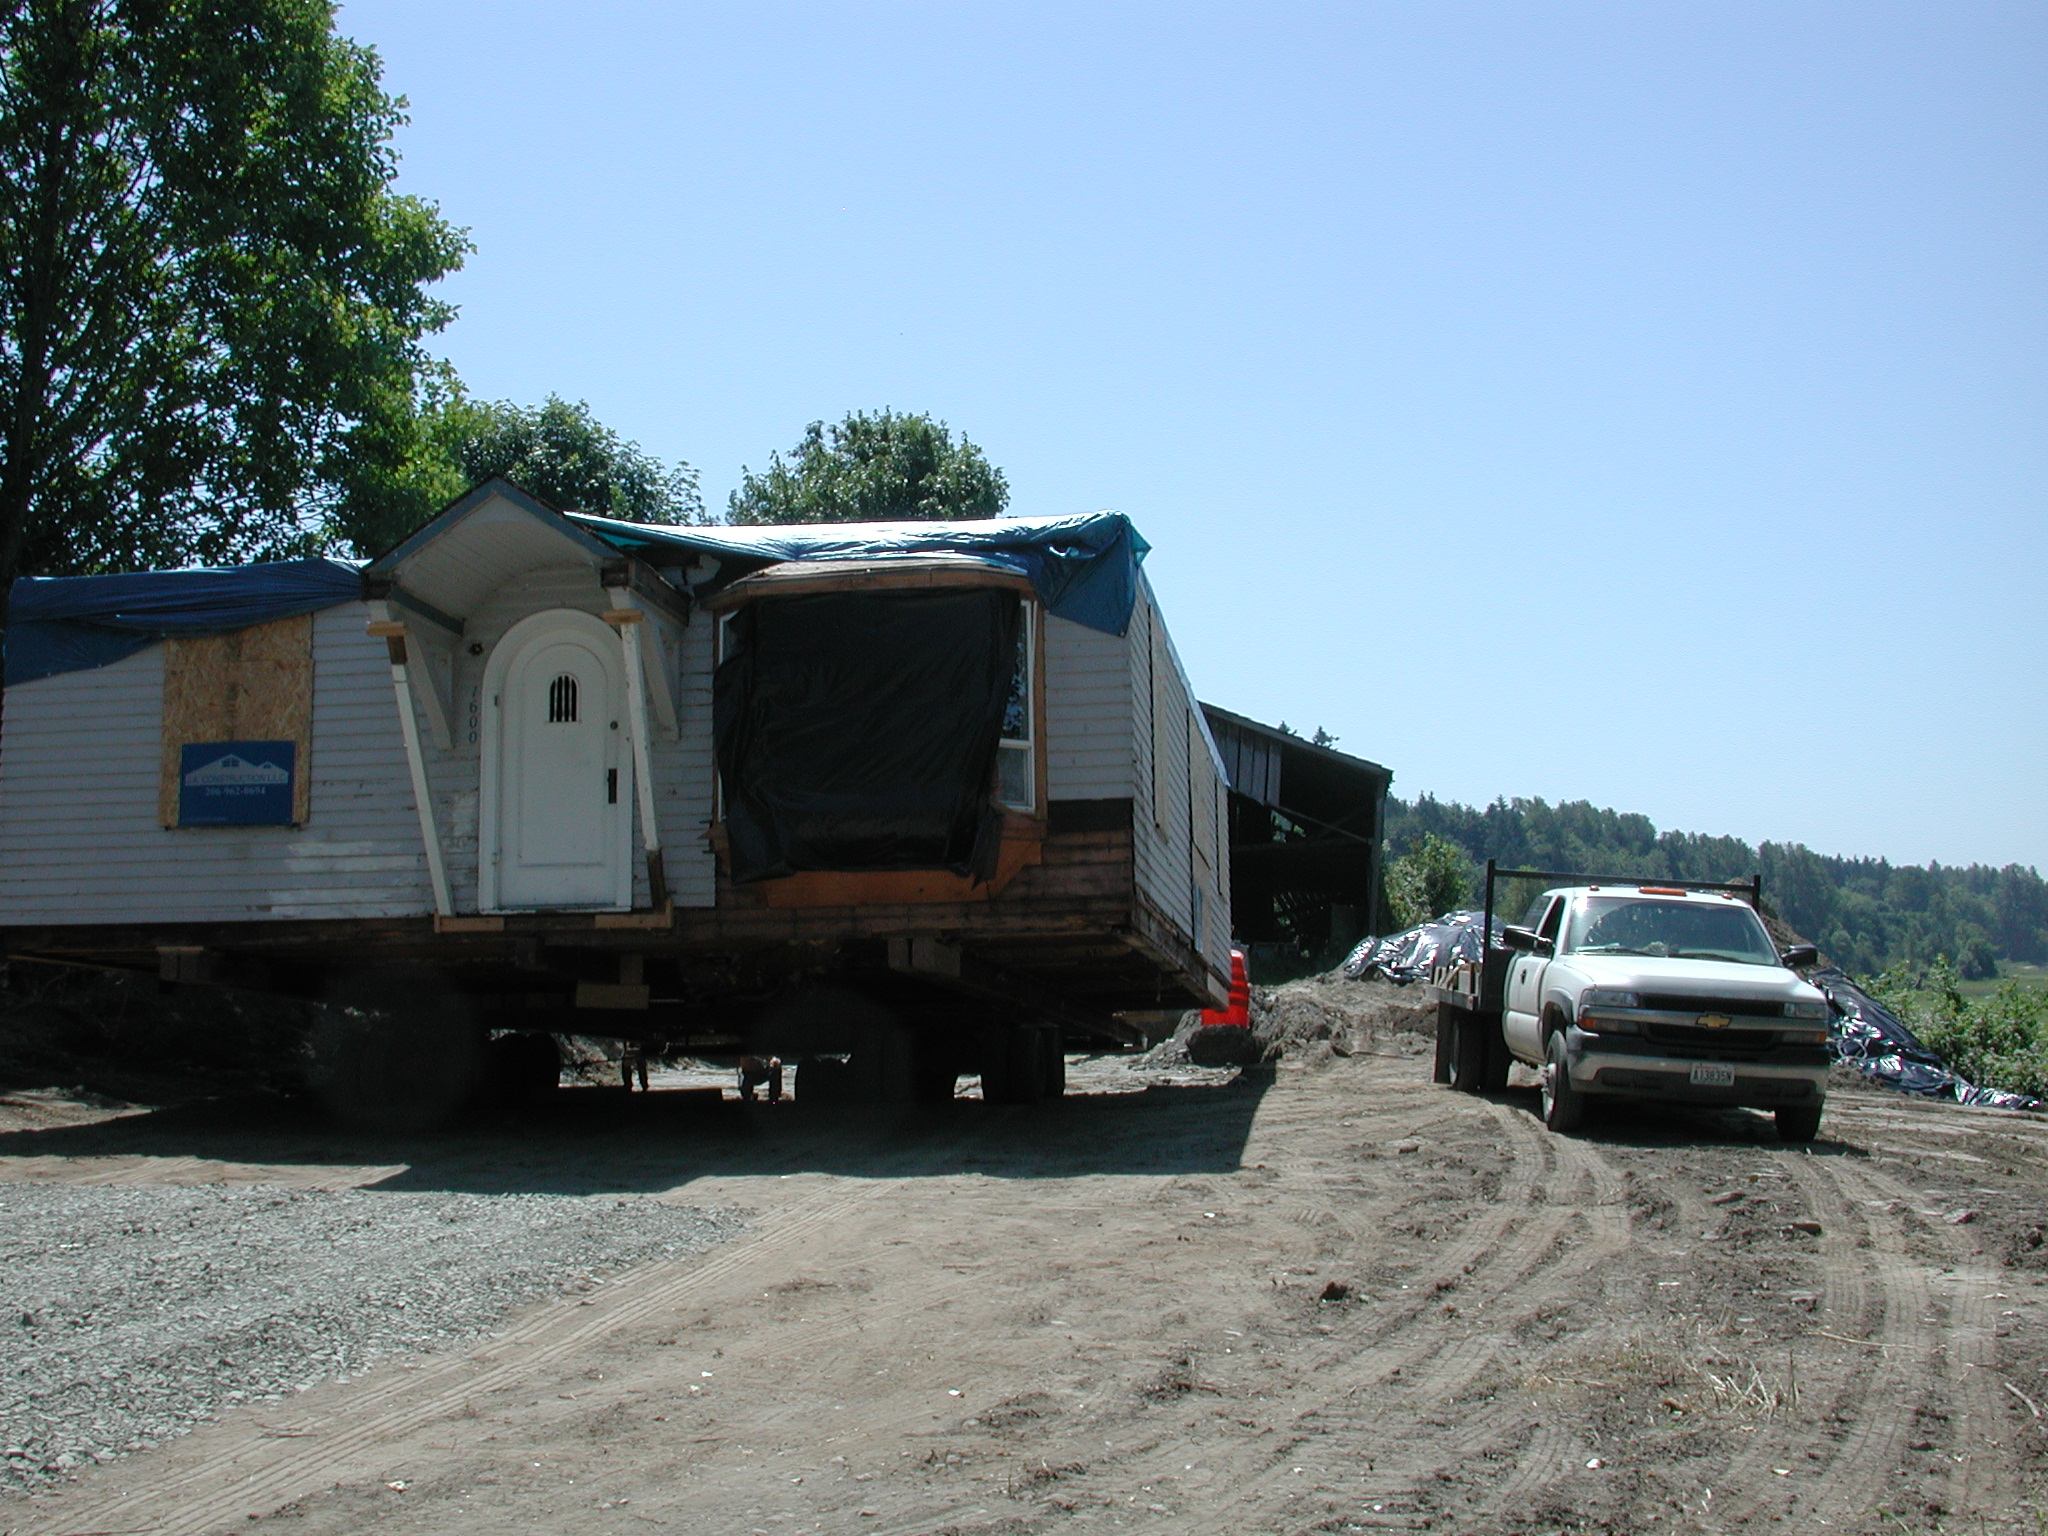
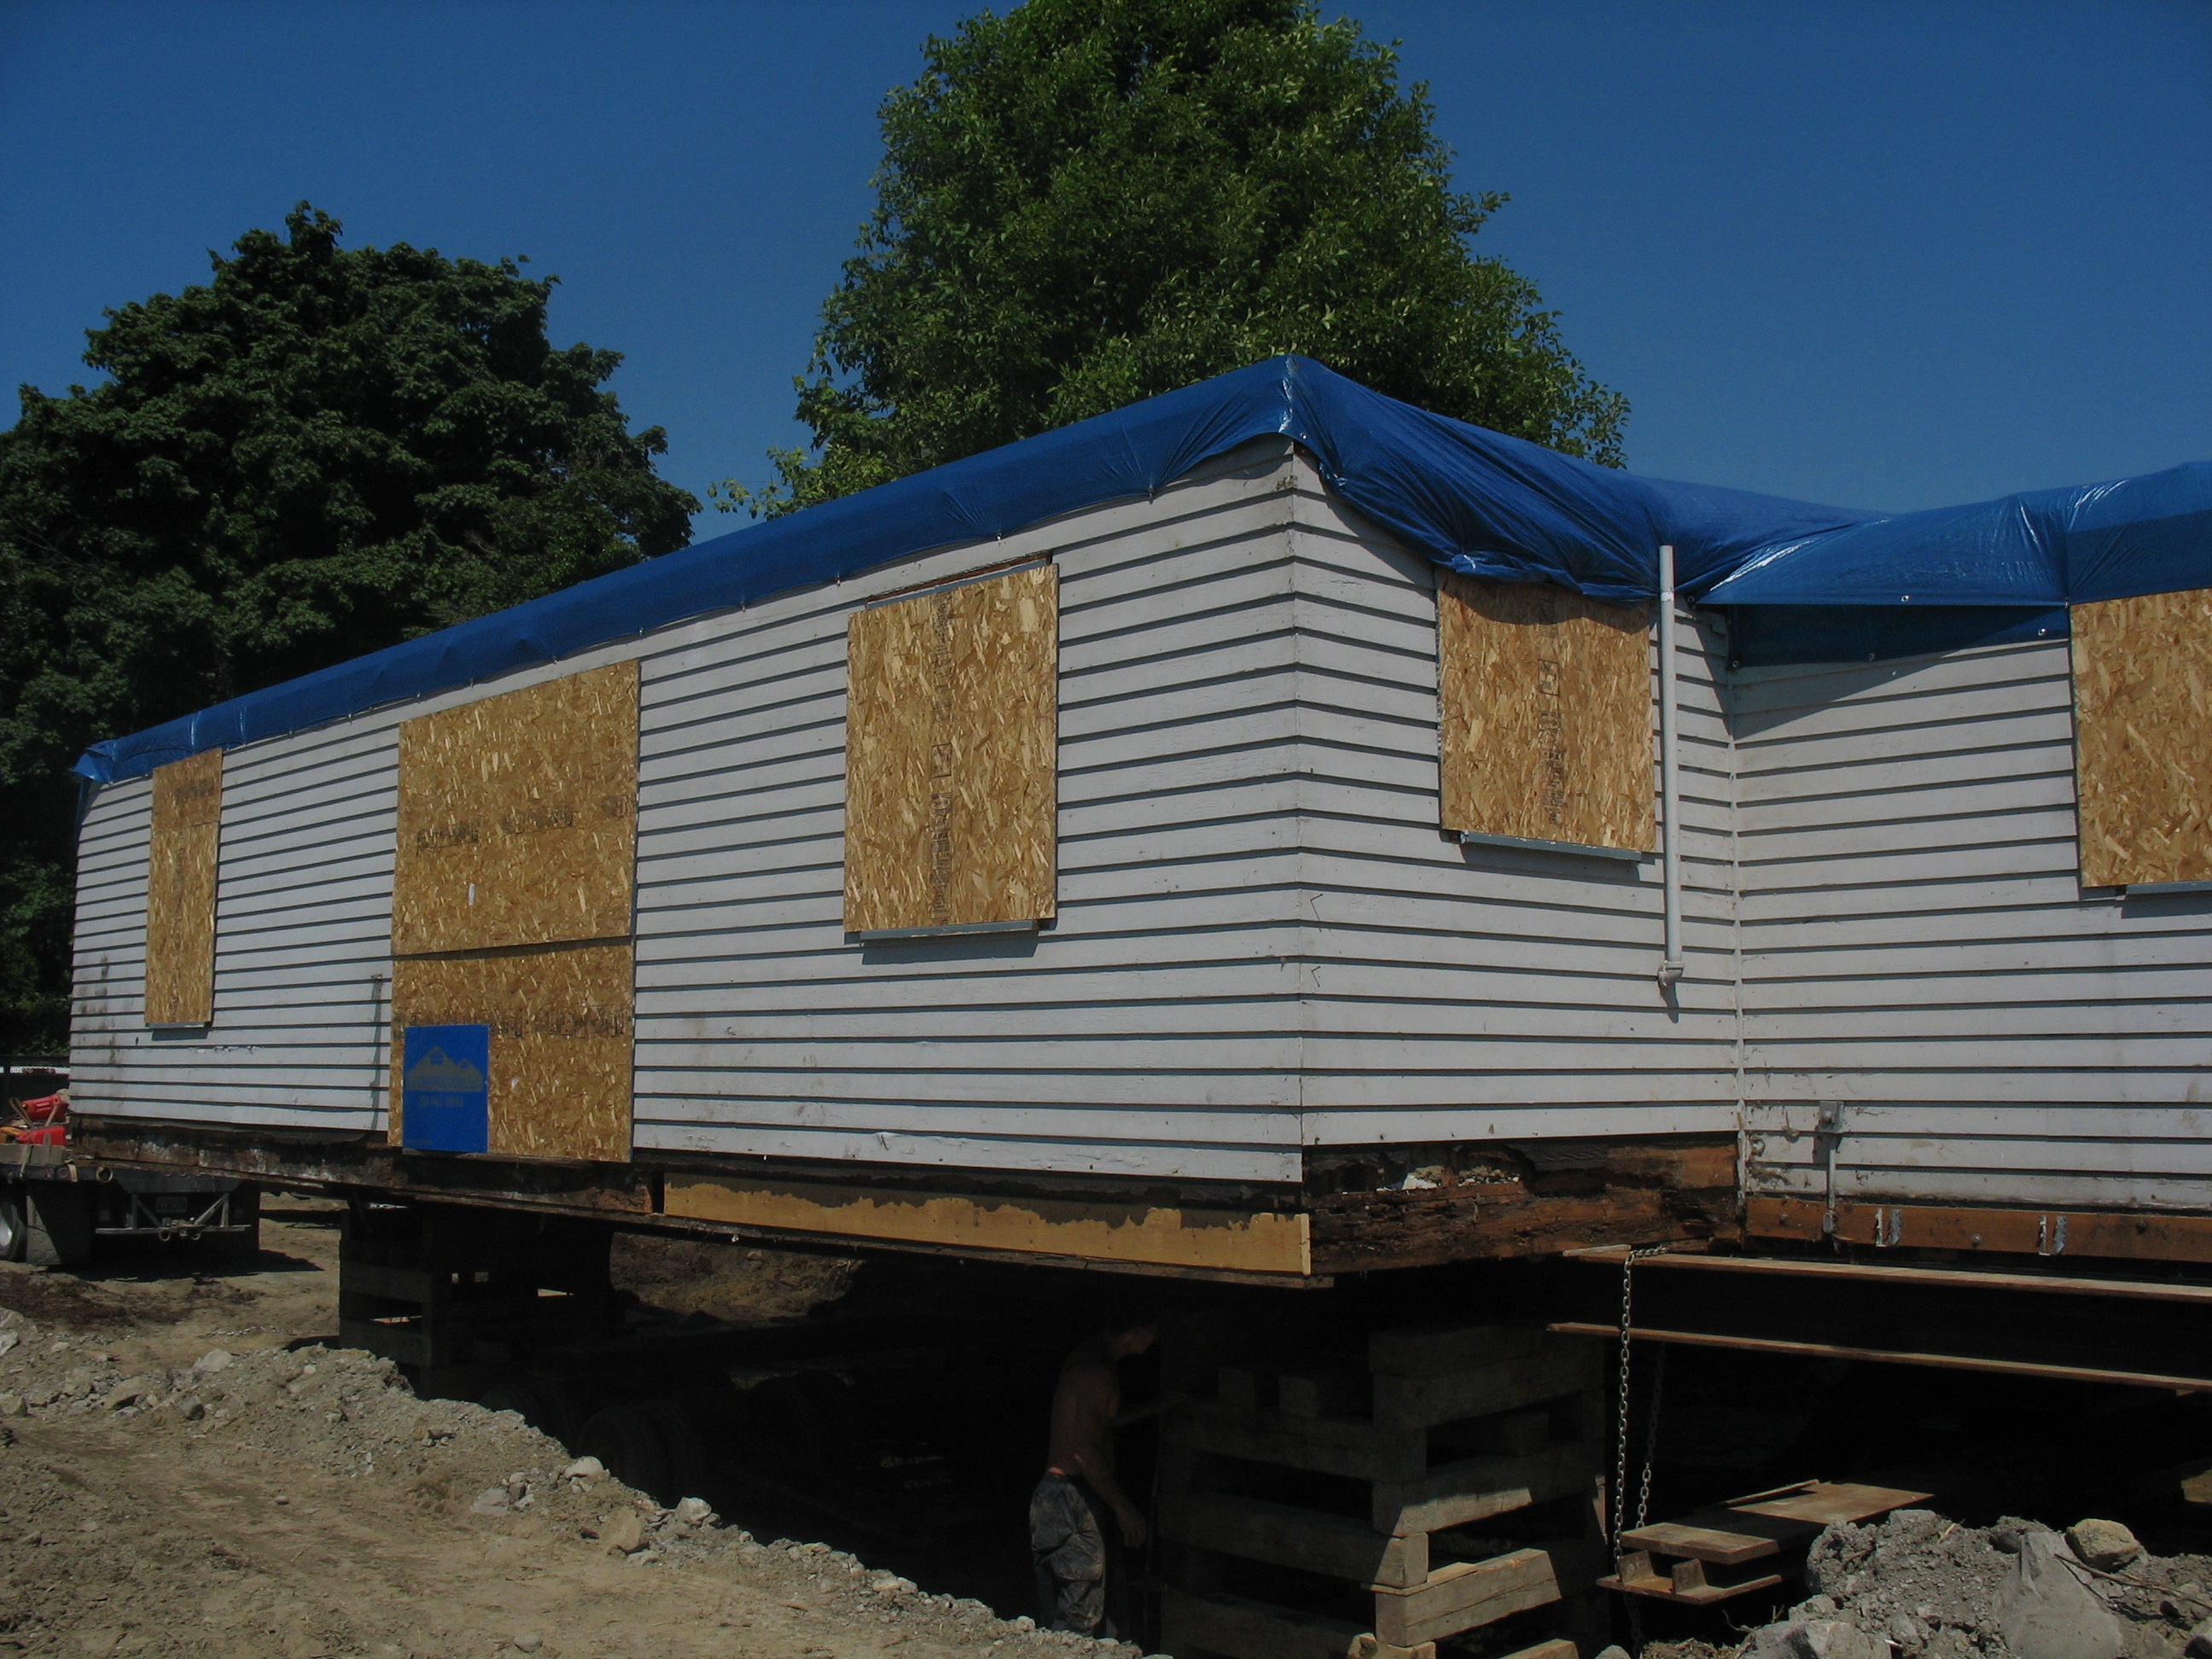
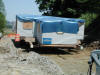
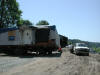
They pulled it up out of the foundation hole and close to the street: all ready for the move two days later.
|
|
|
|
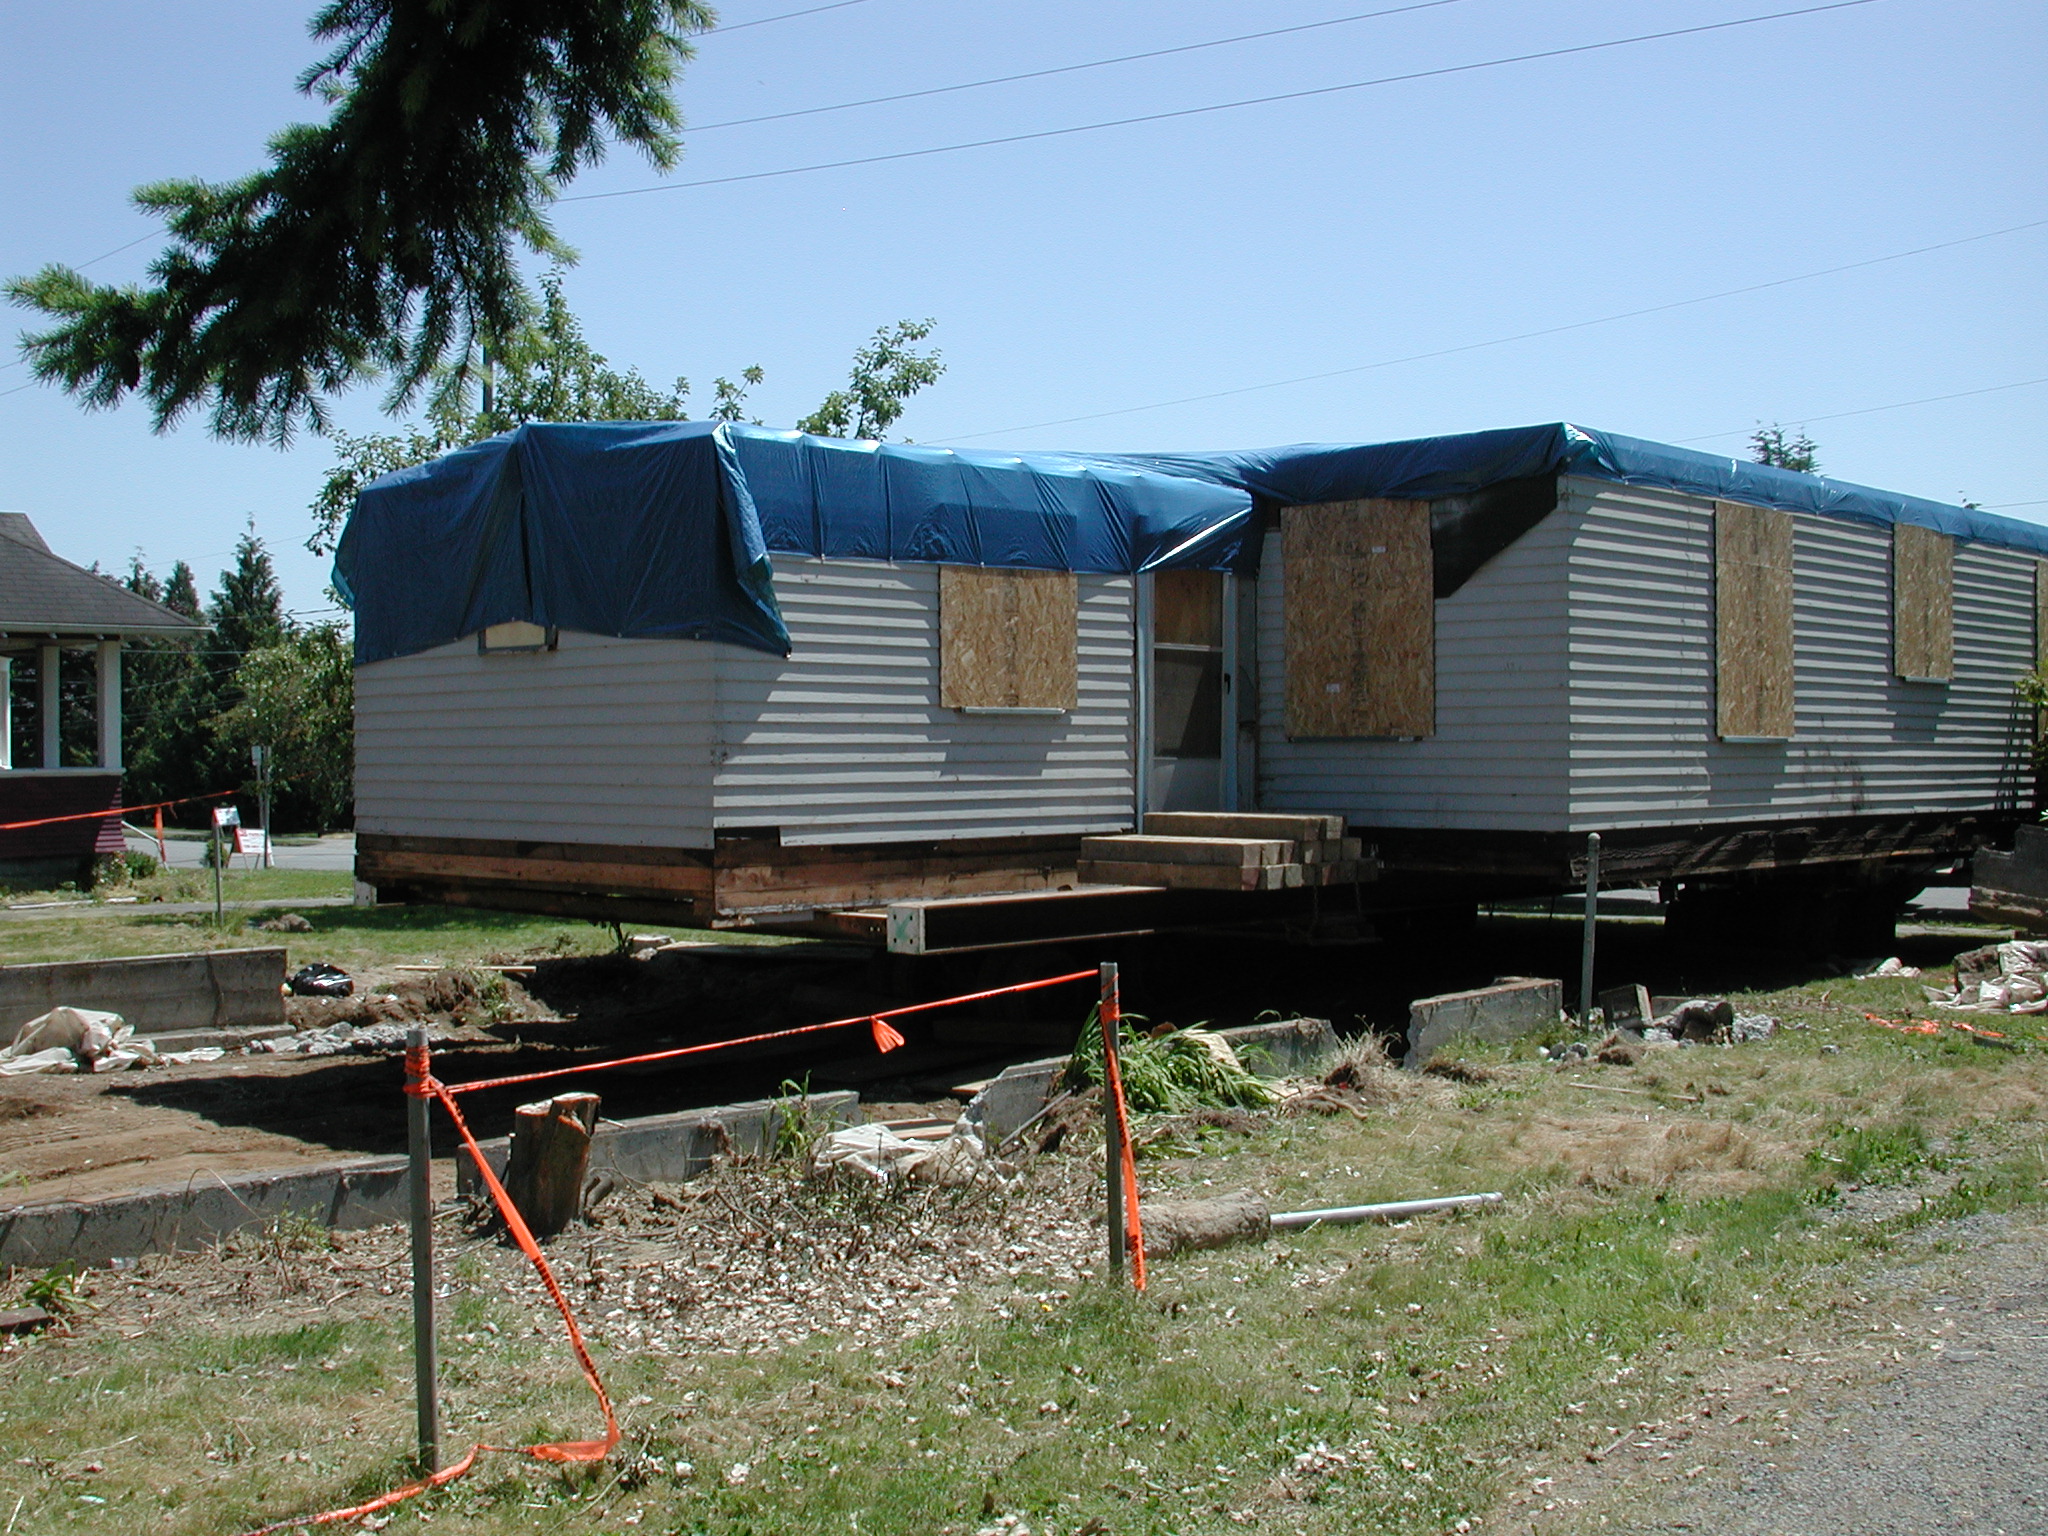
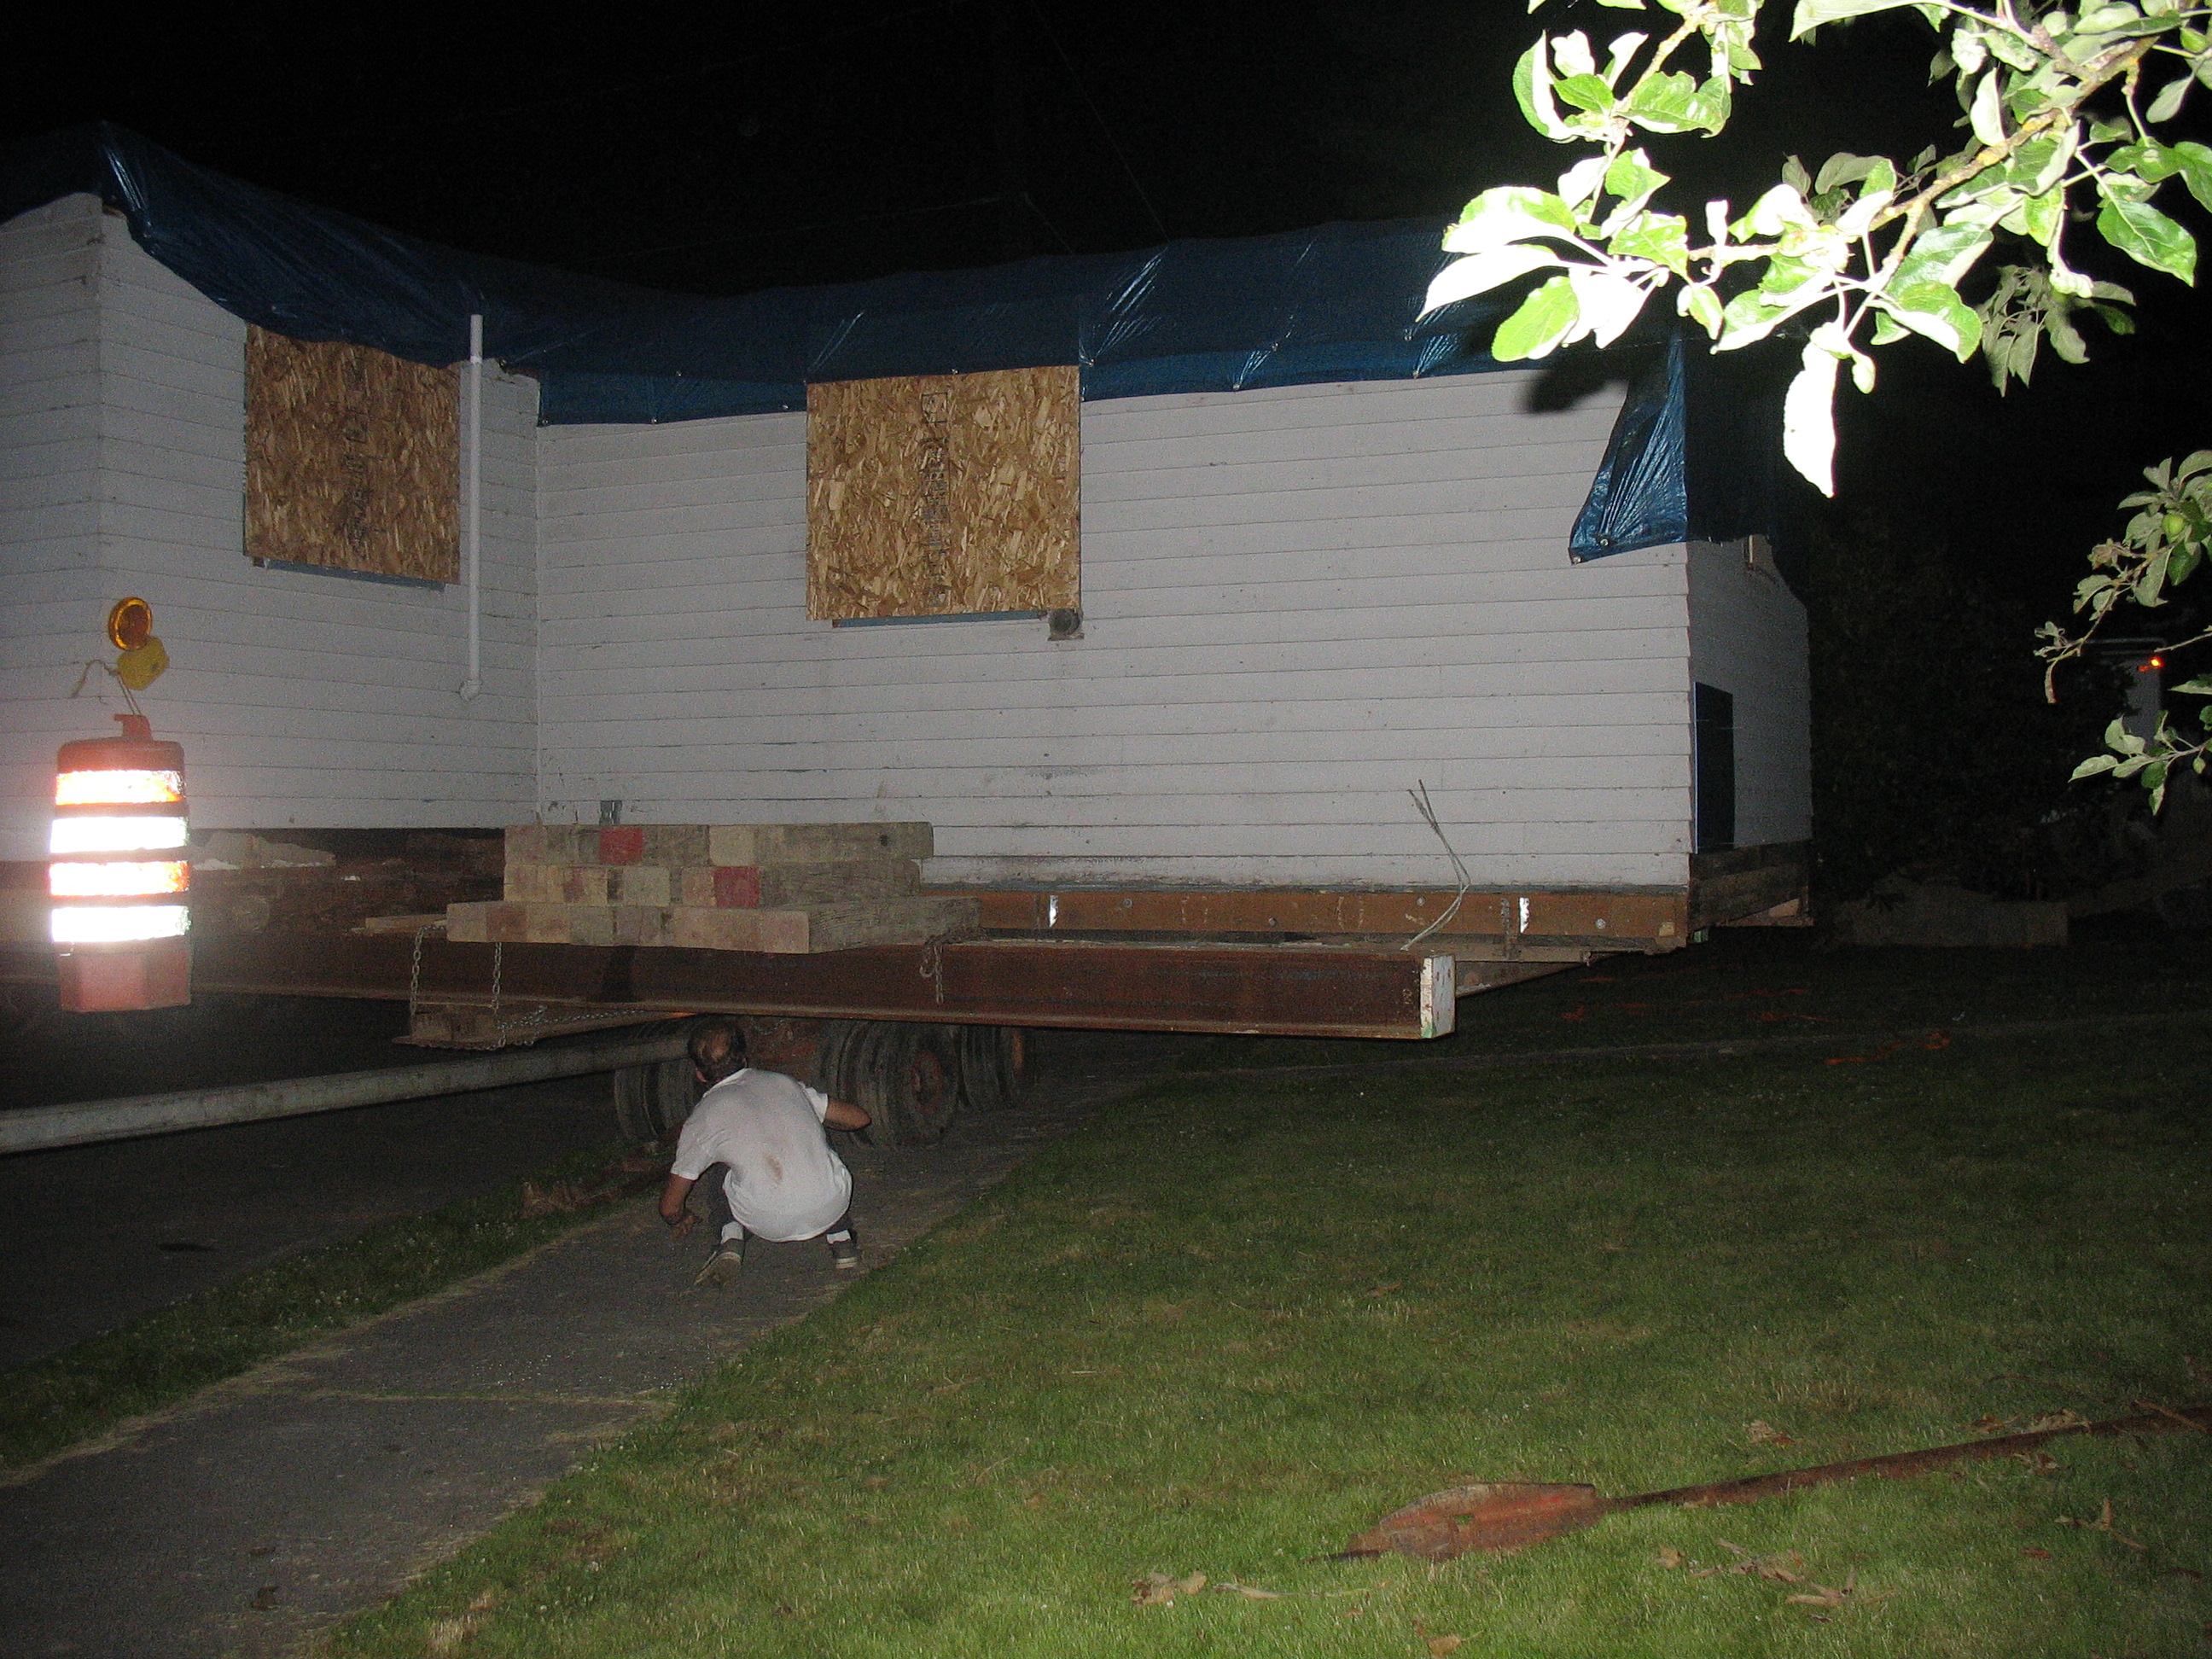
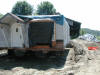
View from back after pulling it away from foundation.
|
|
|
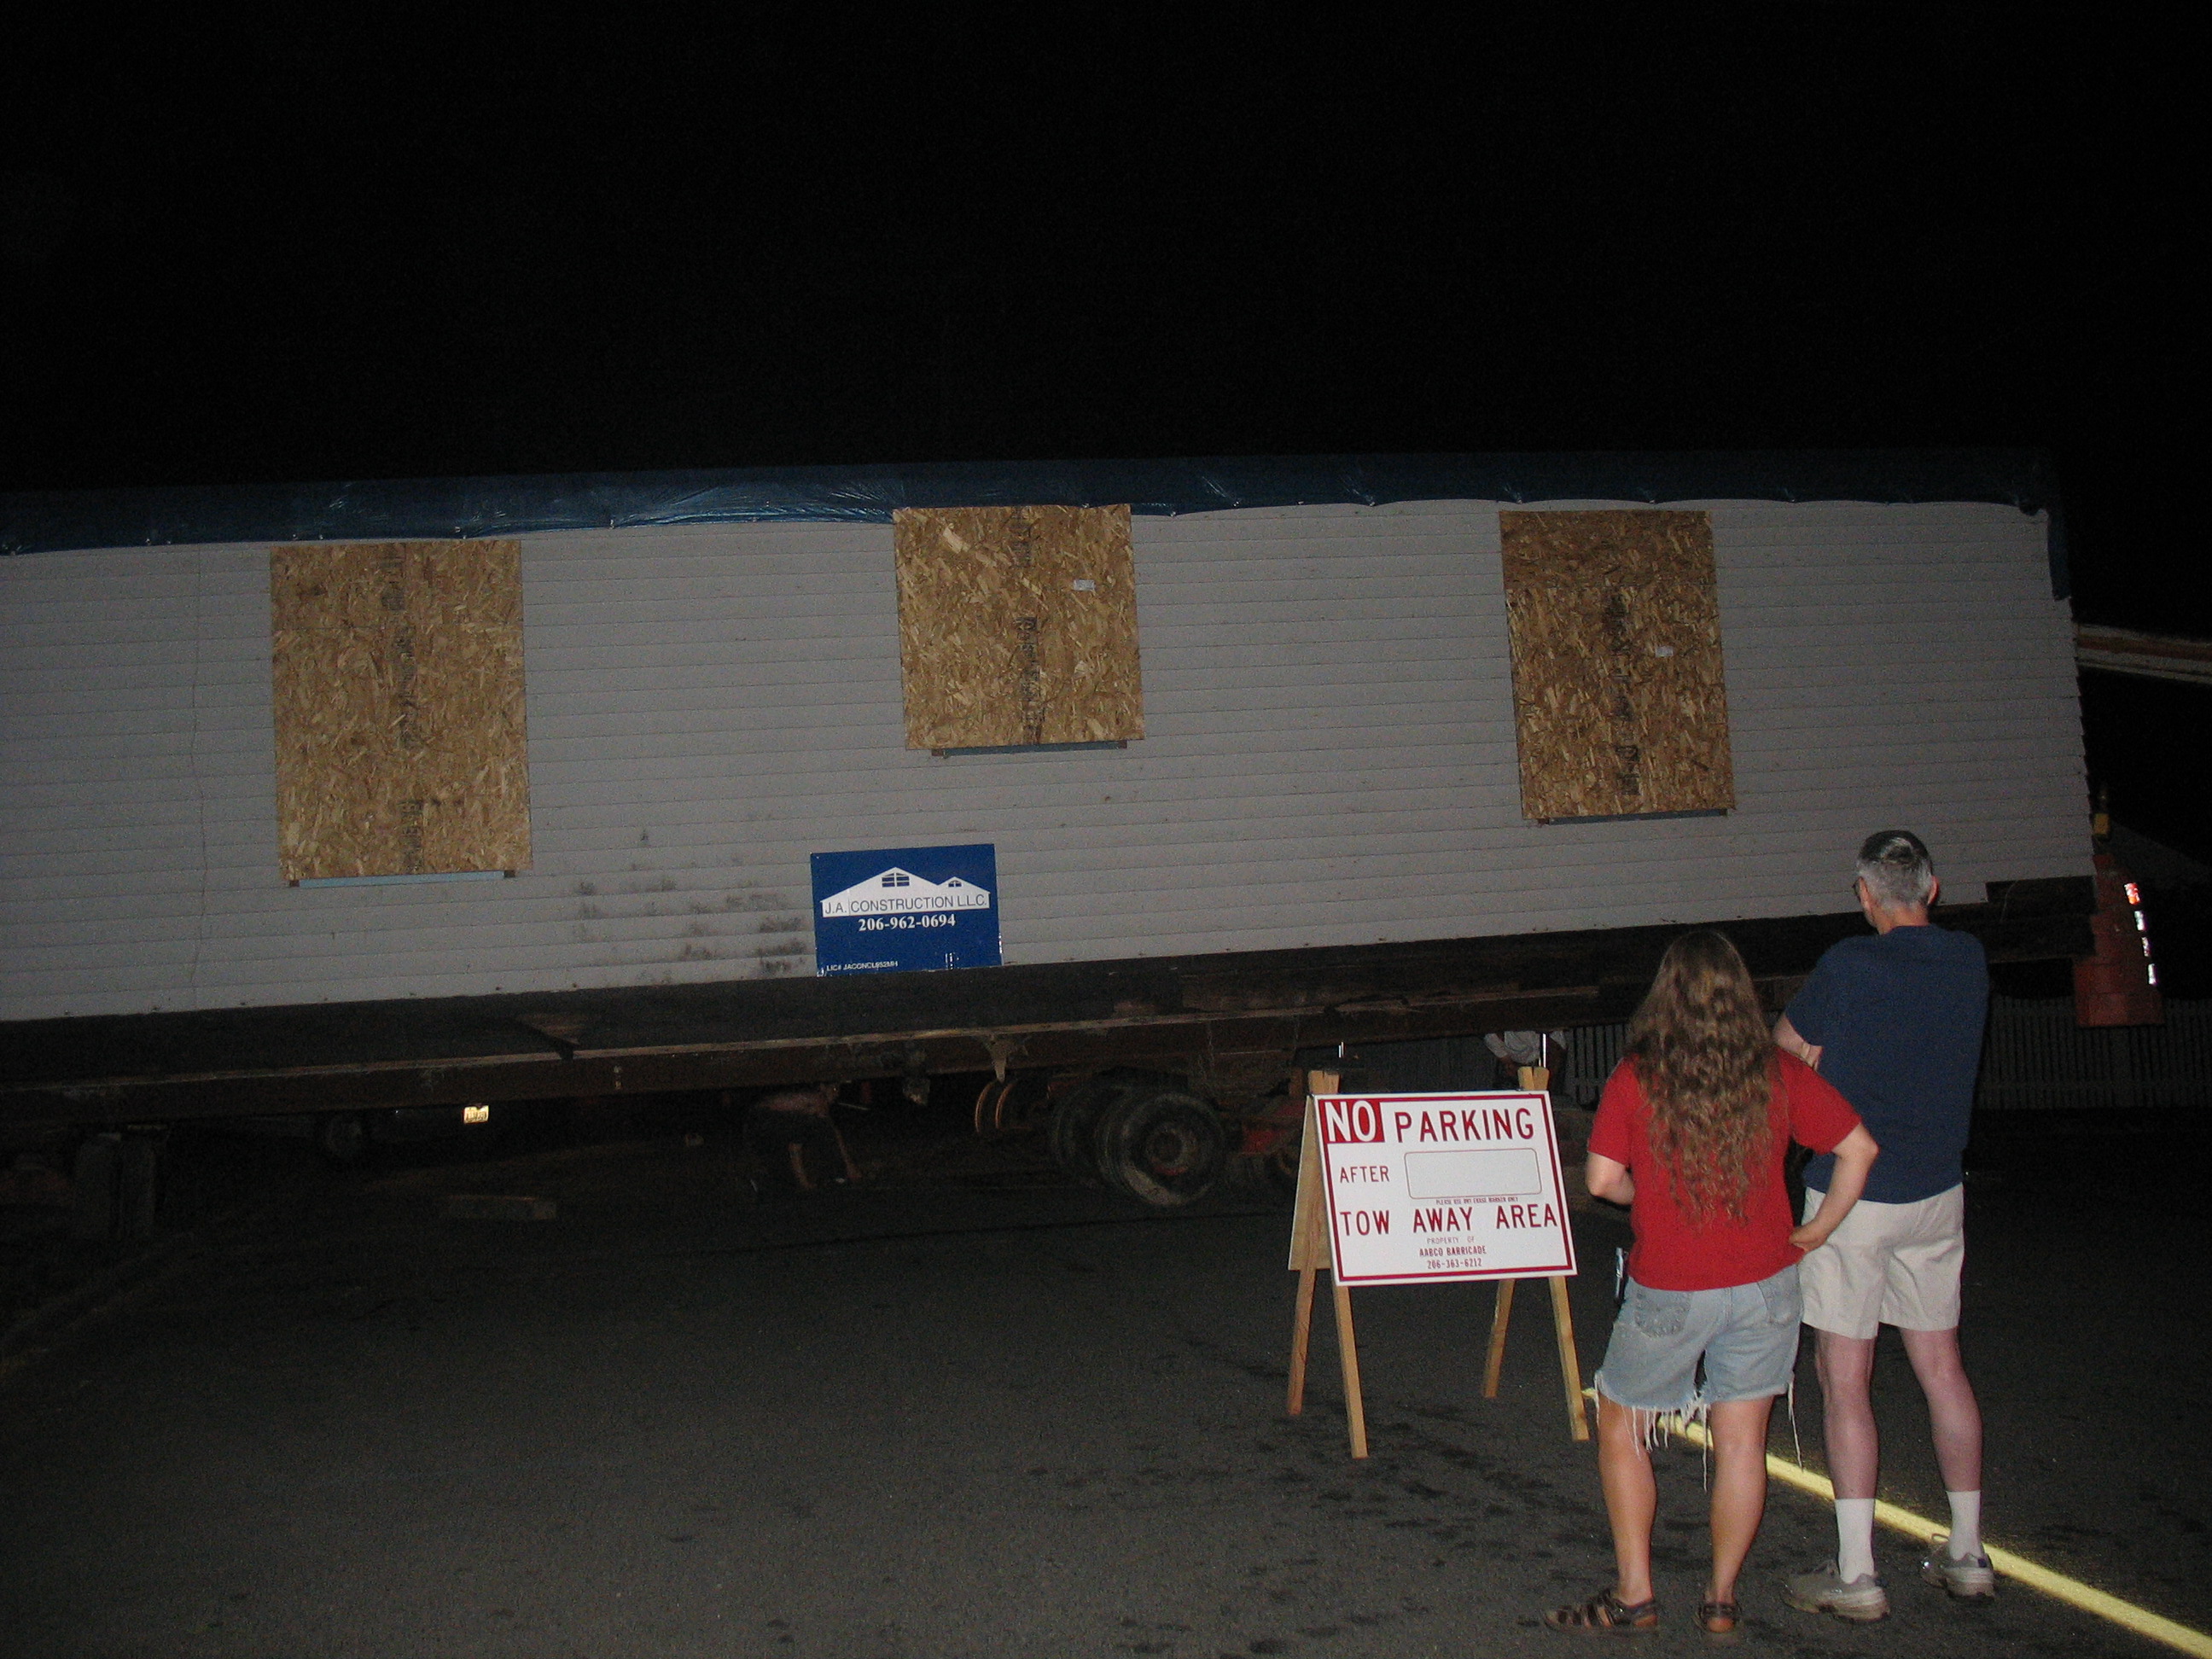
The Big Move: Sunday June 25, 2006: 10pm --> 2am (four miles in four
hours).
|
|
|
|
Michelle & Keith Vest watching the beginning.
|
|
|
|
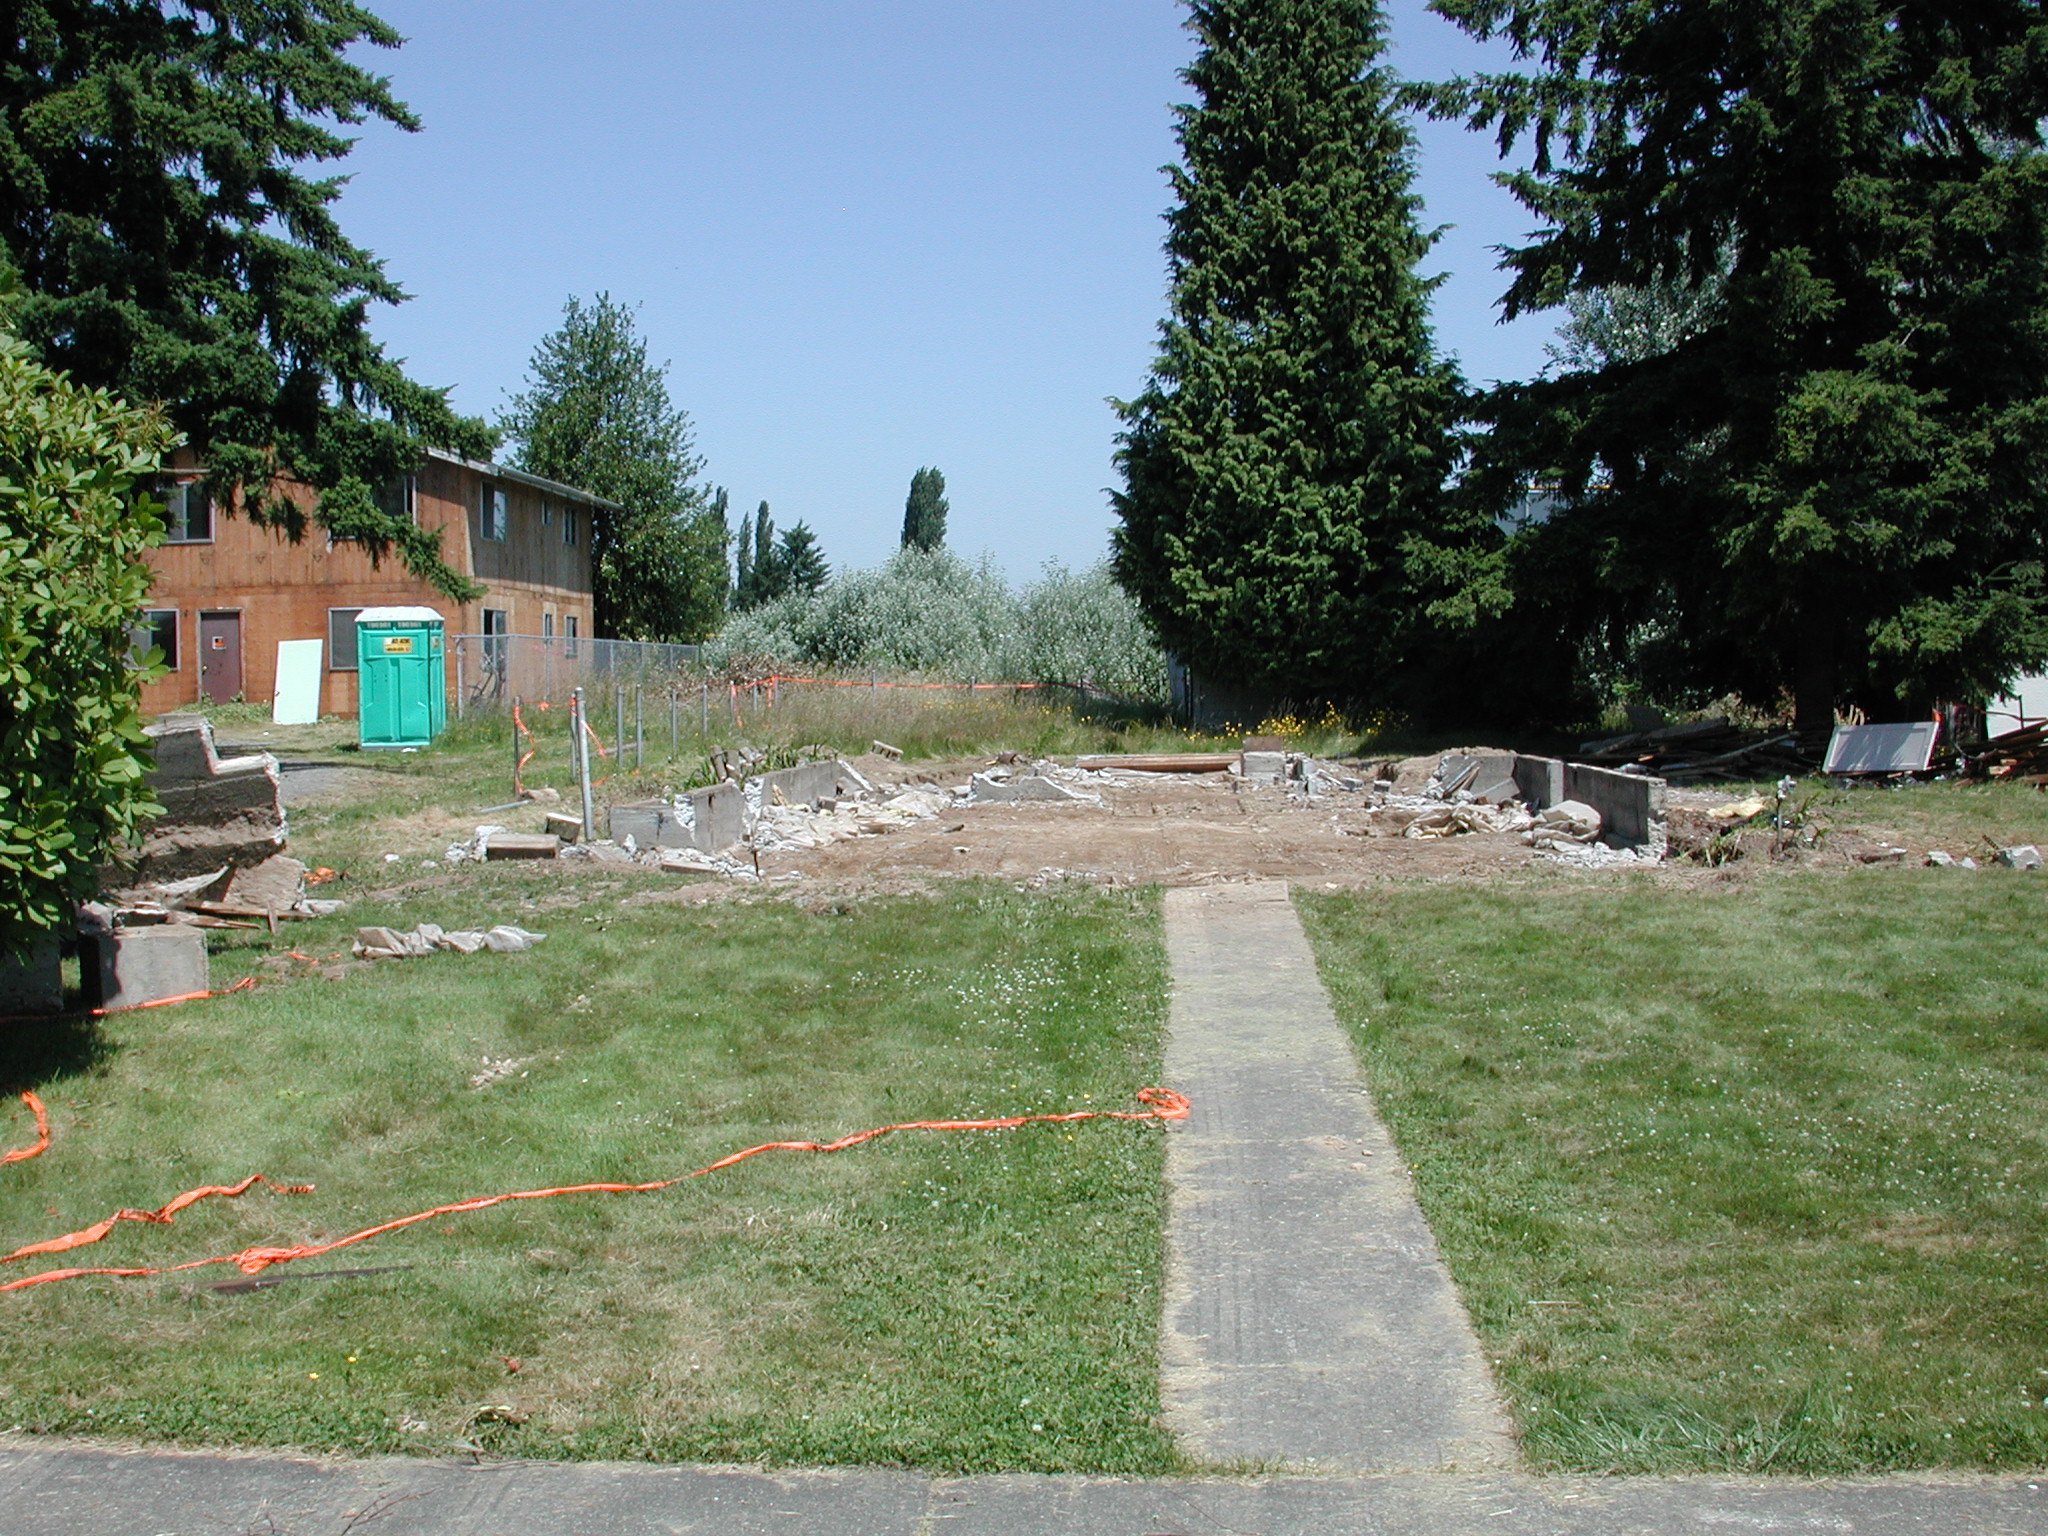
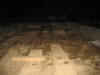
The empty foundation left behind in town.
|
|
|
|
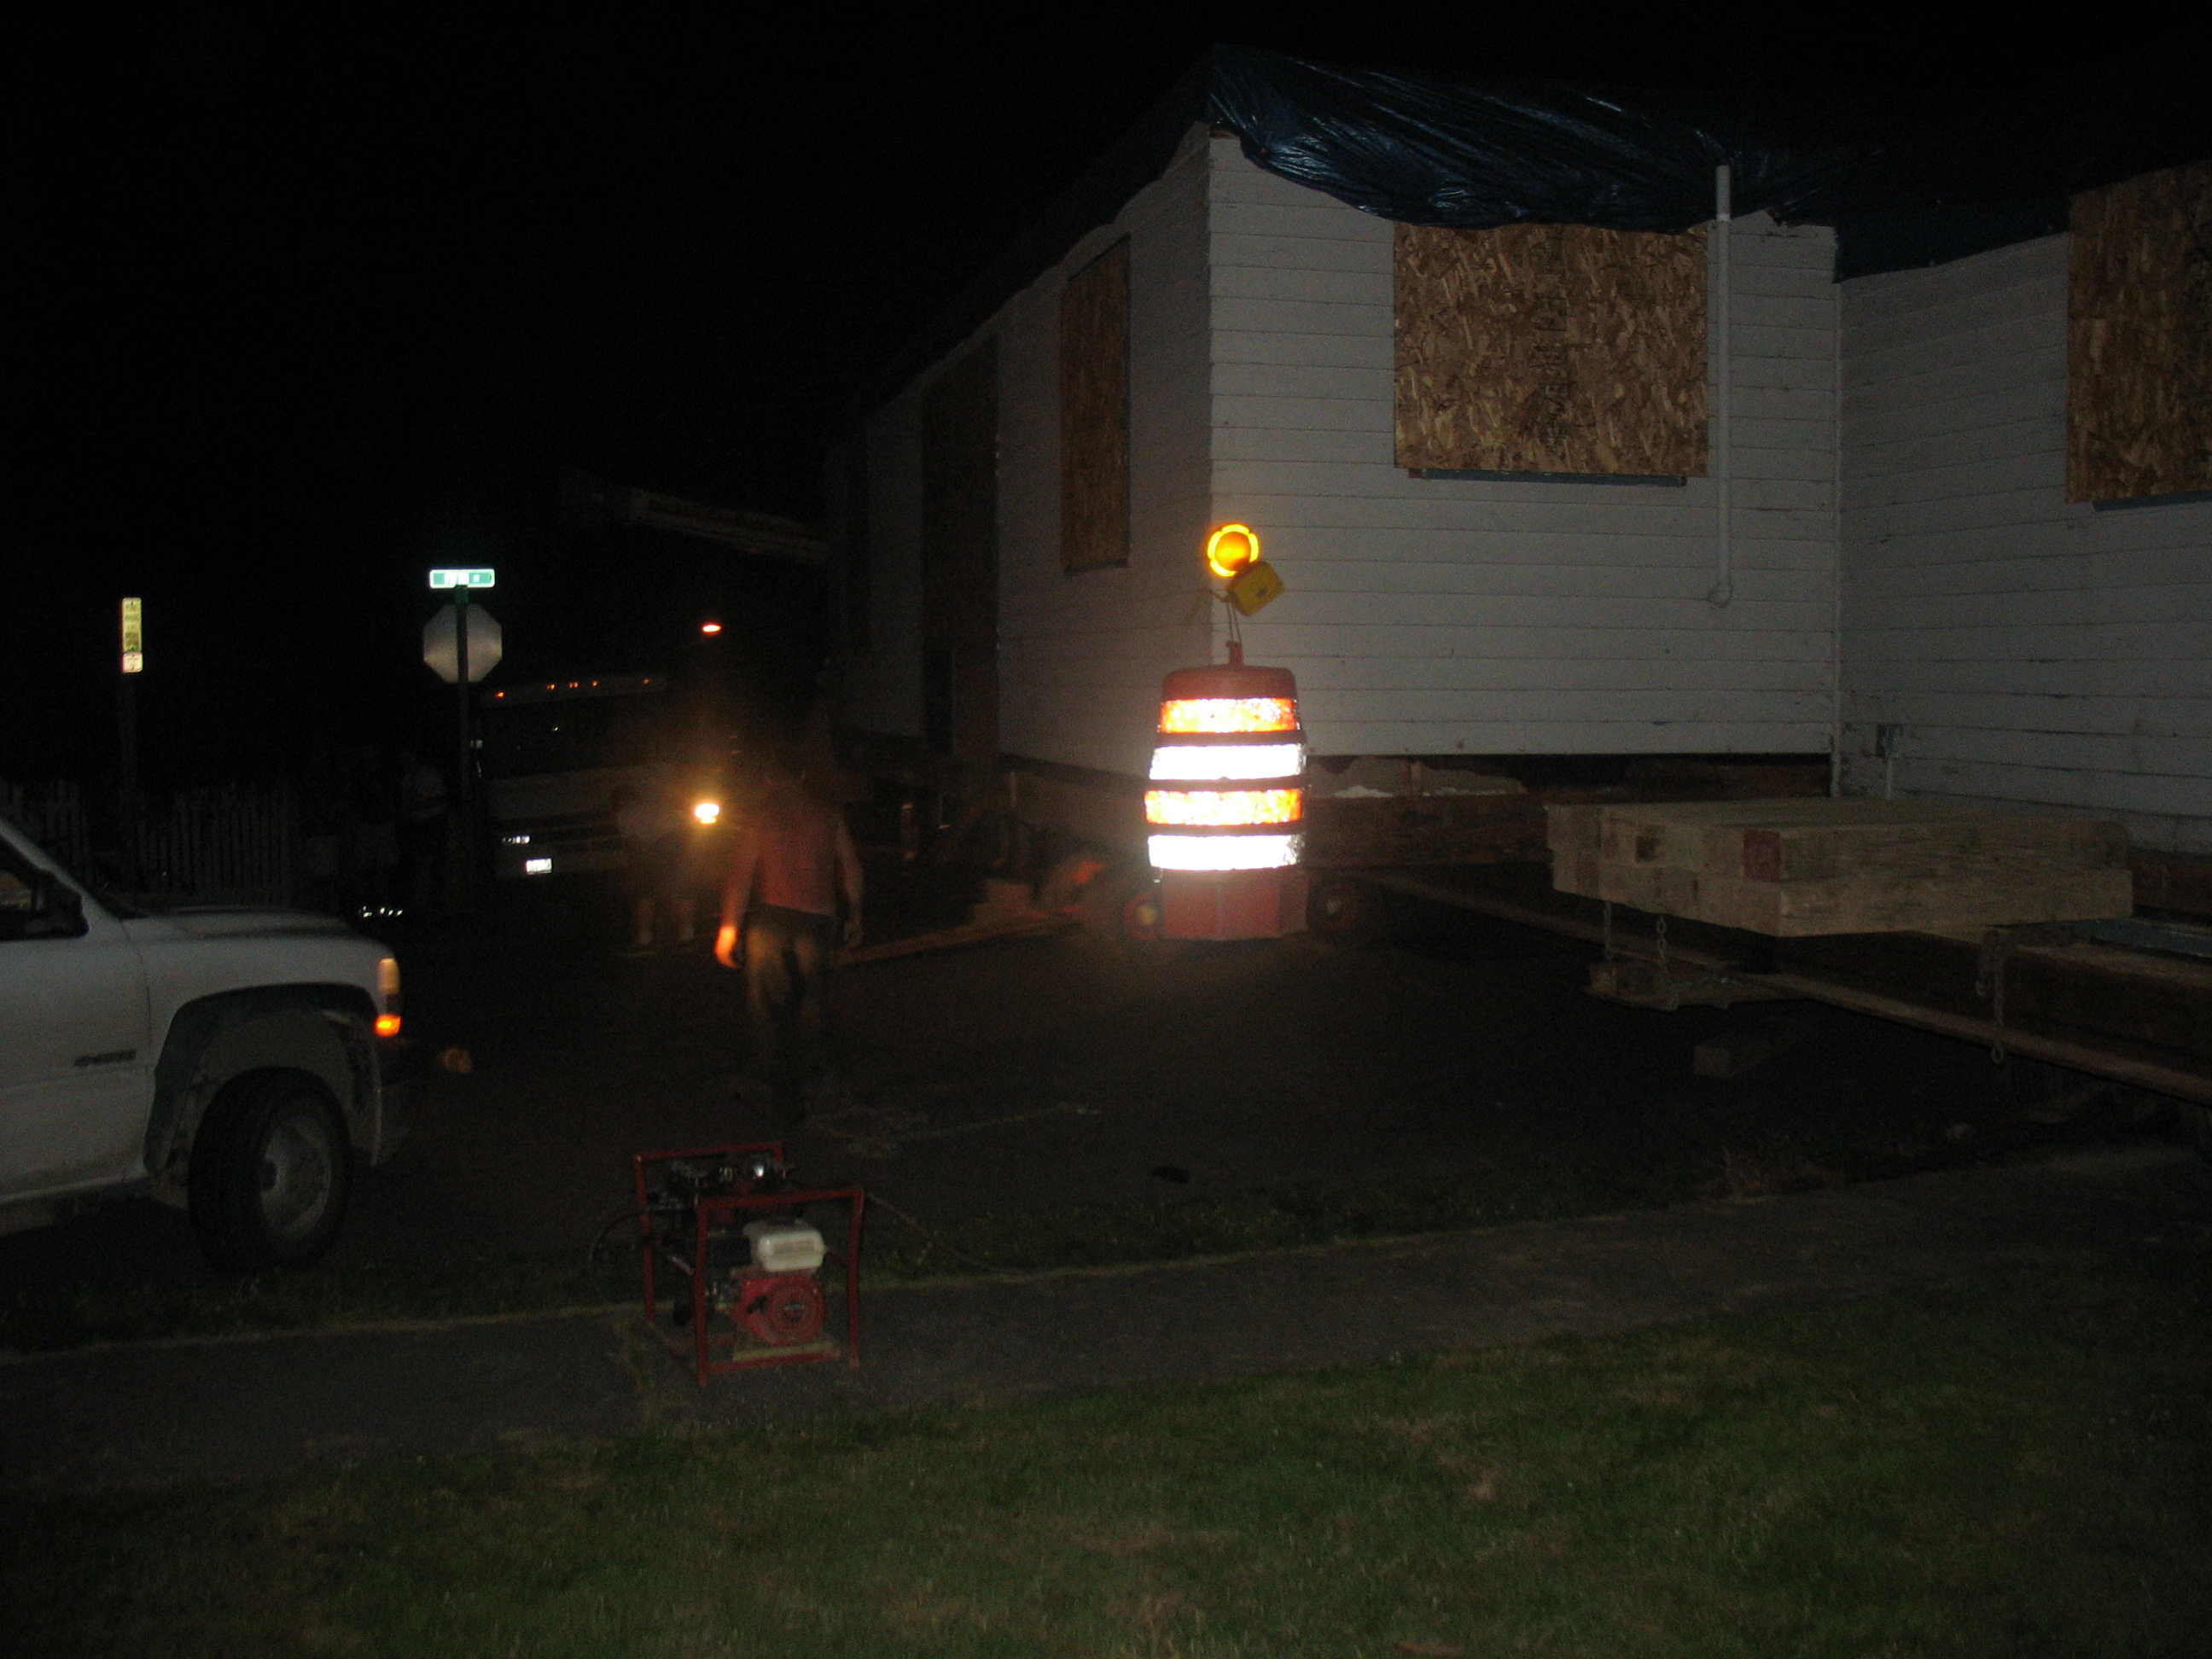
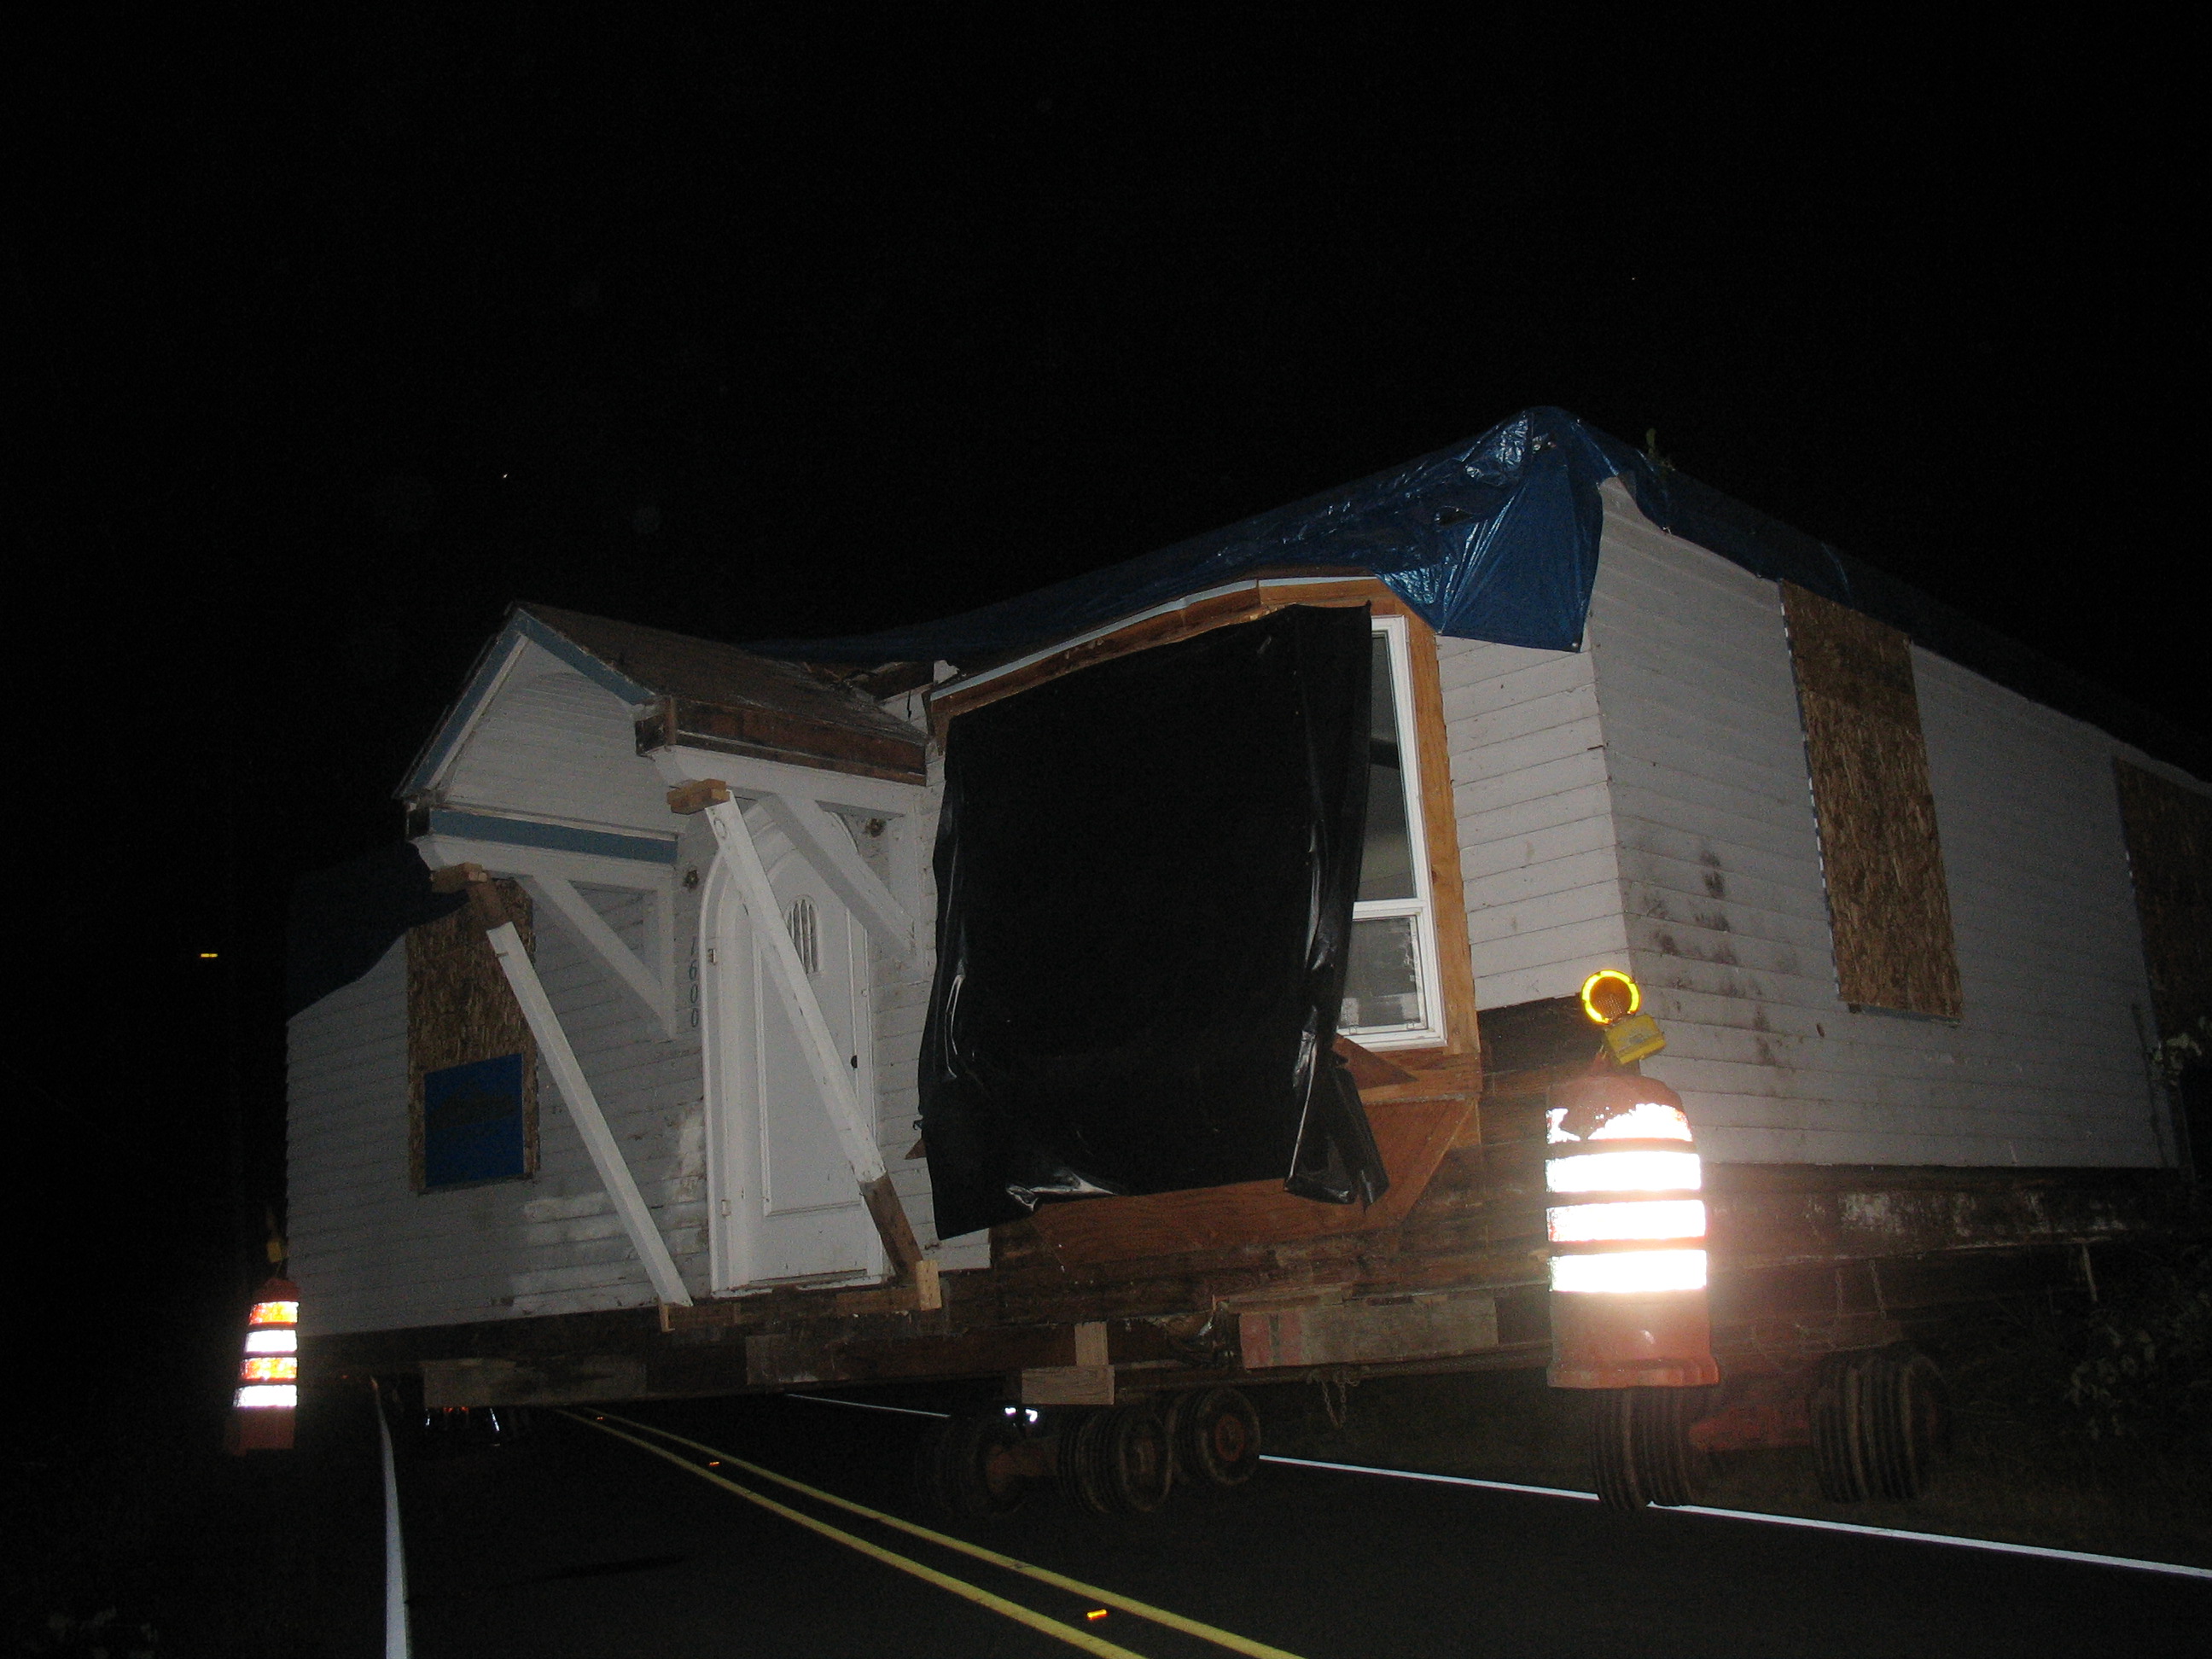
Emerging from the lot.
|
|
|
|
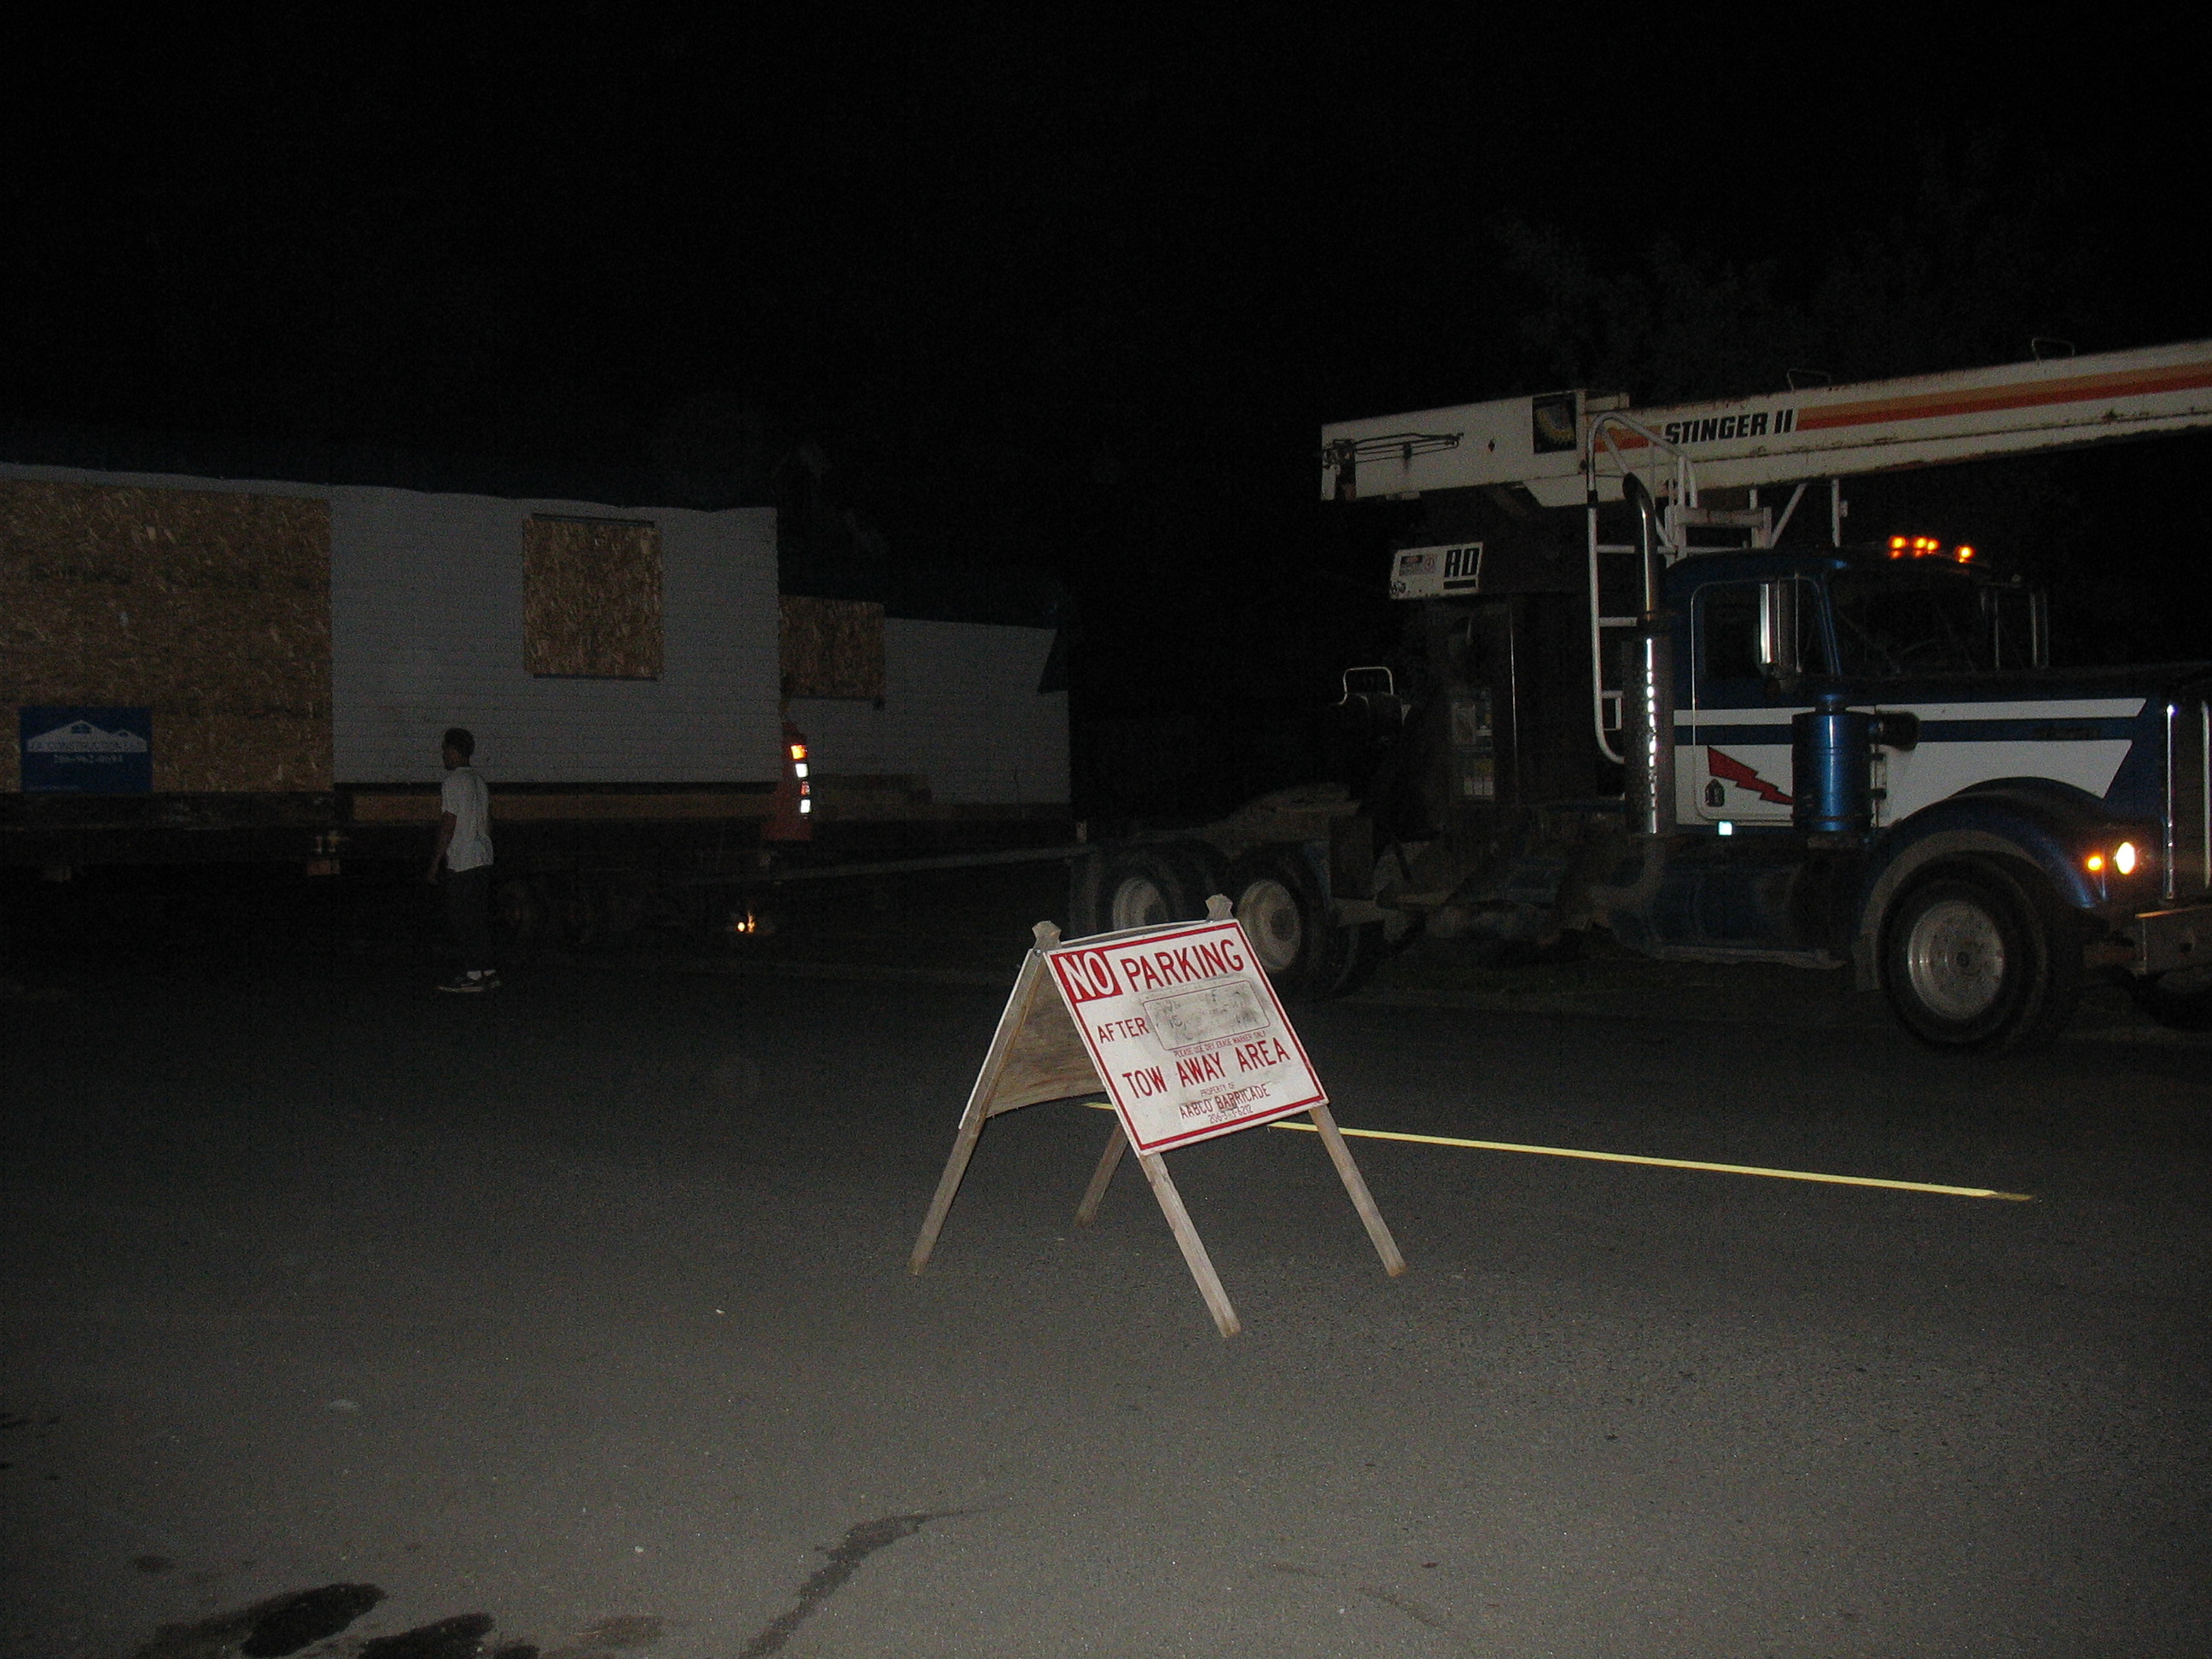
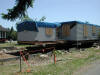
The tow truck/crane.
|
|
|
|
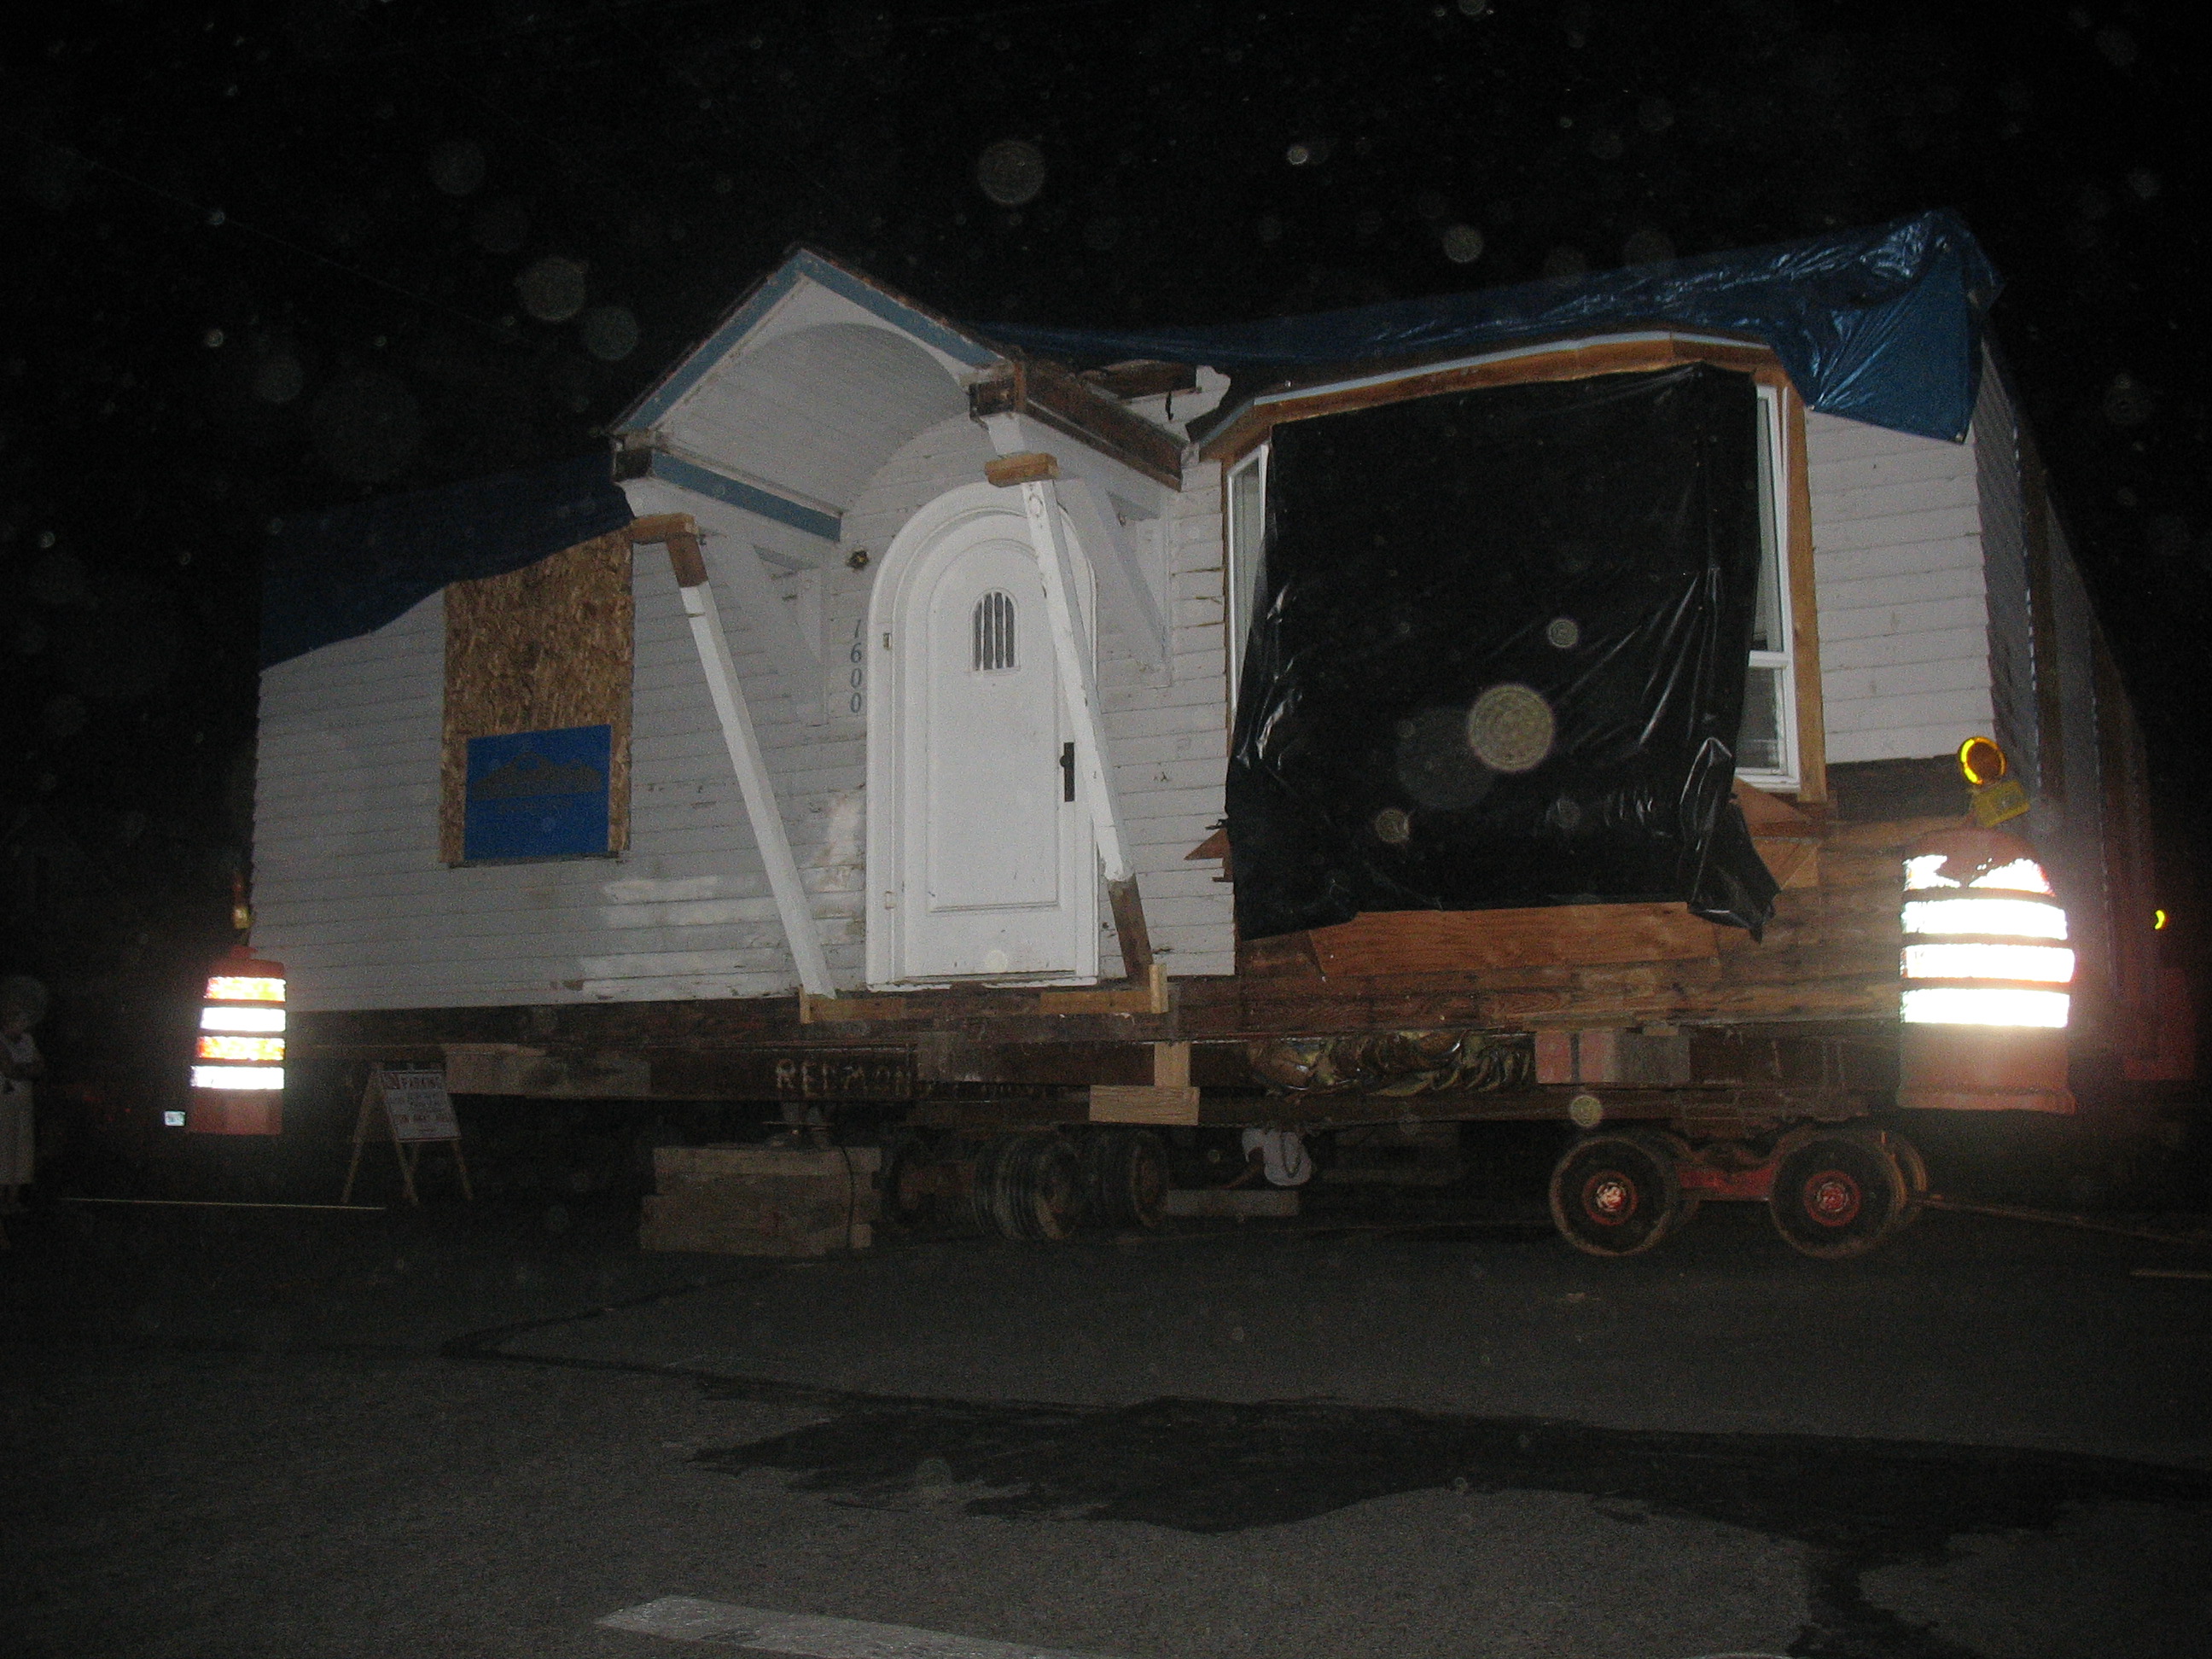
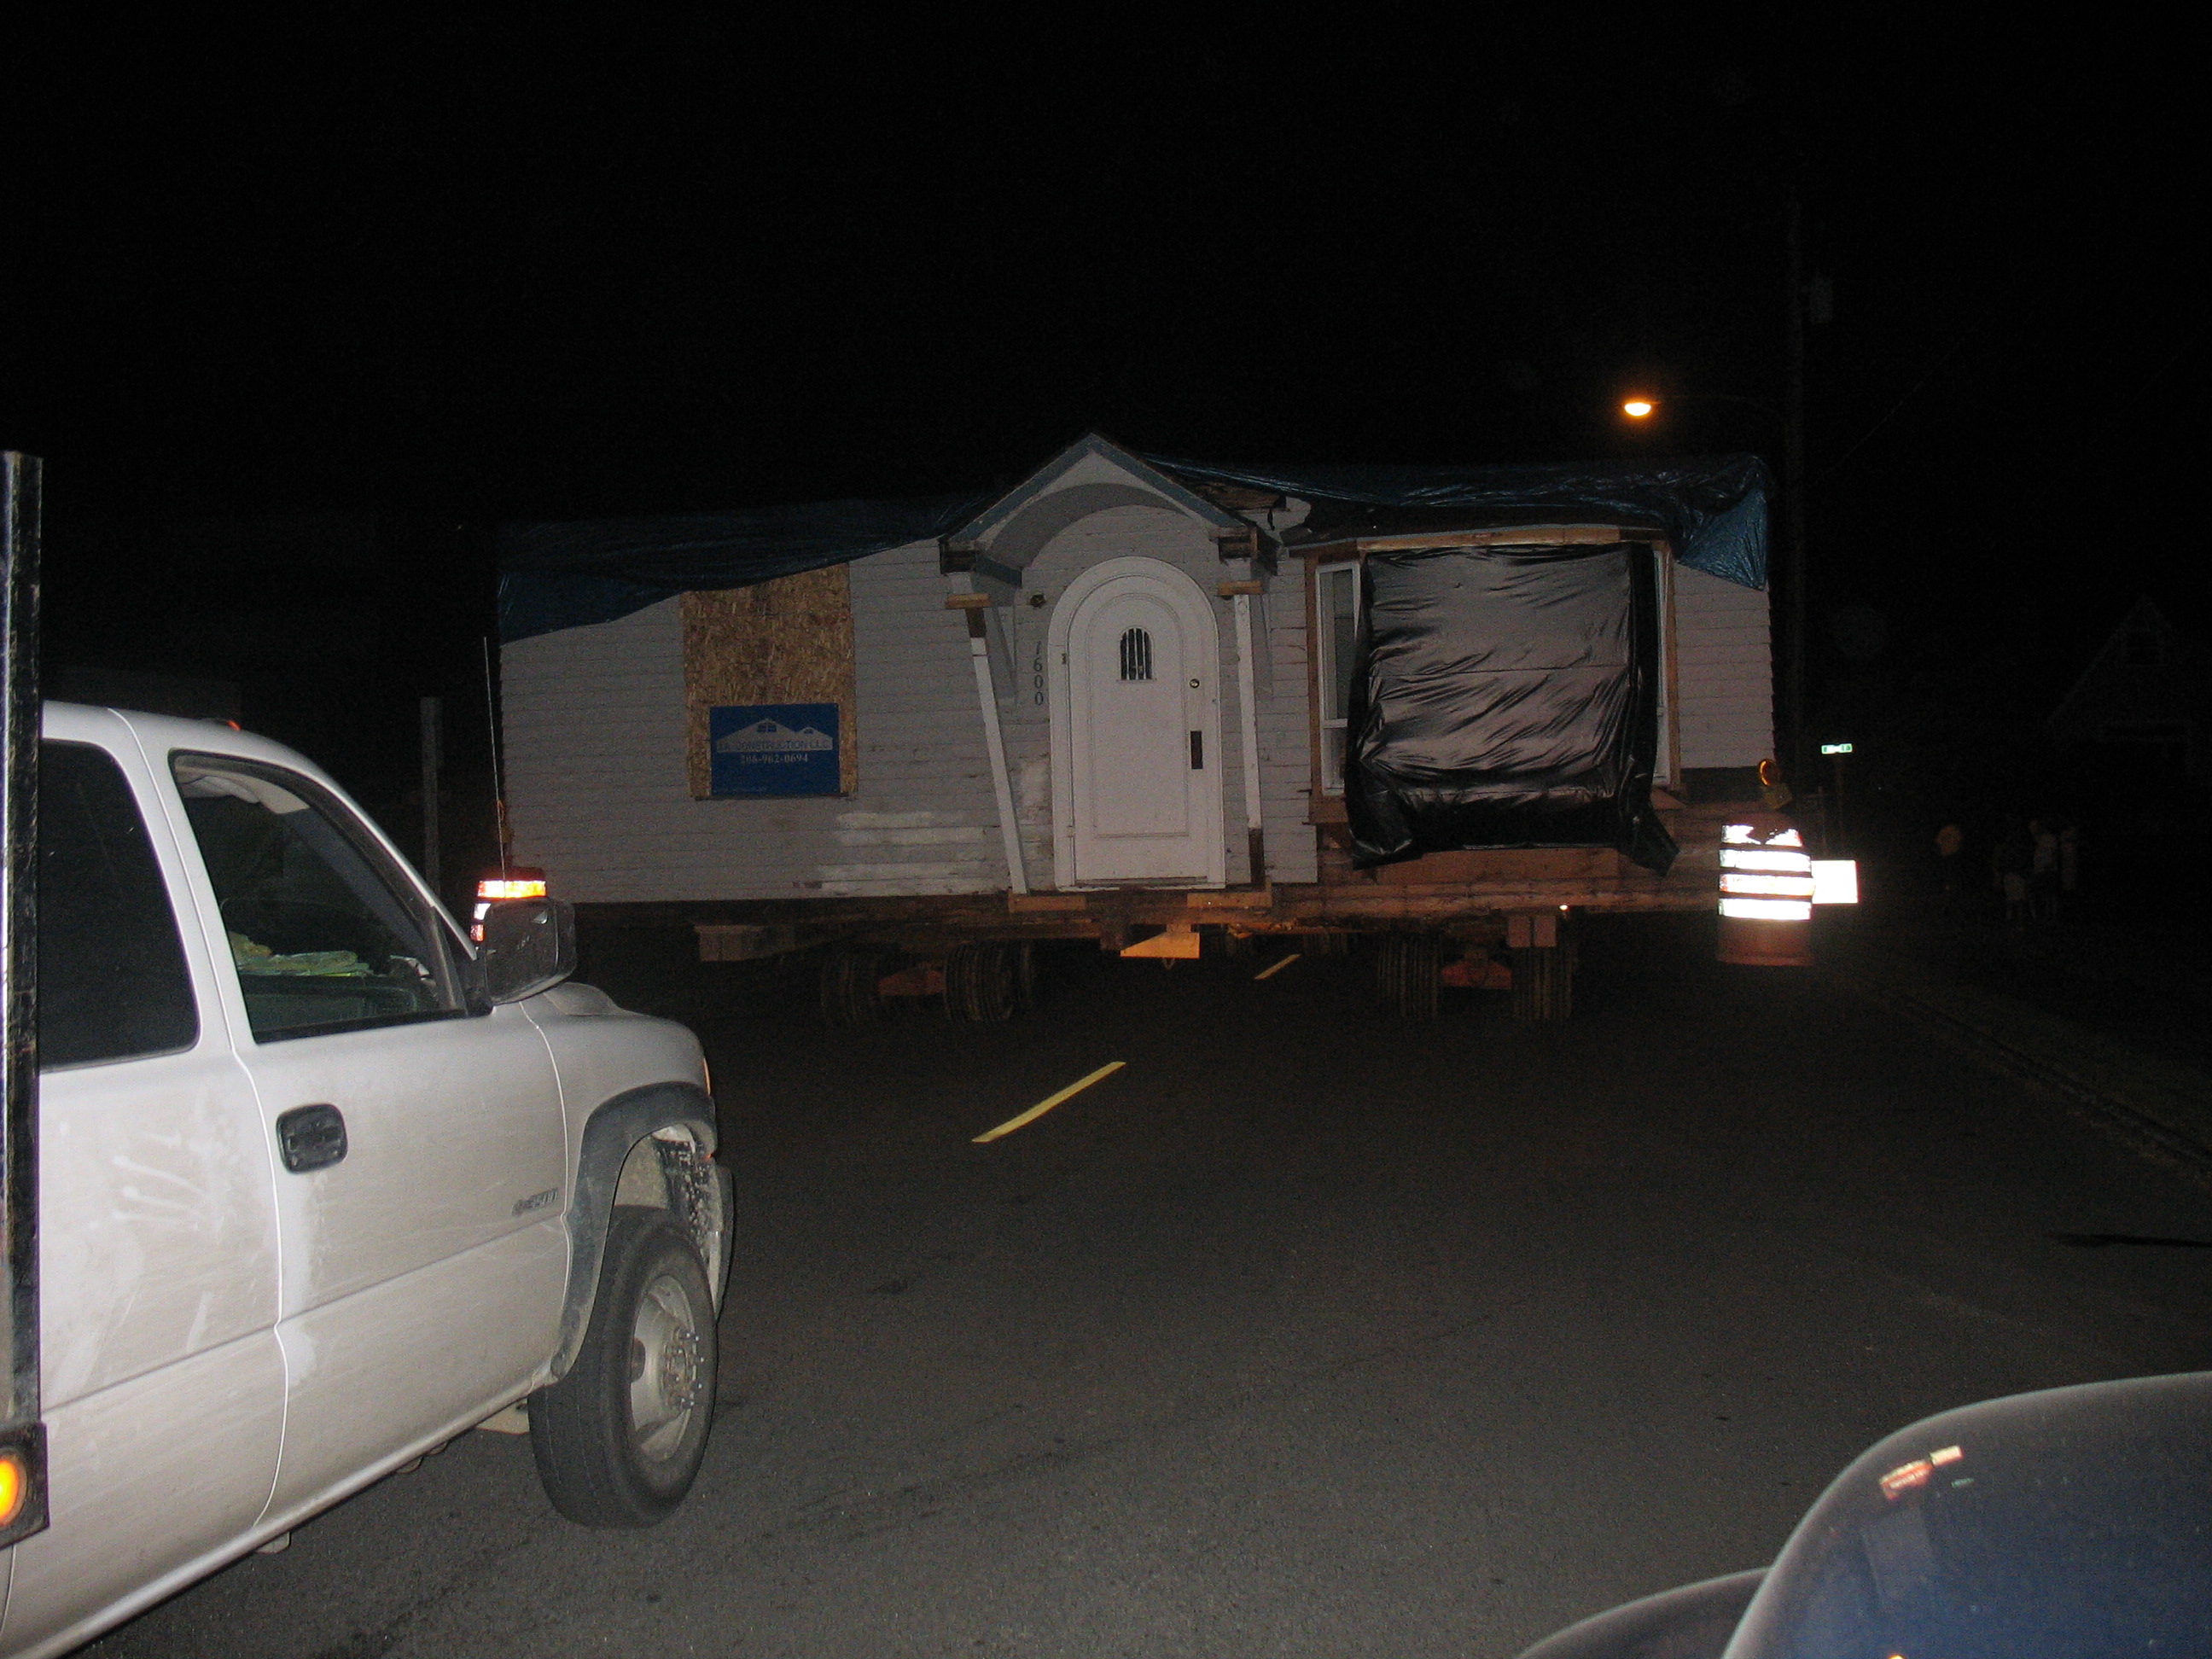
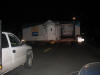
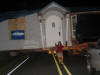
Front of house is on the street.
|
|
|
|
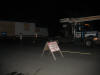
Last dolly goes down the curb.
|
|
|
|
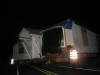
Spinning the house around.
|
|
|
|
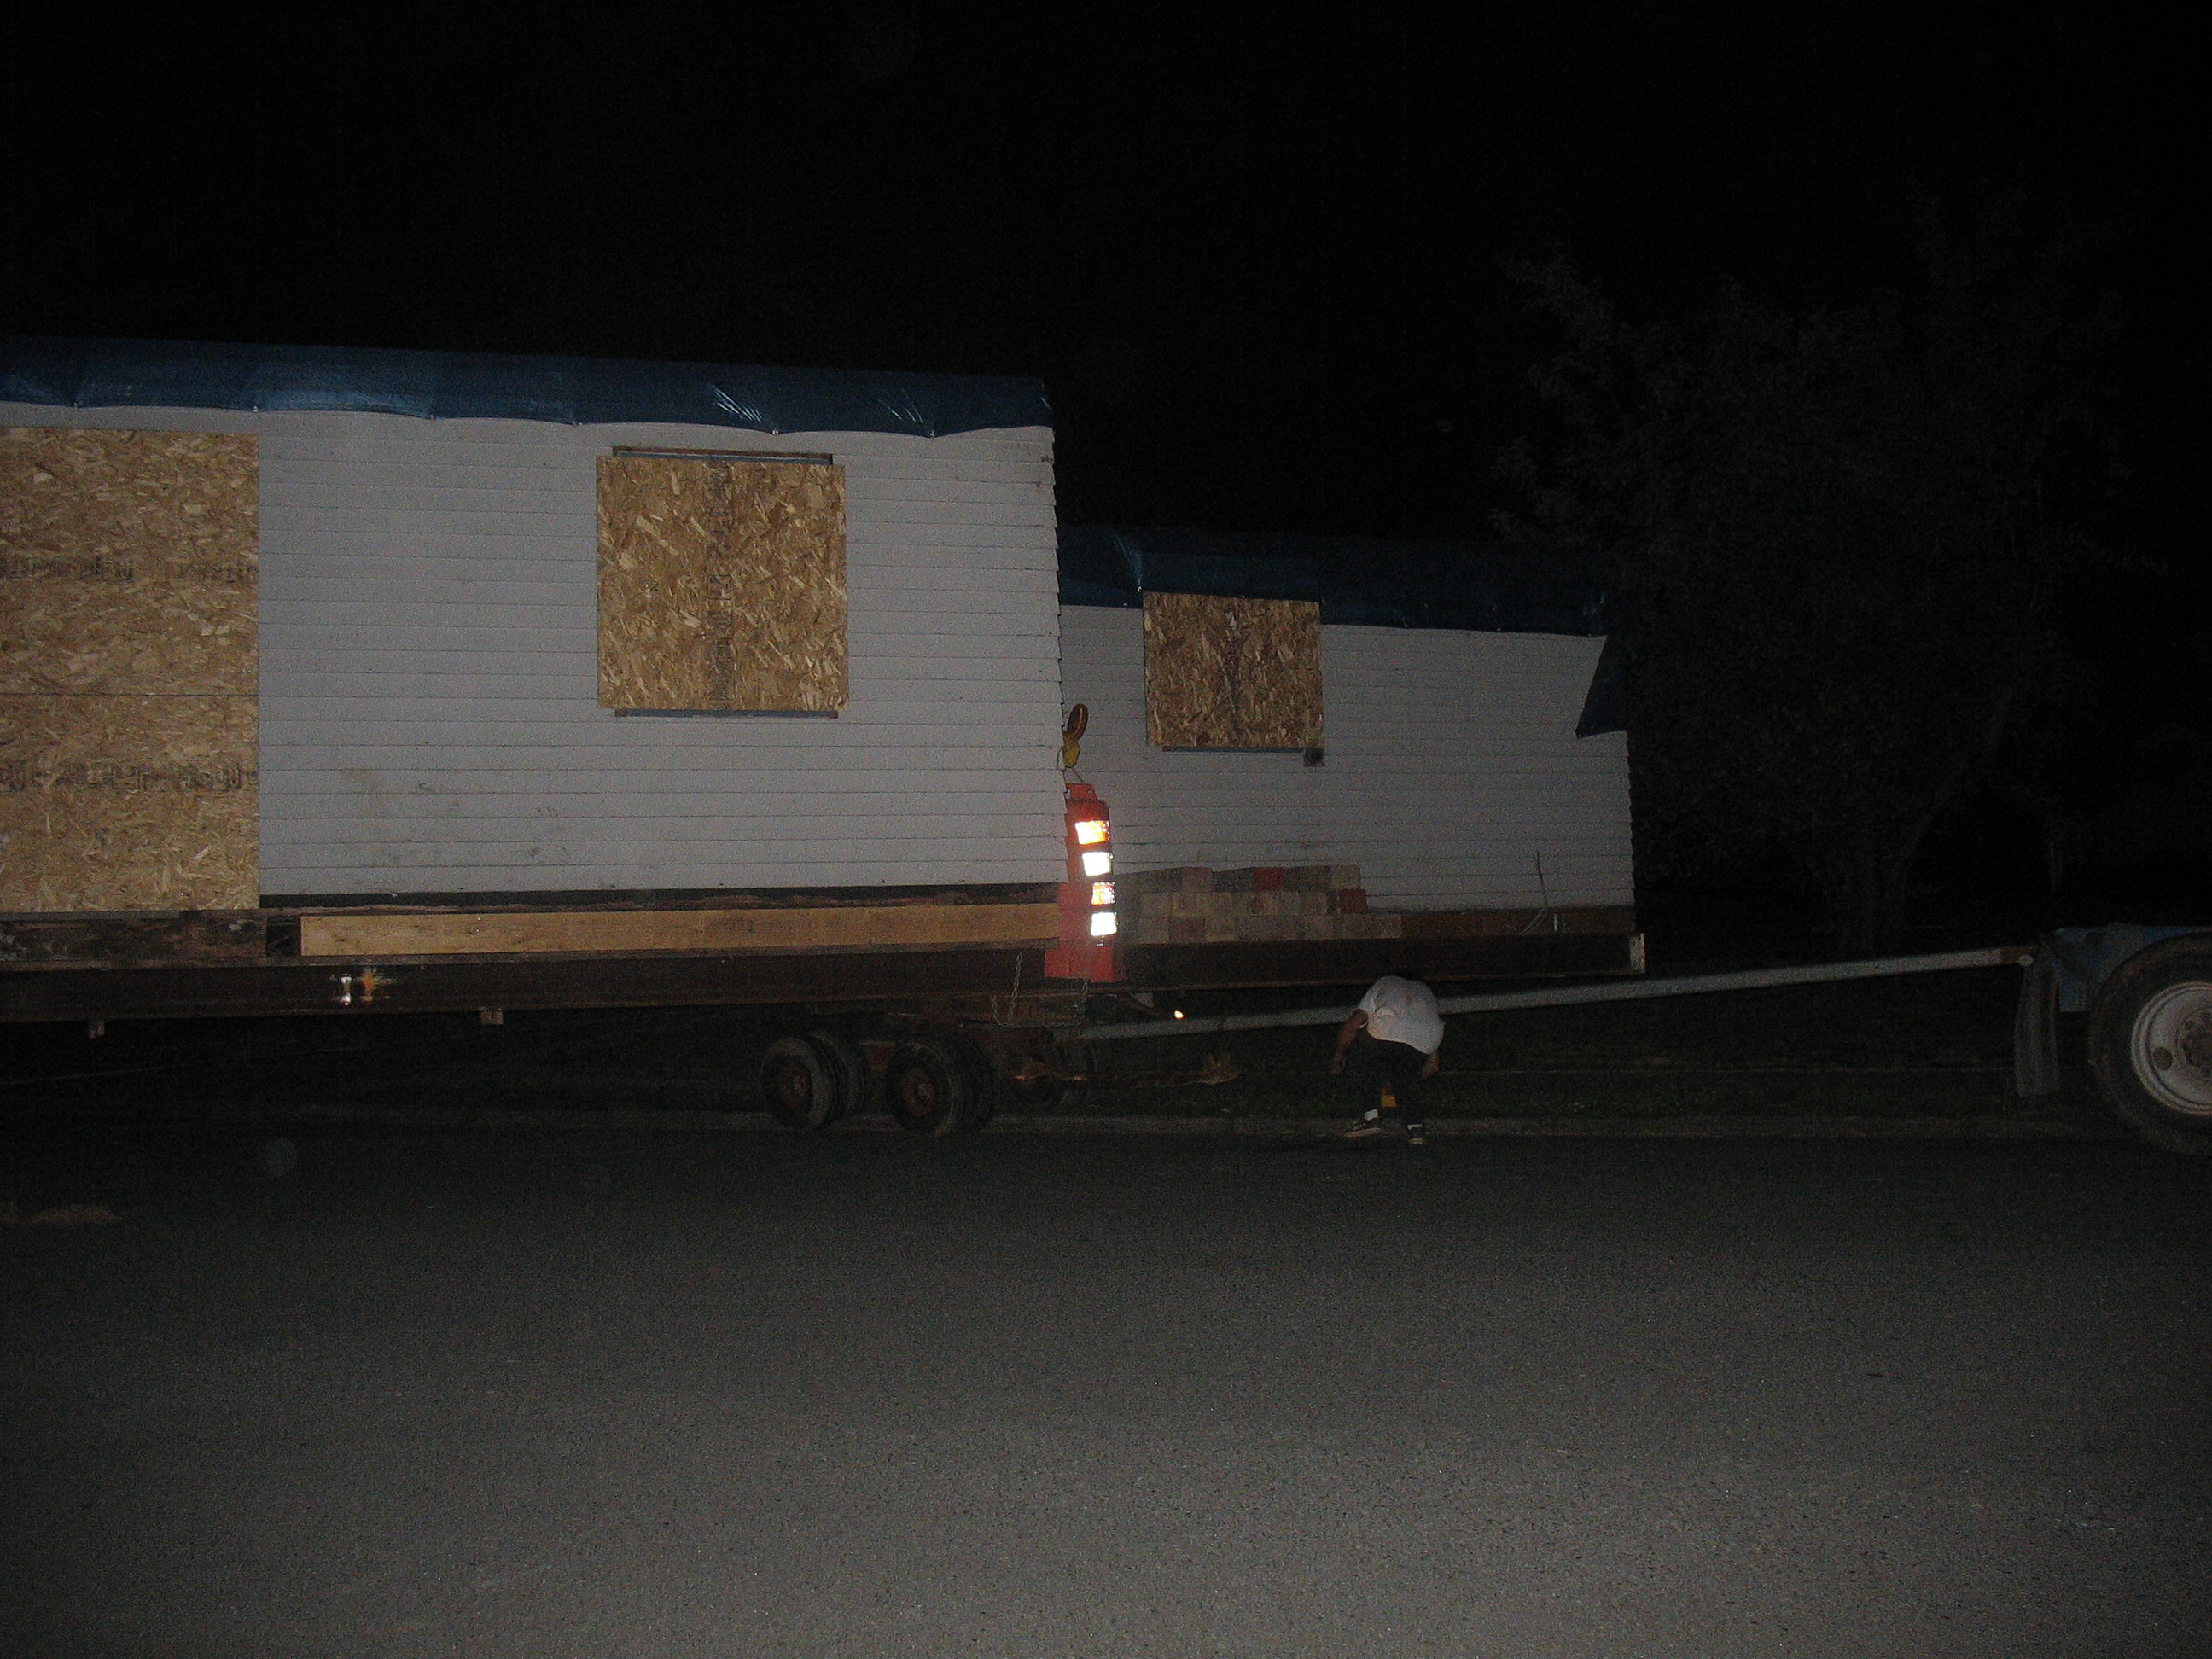
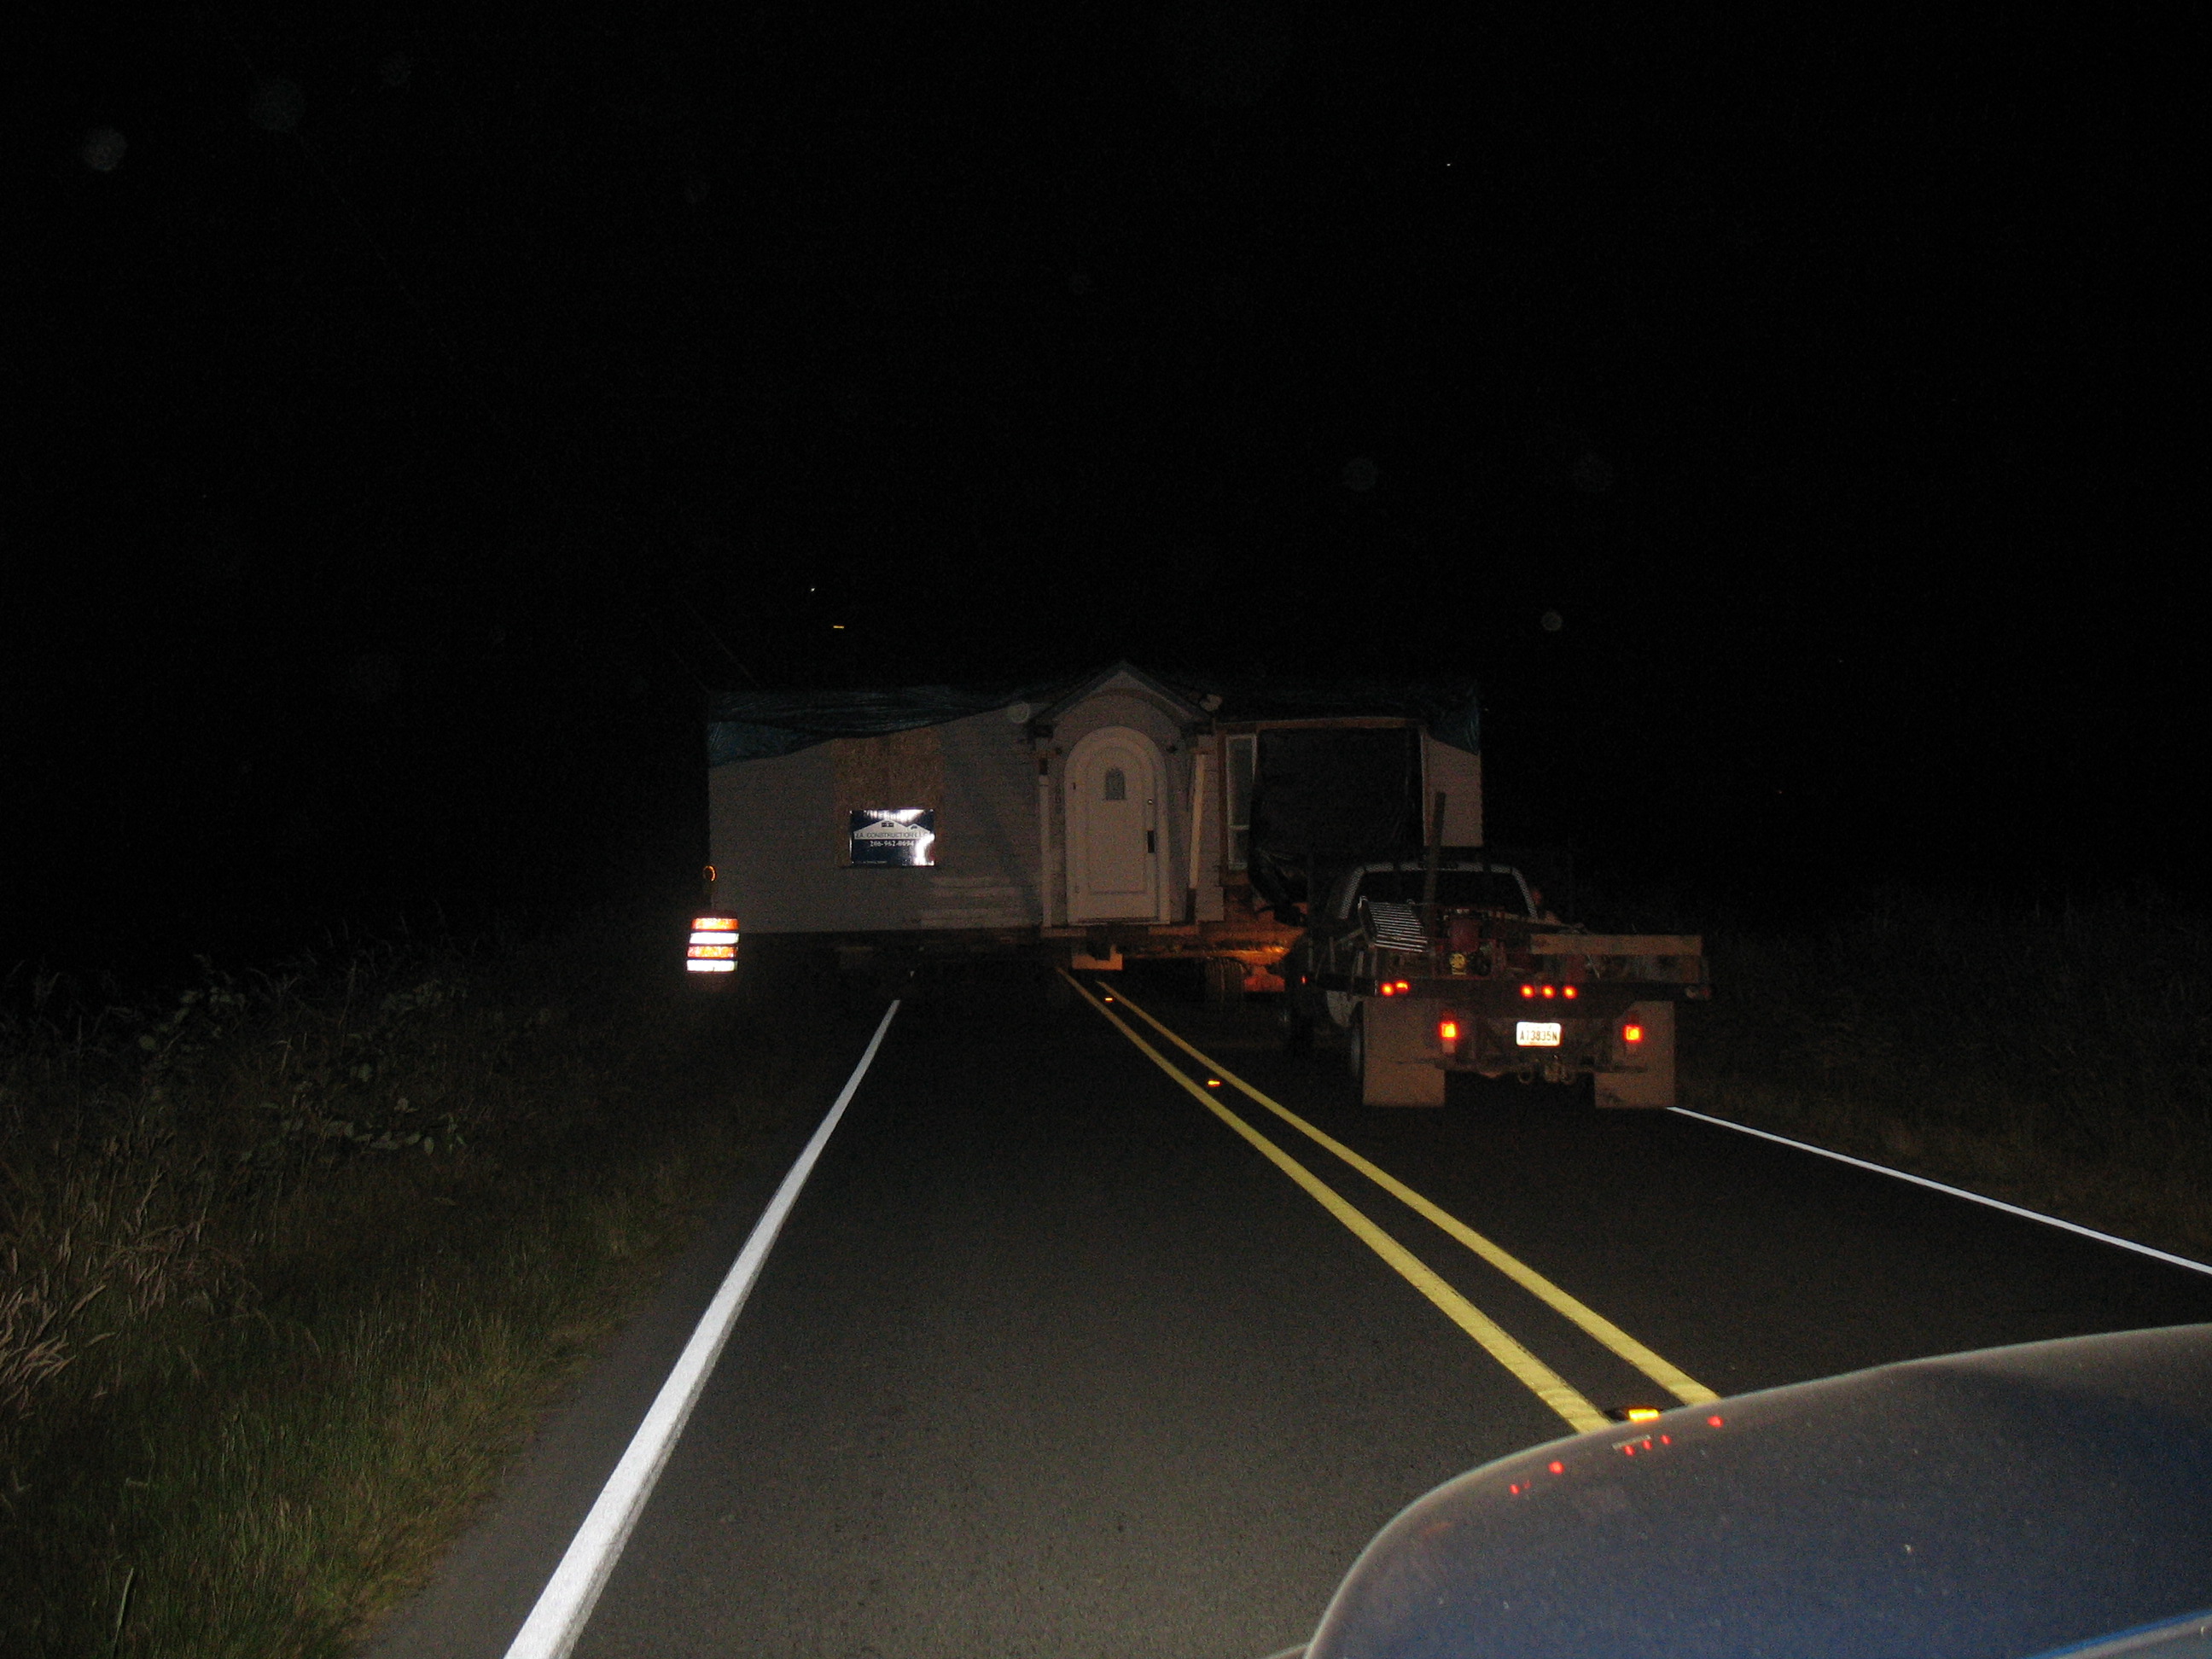
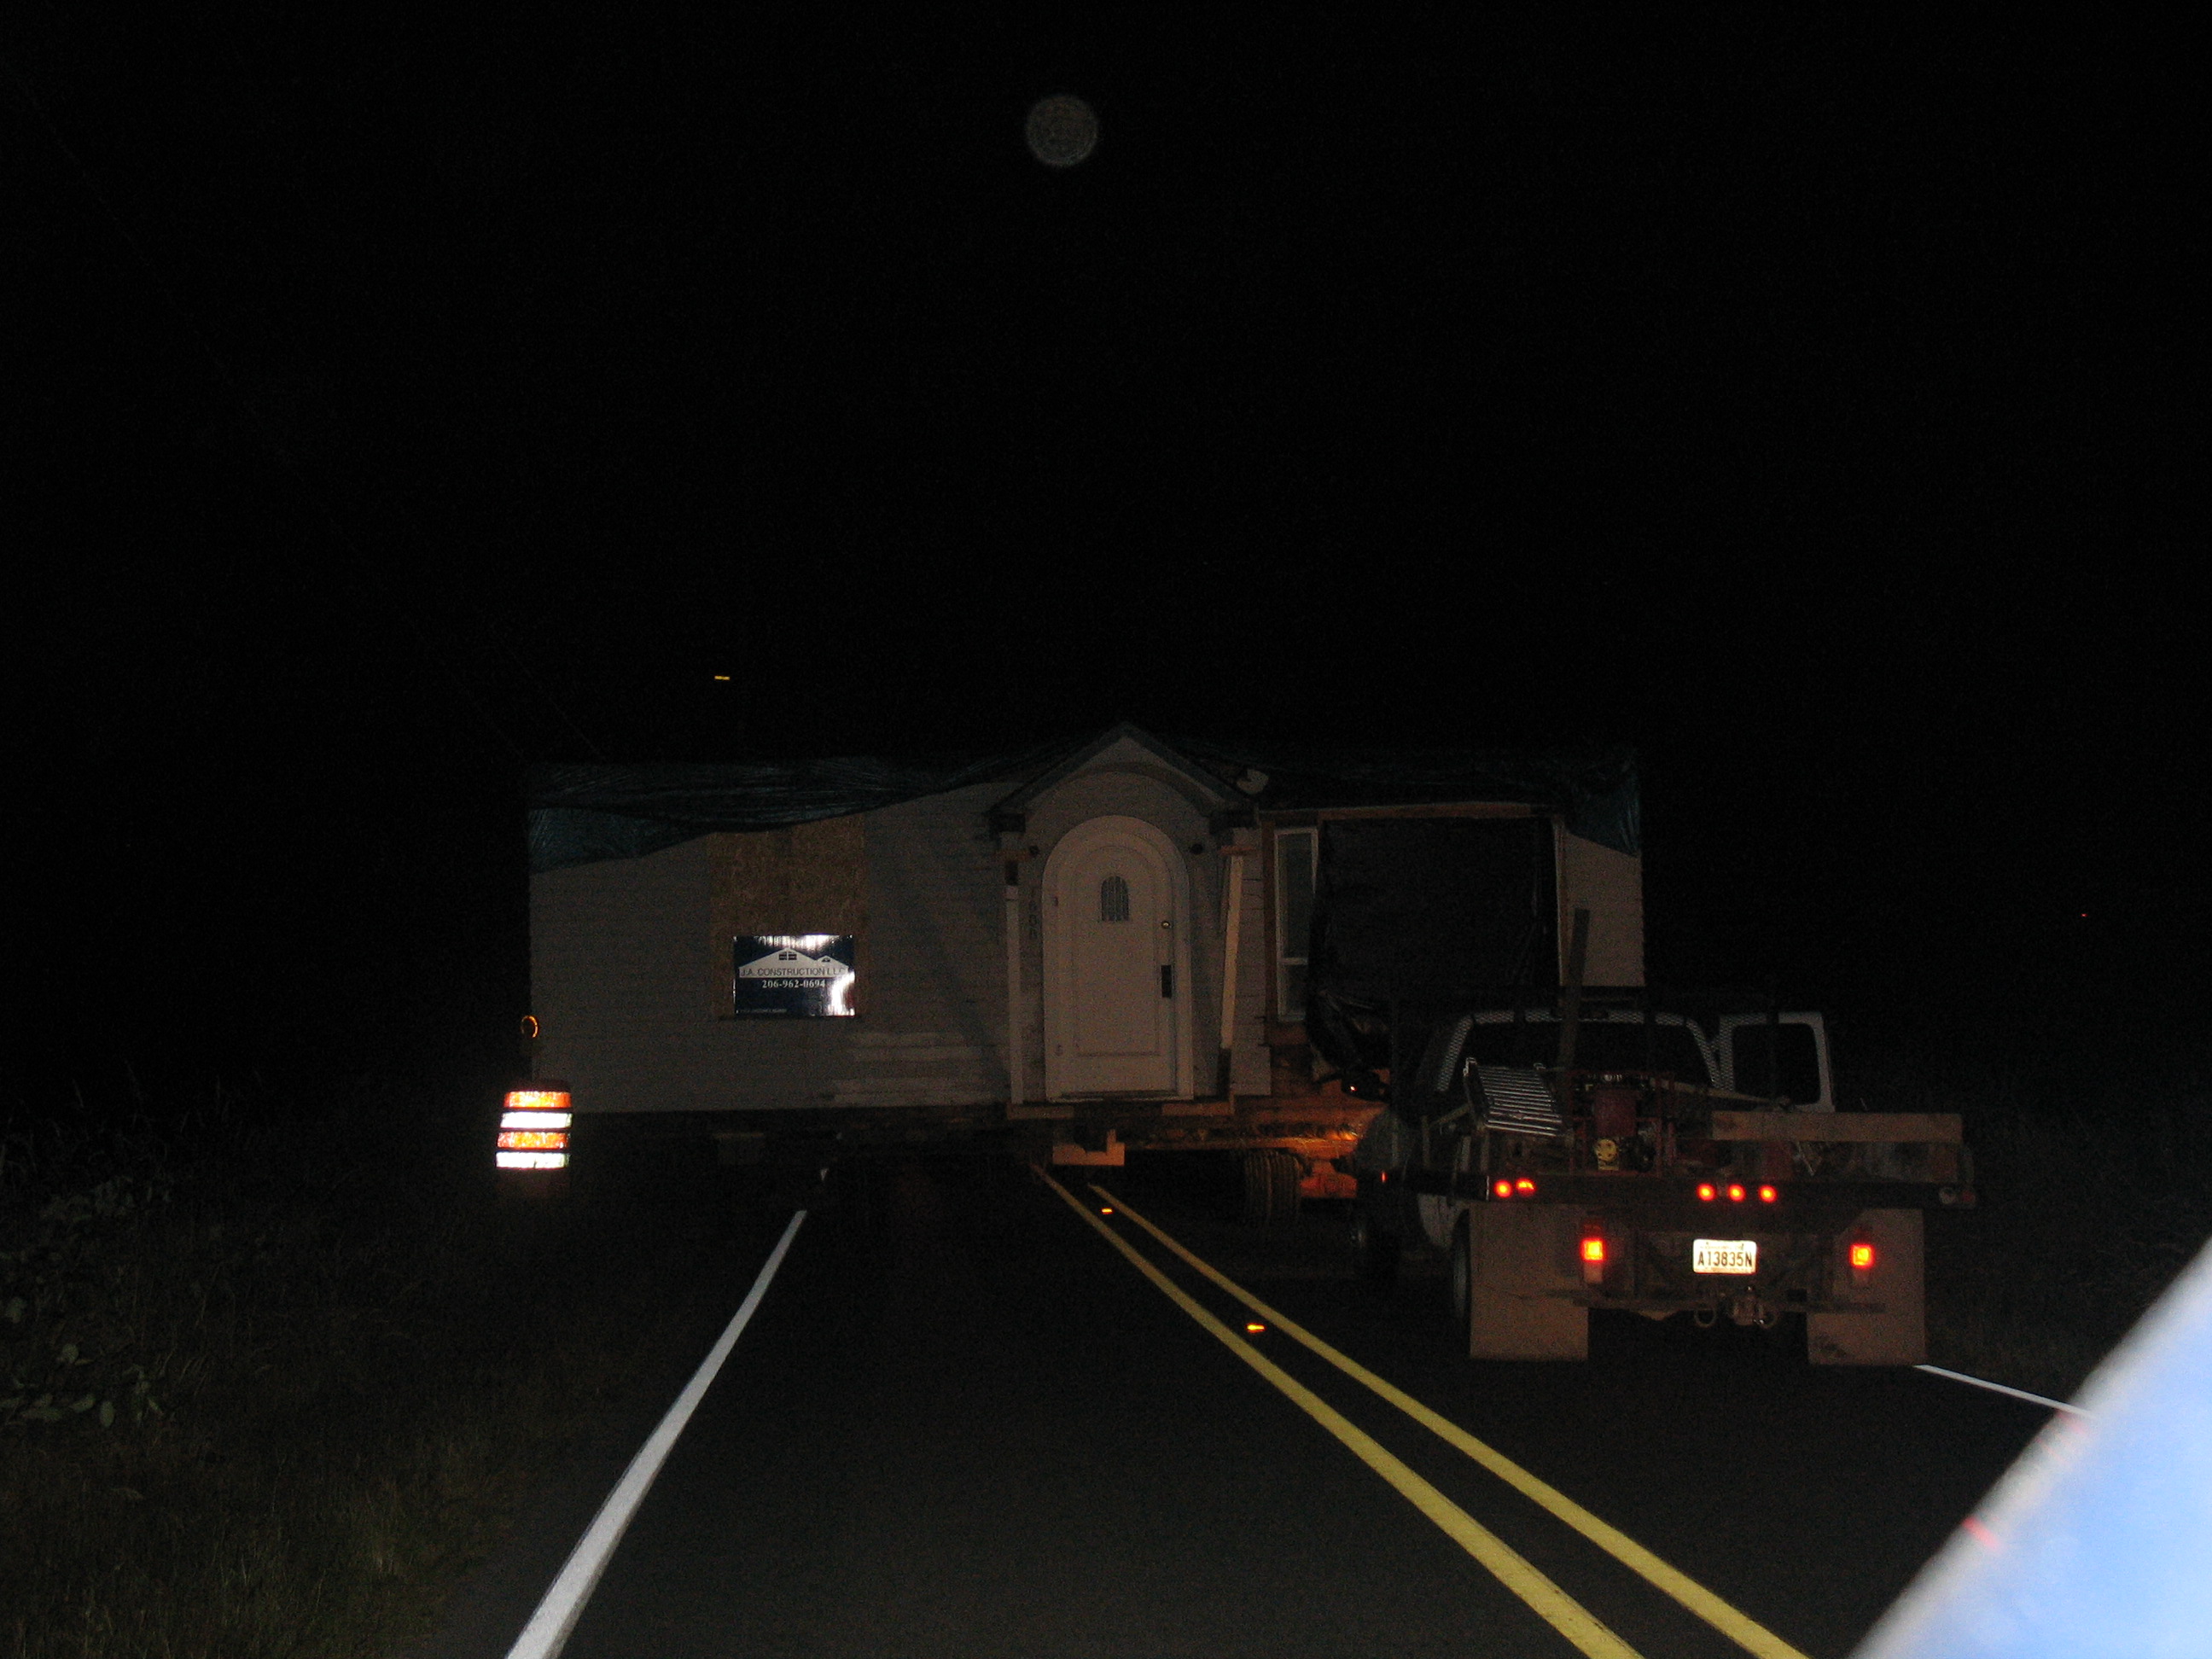
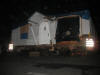
Towing back end first.
|
|
|
|
|
|
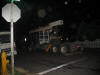
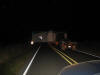
It starts heading down 5th Street.
|
|
|
|
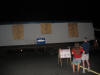
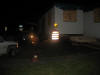
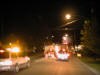
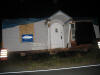
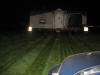
The pilot crew lights made it very bright and surreal to watch. It caused many people to emerge from their houses as we passed by.
|
|
|
|
Waiting to turn into Ed Stocker's cow pasture (complete with cows still in it).
|
|

|
|
Full moon...
|
|
|
|
Michelle and her "coffee" (with a little something extra):)
|
|
|
|
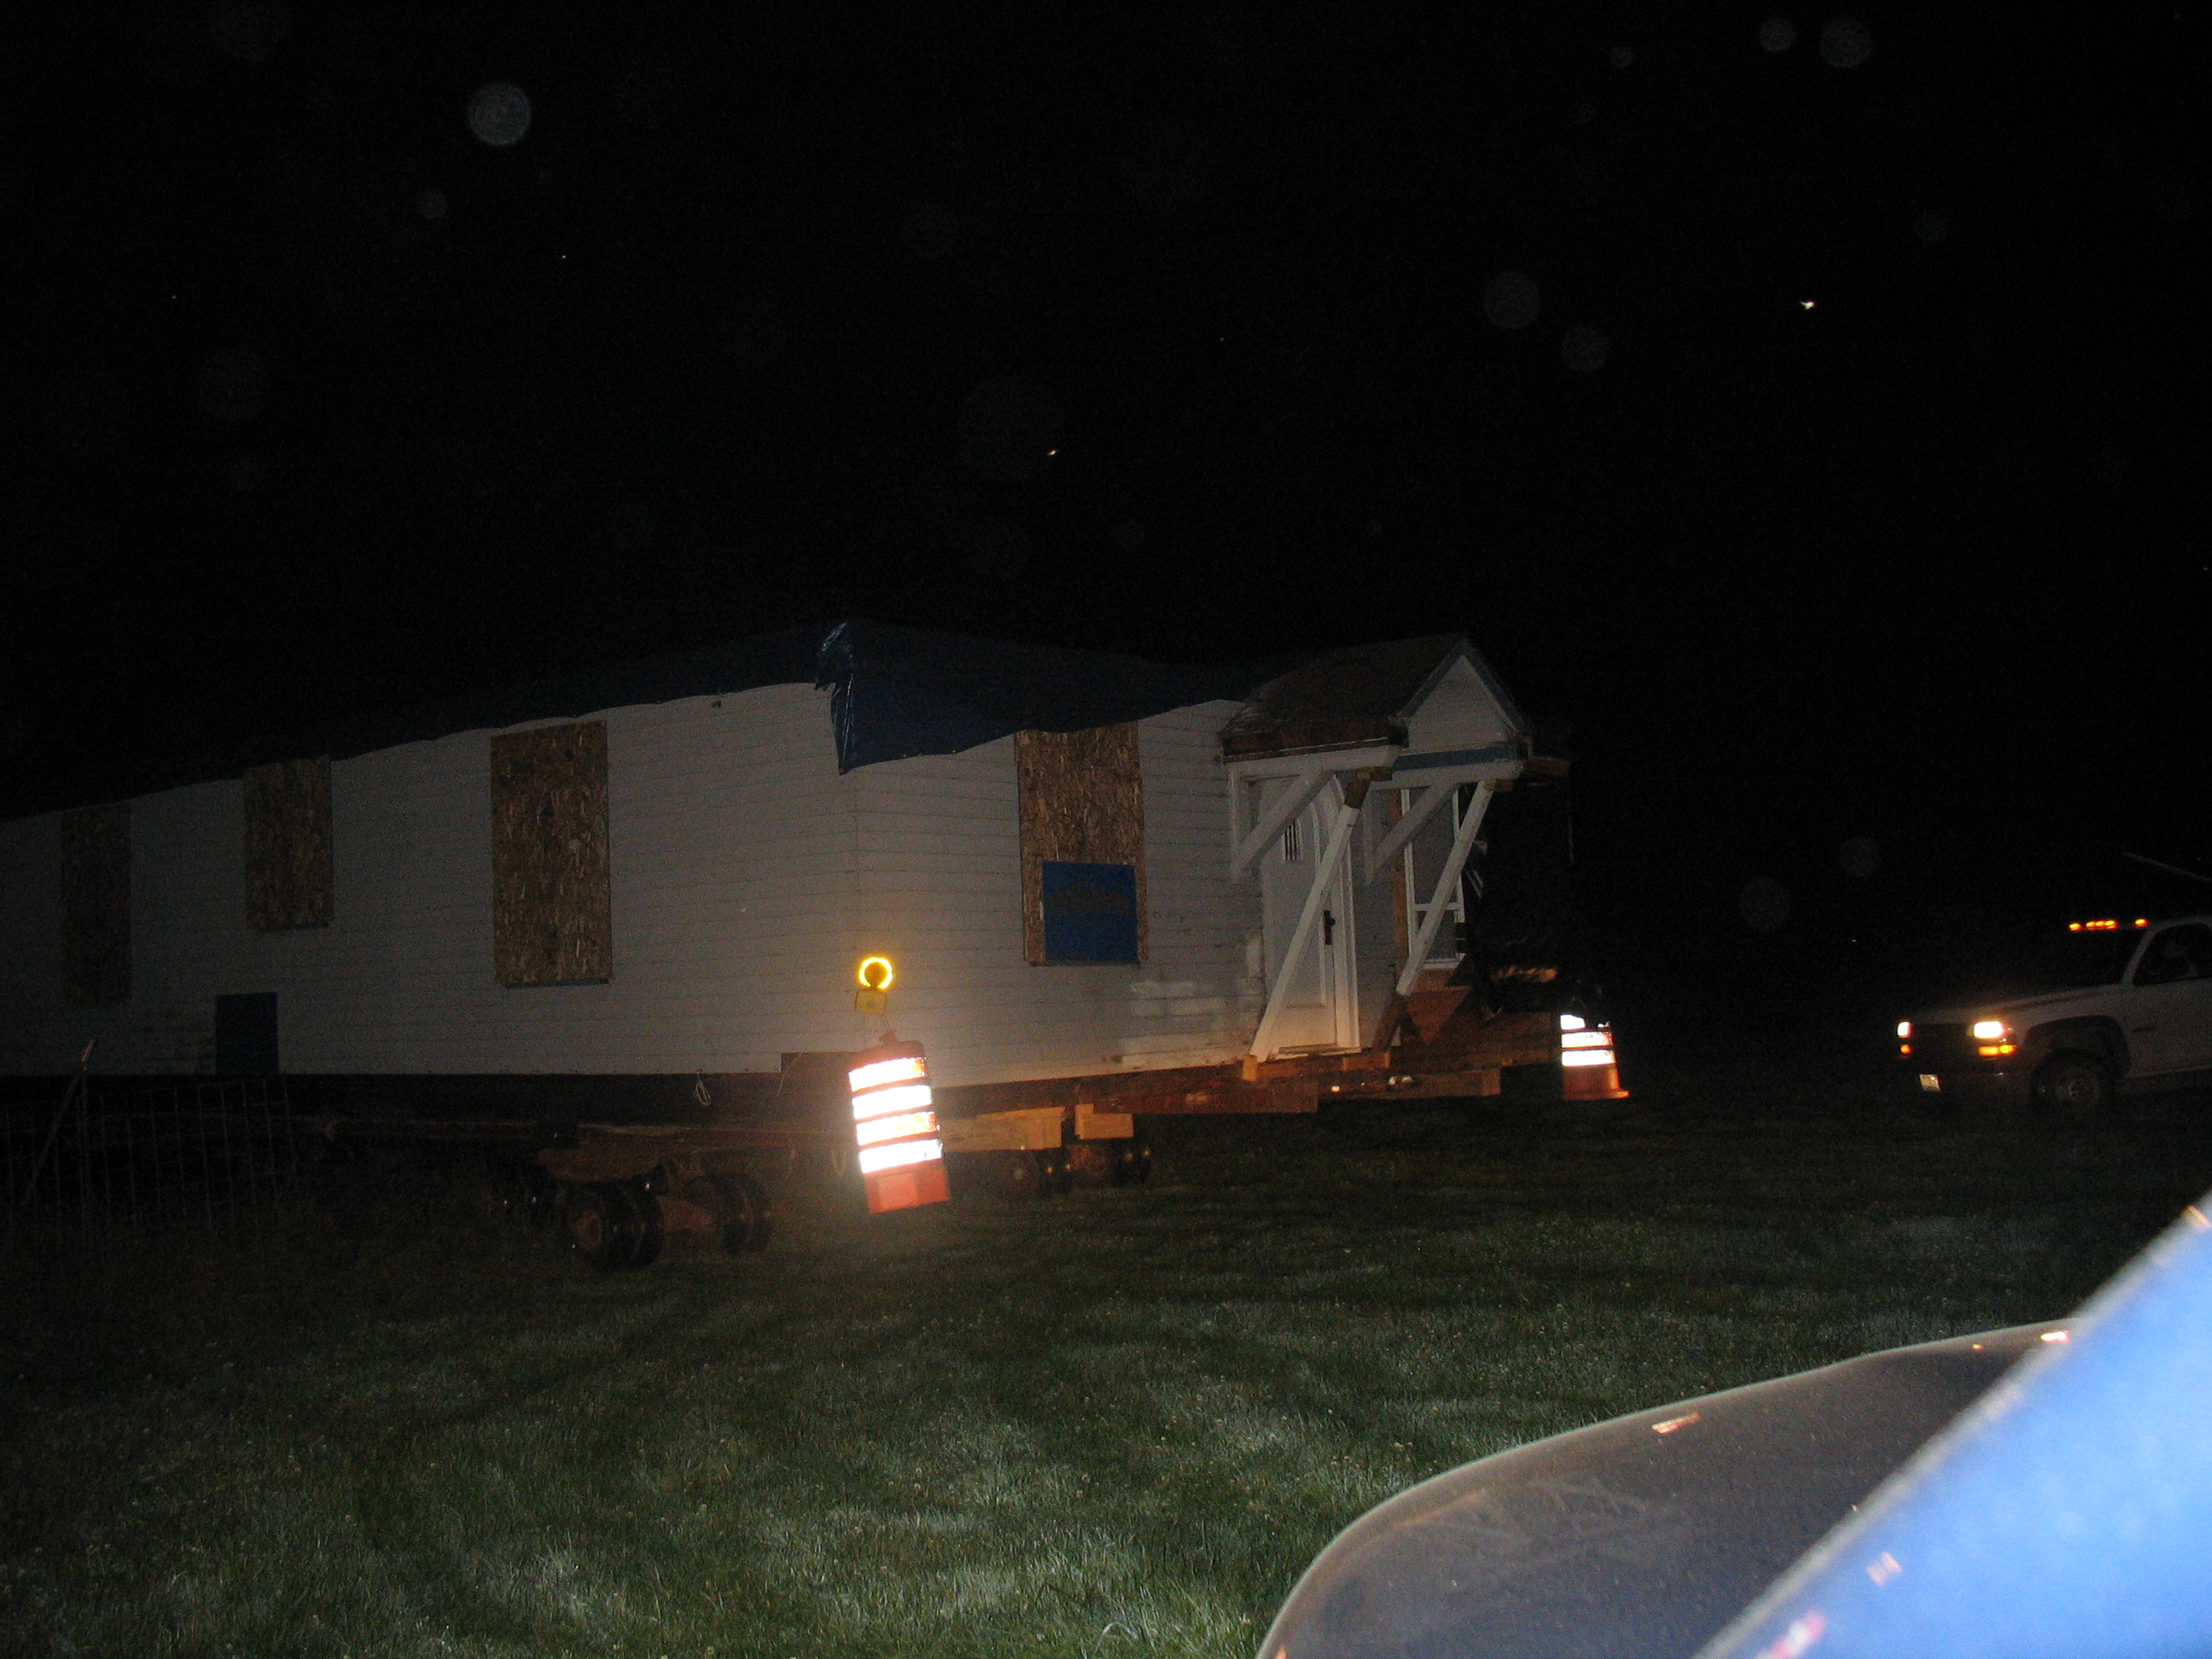
Turning into the field.
|
|
|
|
In the pasture.
|
|
|
|
Tracks in the wet grass.
|
|
|
|

|
|
Going through the cross-fence.
|
|

|
|
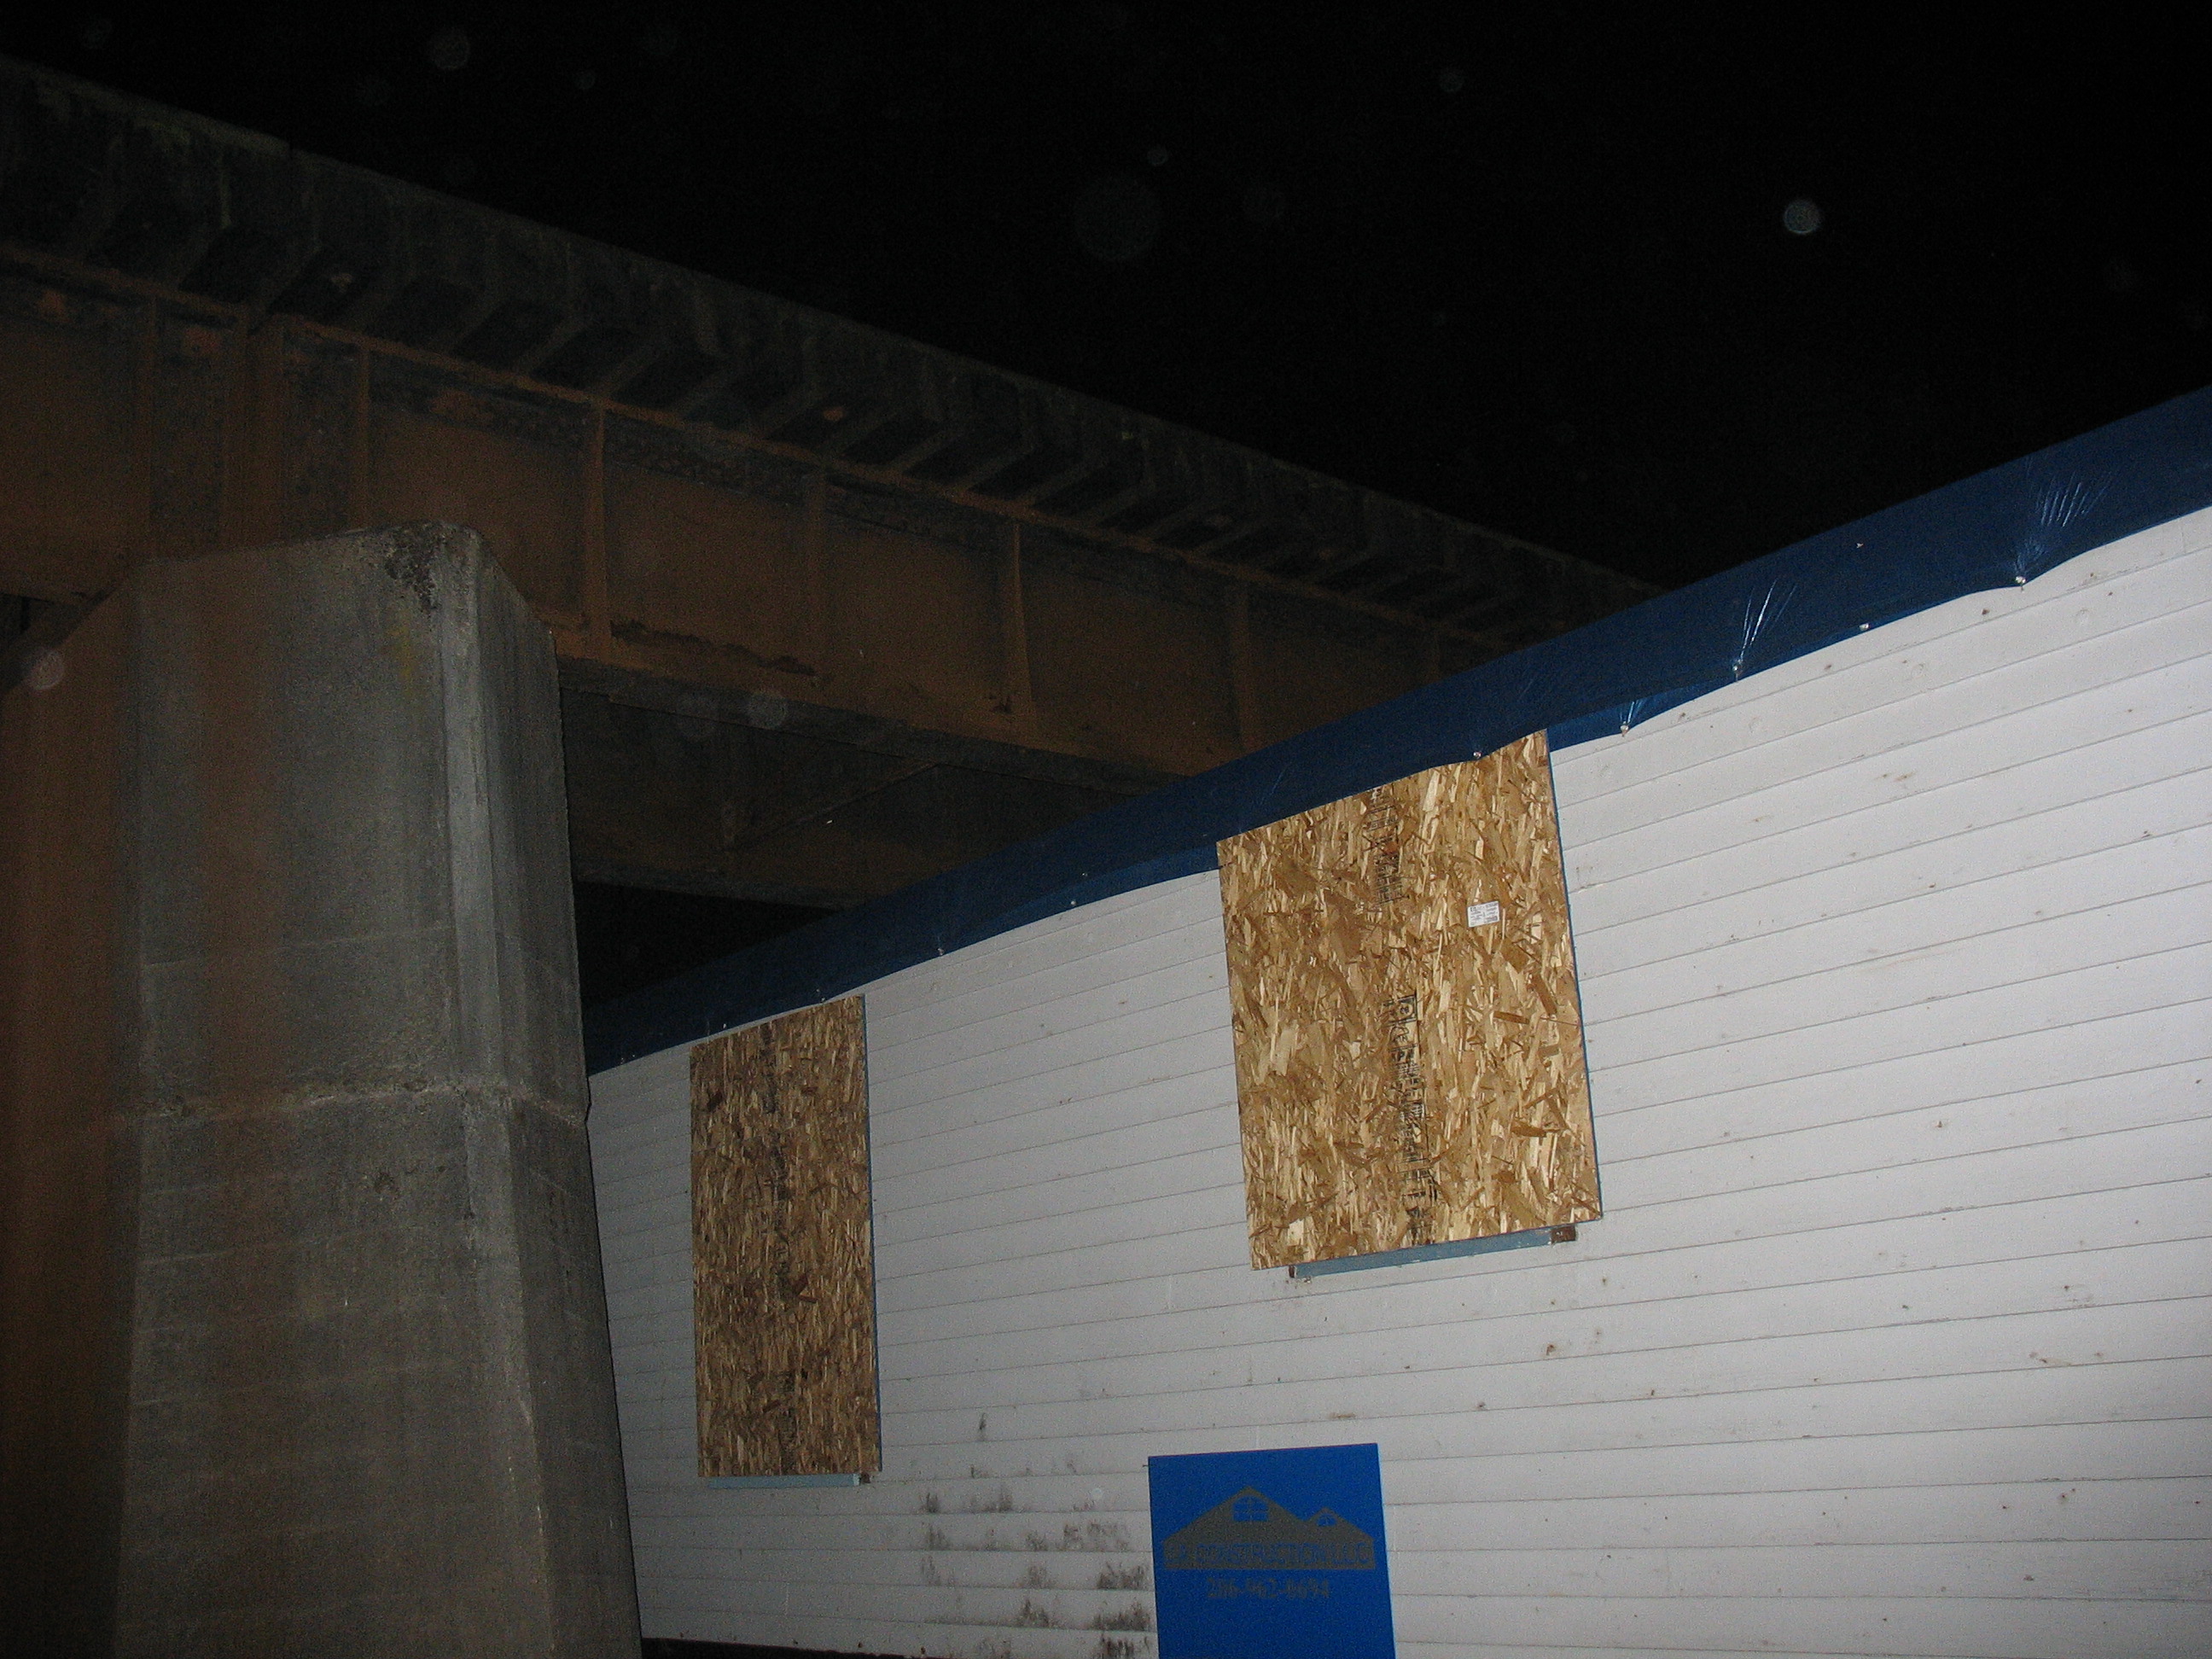
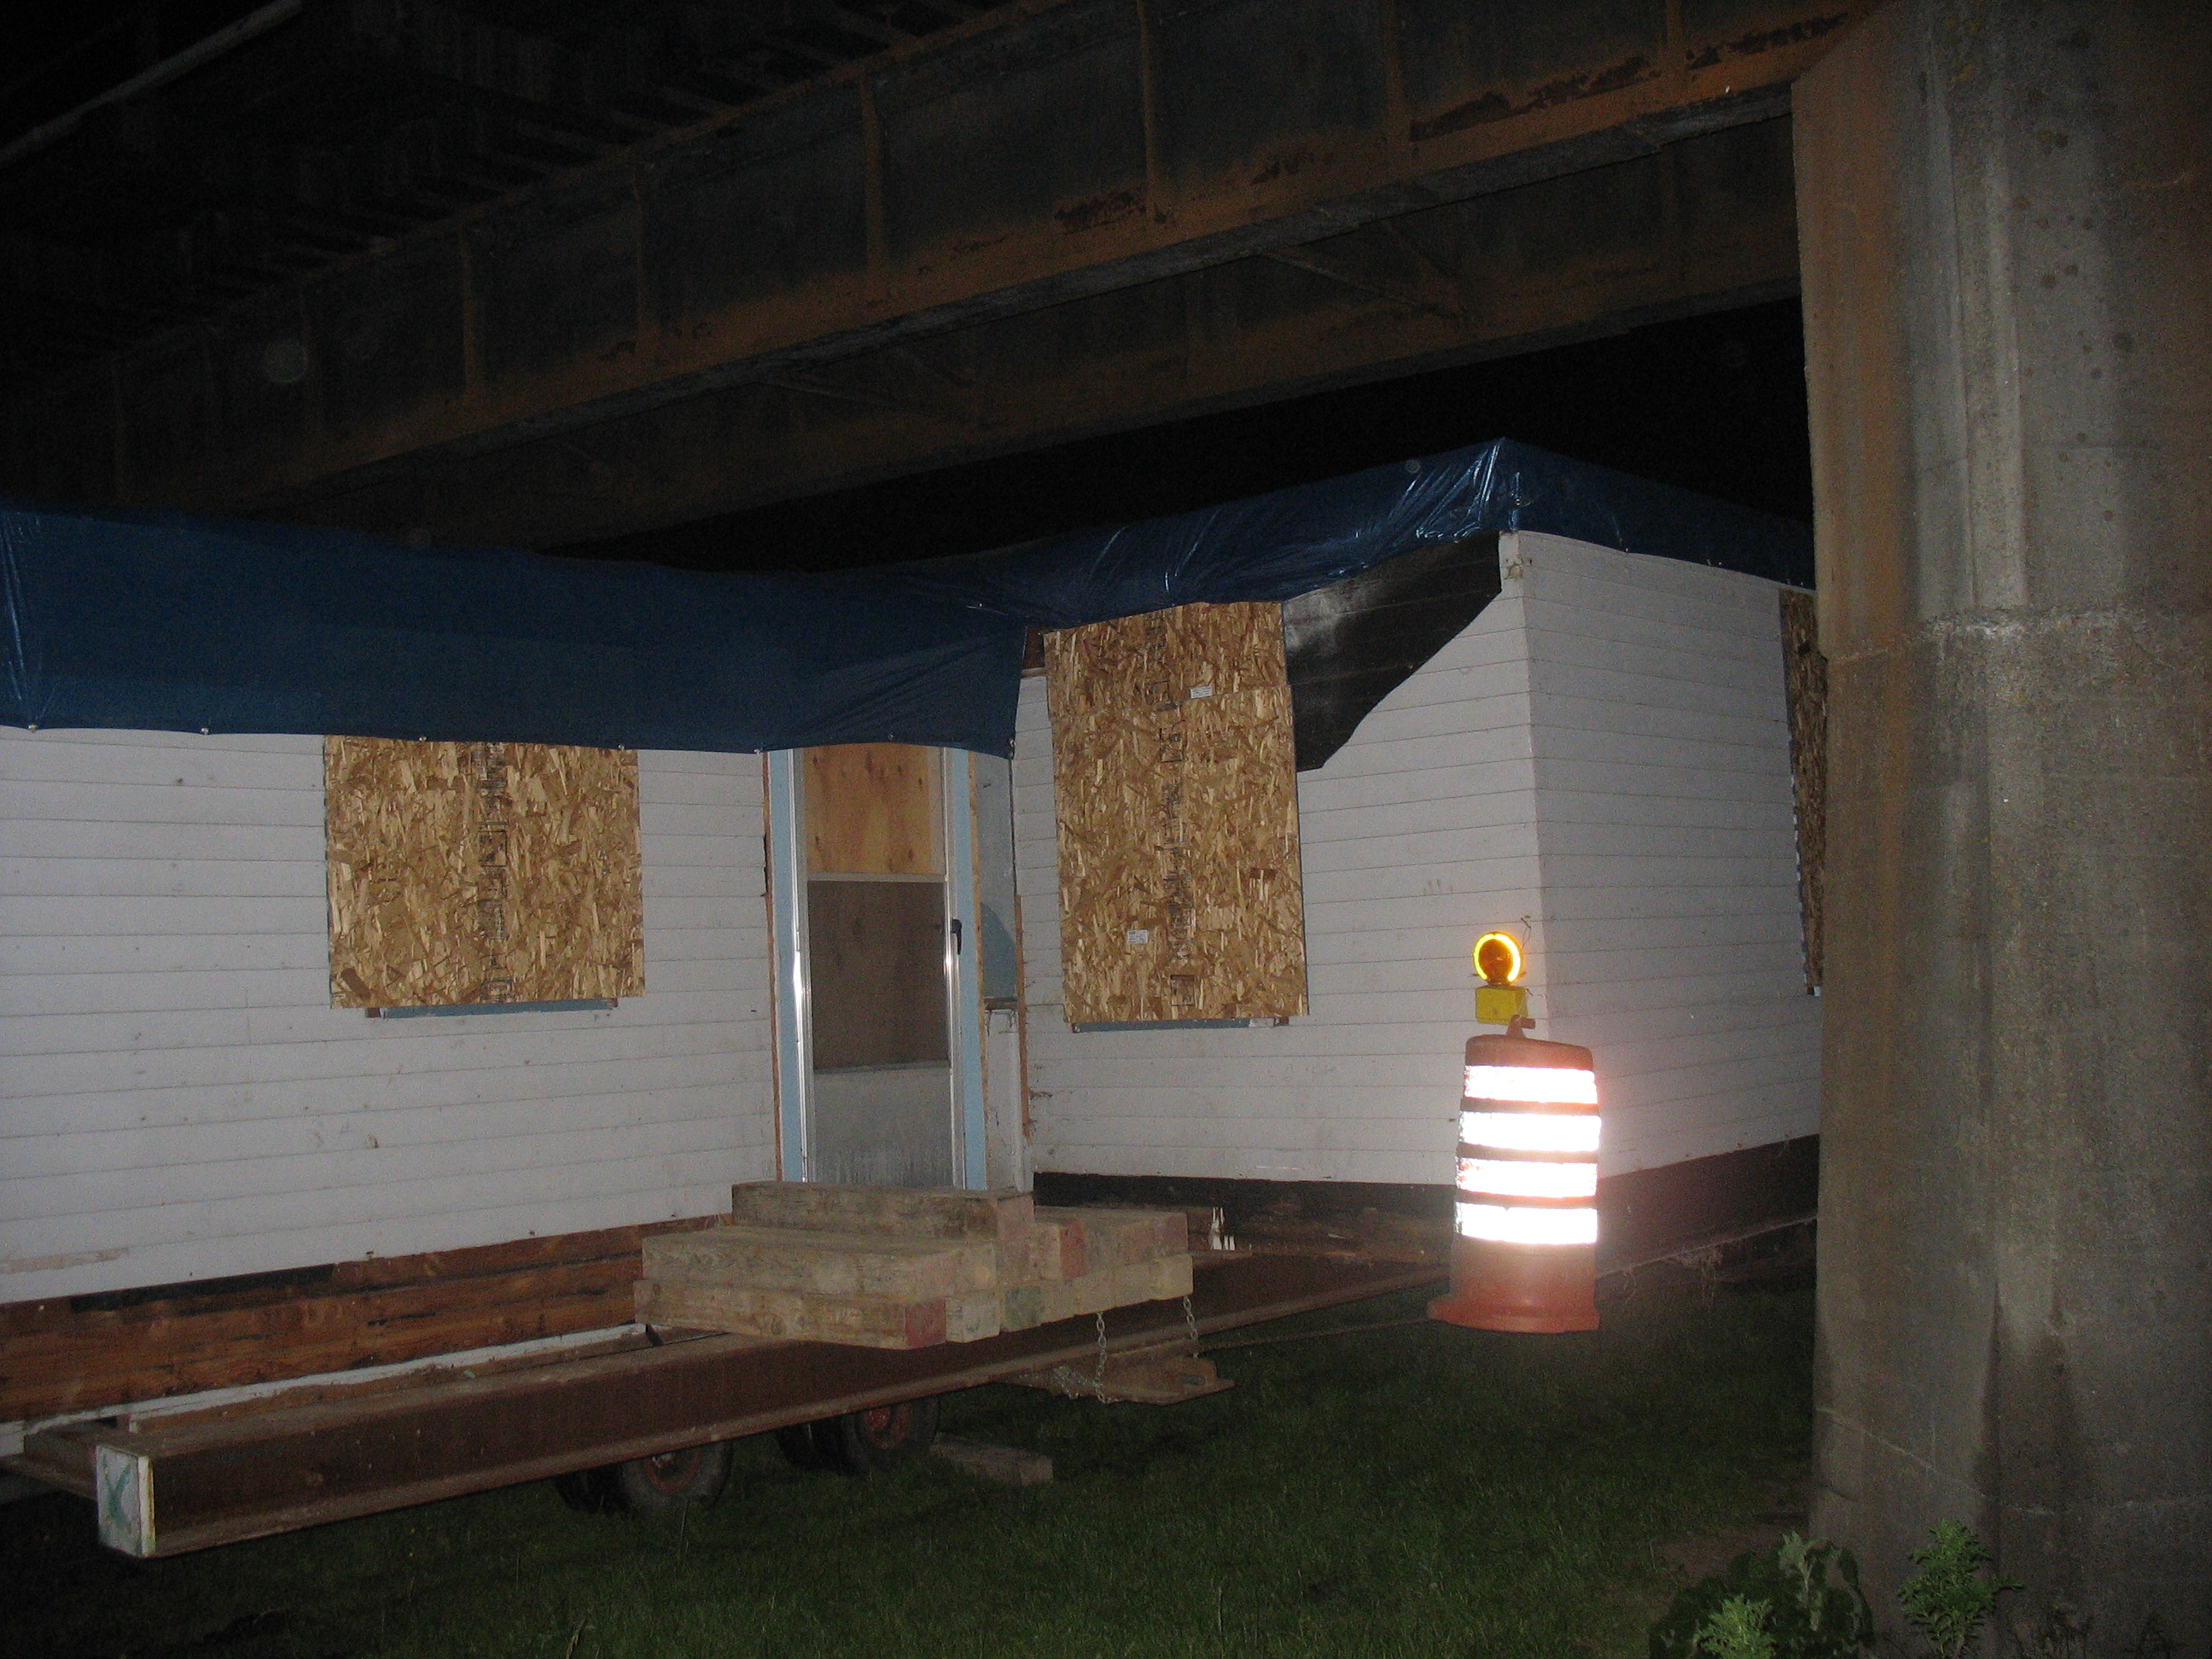
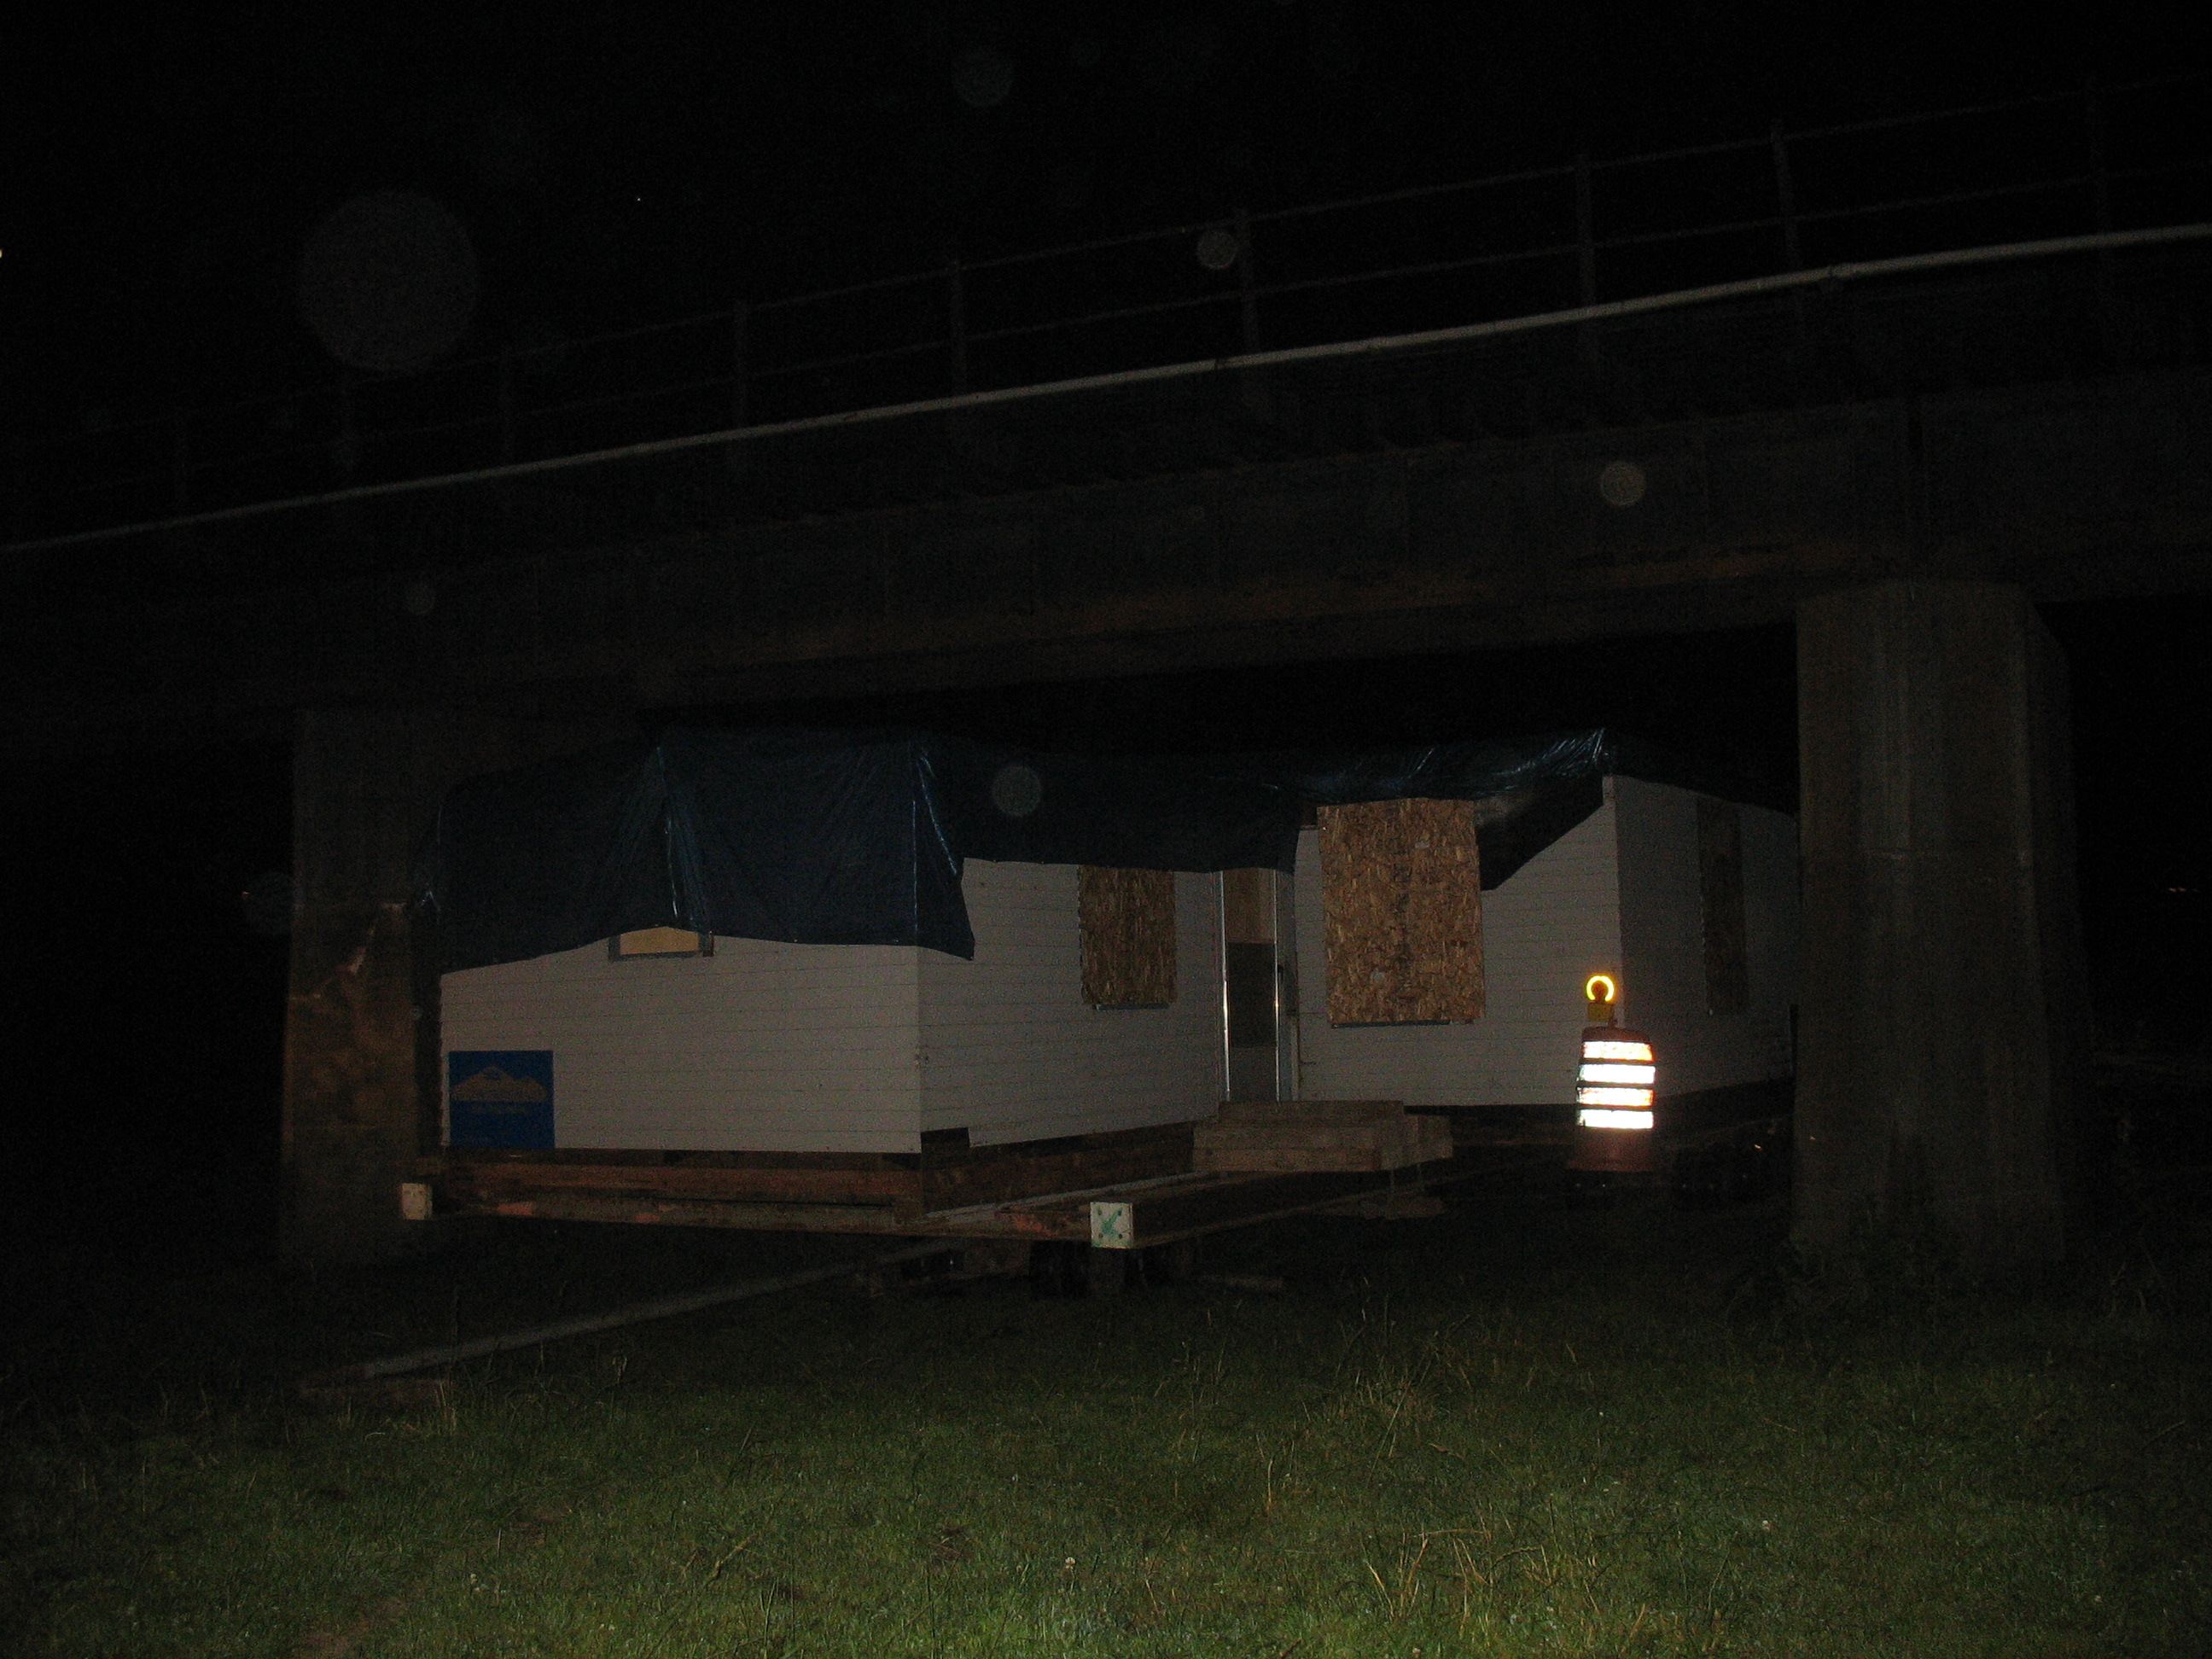
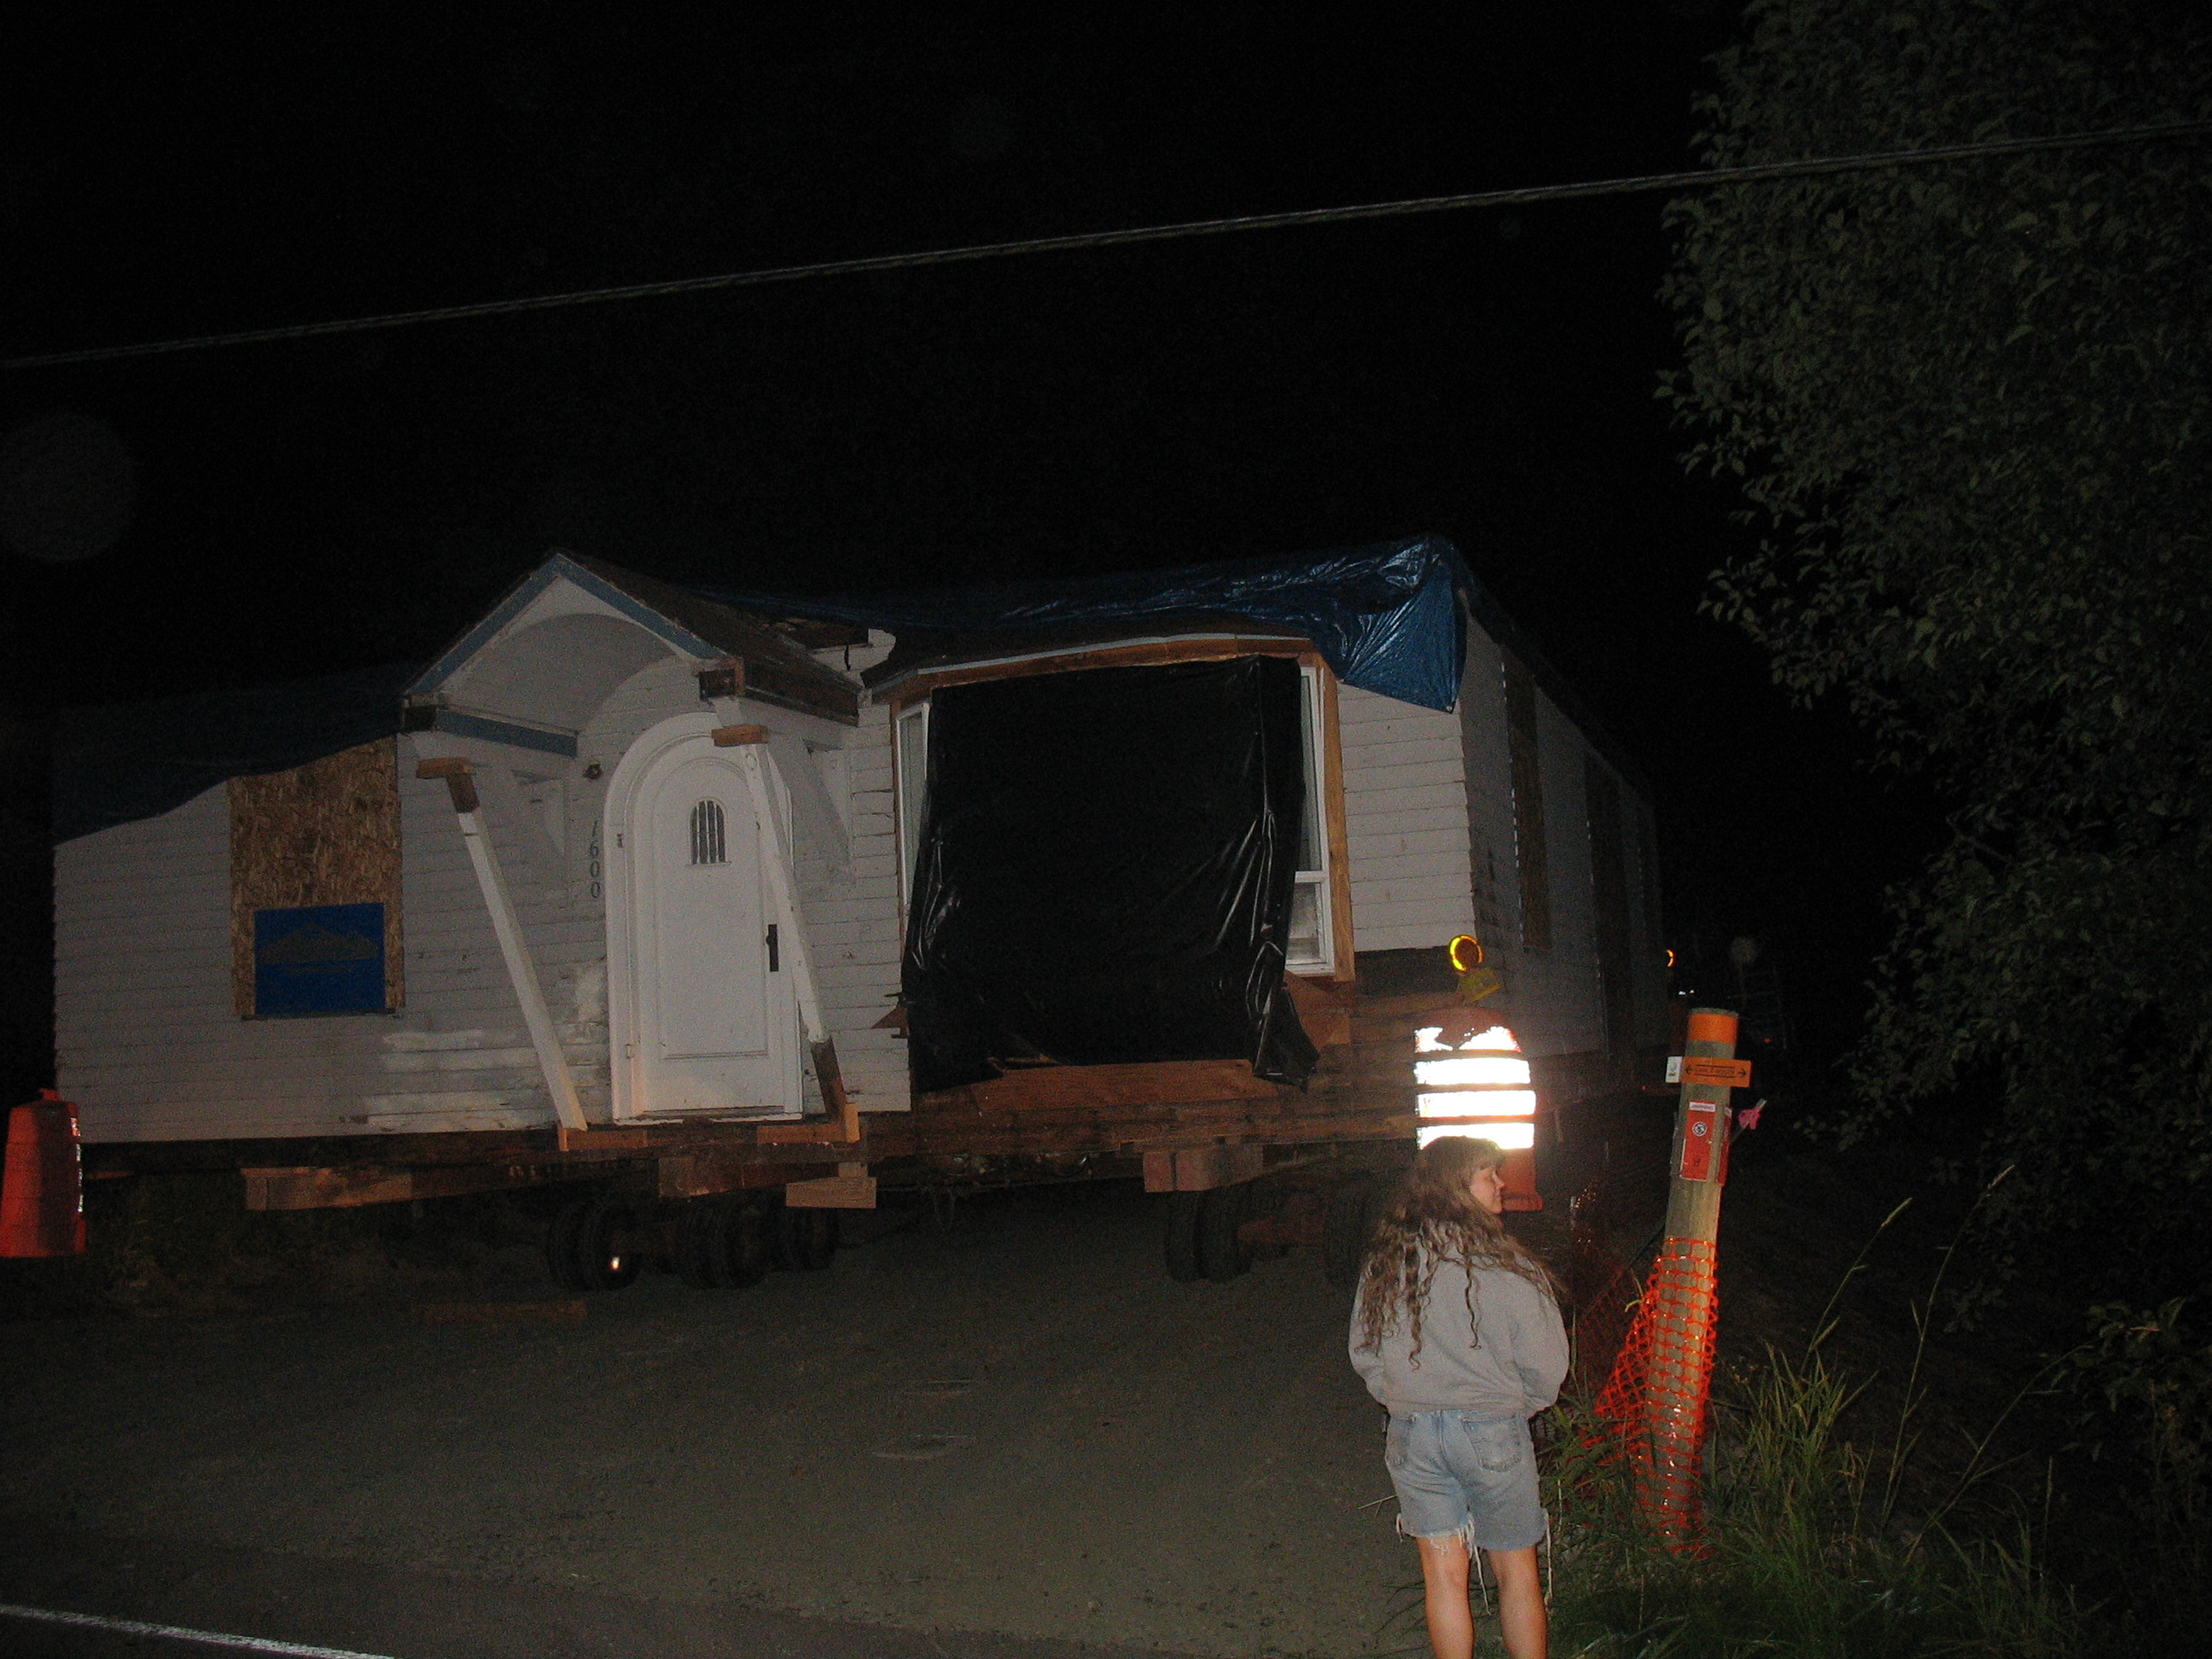
Under the train trestle #1.
|
|
|
|
Trestle pic #2.
|
|
|
|
Trestle pic #3.
|
|
|
|
Trestle pic #4.
|
|
|
|
Entering the site driveway.
|
|

|
|
Shane's driveway job holds up fine.
|
|
|
The day after: moving it into the foundation hole & jacking it up on cribs. And,
the way the old site looked with a hole where a house once was...
|
|
|
|
Sitting in driveway post-move.
|
|
|
|
Reeling out boom to pull the house towards the barn.
|
|
|
|
Pulling.
|
|
|
|
Going downhill into the hole.
|
|
|
|
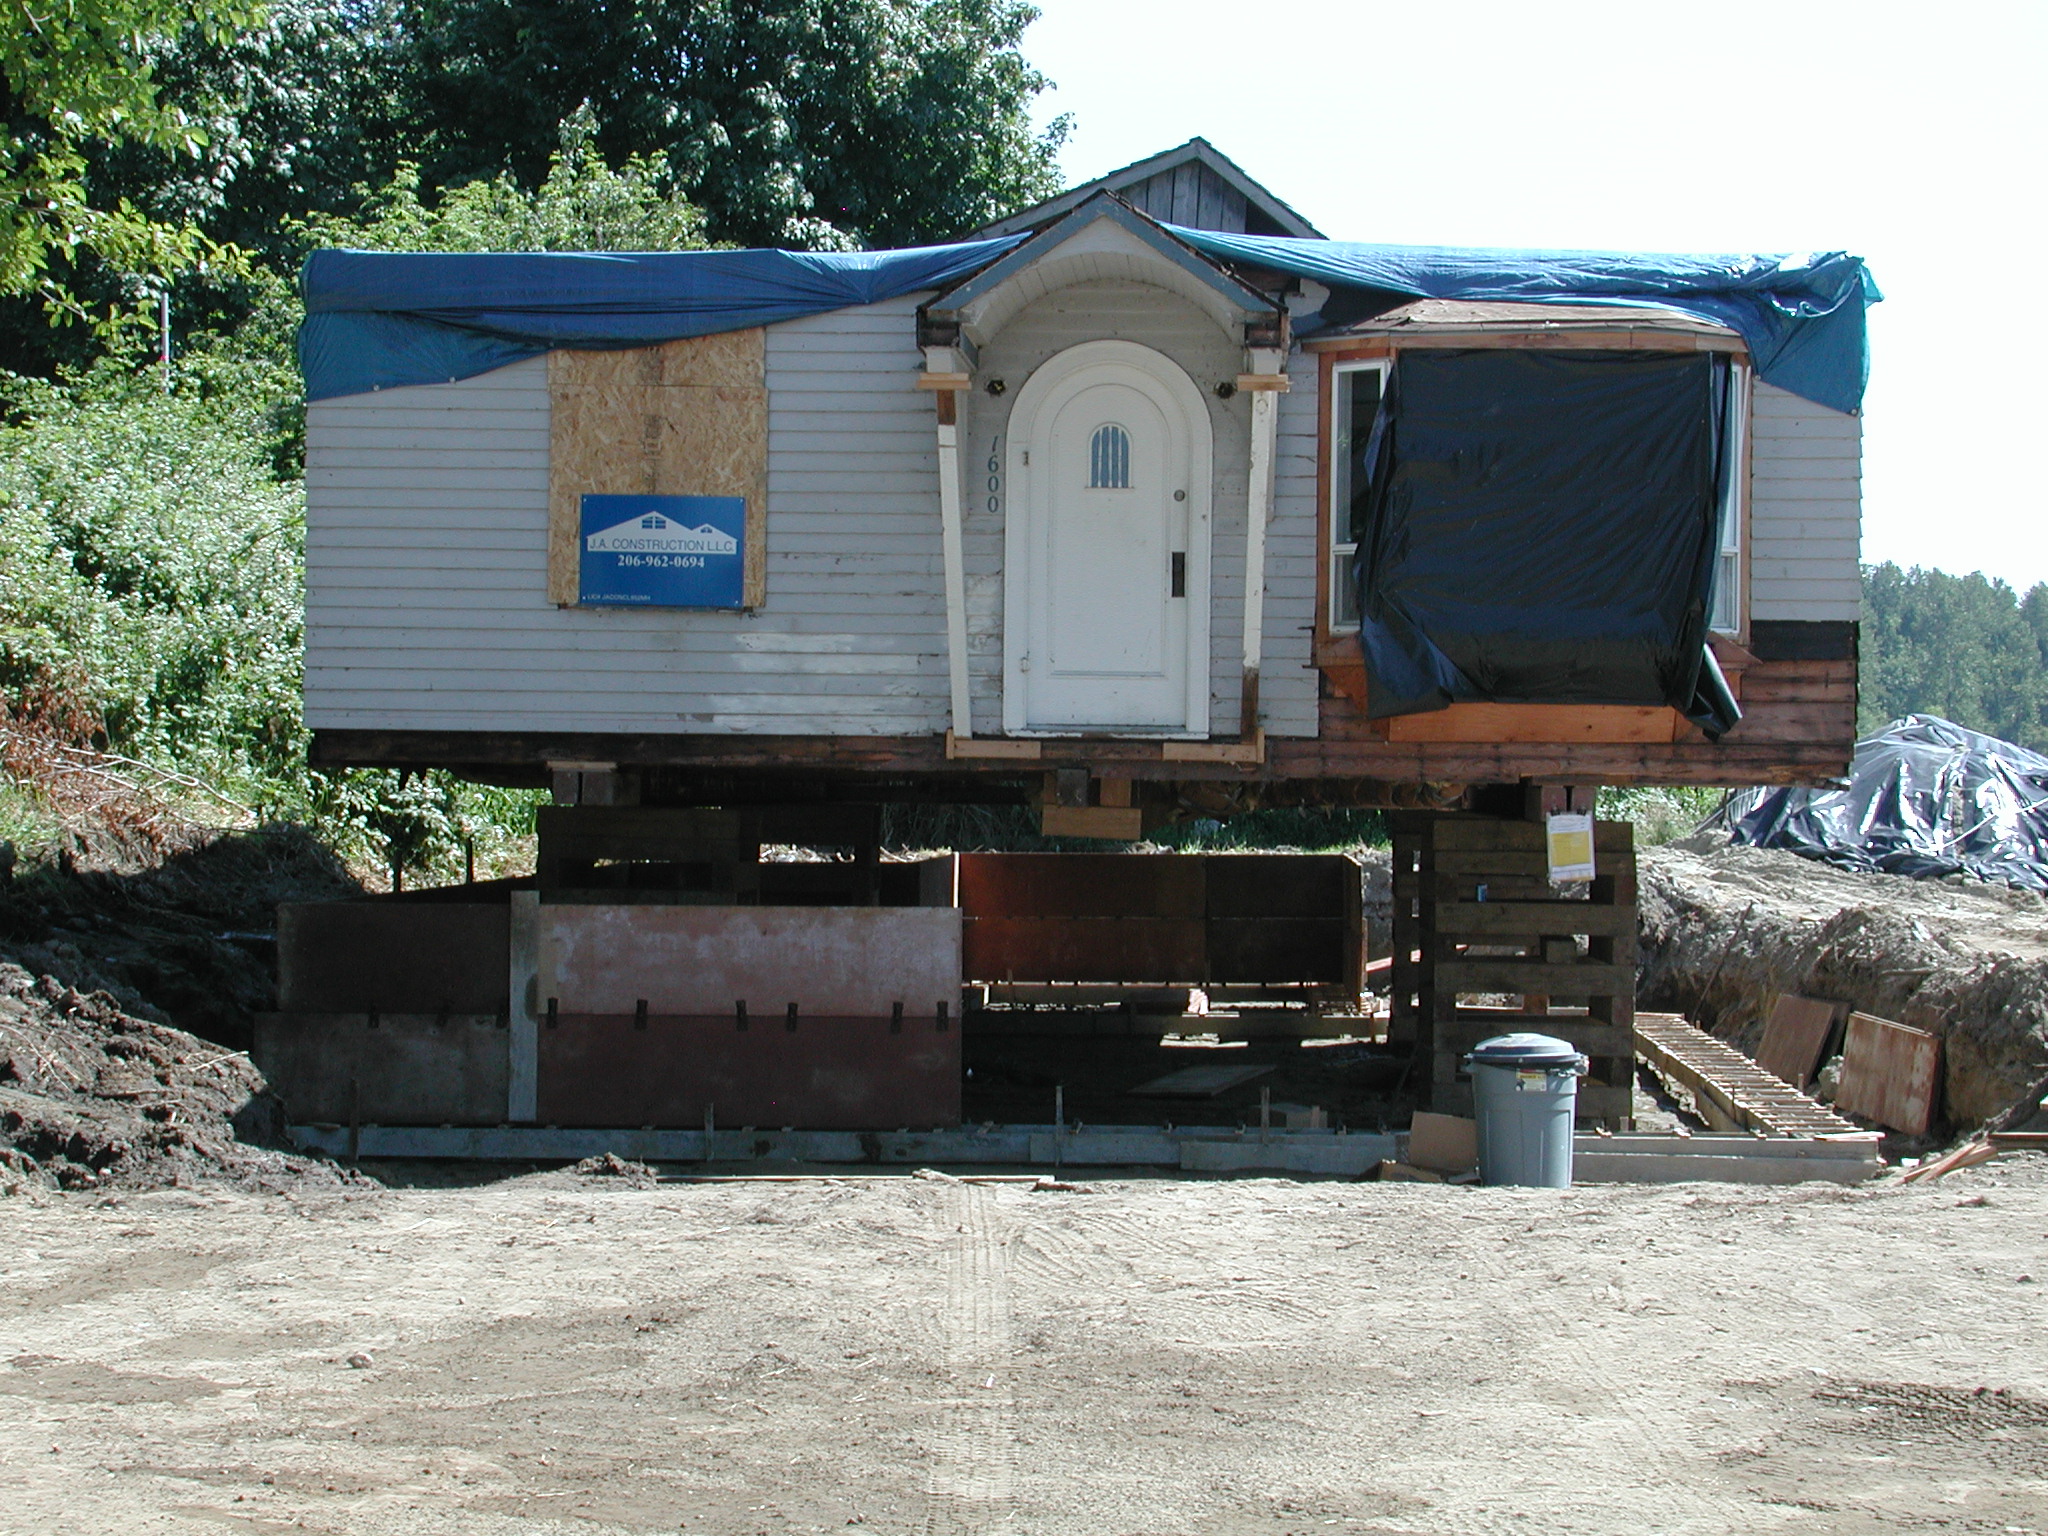
House in place in foundation hole.
|
|
|
|
|
|
Dollies ready to remove.
|
|
|
|
Adding more cribs underneath.
|
|
|
|
Jacked up to final height.
|
|

|
|
Old vacant lot: the lawn hardly shows where the dollies rolled only one day before.
|
|
|
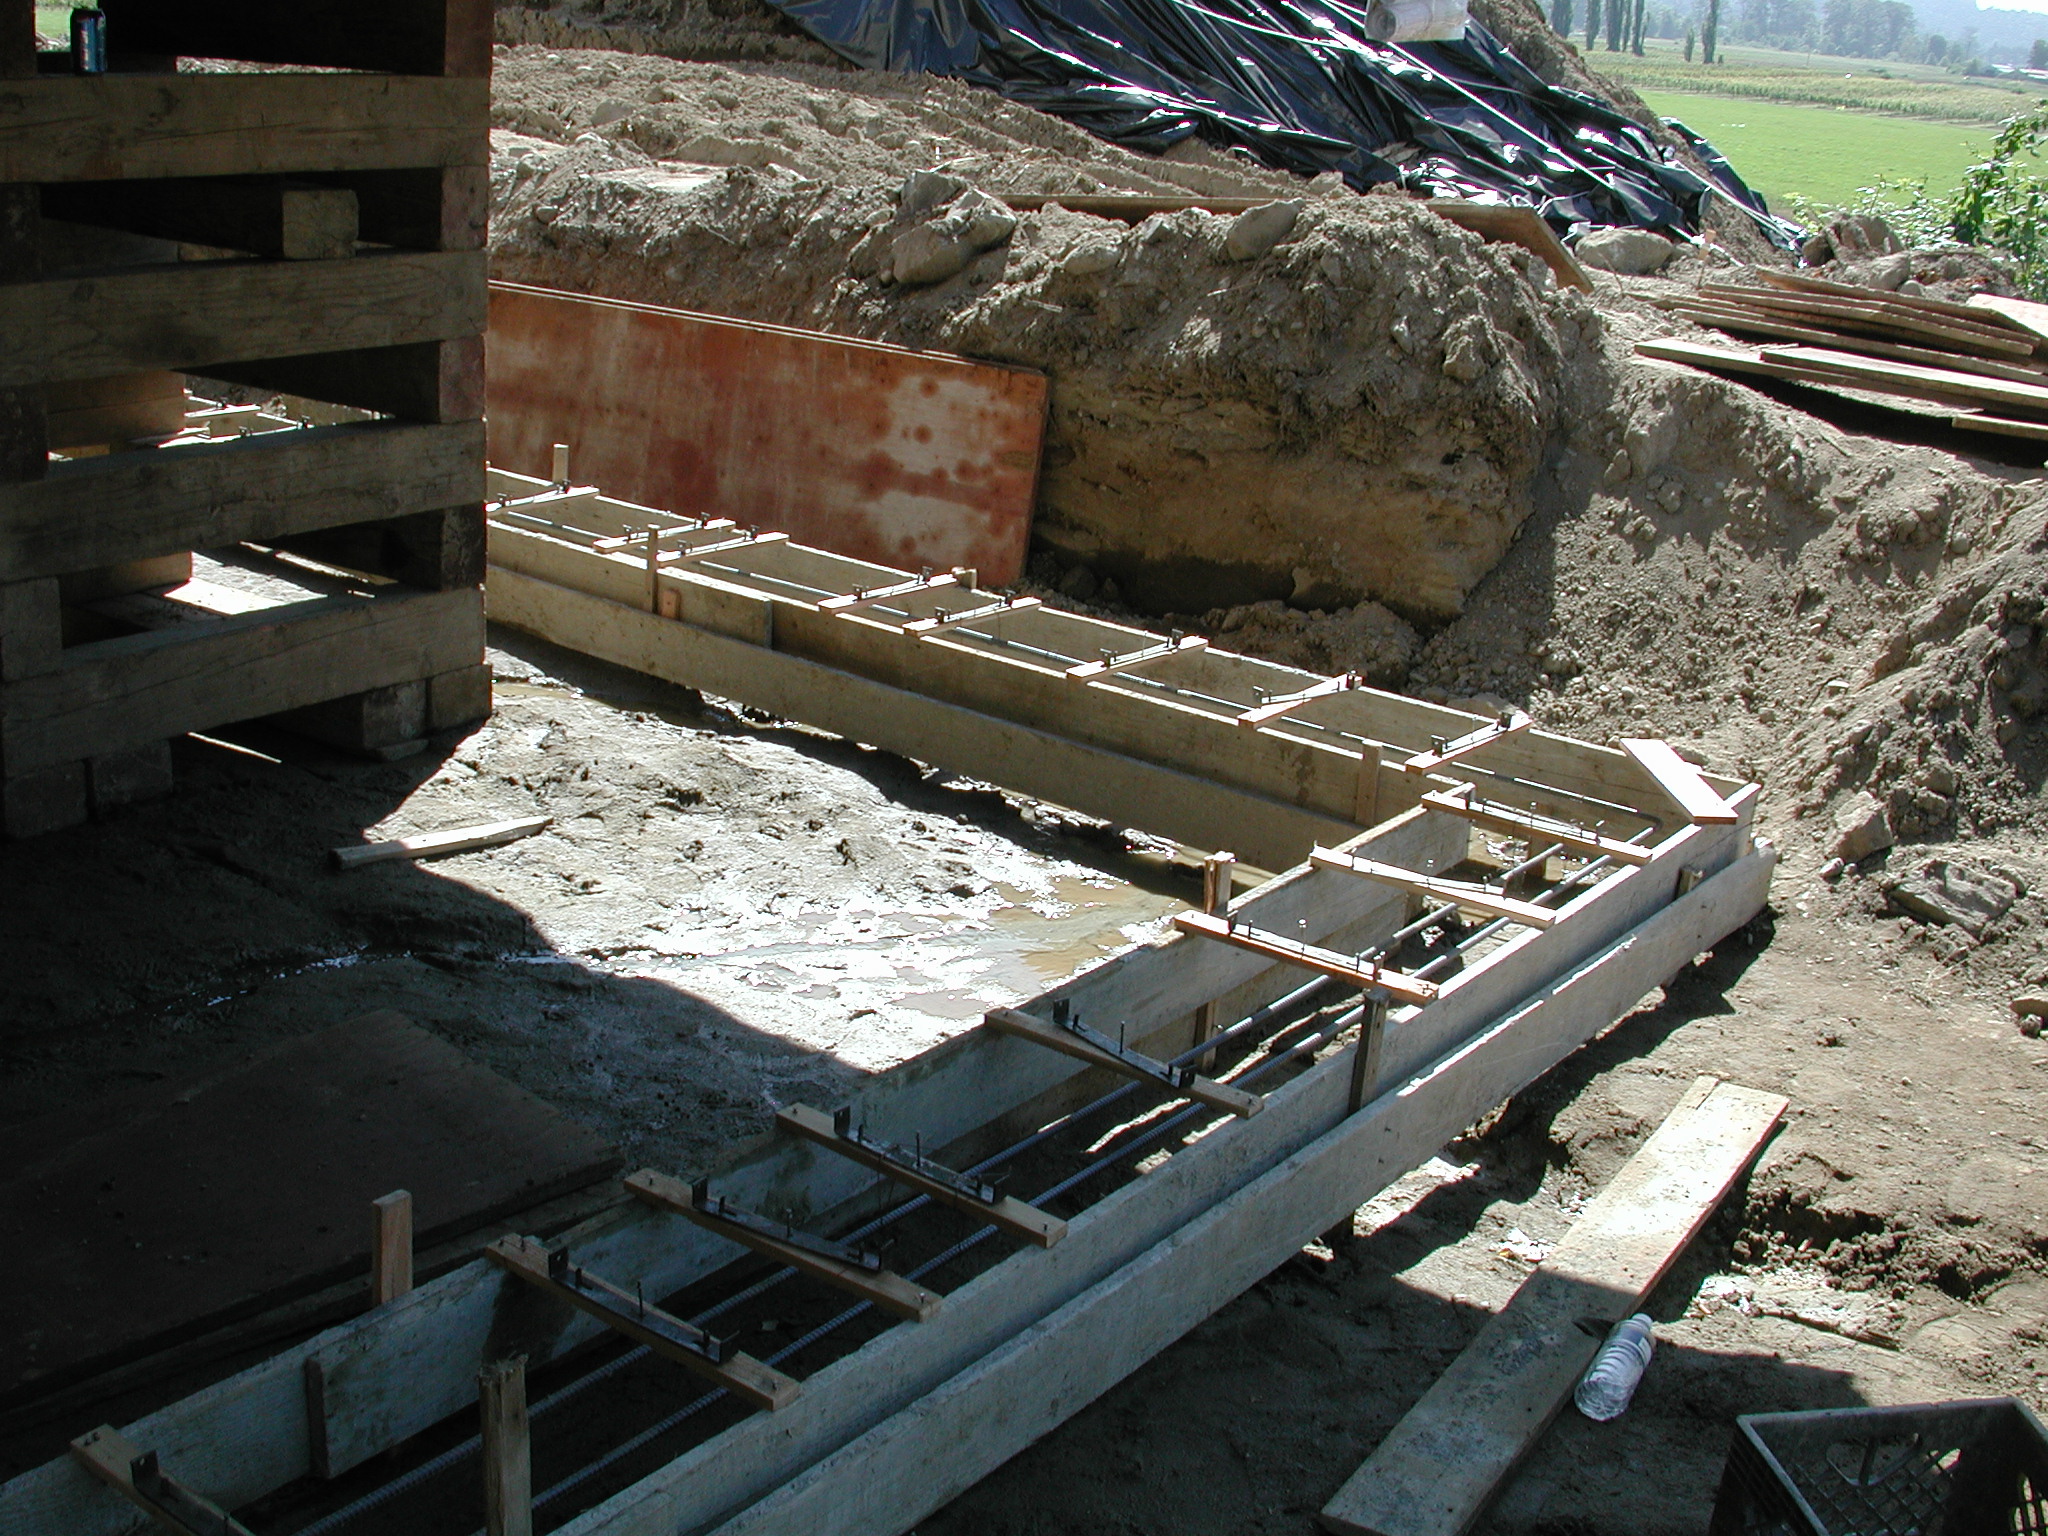
Foundation forms. I didn't get any photos of the pour, because the crew was
shorthanded on 4th of July weekend, it was hot, the concrete was curing fast, so
I actually had to help. We made a 4.5' tall crawlspace, which was very useful
since so much work had to be done under there later, and now it's handy for
storage. I also can't find any photos of setting the house down on the
foundation; though it is sort of the same process in reverse.
|
|

|
|
Footings.
|
|

|
|
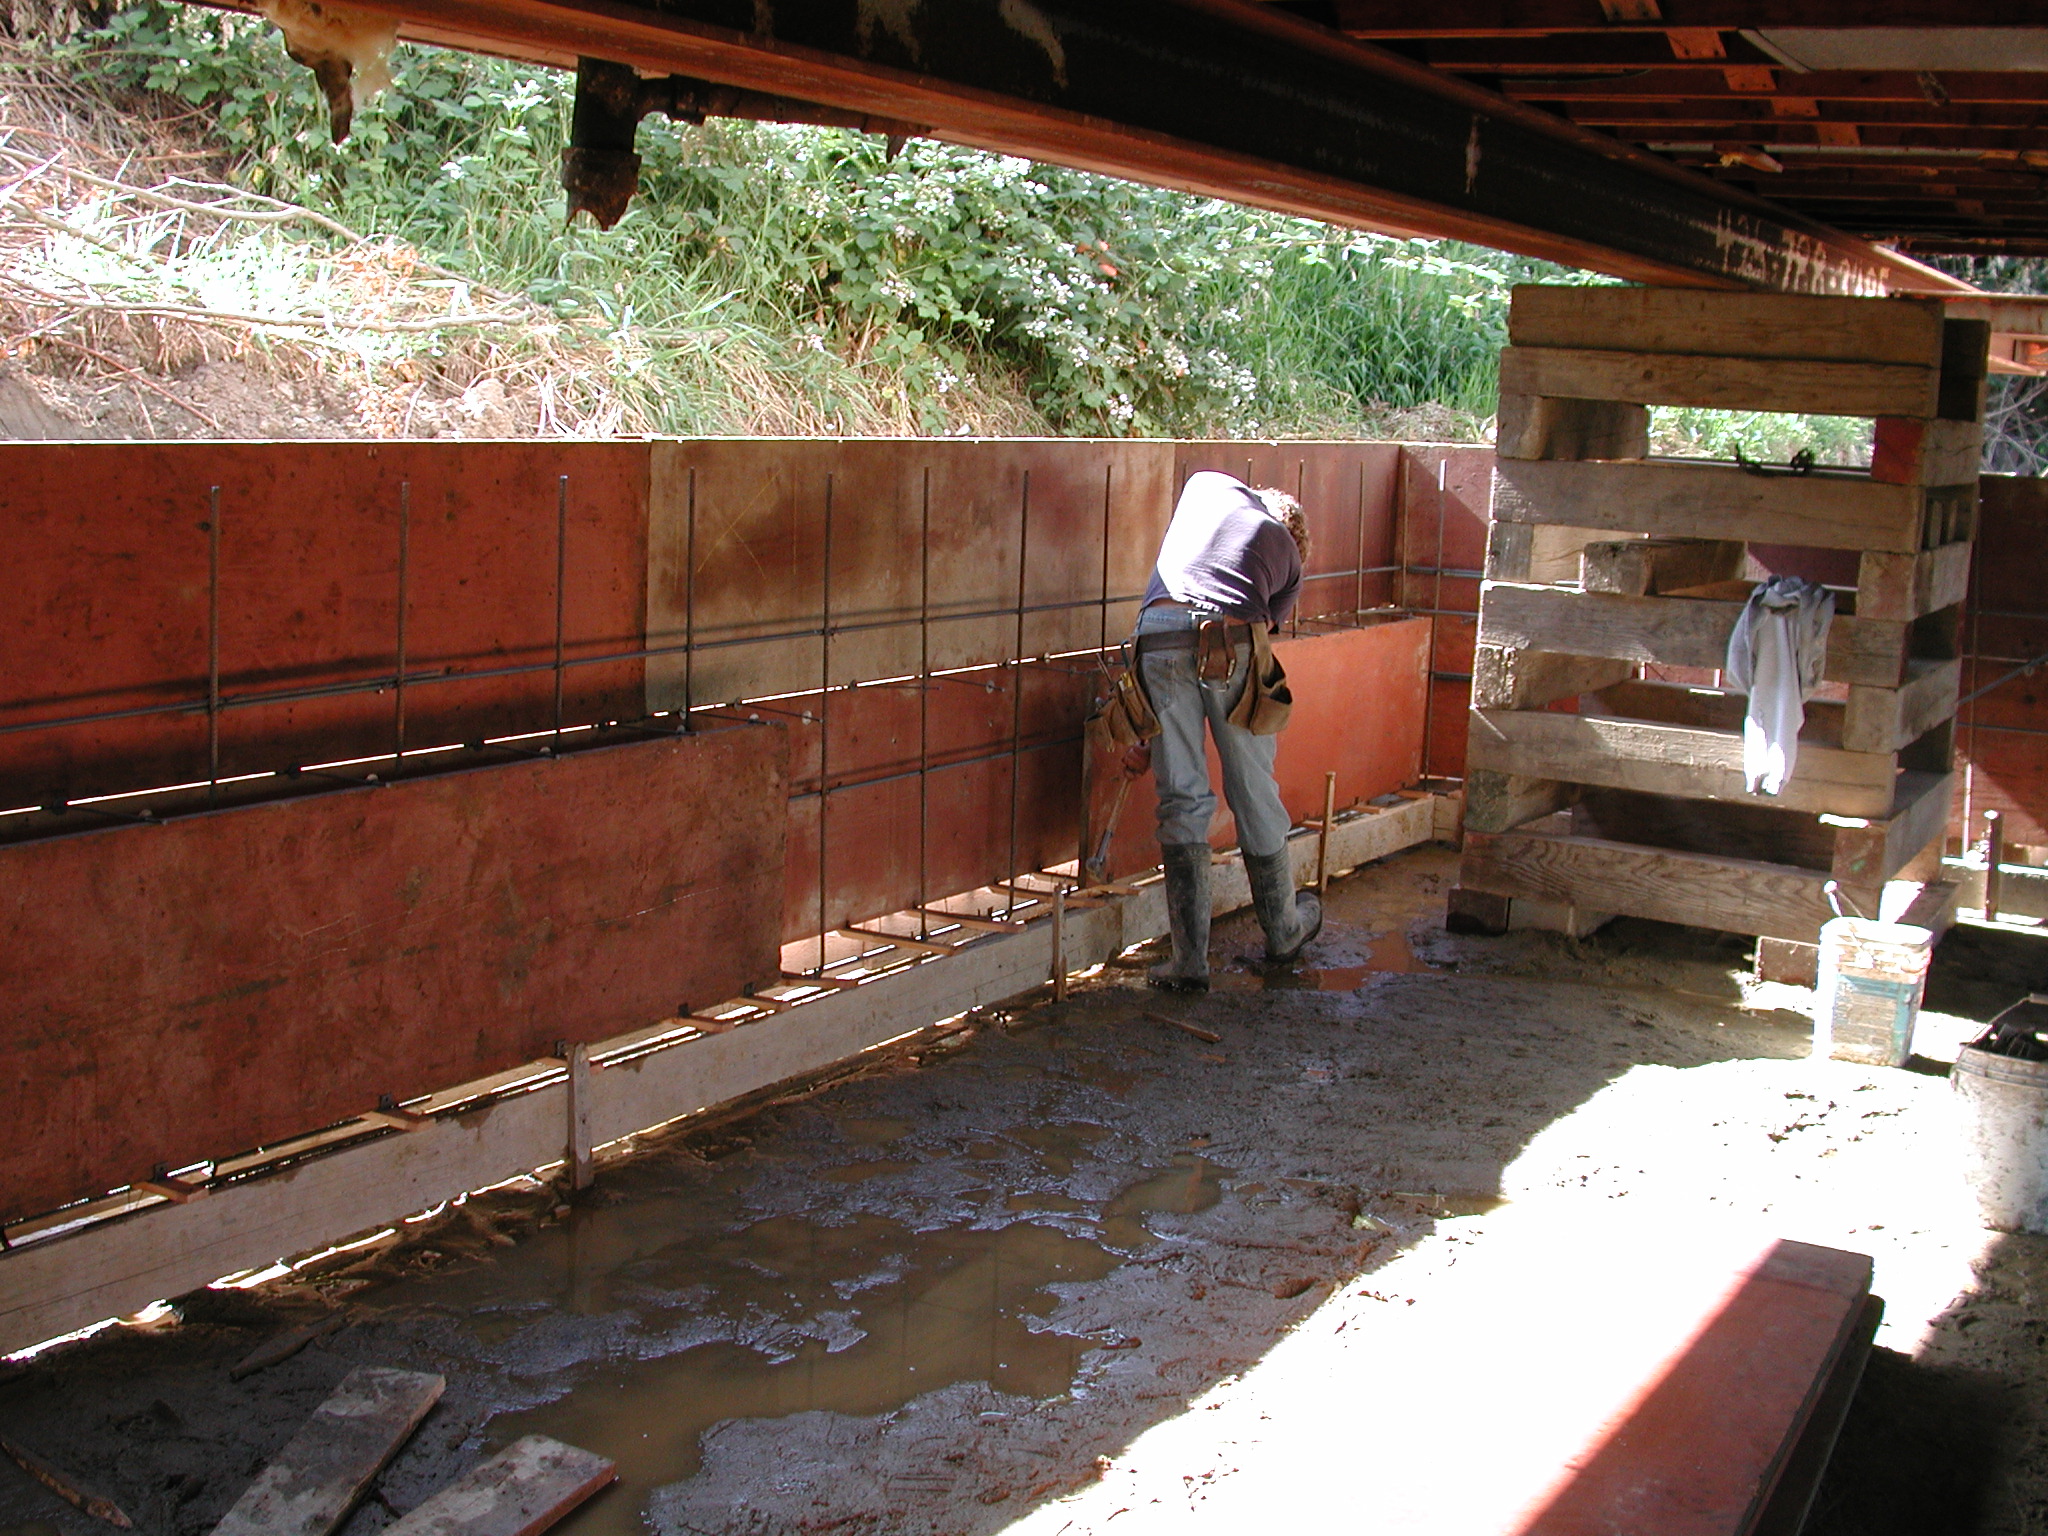
The house was jacked up high enough to make it easy to work underneath. Joist rot repair was needed as well.
|
|

|
|
Travis VanOverbeke finishing the forms.
|
|
|
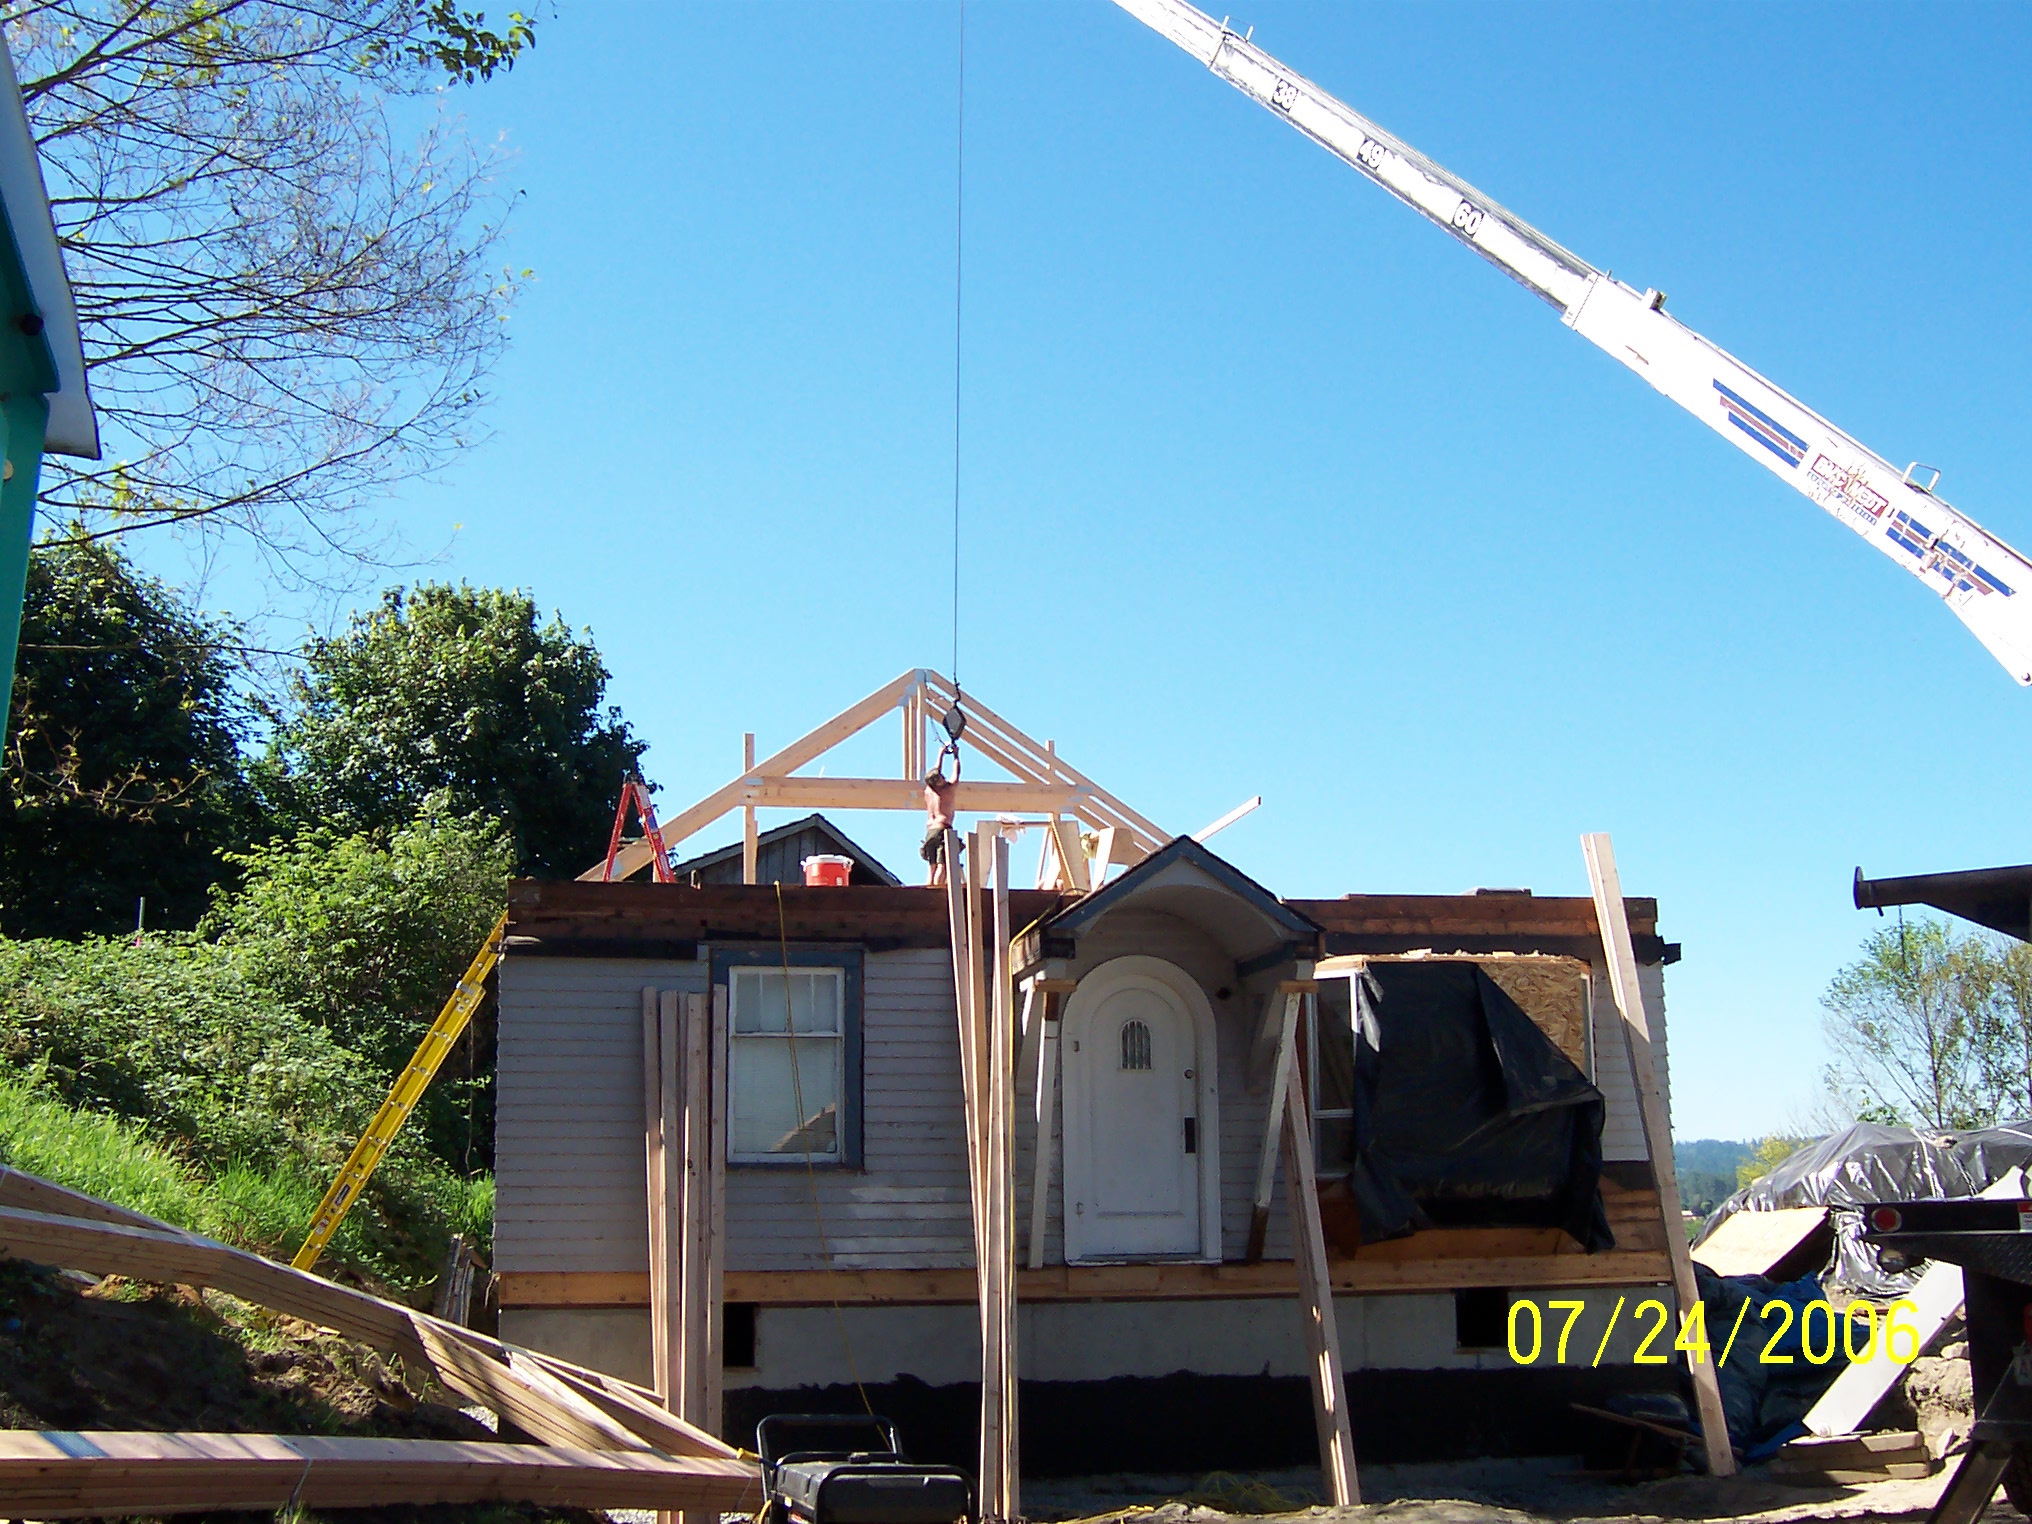
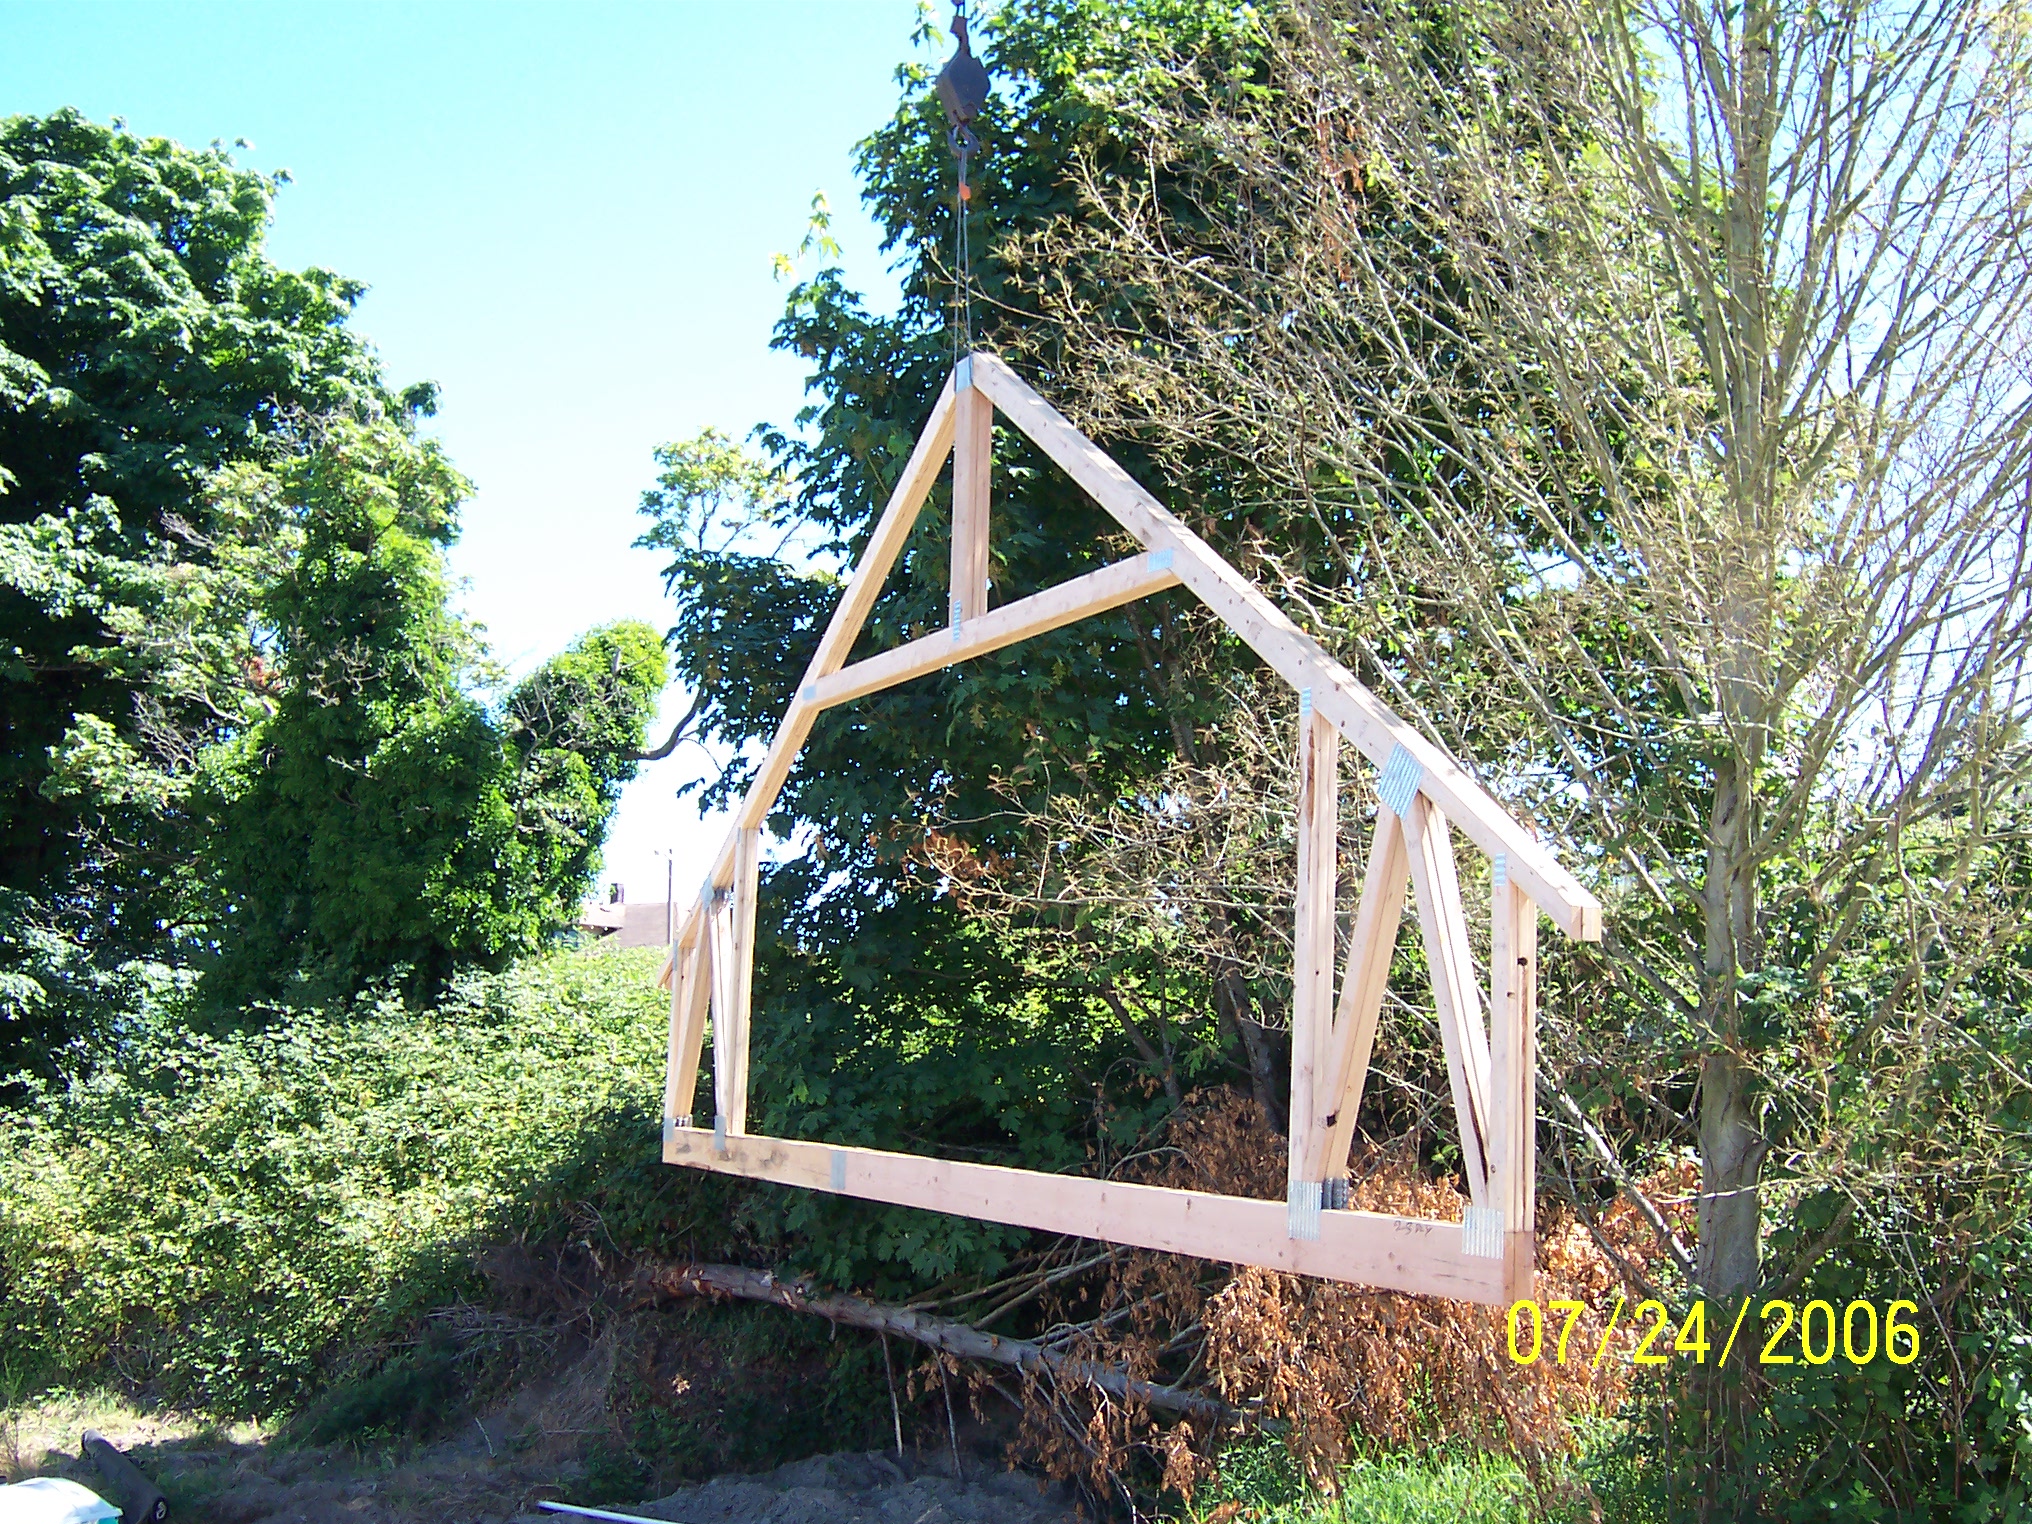
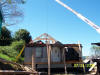
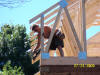
Post-move: re-building the roof/second story, making
her back into a house!
|
|
|
|
Trusses being dropped.
|
|

|
|
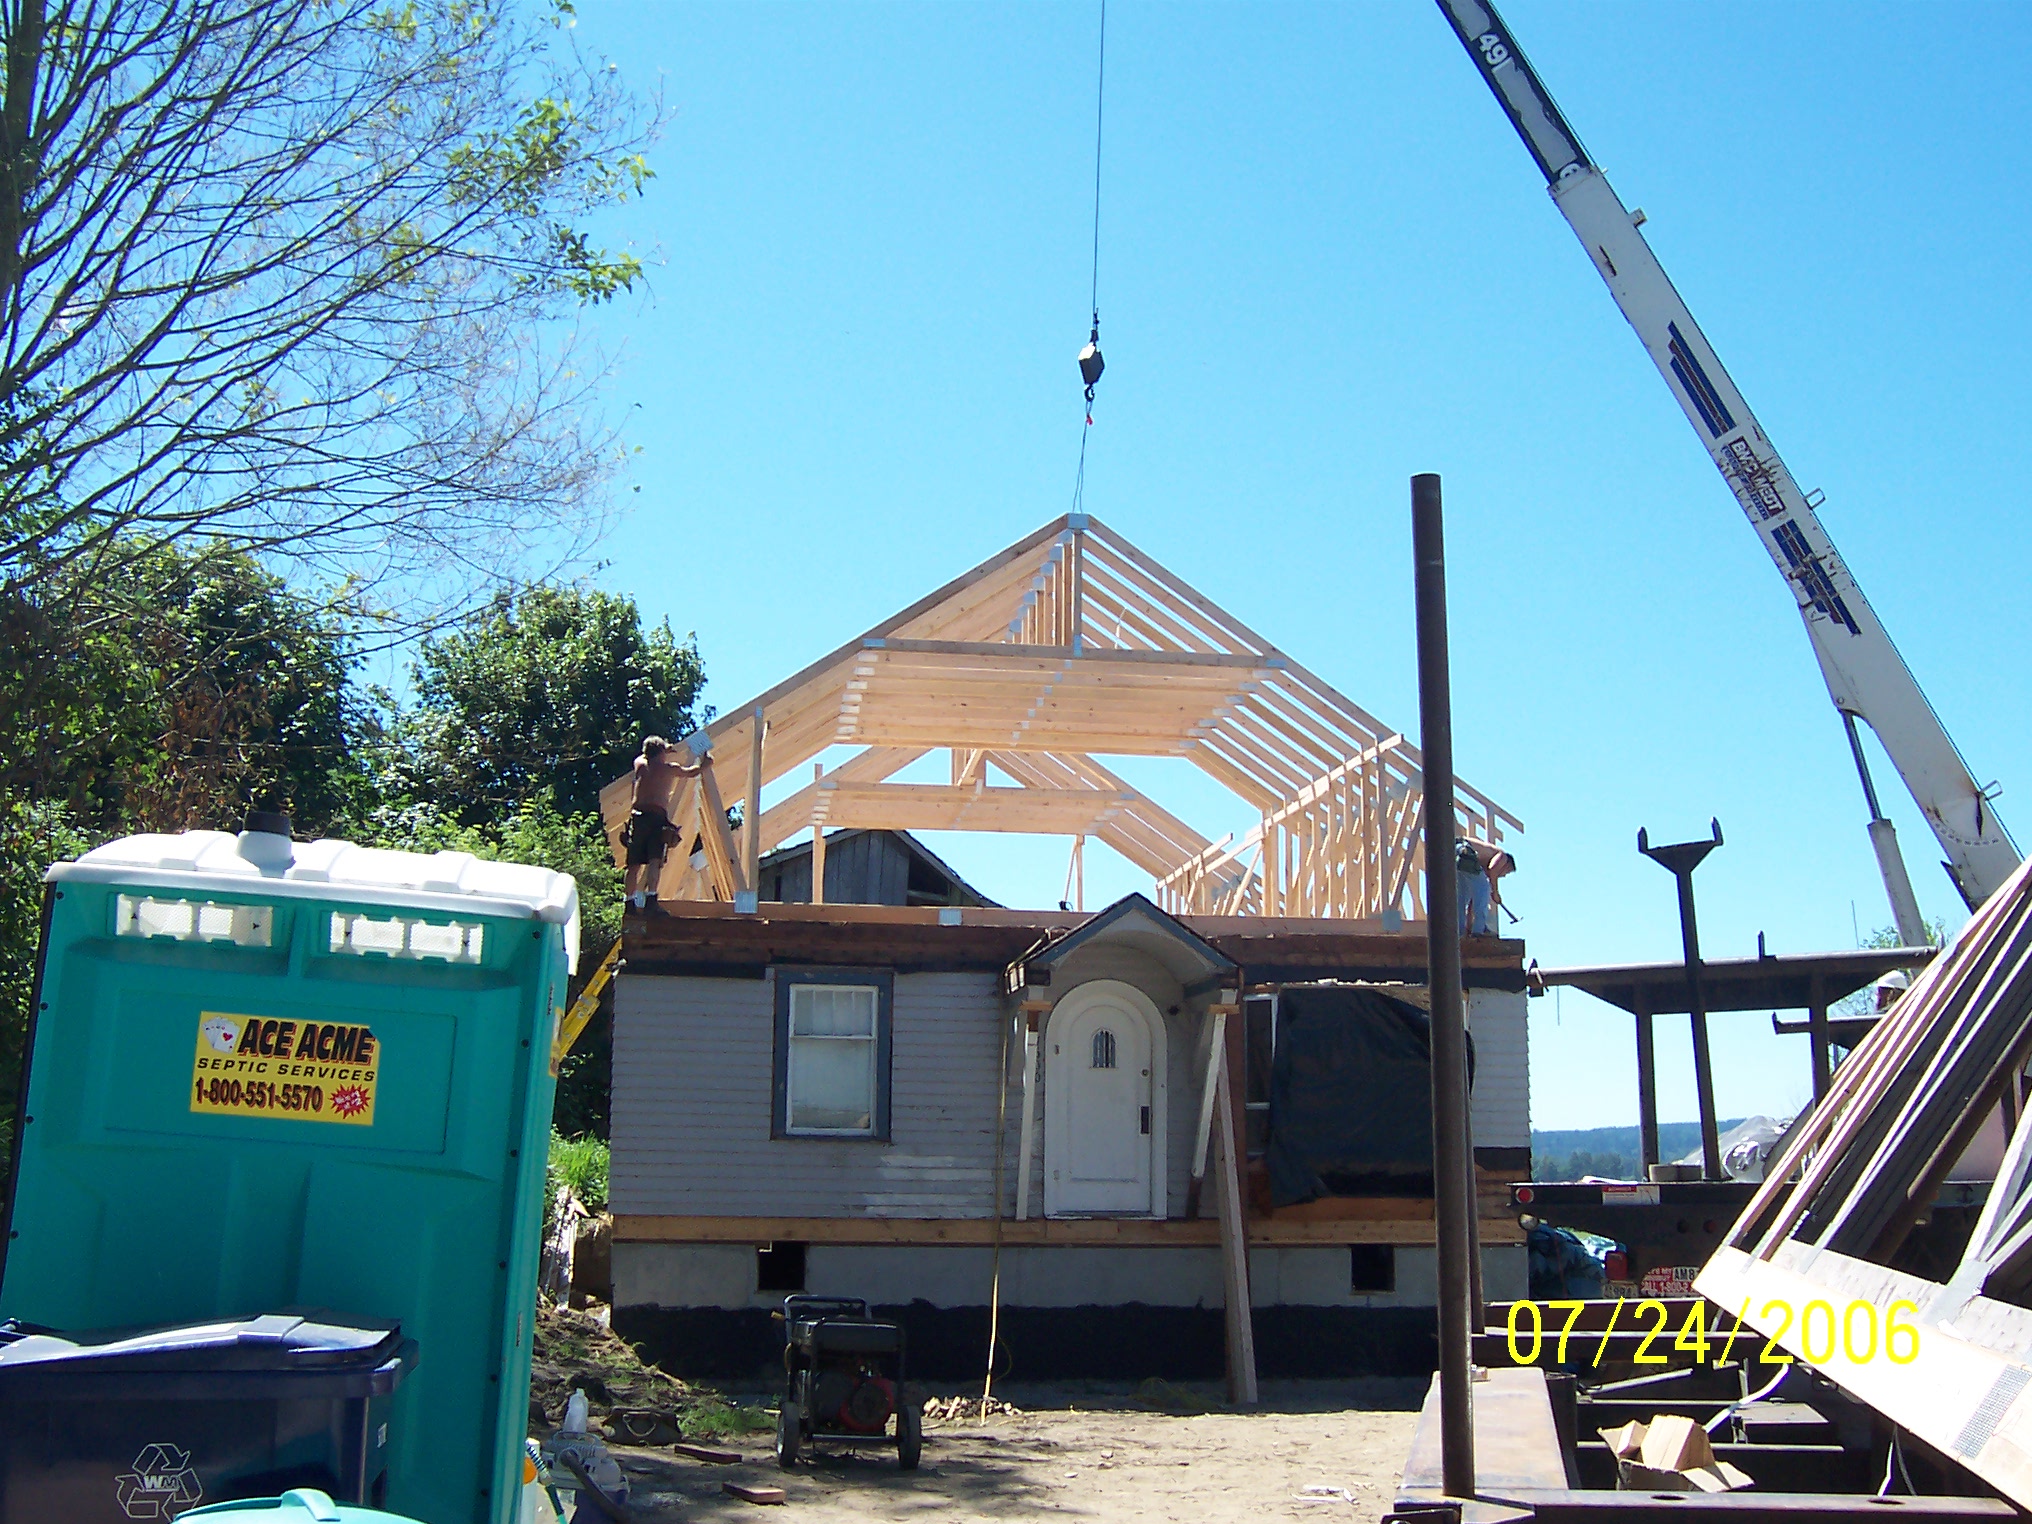
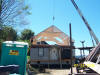
Craning each truss.
|
|
|
|
More trusses.
|
|
|
|
Dan nails the final truss in.
|
|
|
|
Starting to look less like a cube!
|
|
|
|
|
|
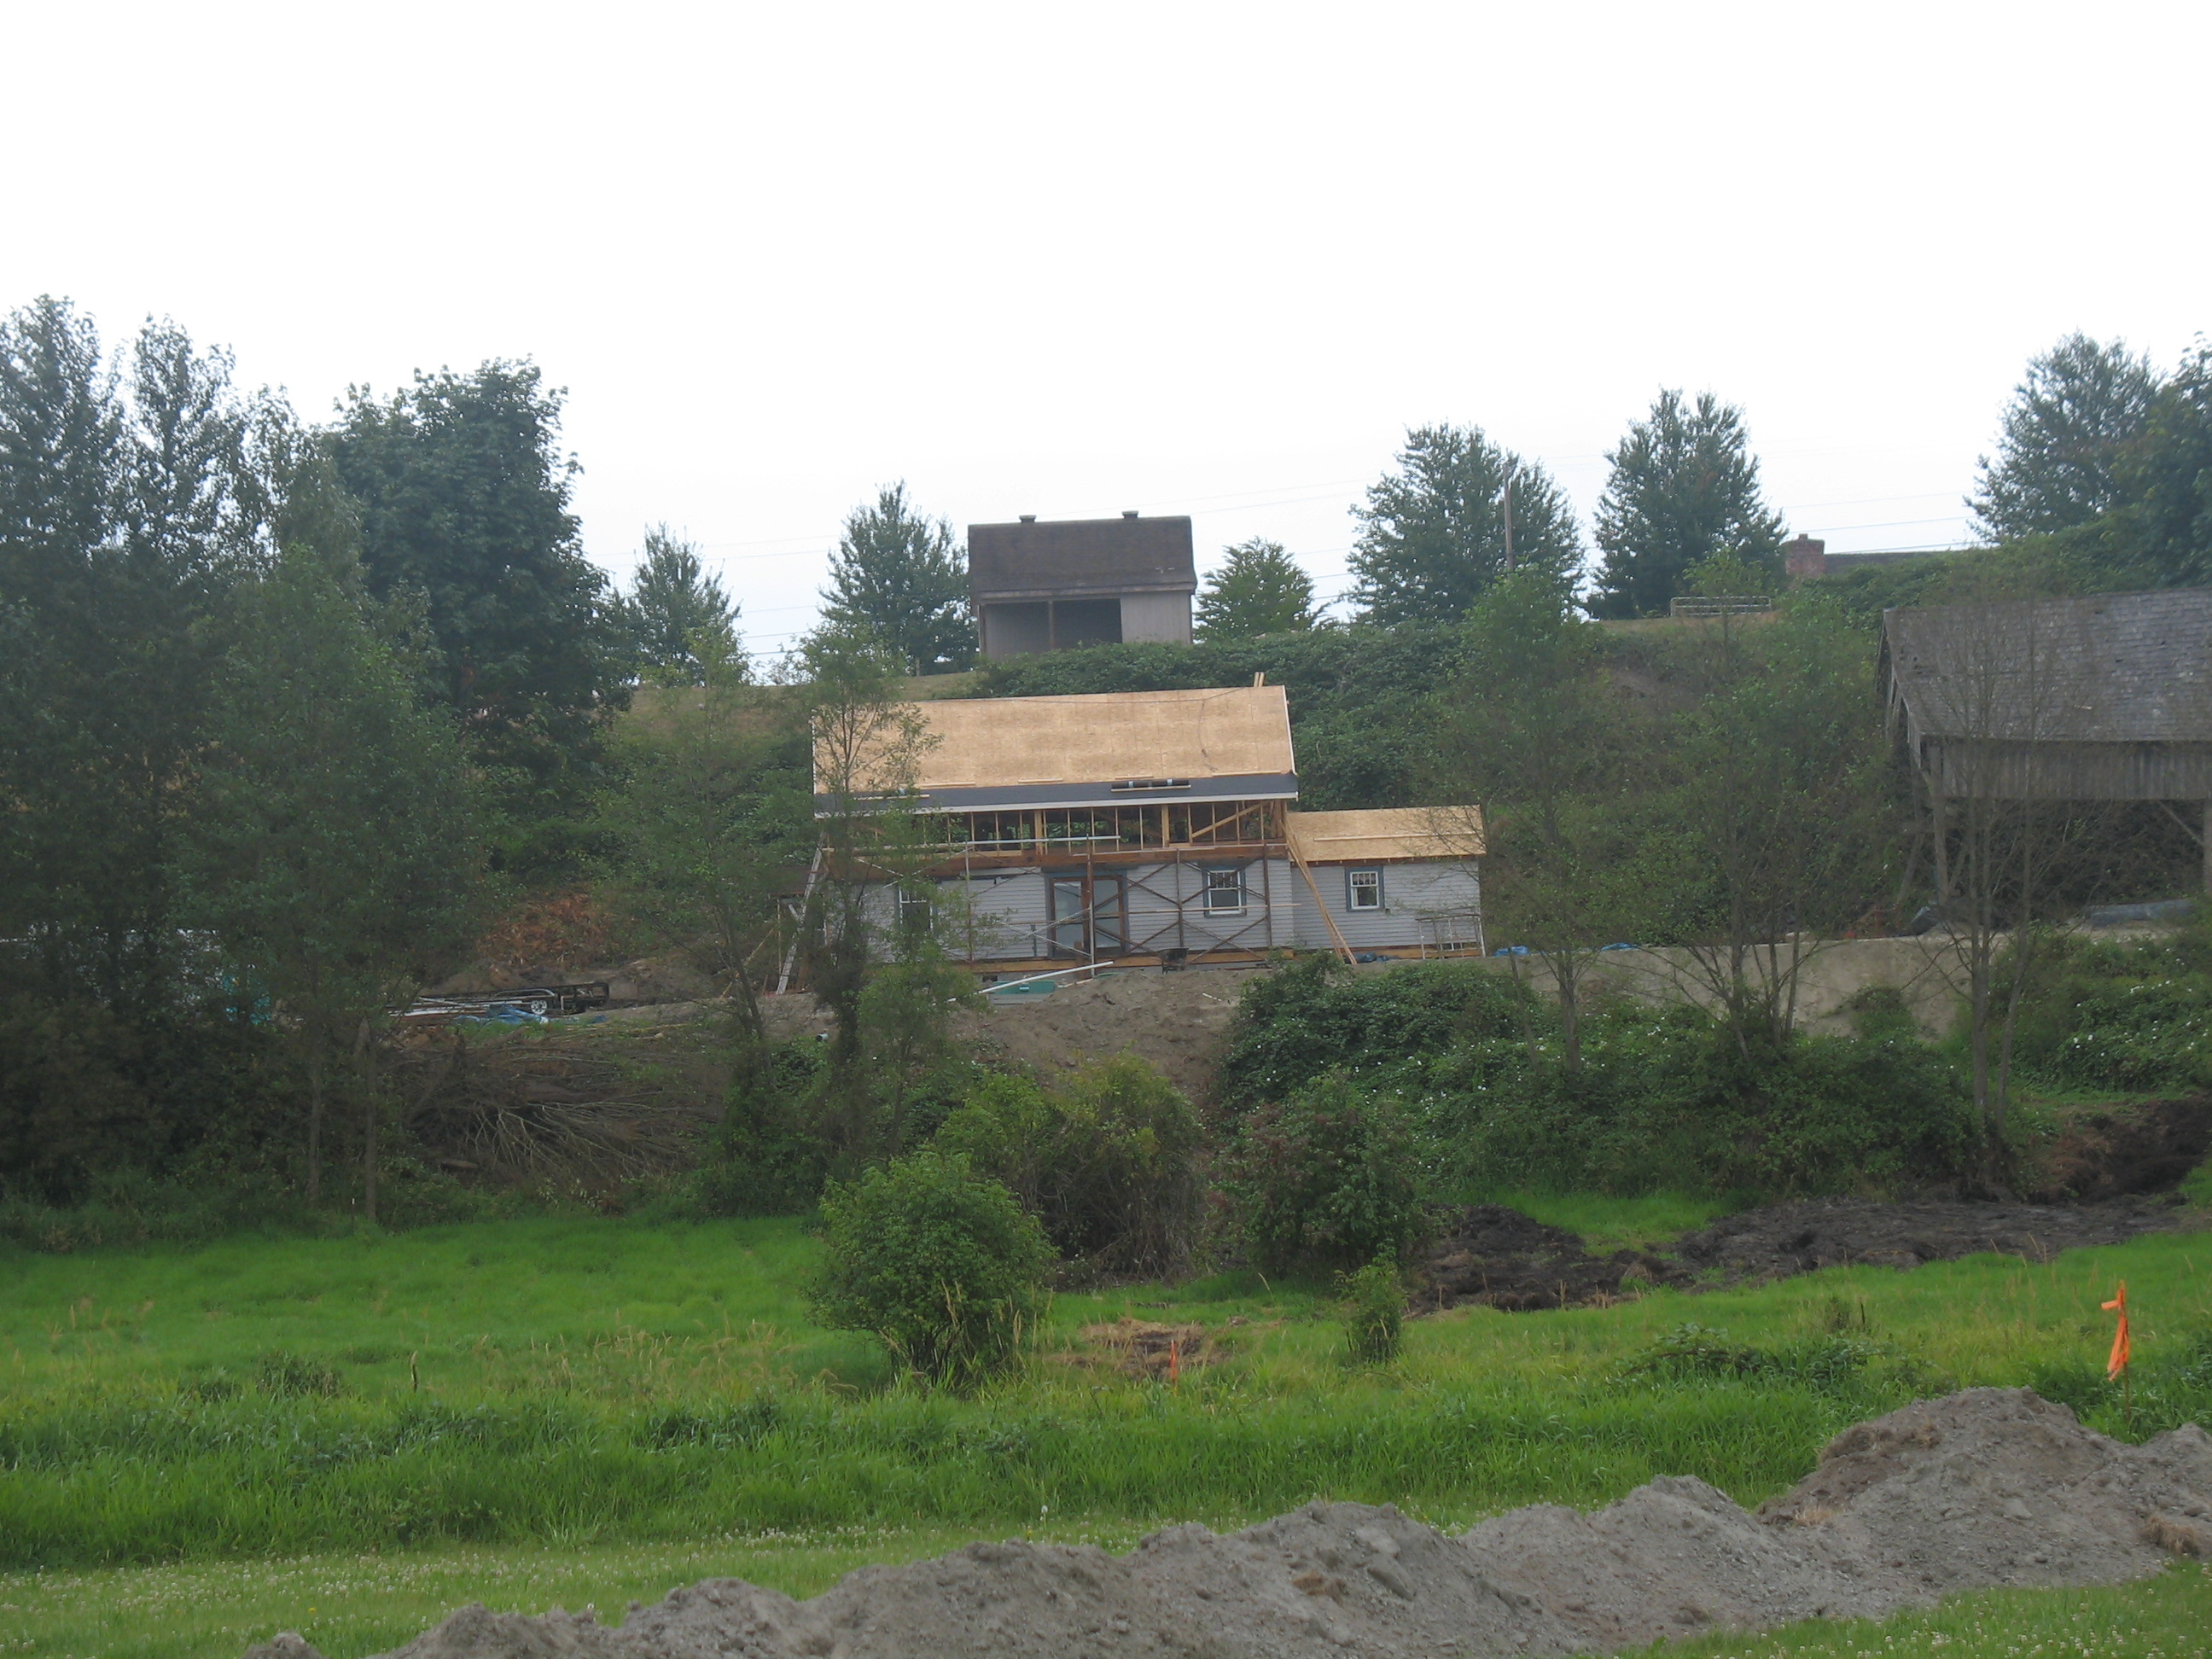
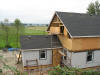
View from the pasture.
|
|
|
|
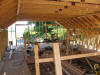
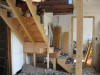
Upstairs taking shape.
|
|

|
|
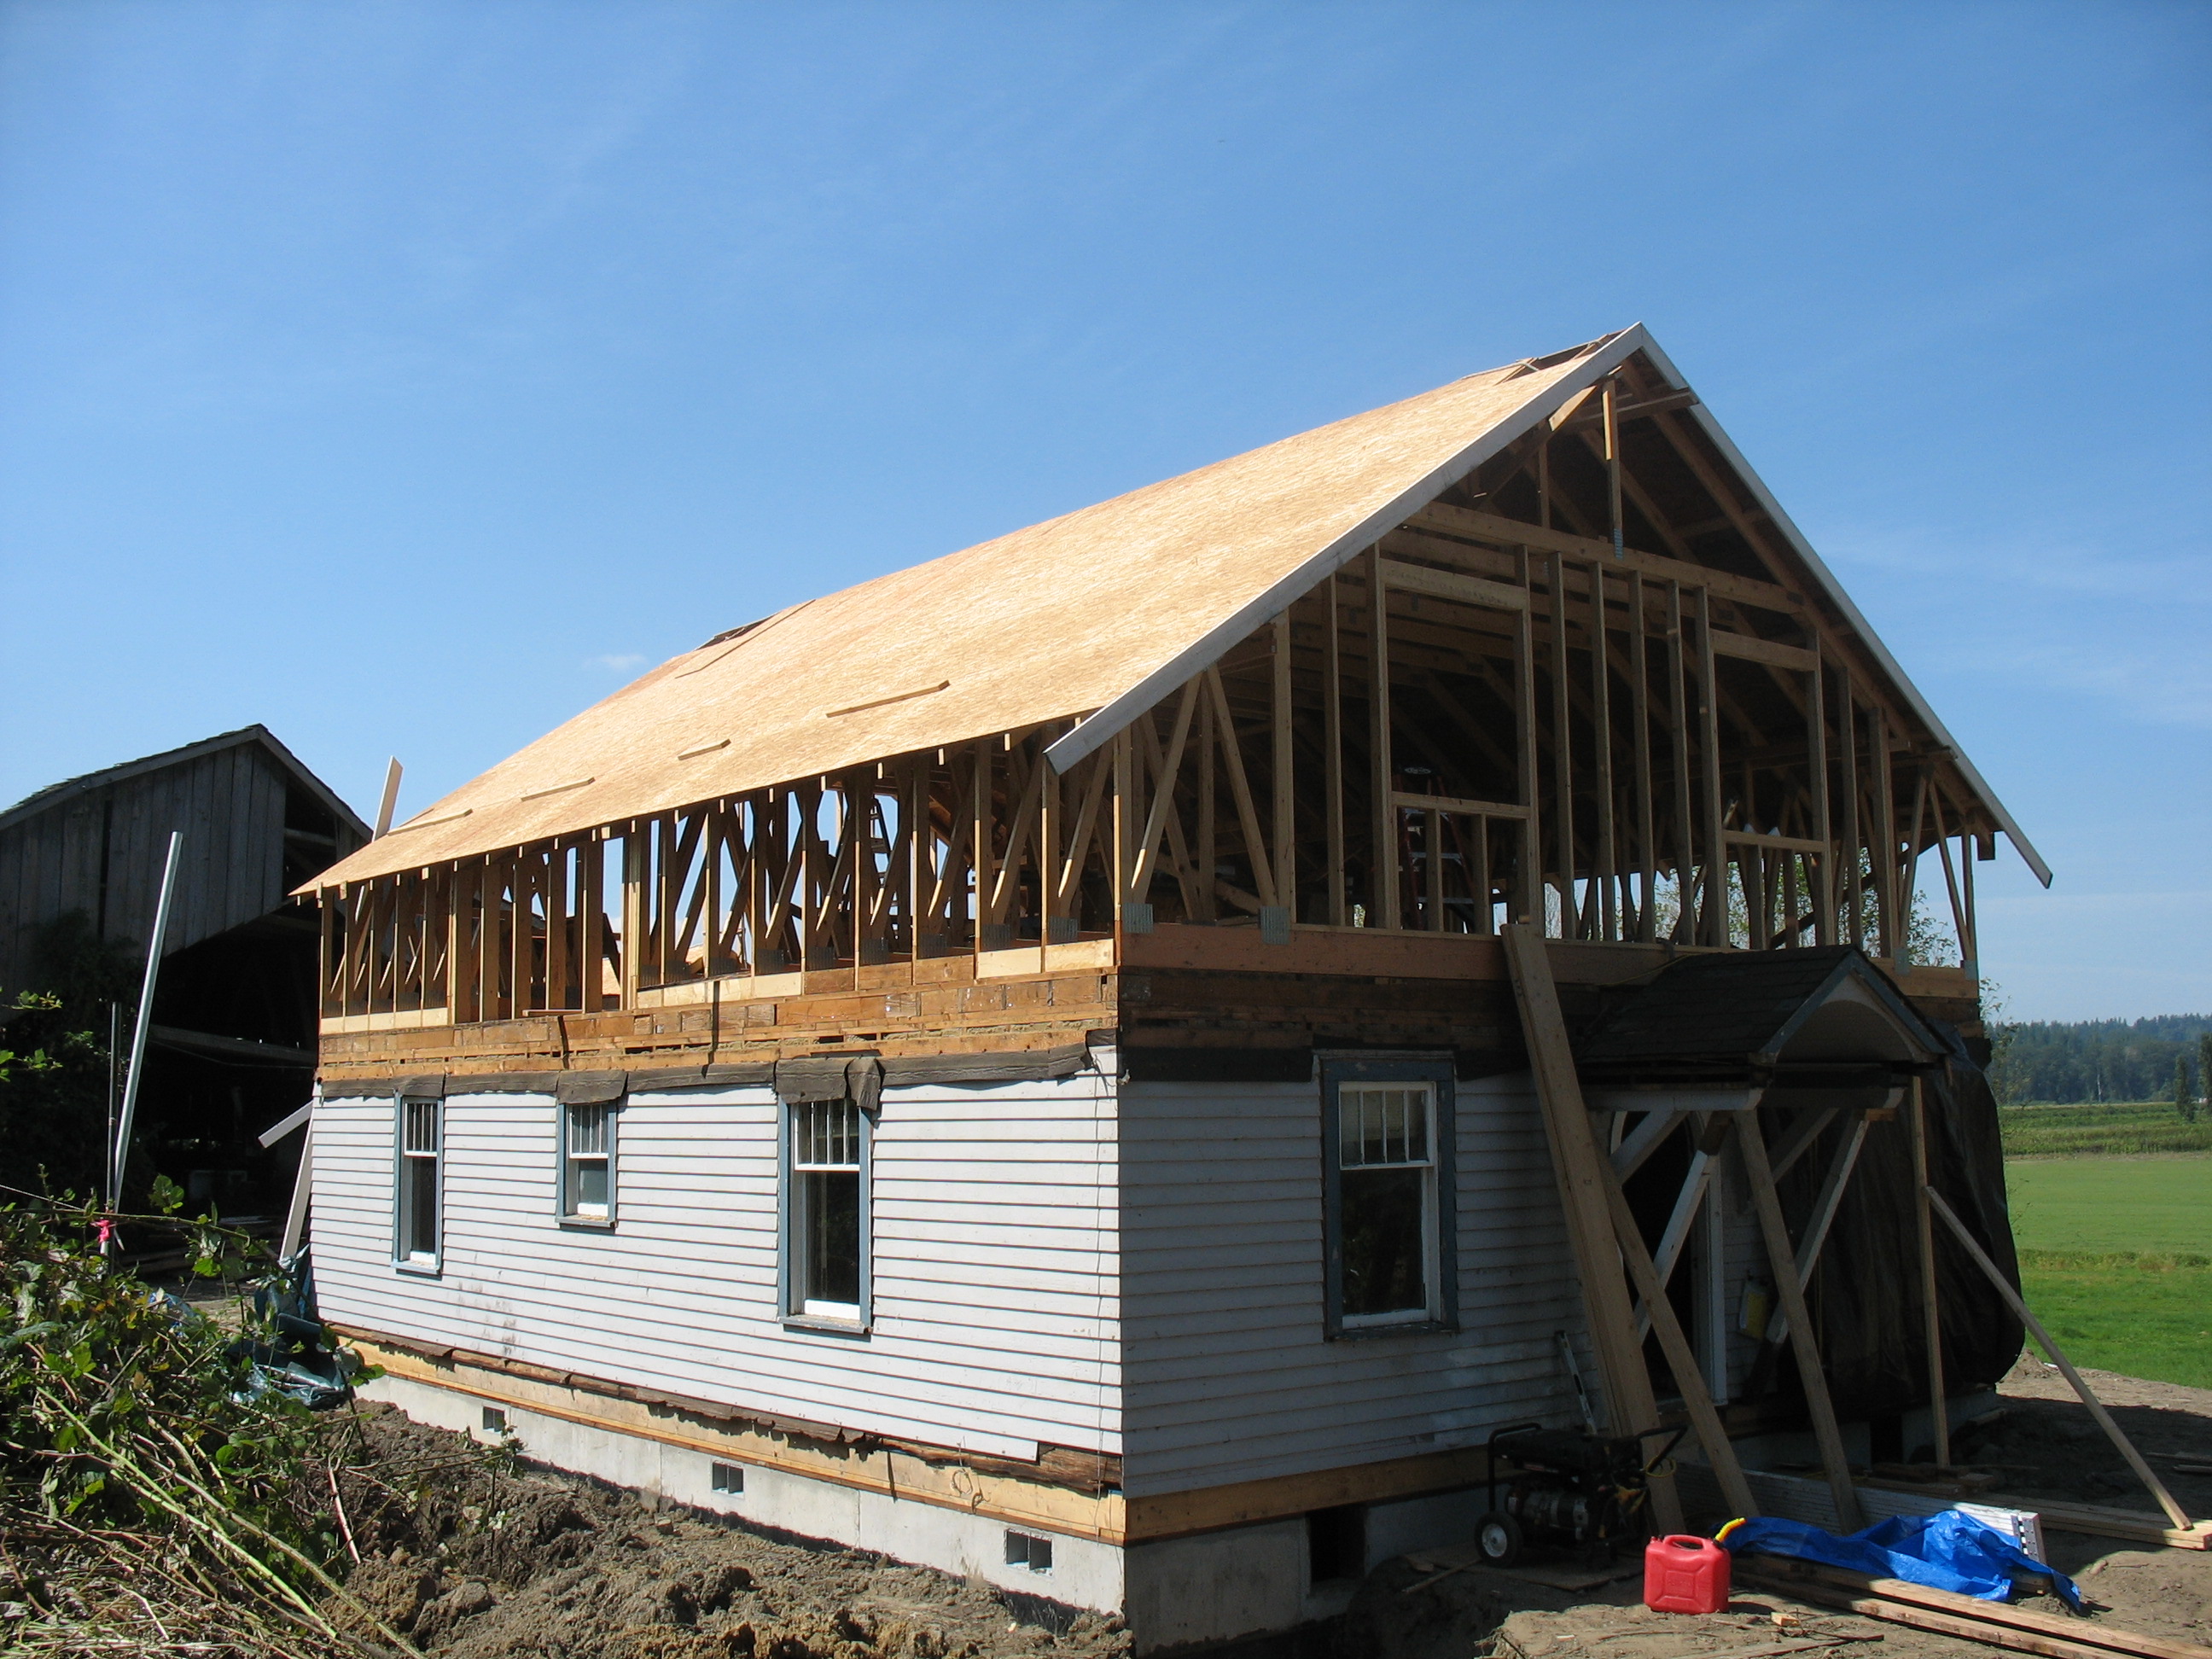
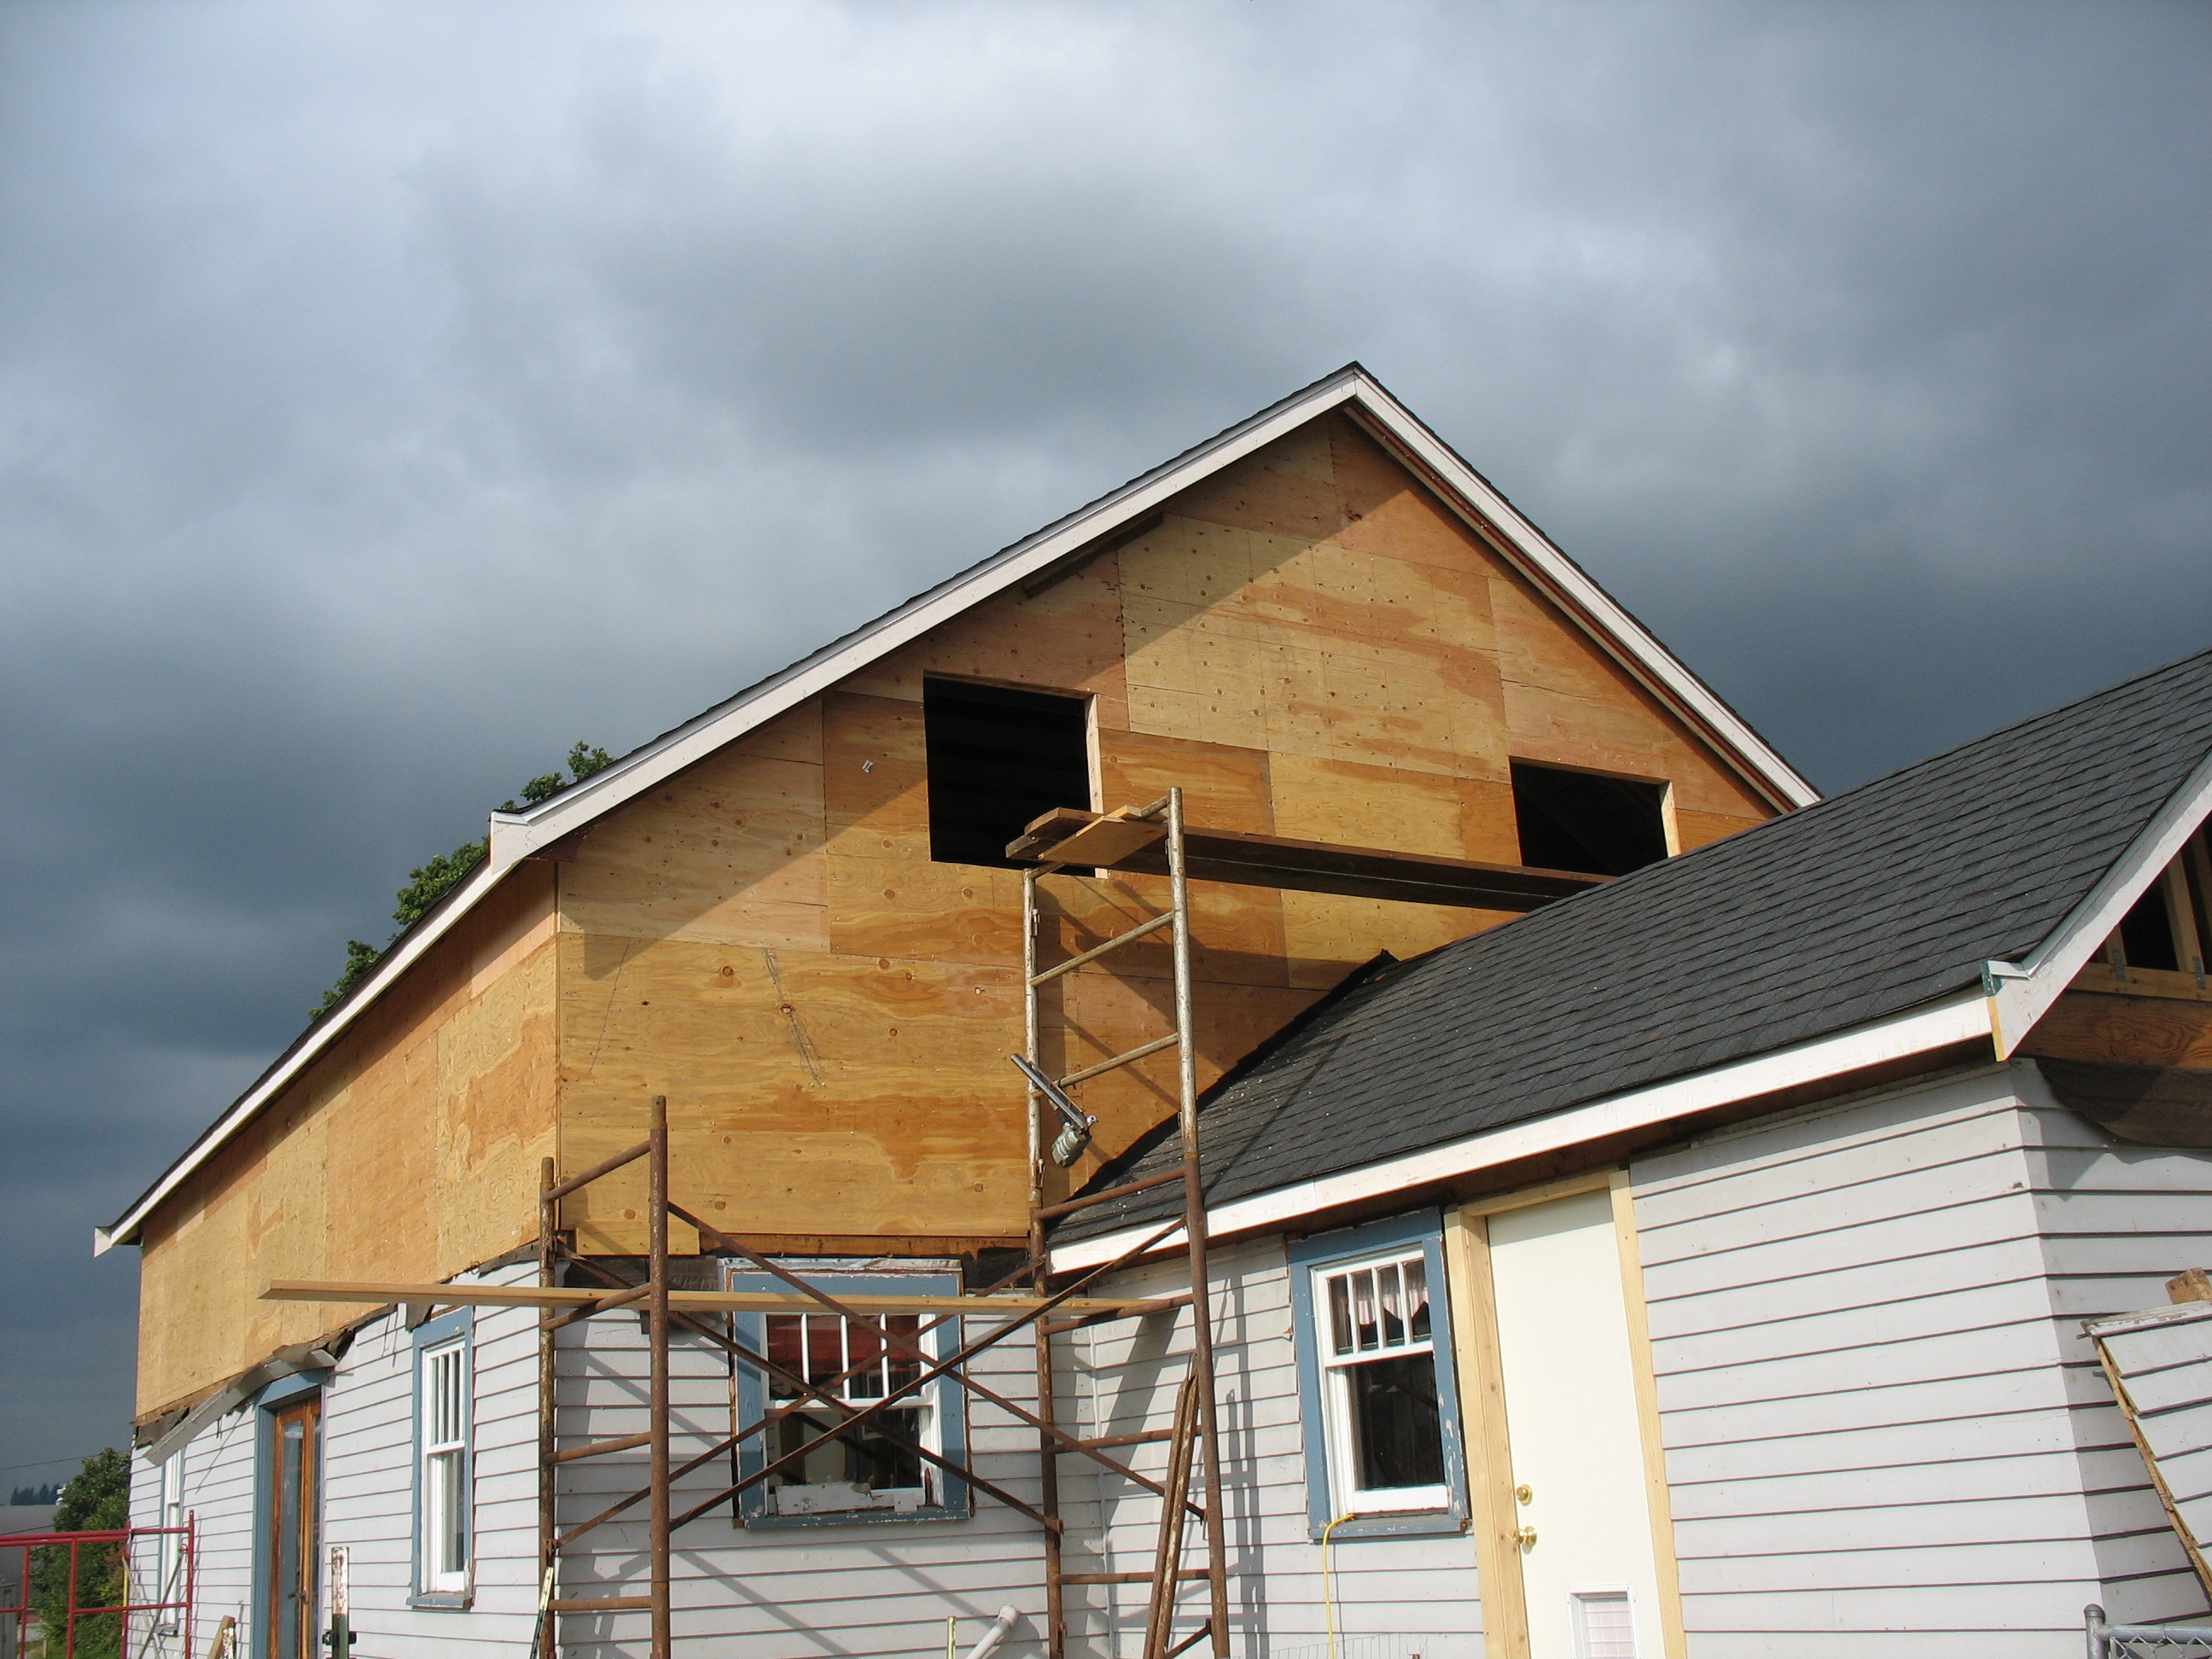
After repairing bad trusses, she's finally sheeted!
|
|

|
|
Felt going on roof.
|
|
|
|
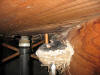
Barn swallow family under the house. Despite continual hammering, & lowering the house while they were setting, they finished raising their babies.
|
|
|
|
|
|
Carpenter ants in the back room!
|
|
|
|
New roof.
|
|

|
|
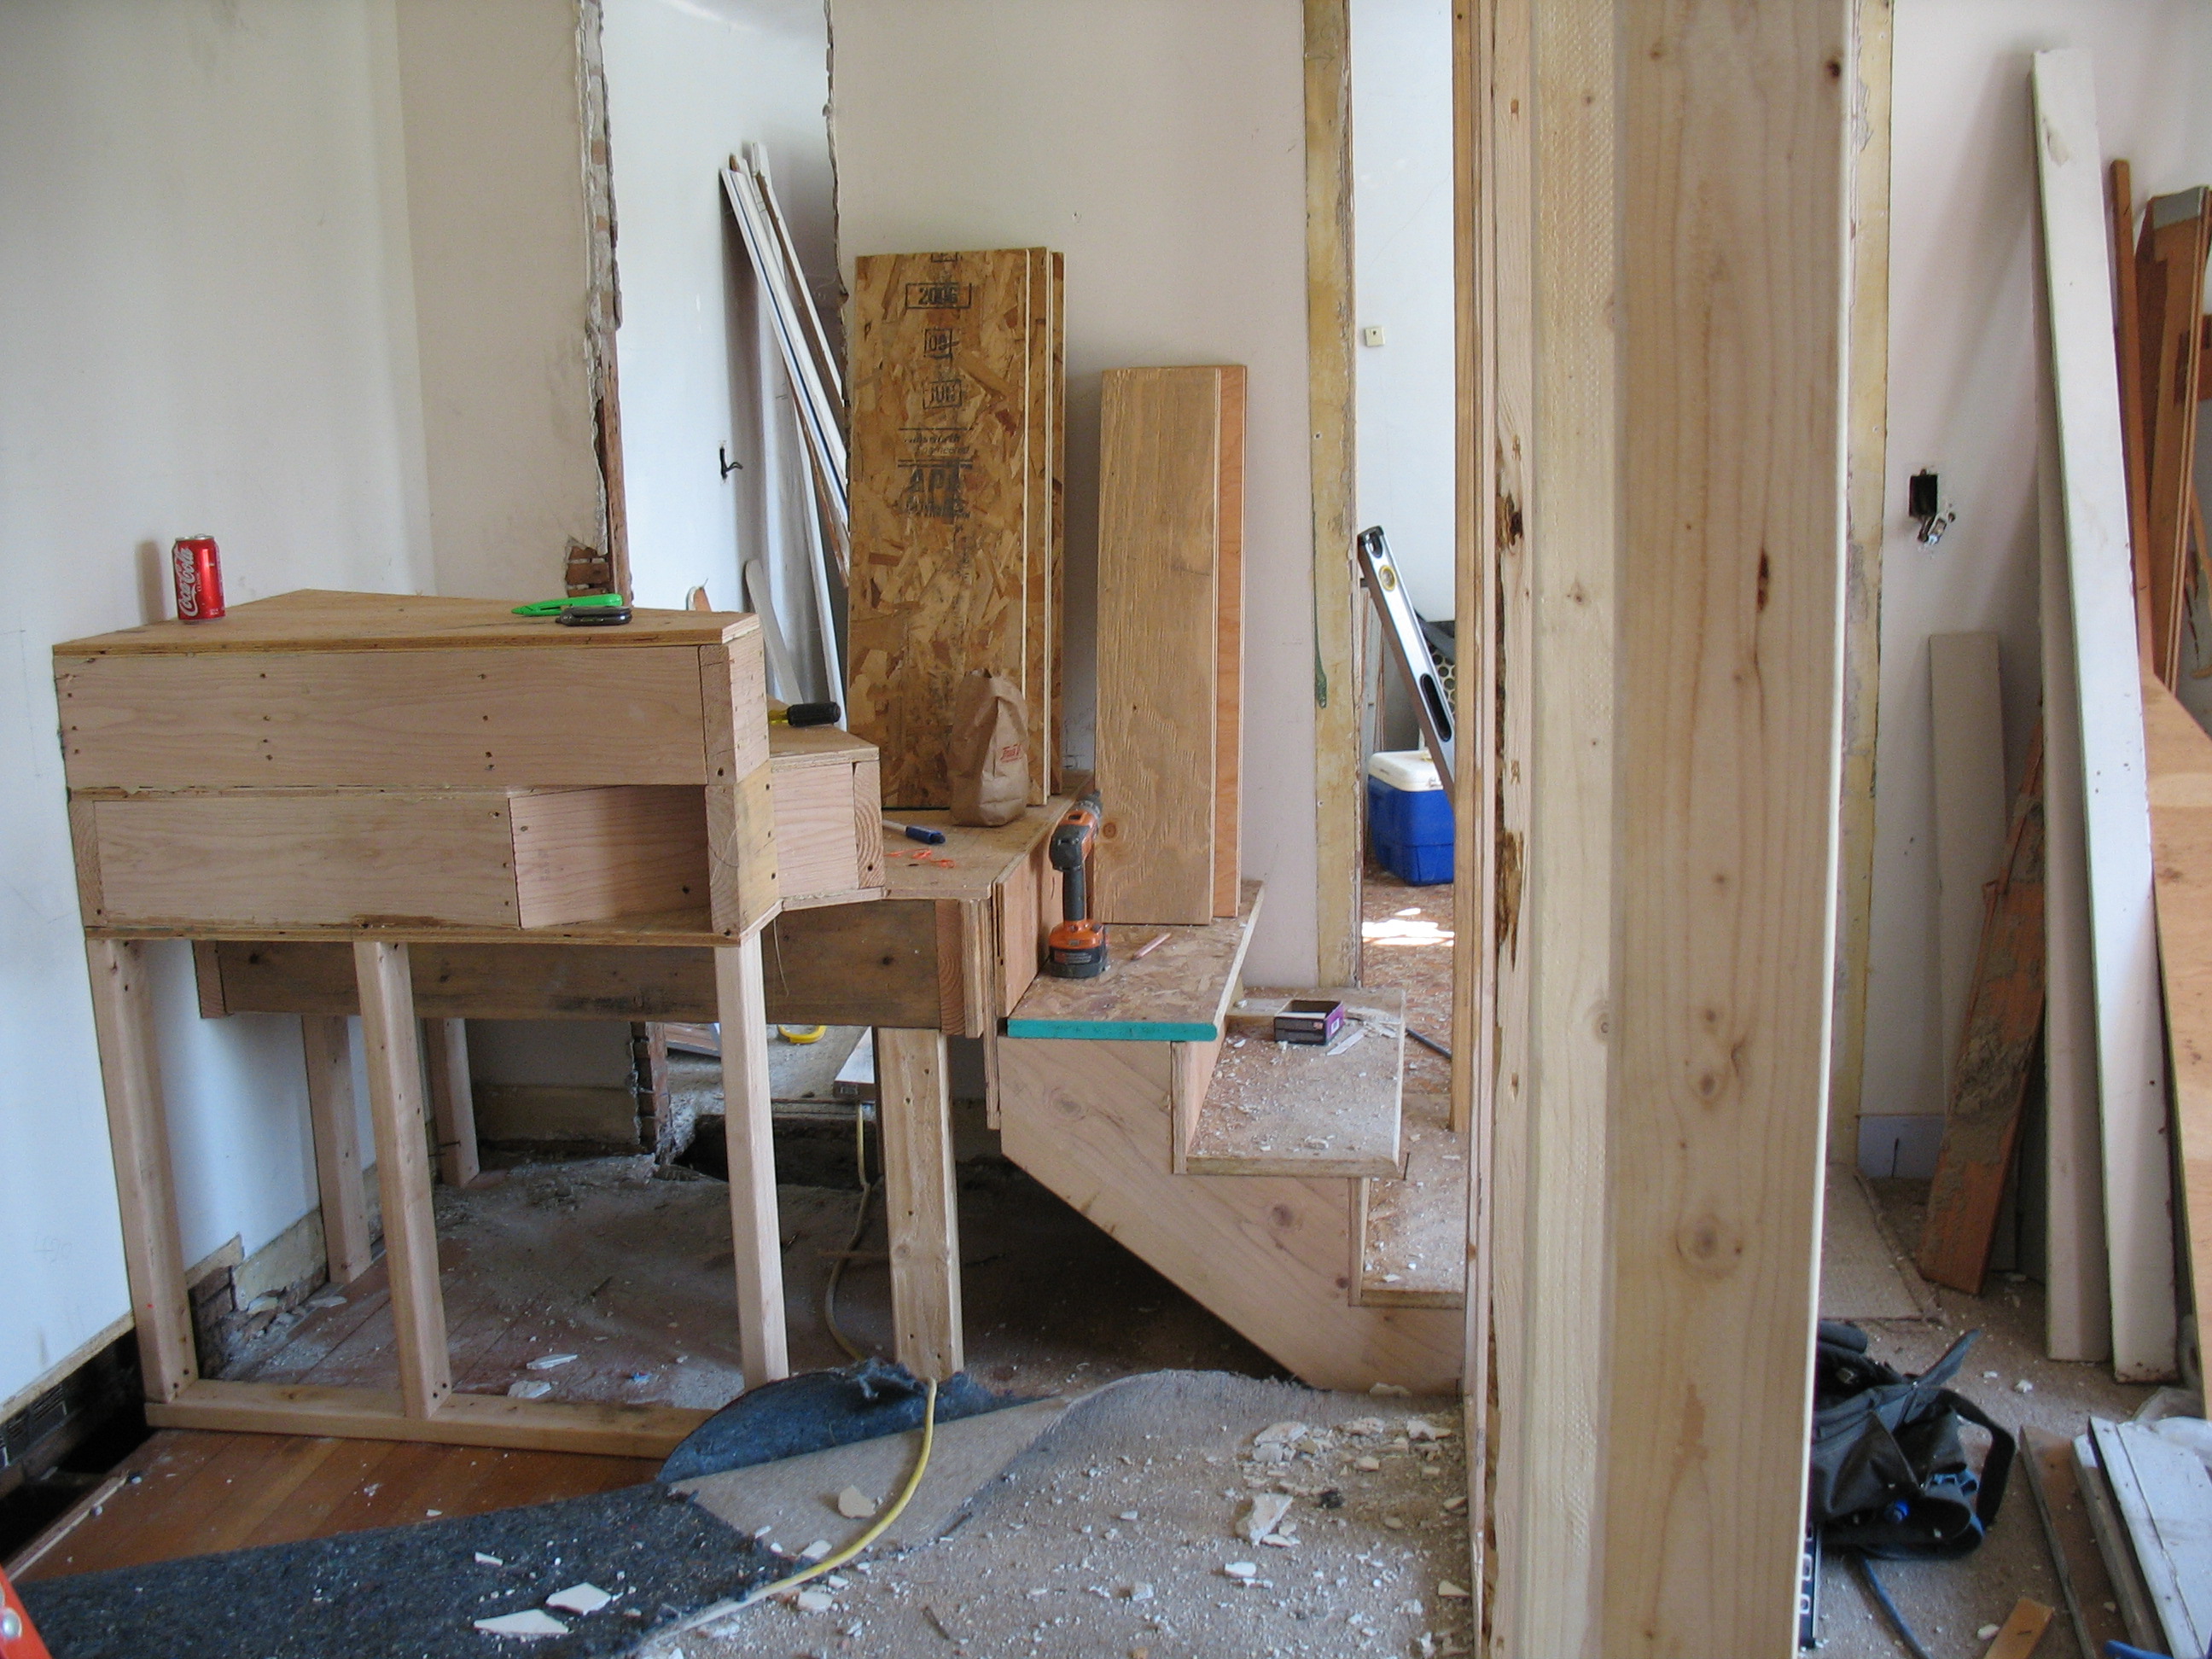
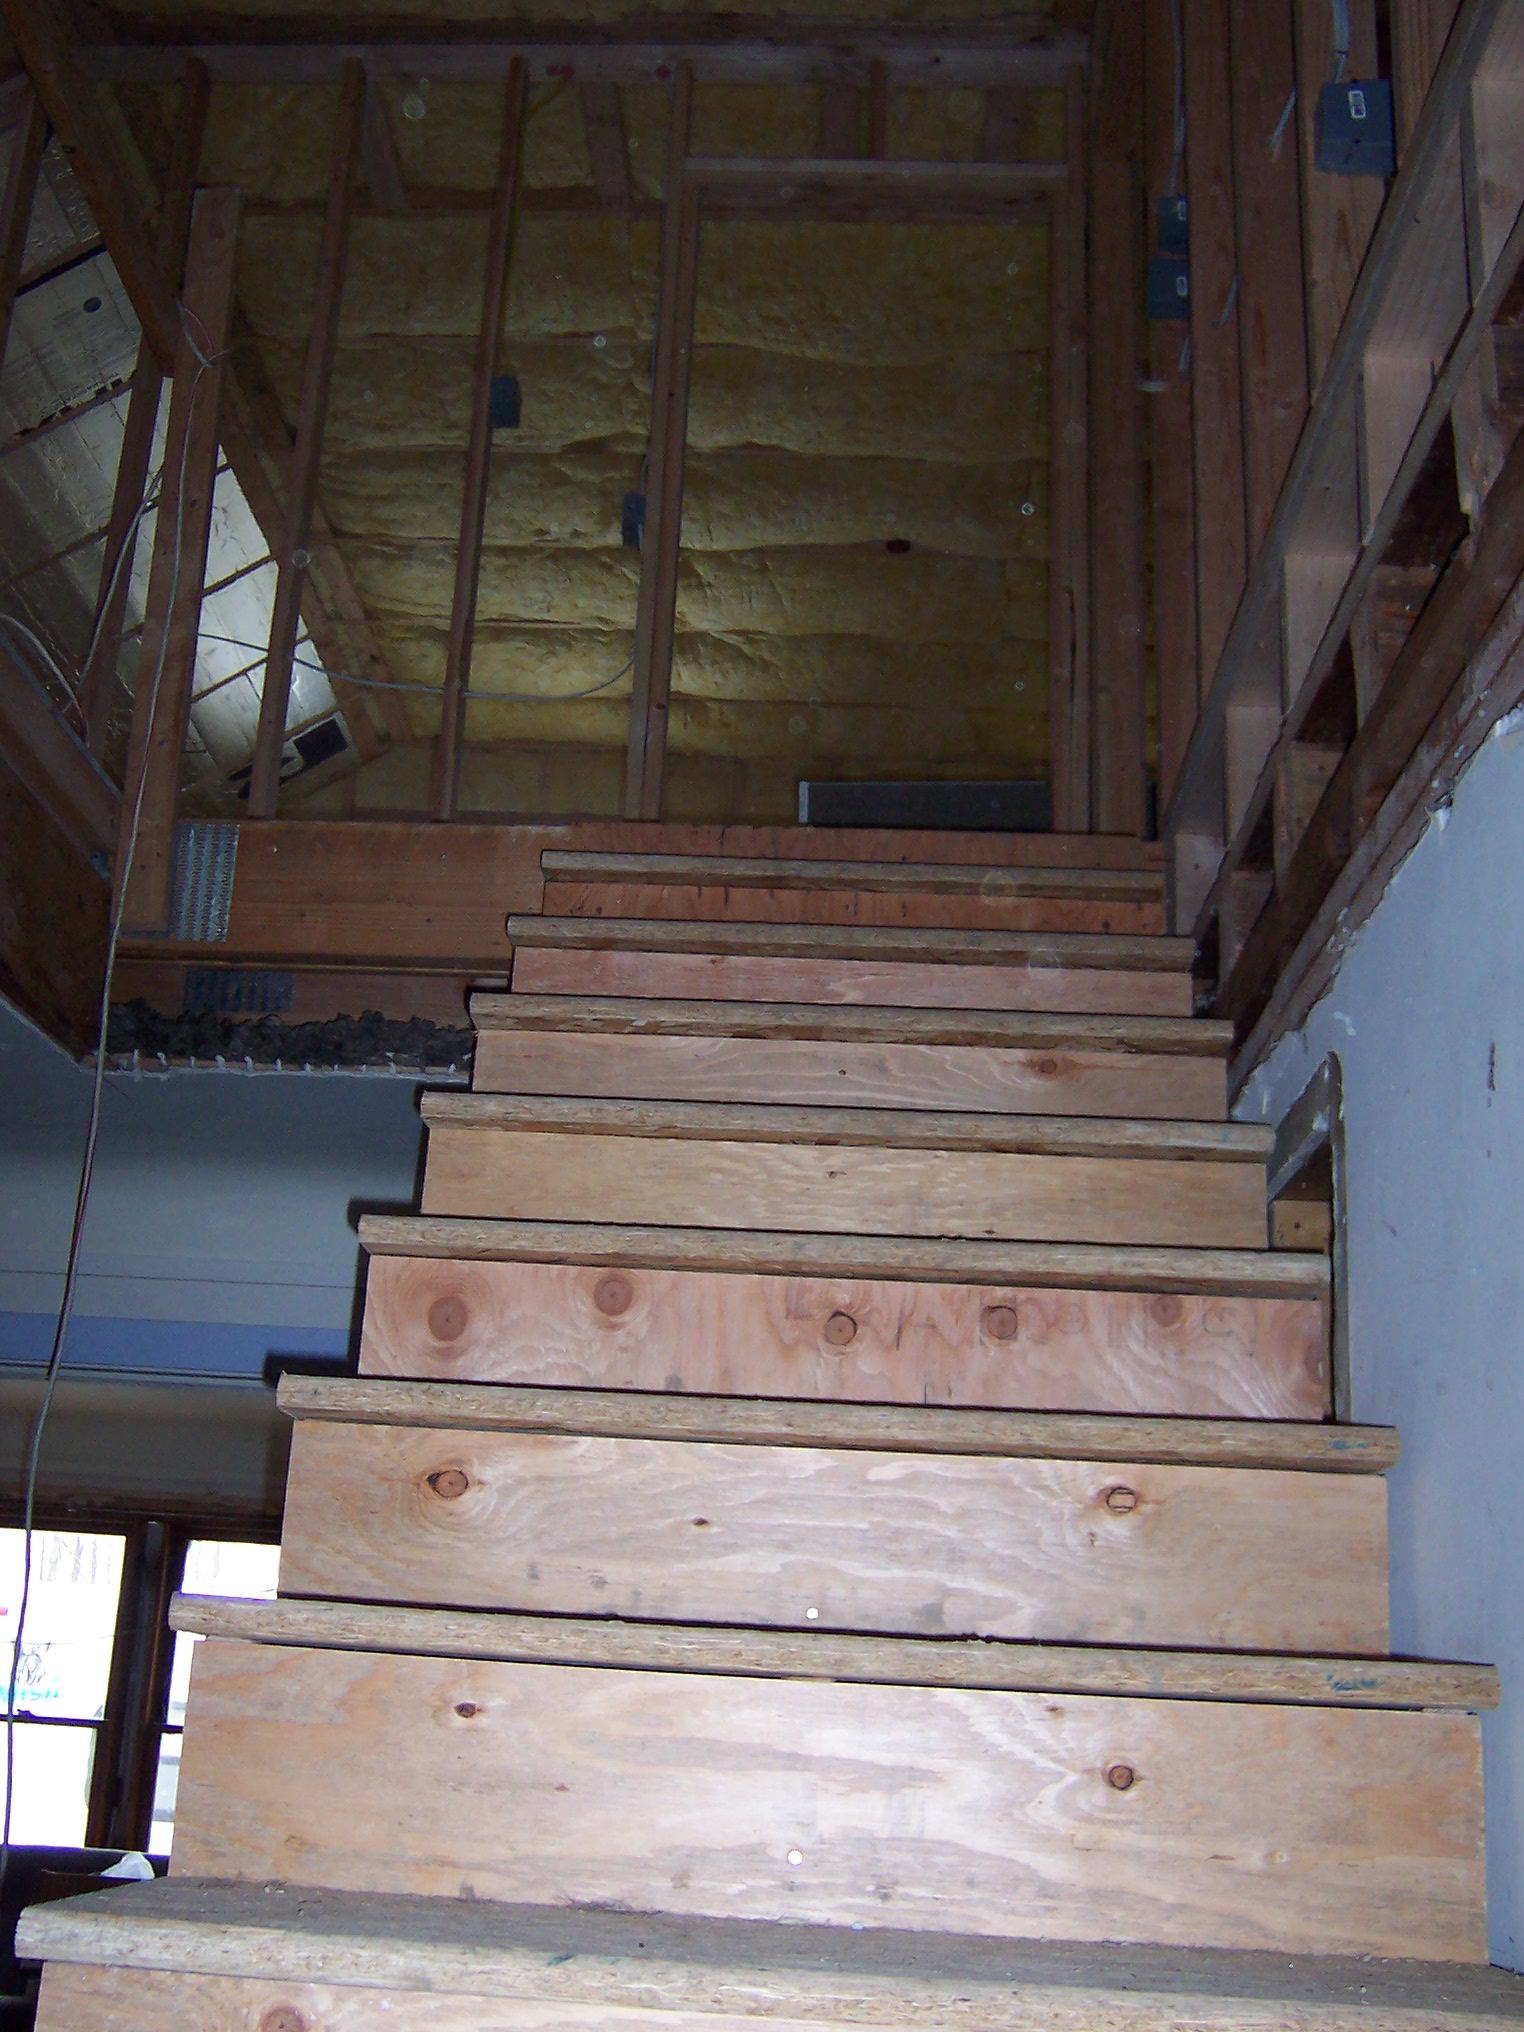
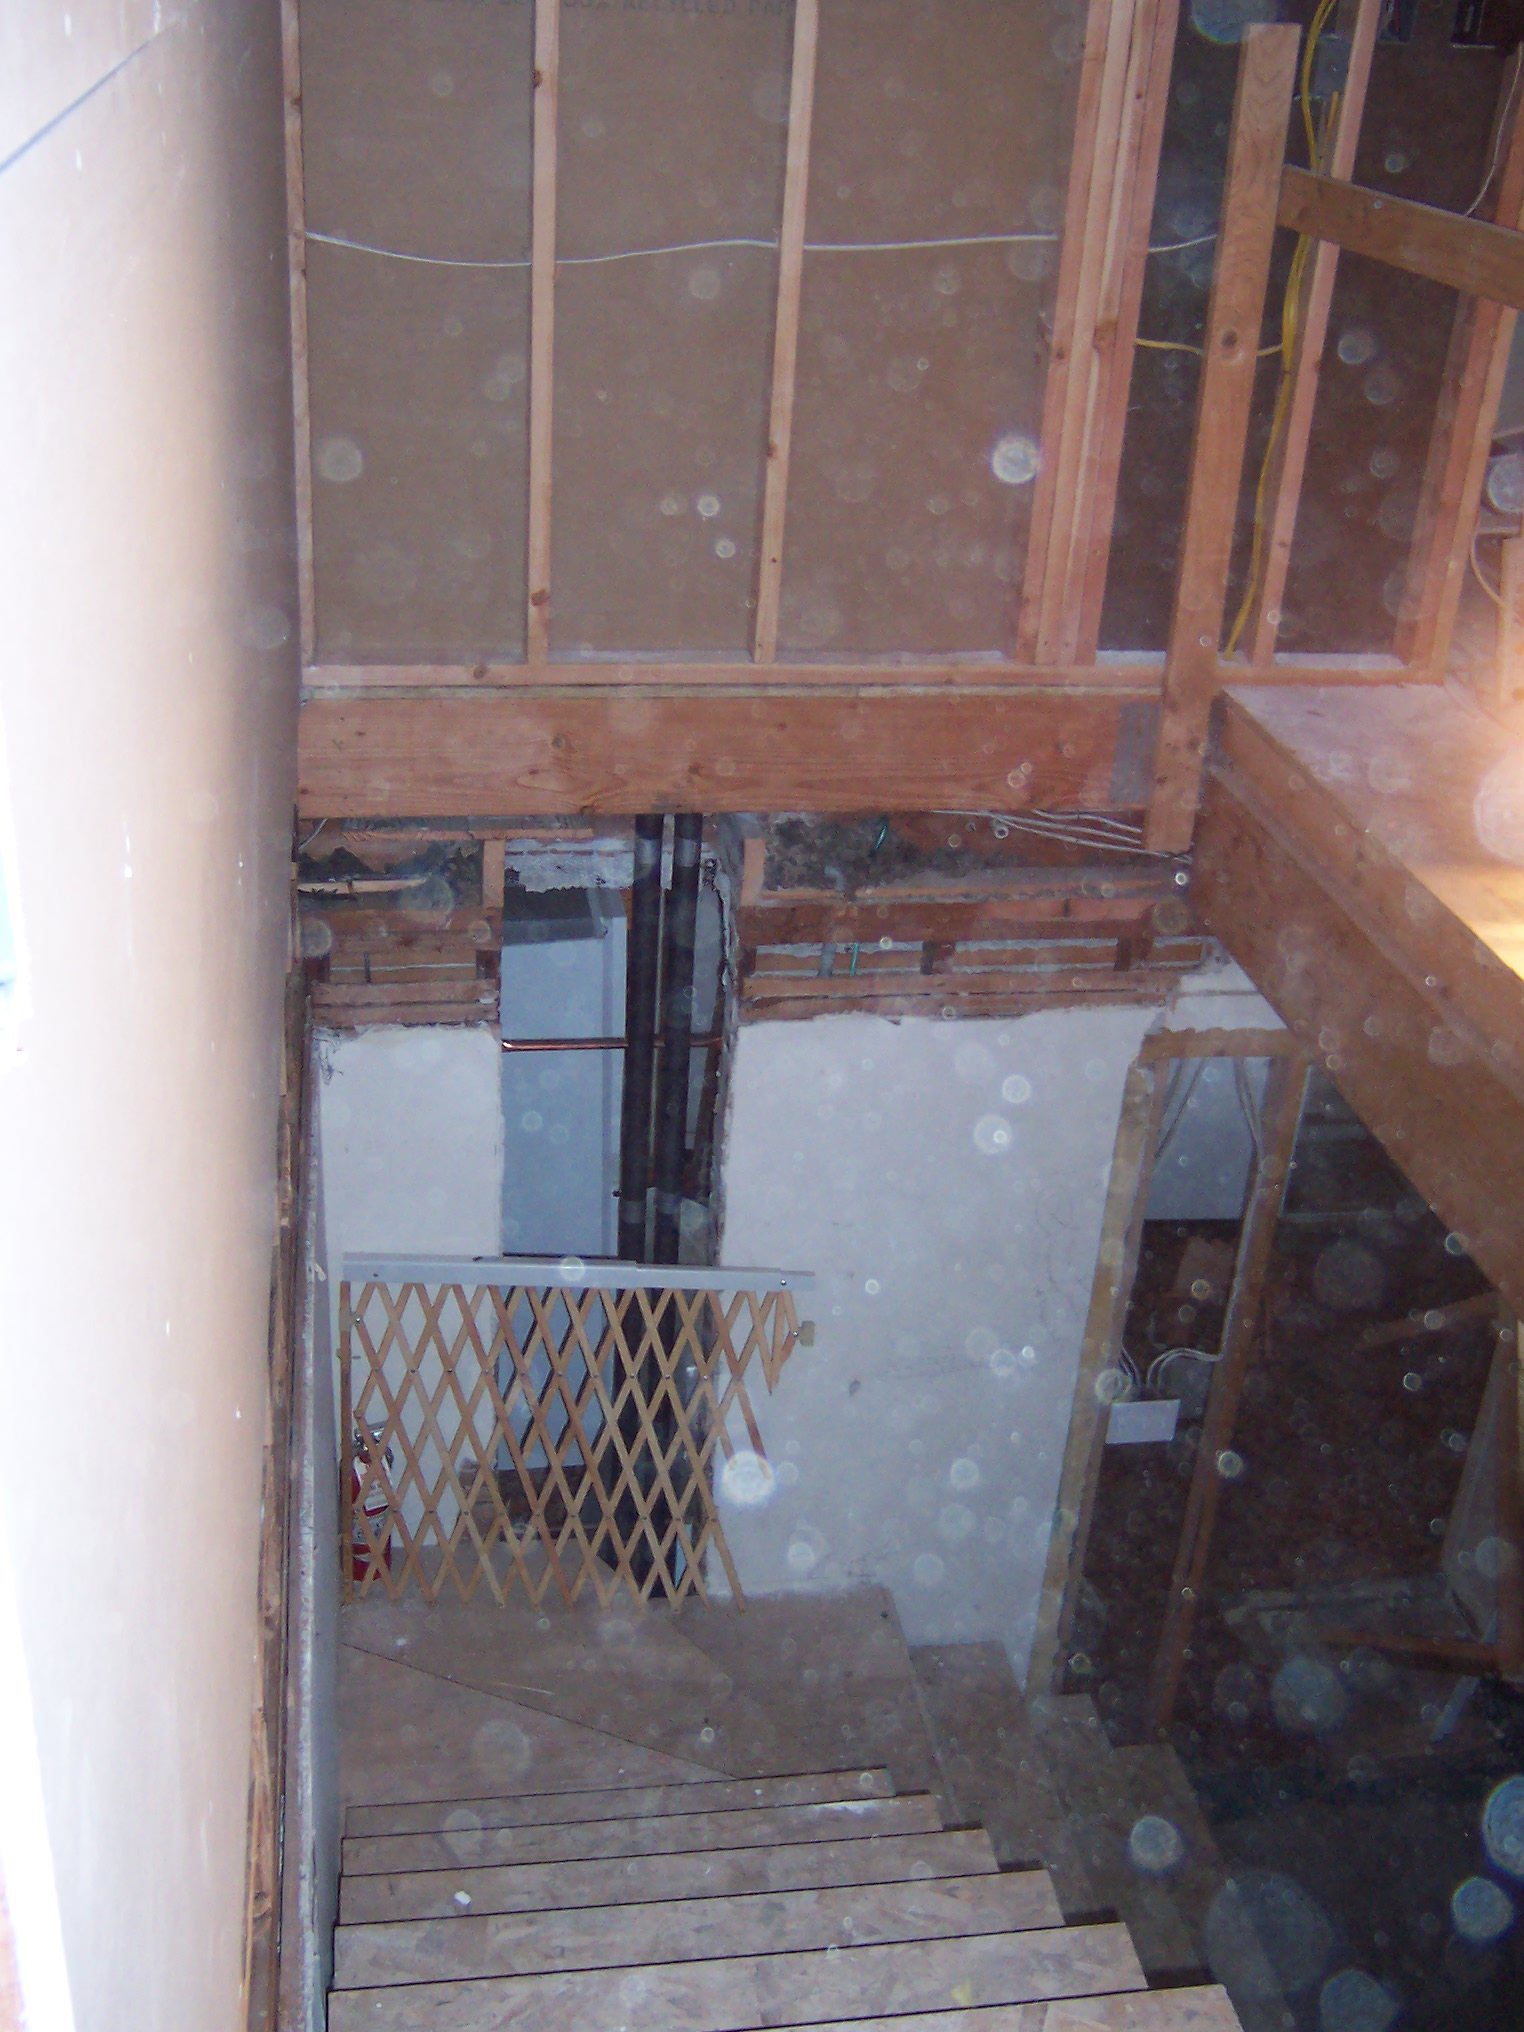
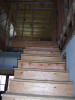
Stairs taking shape.
|
|
|
|
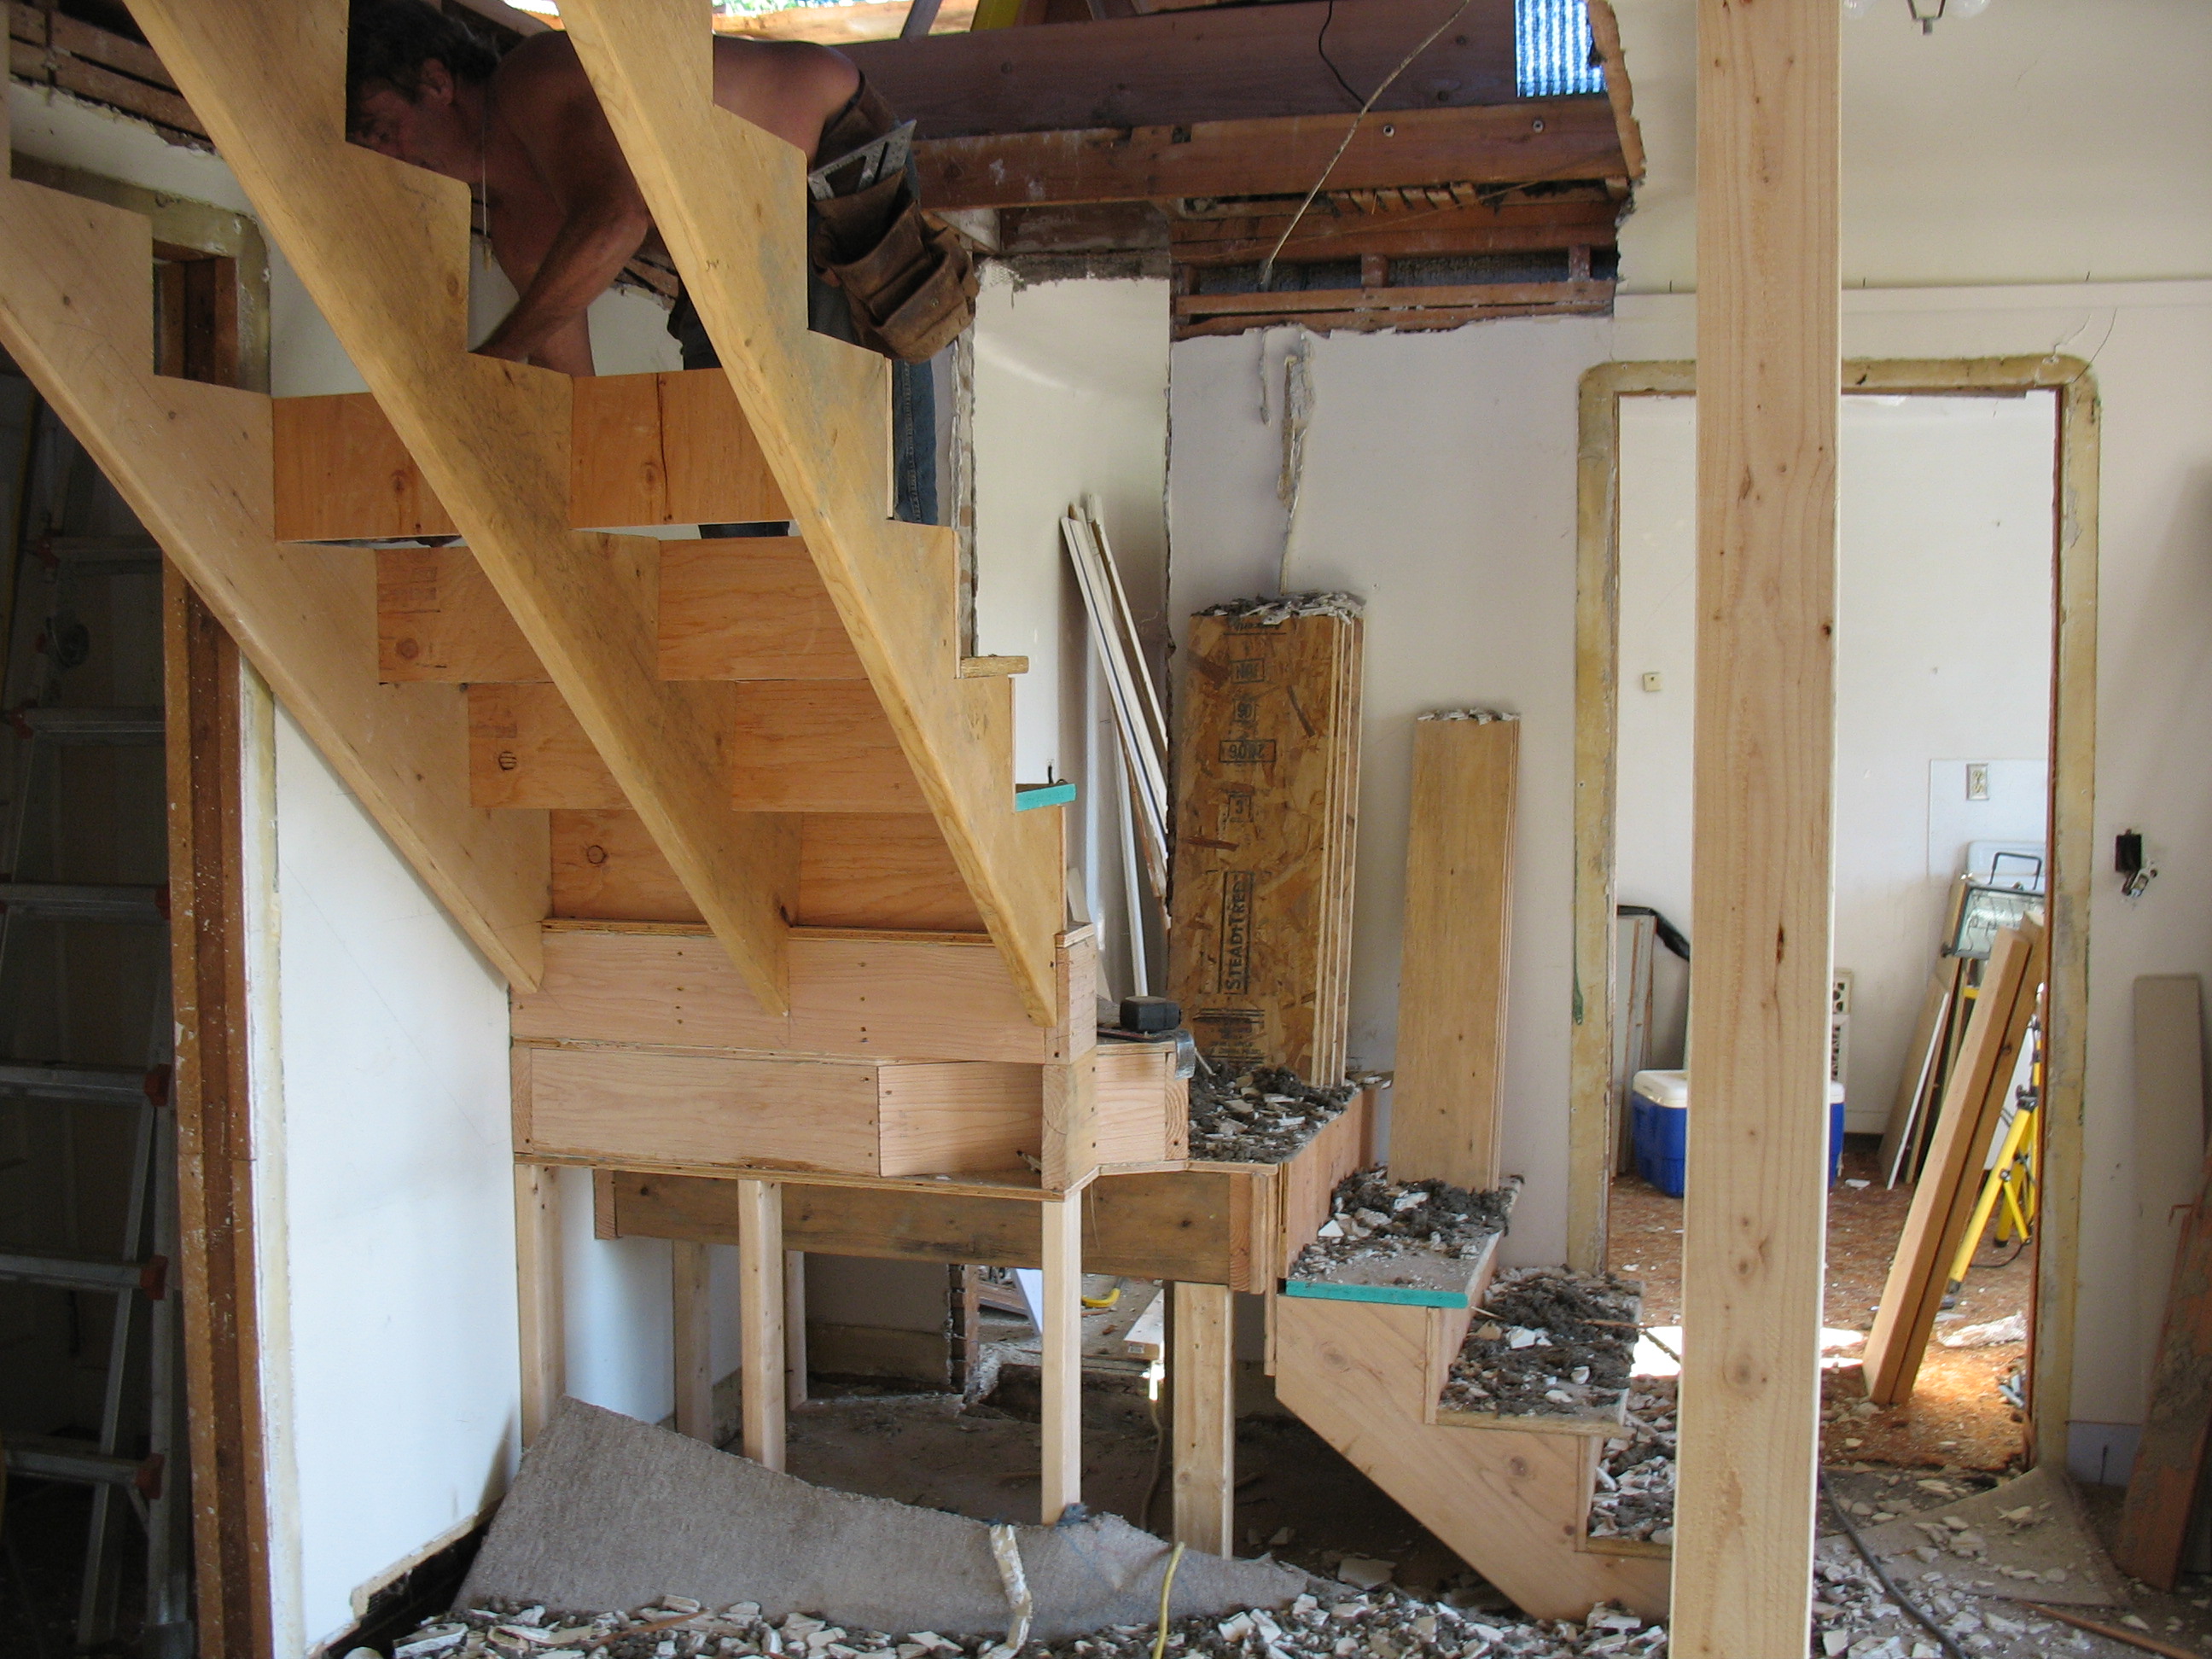
Dan finishing the stairs.
|
|
|
|
Sheeting on, facia details reproduced.
|
|
|
|
|
|
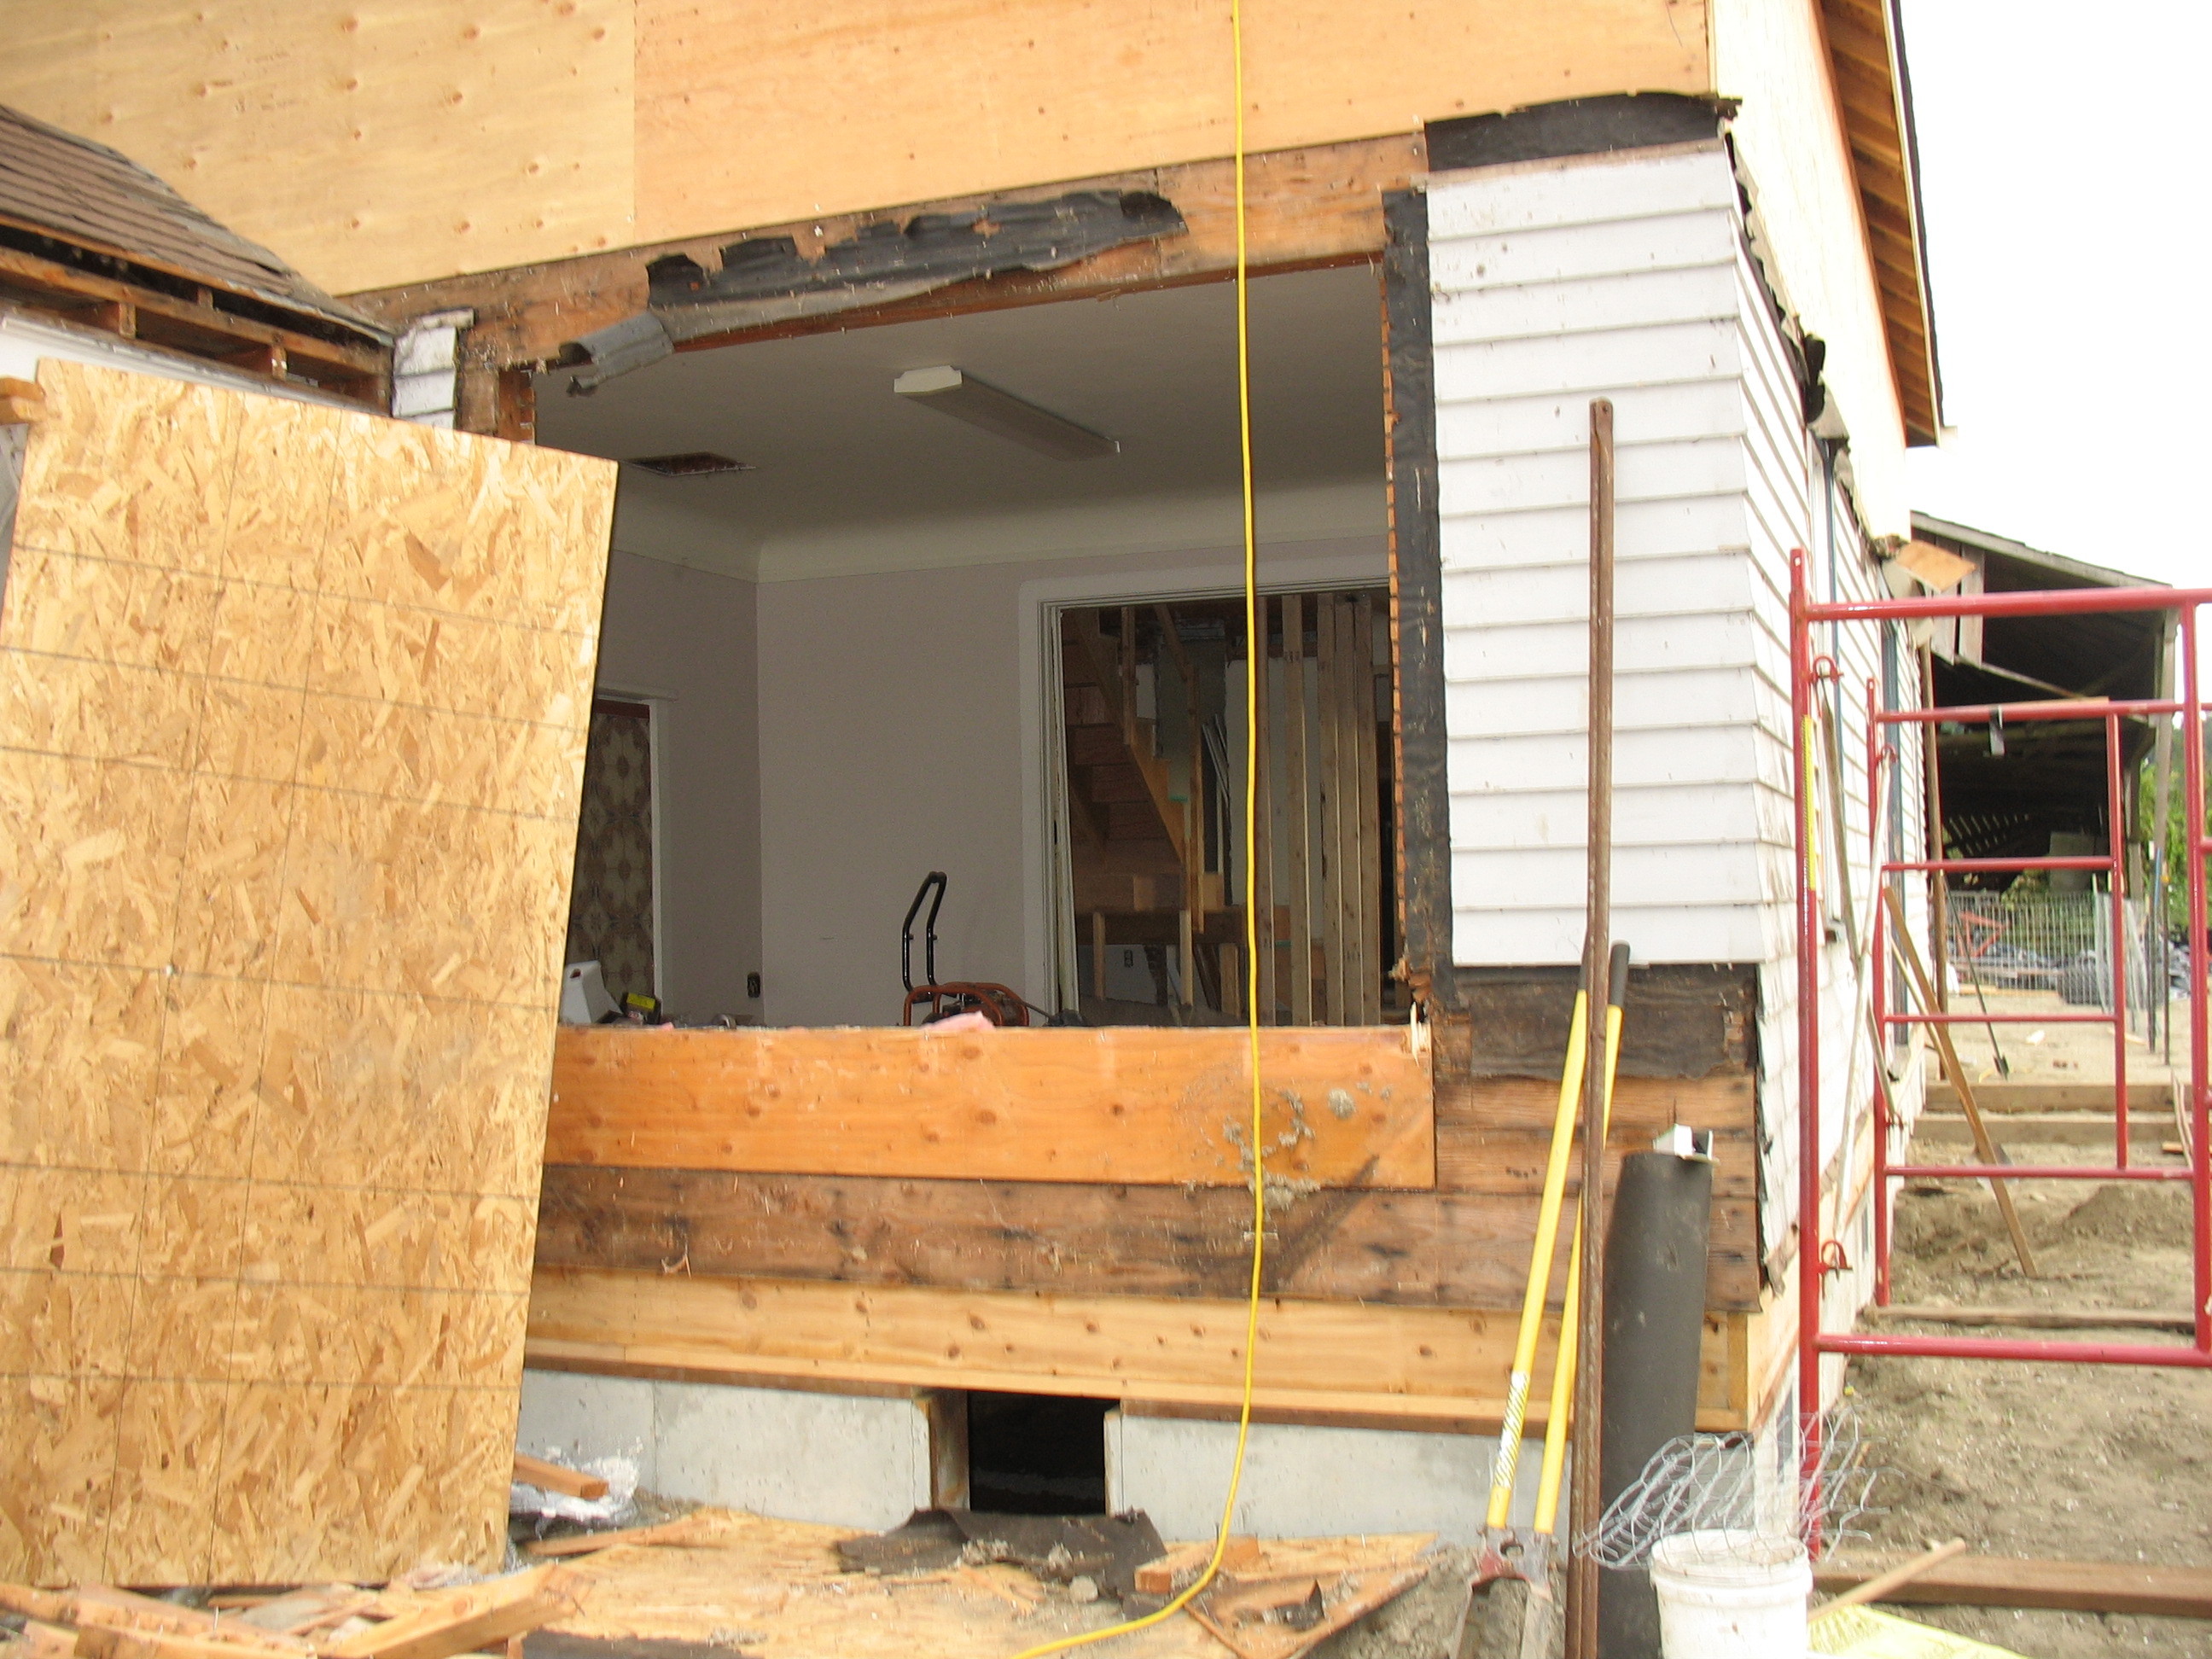
'80s bay window goes away.
|
|
|
|
Upstairs insulation.
|
|
|
|
Drainfield is in pasture, this is looking back over the tite line; which was bored under the drainage ditches due to "fish".
|
|
|
|
Insulation & sheetrock--"snow" in the air is sheetrock dust.
|
|
|
|
Upstairs sheetrock halfway done.
|
|
|
|
|
|
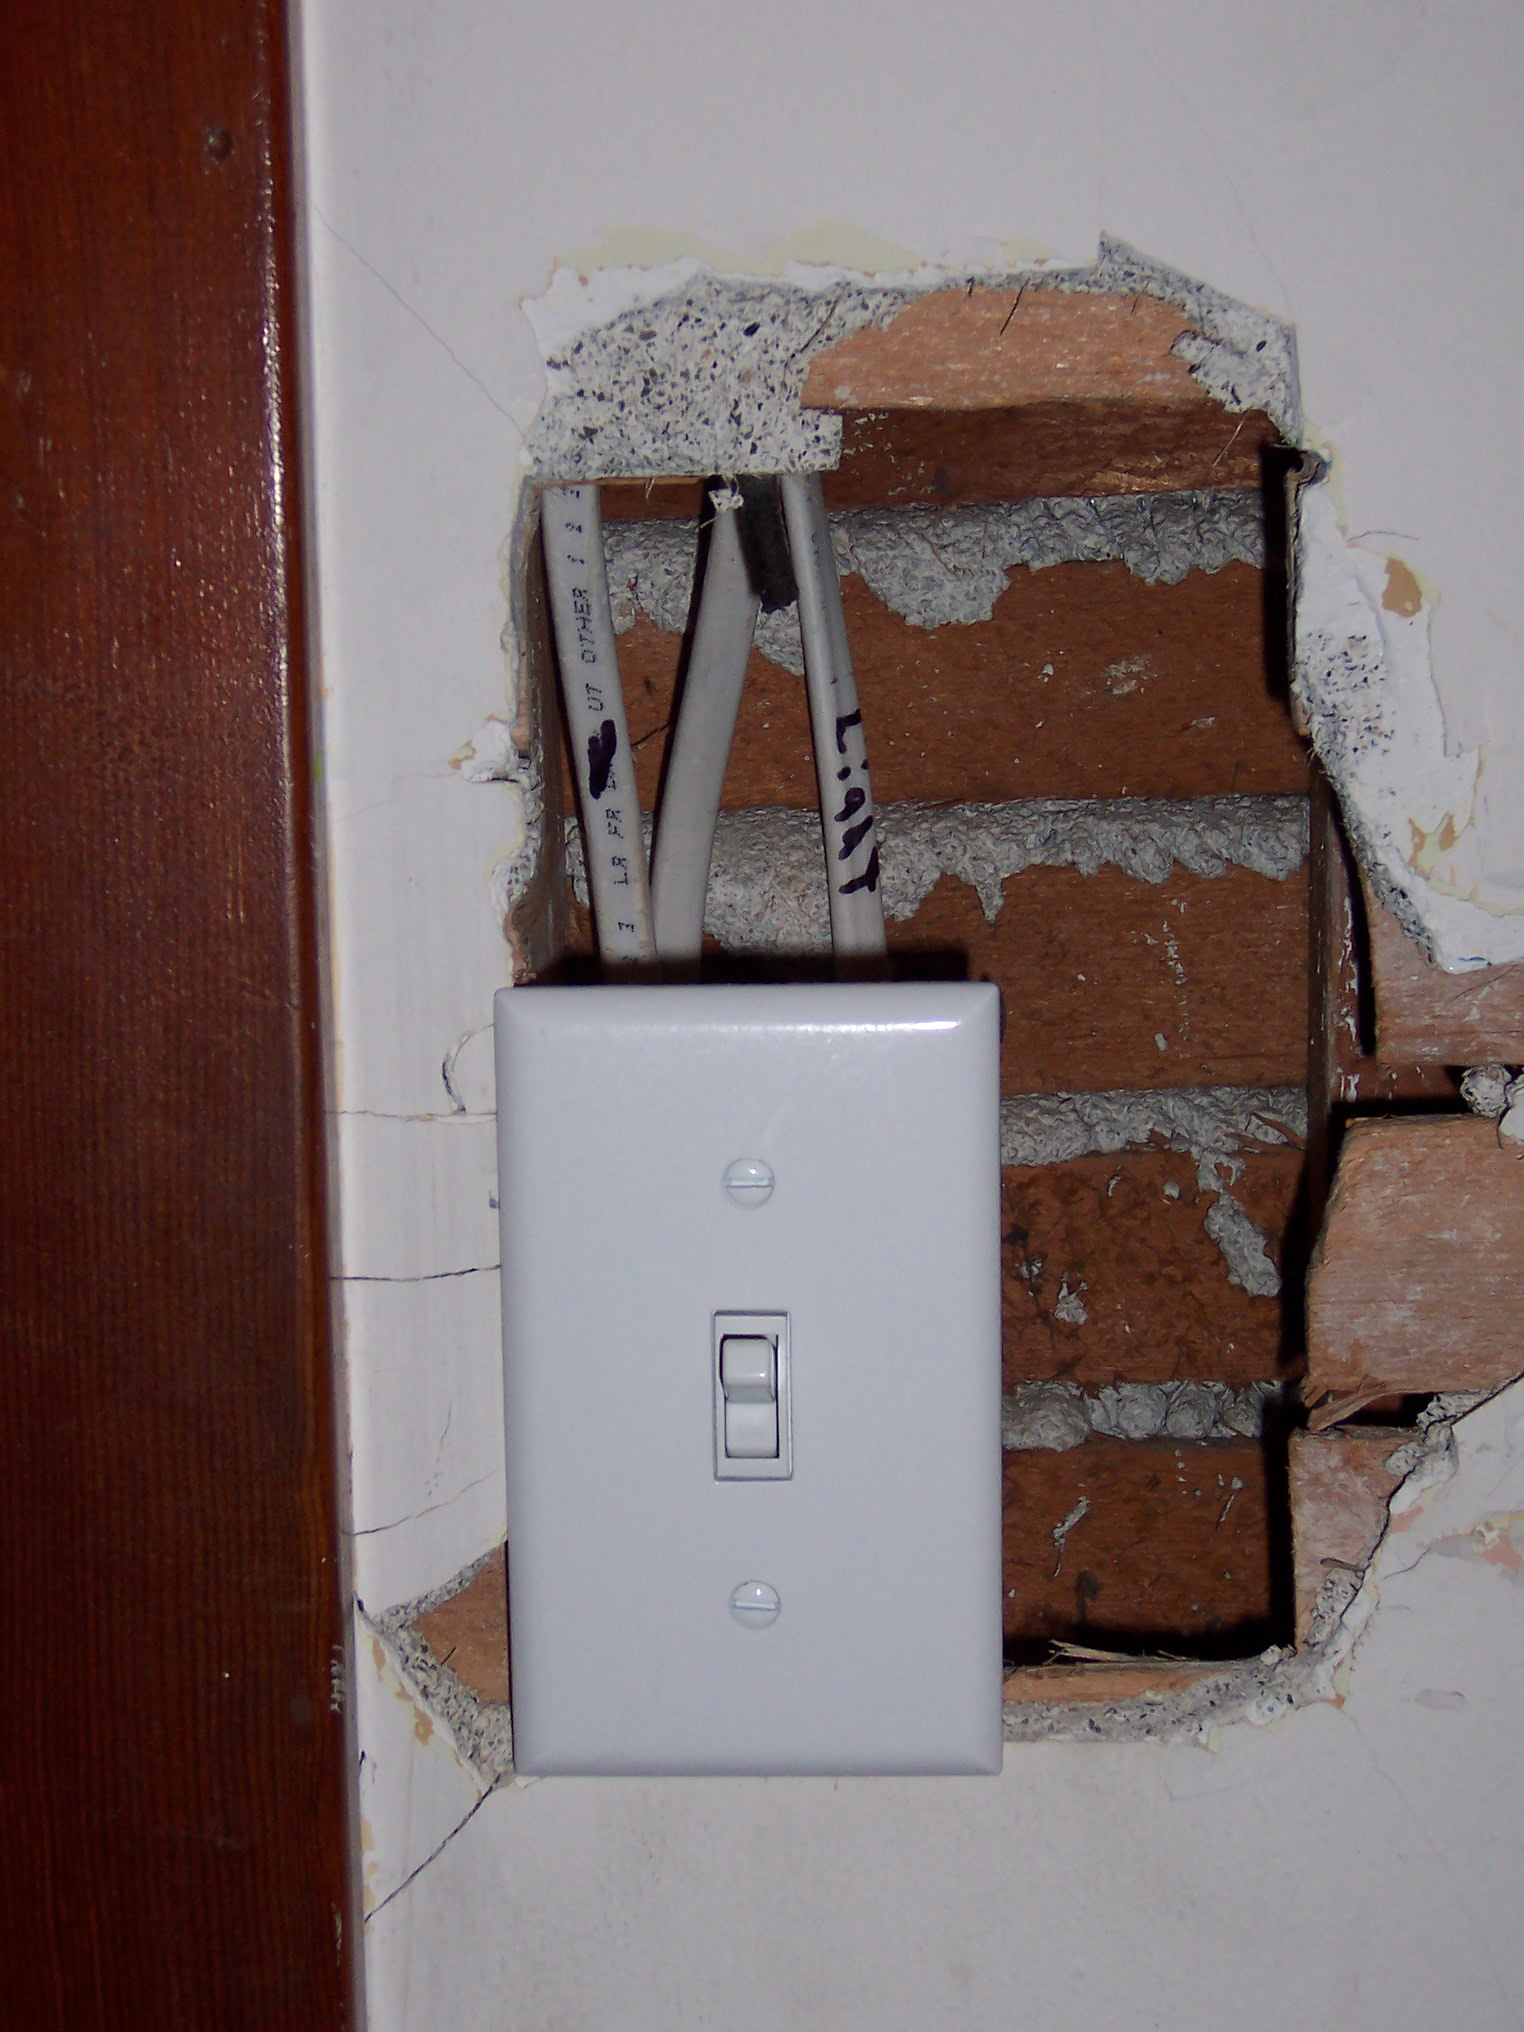
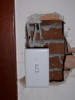
Lots of holes in the plaster where new wiring was pulled.
|
|
|
|
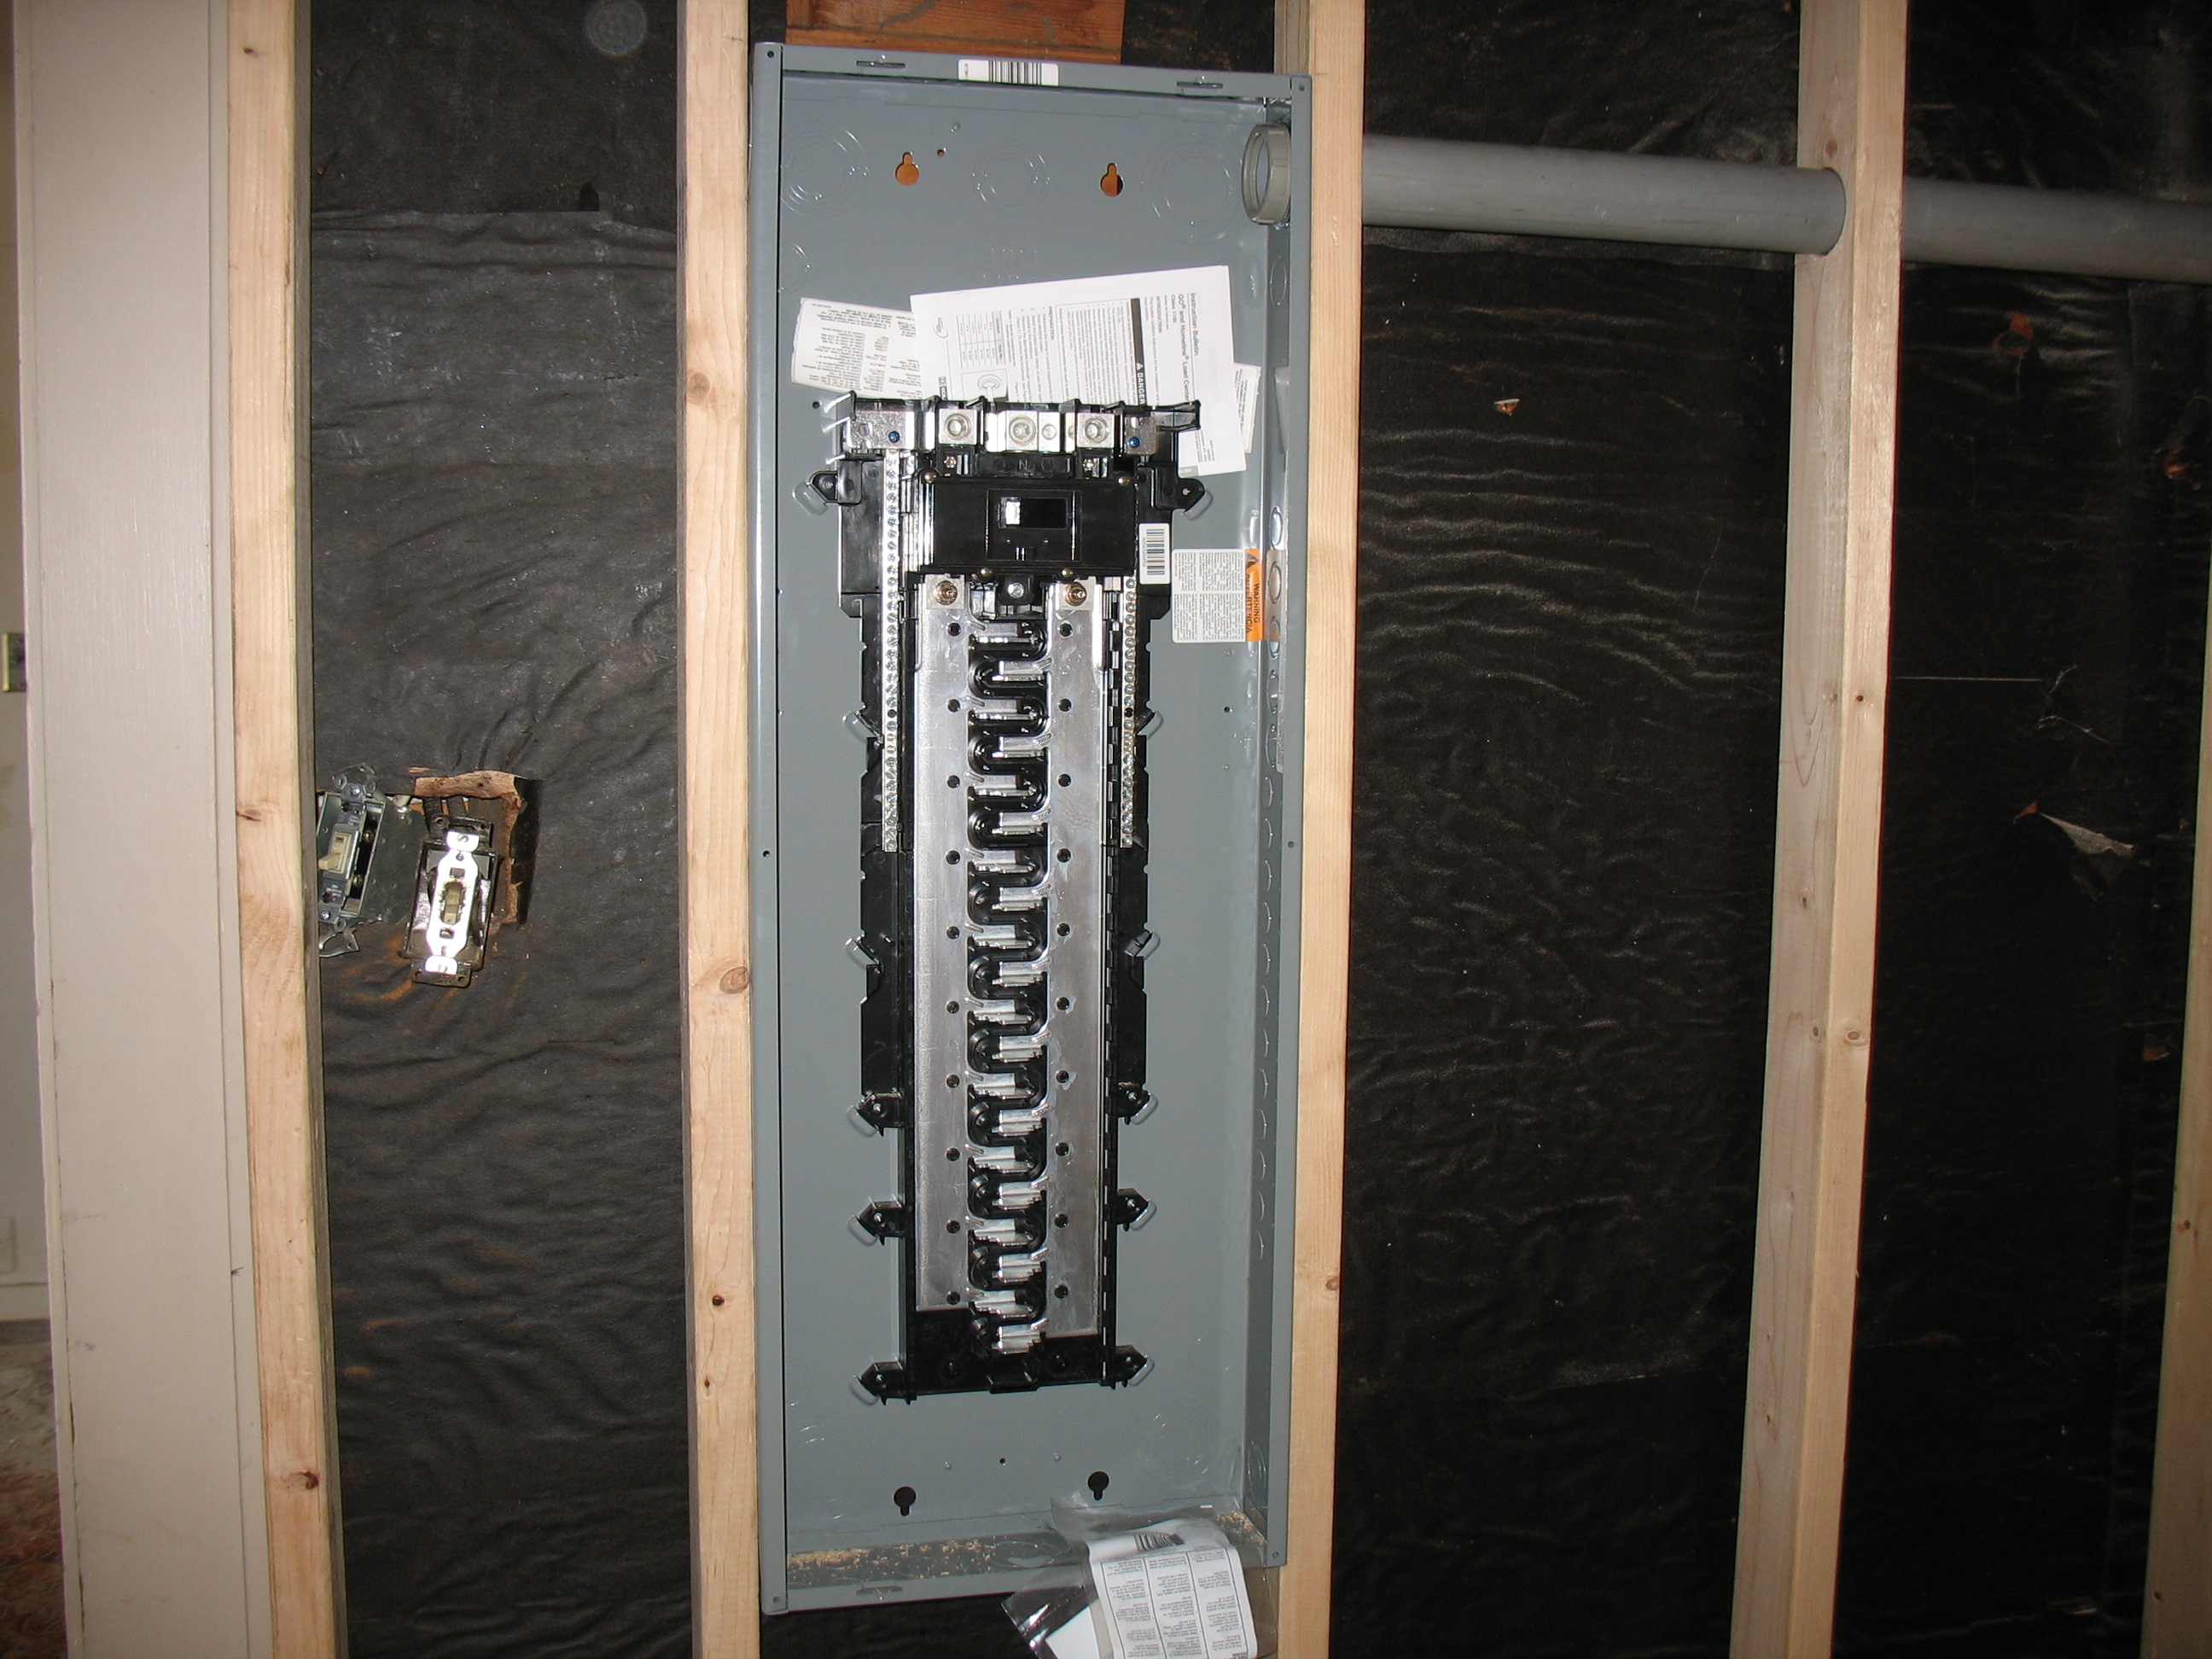
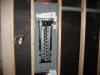
New breaker box to replace the old knob & tube and fuse box wiring.
|
|
|
|
Siding finished.
|
|
|
|
Siding finished on back. I still had a lot of "Grapes of Wrath" yard mess to clean up!
|
|
|
|
Living in a construction zone... Extra lumber & salvage material in the dining room.
|
|
|
|
|
|
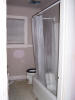
A real working toilet and shower was a big luxury in January.
|
|

|
|
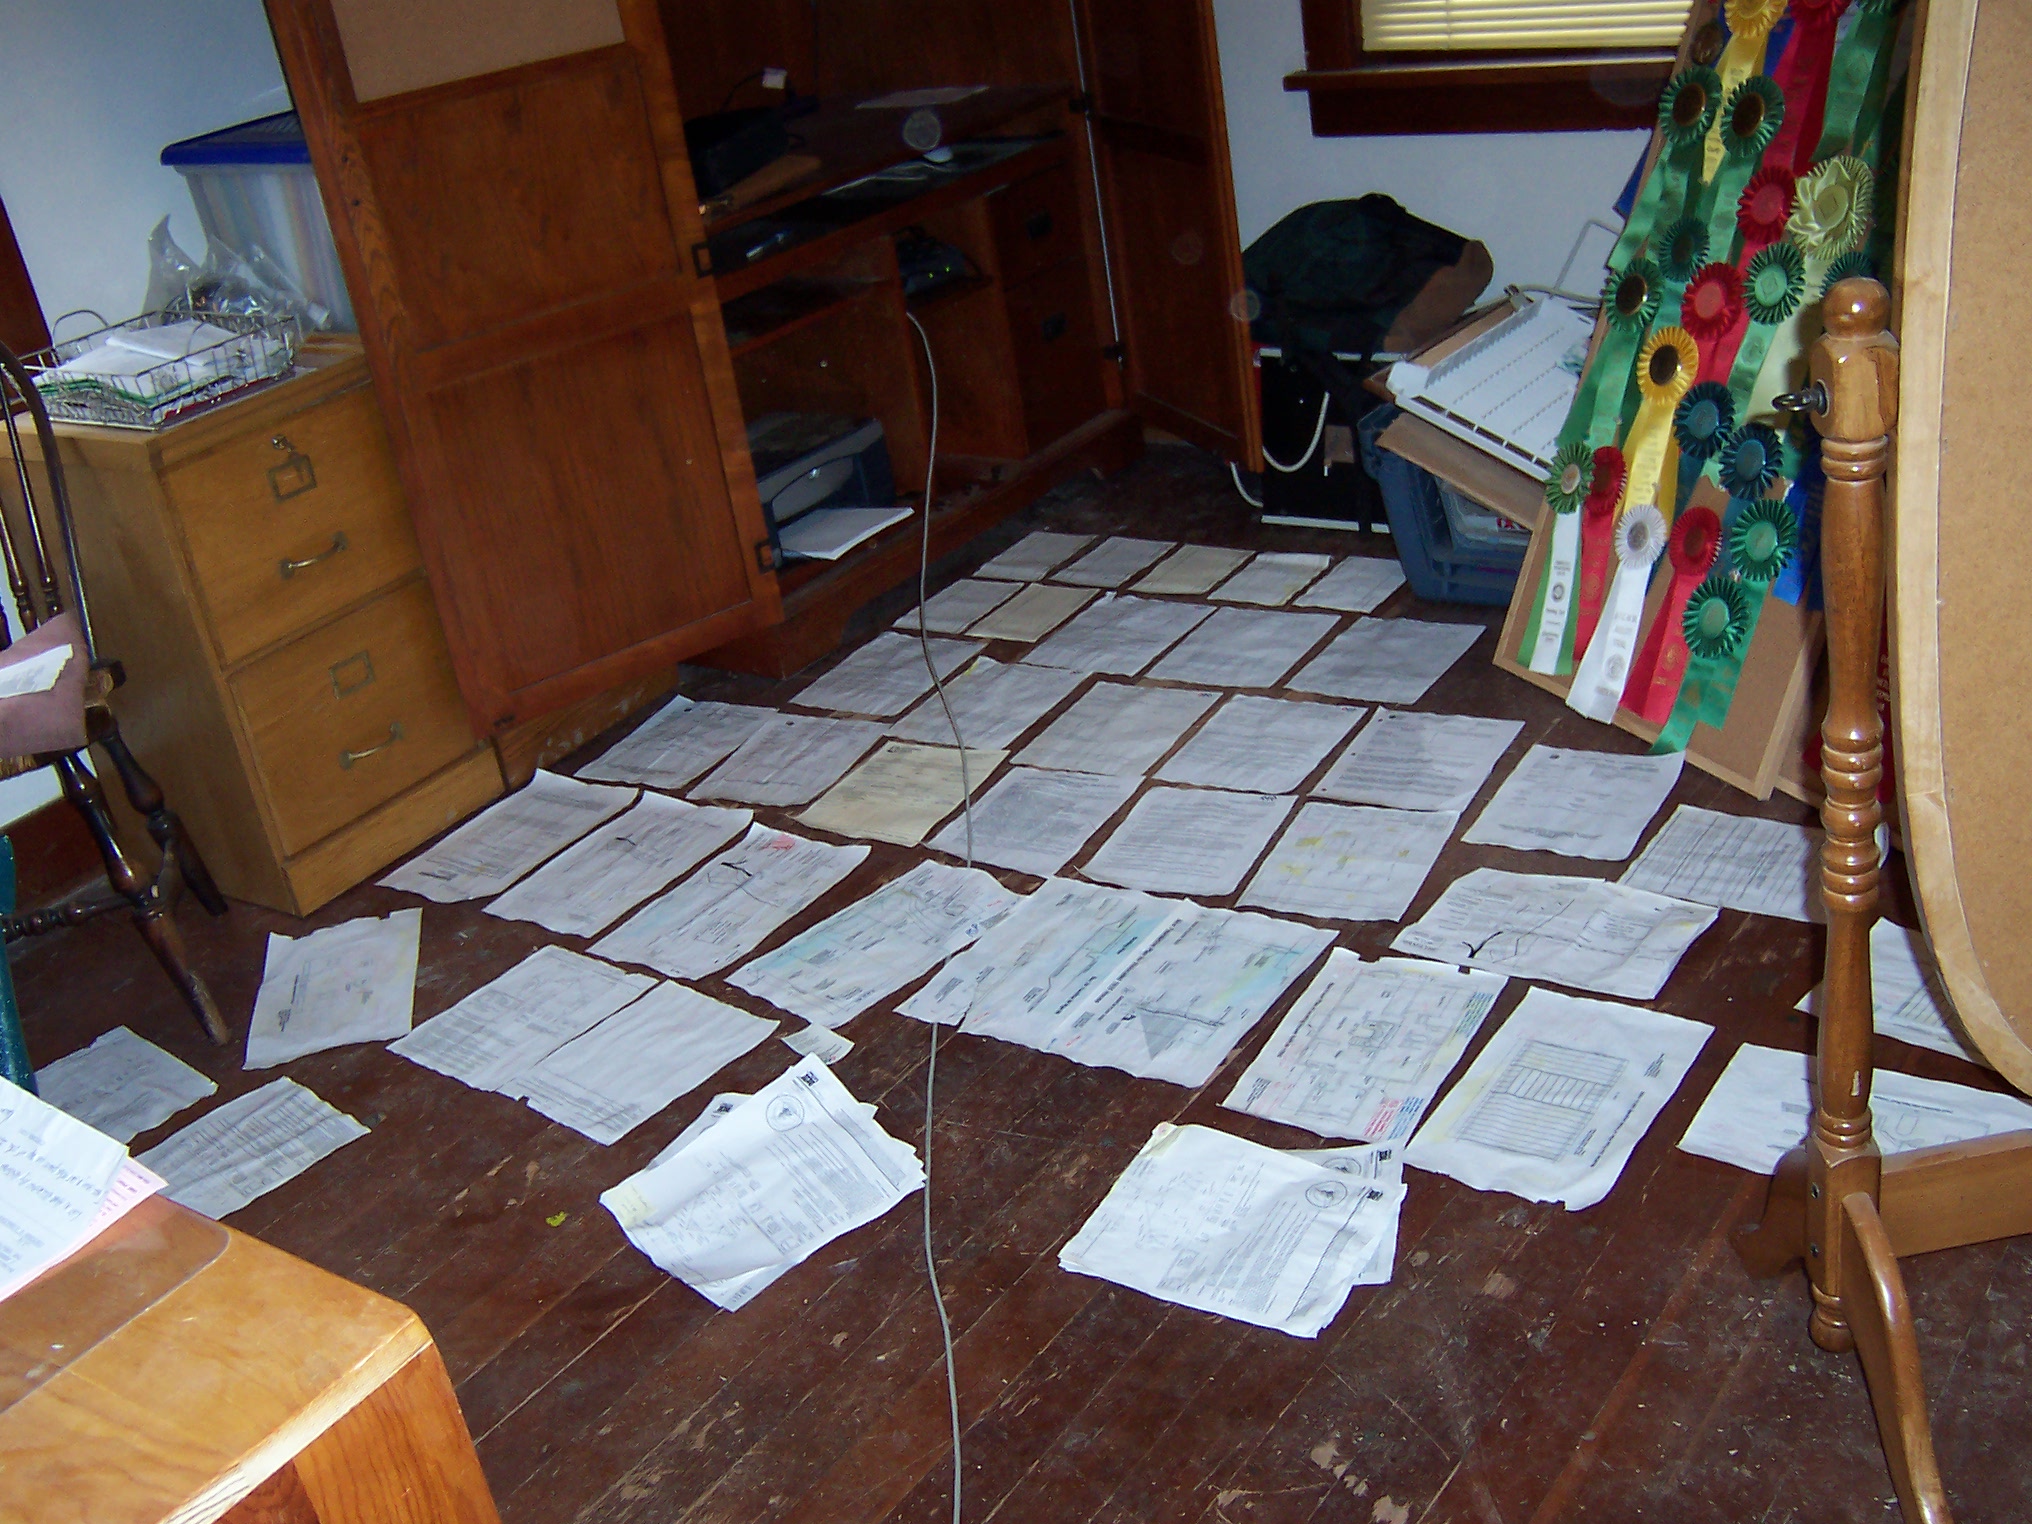
I woke after a storm to find my building permit packet in standing water. :-0 I had to dry it all out sheet-by-sheet.
|
|

|
|
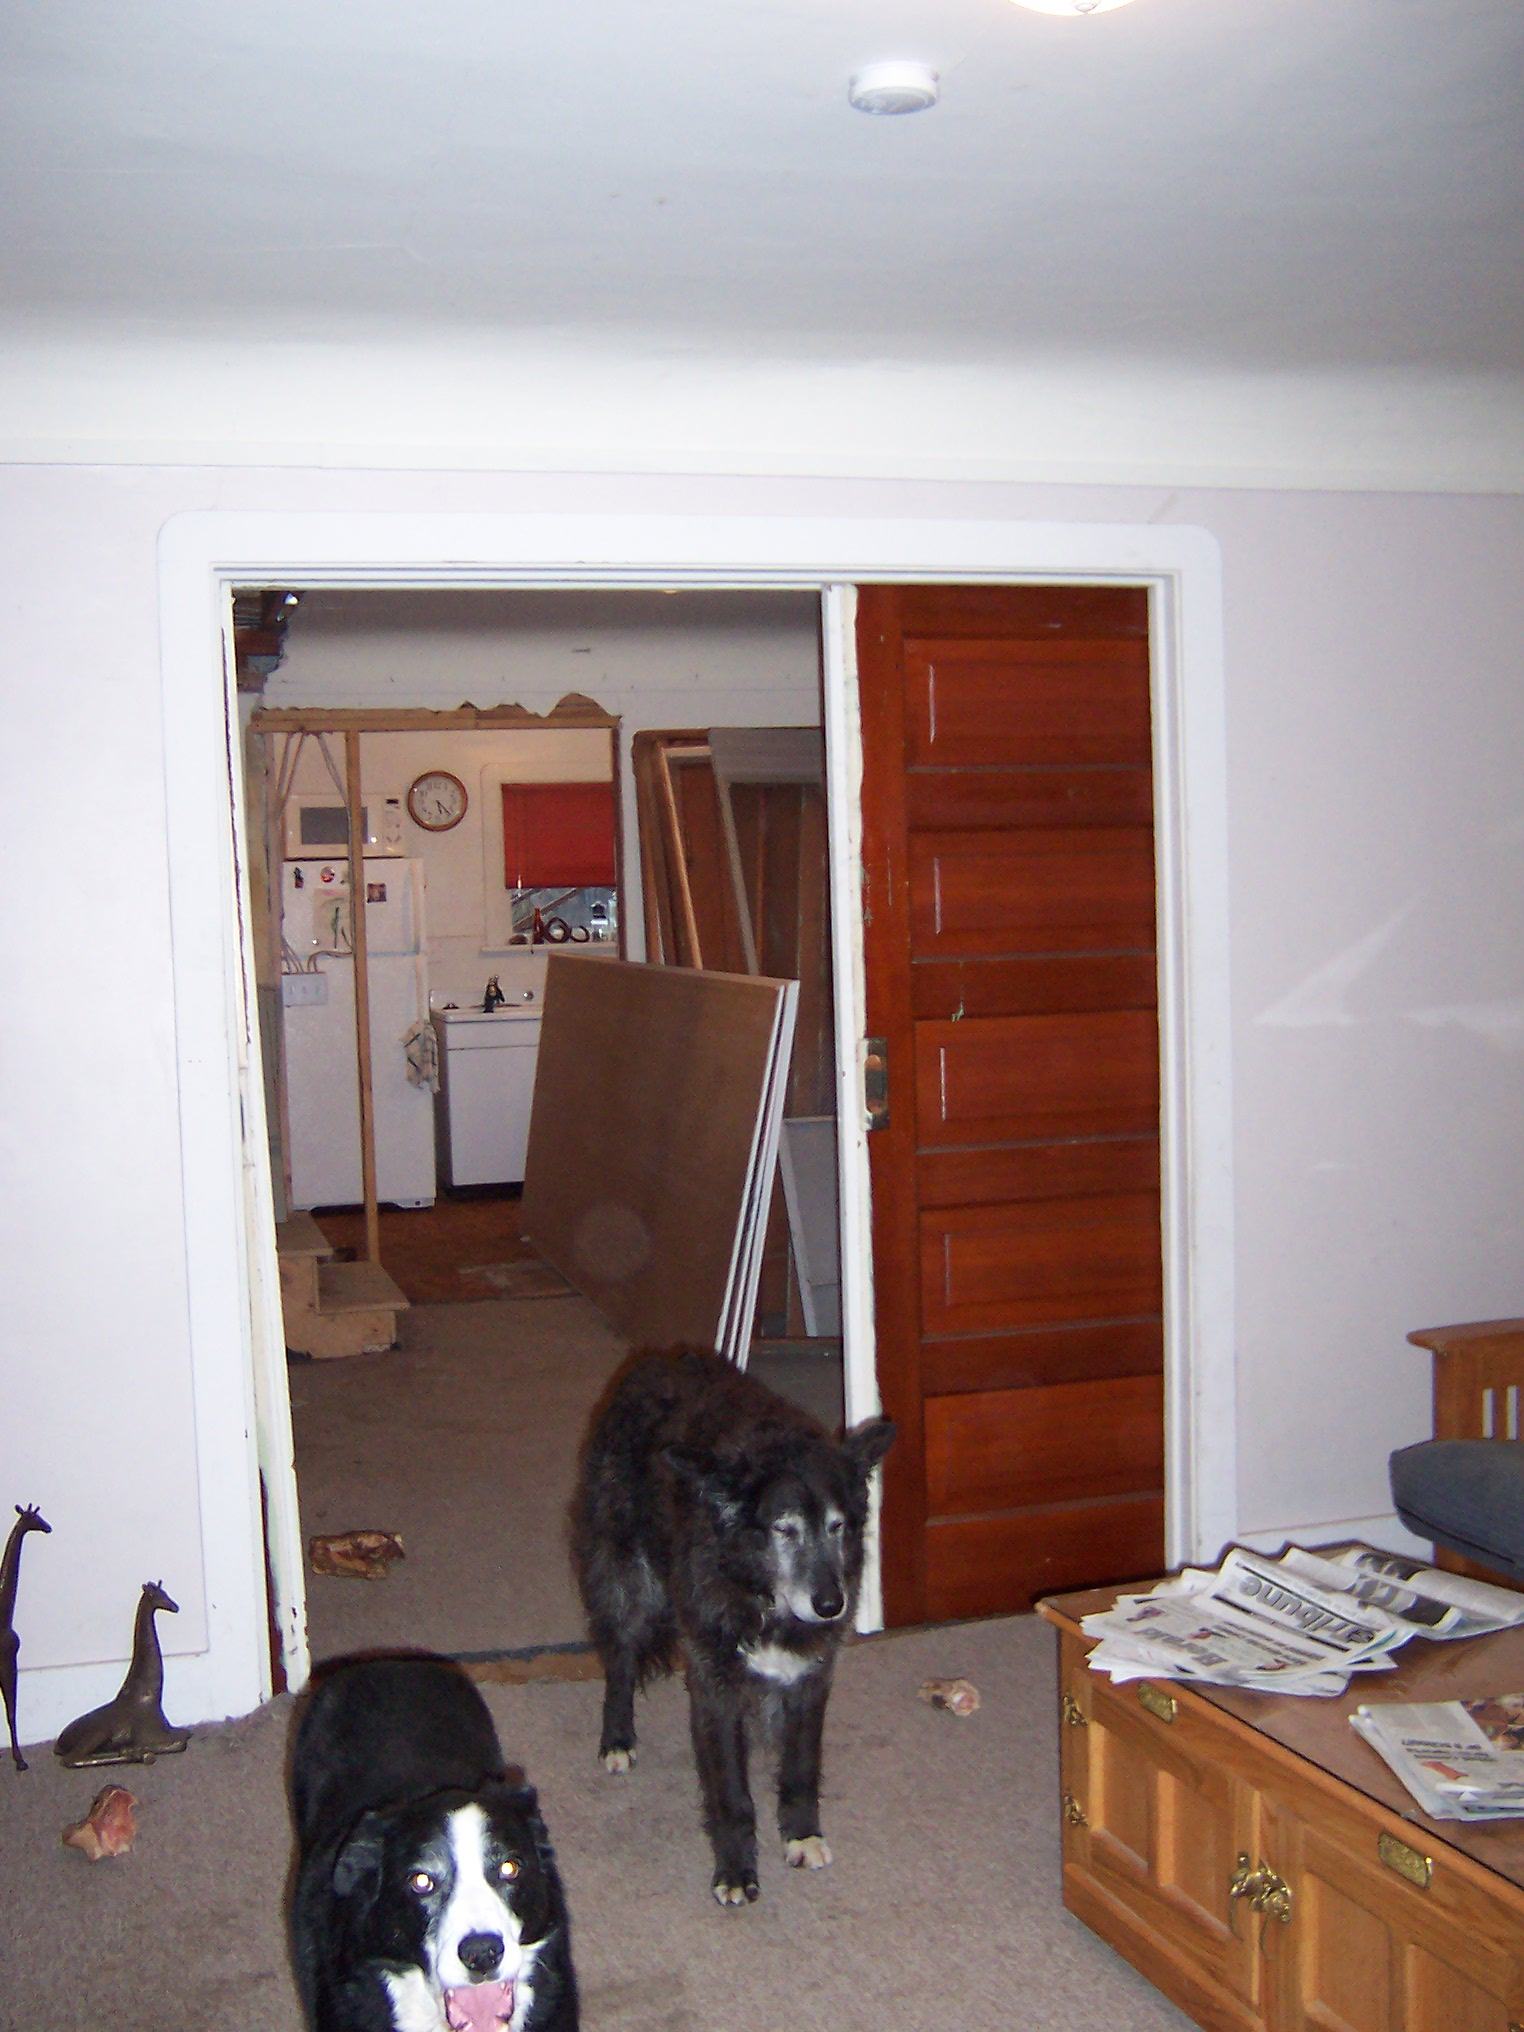
Pocket doors come out-- they had been nailed shut for over forty years!
|
|
|
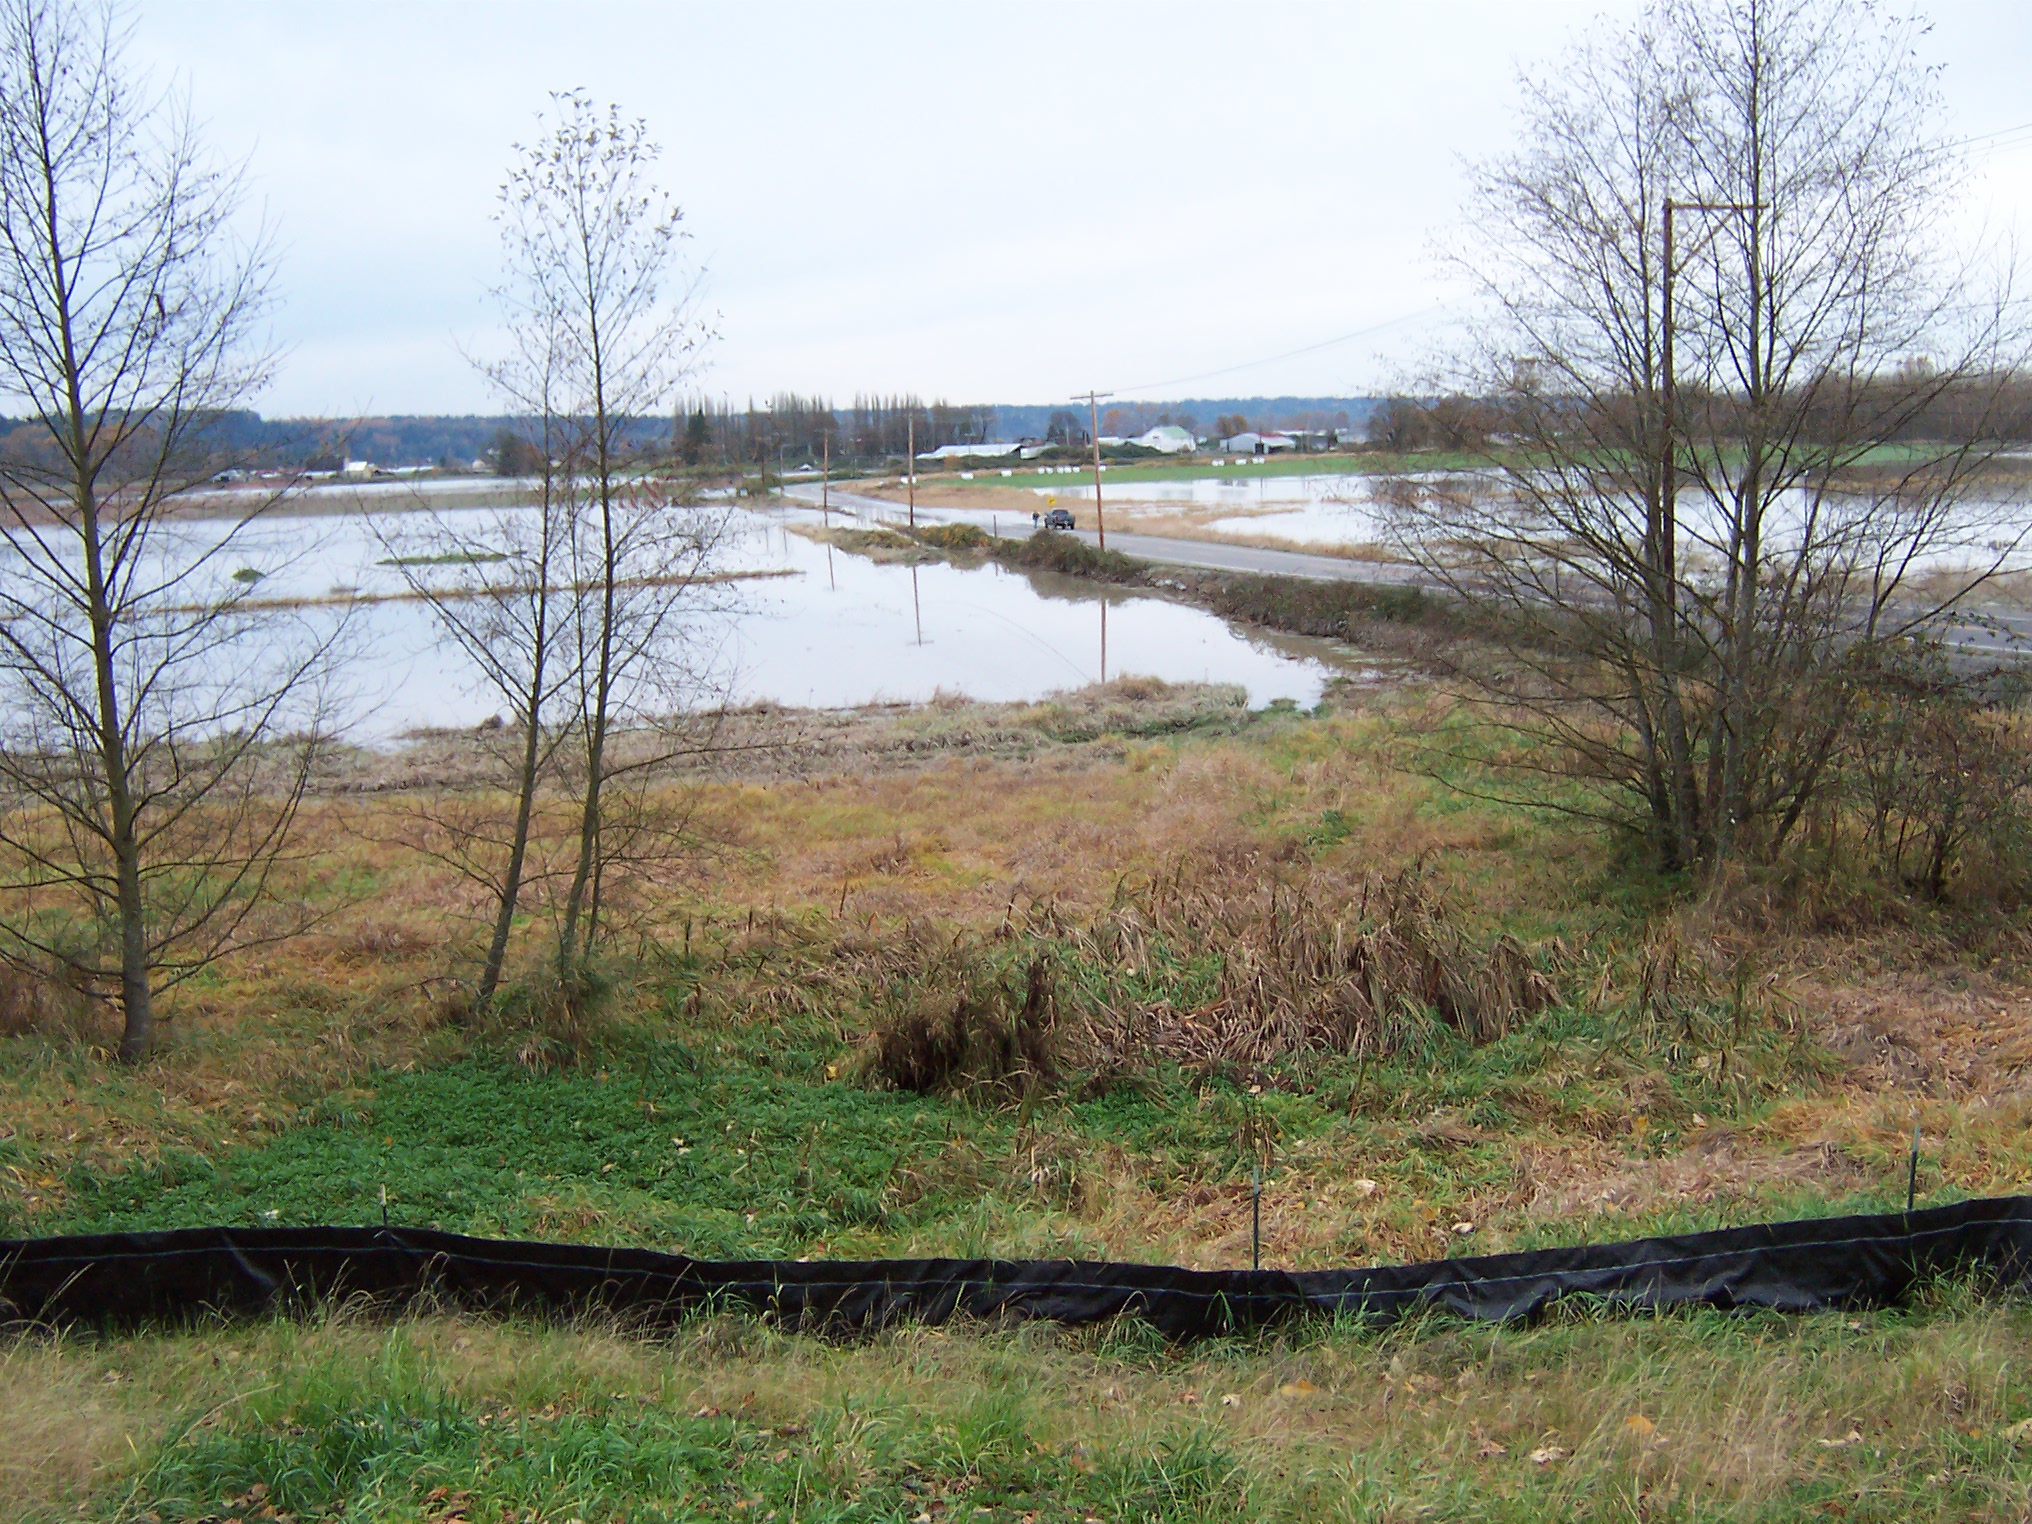
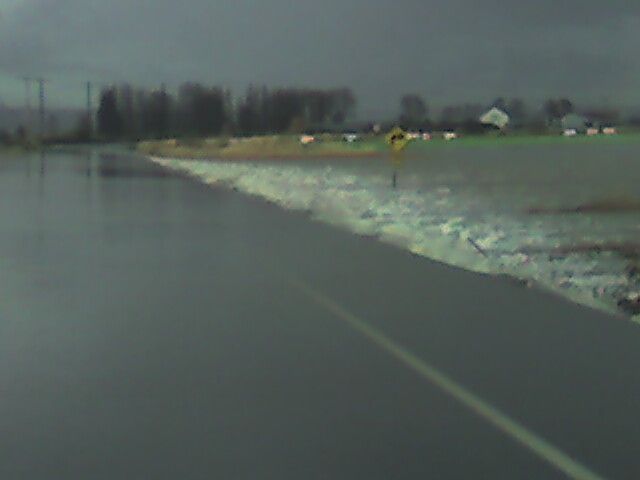
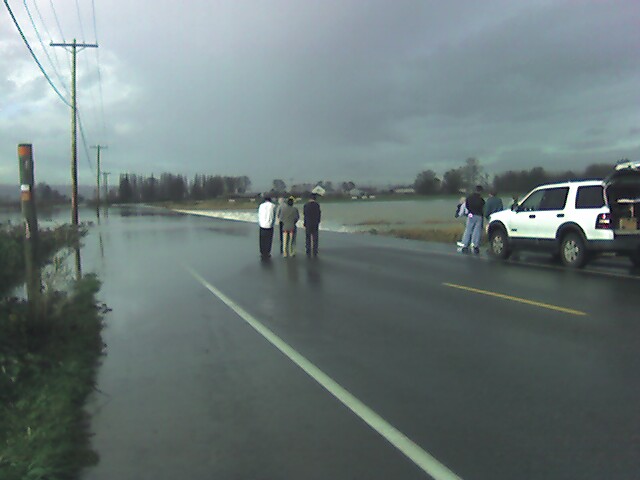
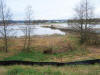
The November, 2006 flood. We were lucky: the dikes only gently over-topped. They
turned on the French Creek pump station the next day, so our valley was drained
in a few days.
|
|
|
|
Looking from the driveway down. The house is about 50' higher in elevation than the water. By this photo, it had already receeded some.
|
|
|
|
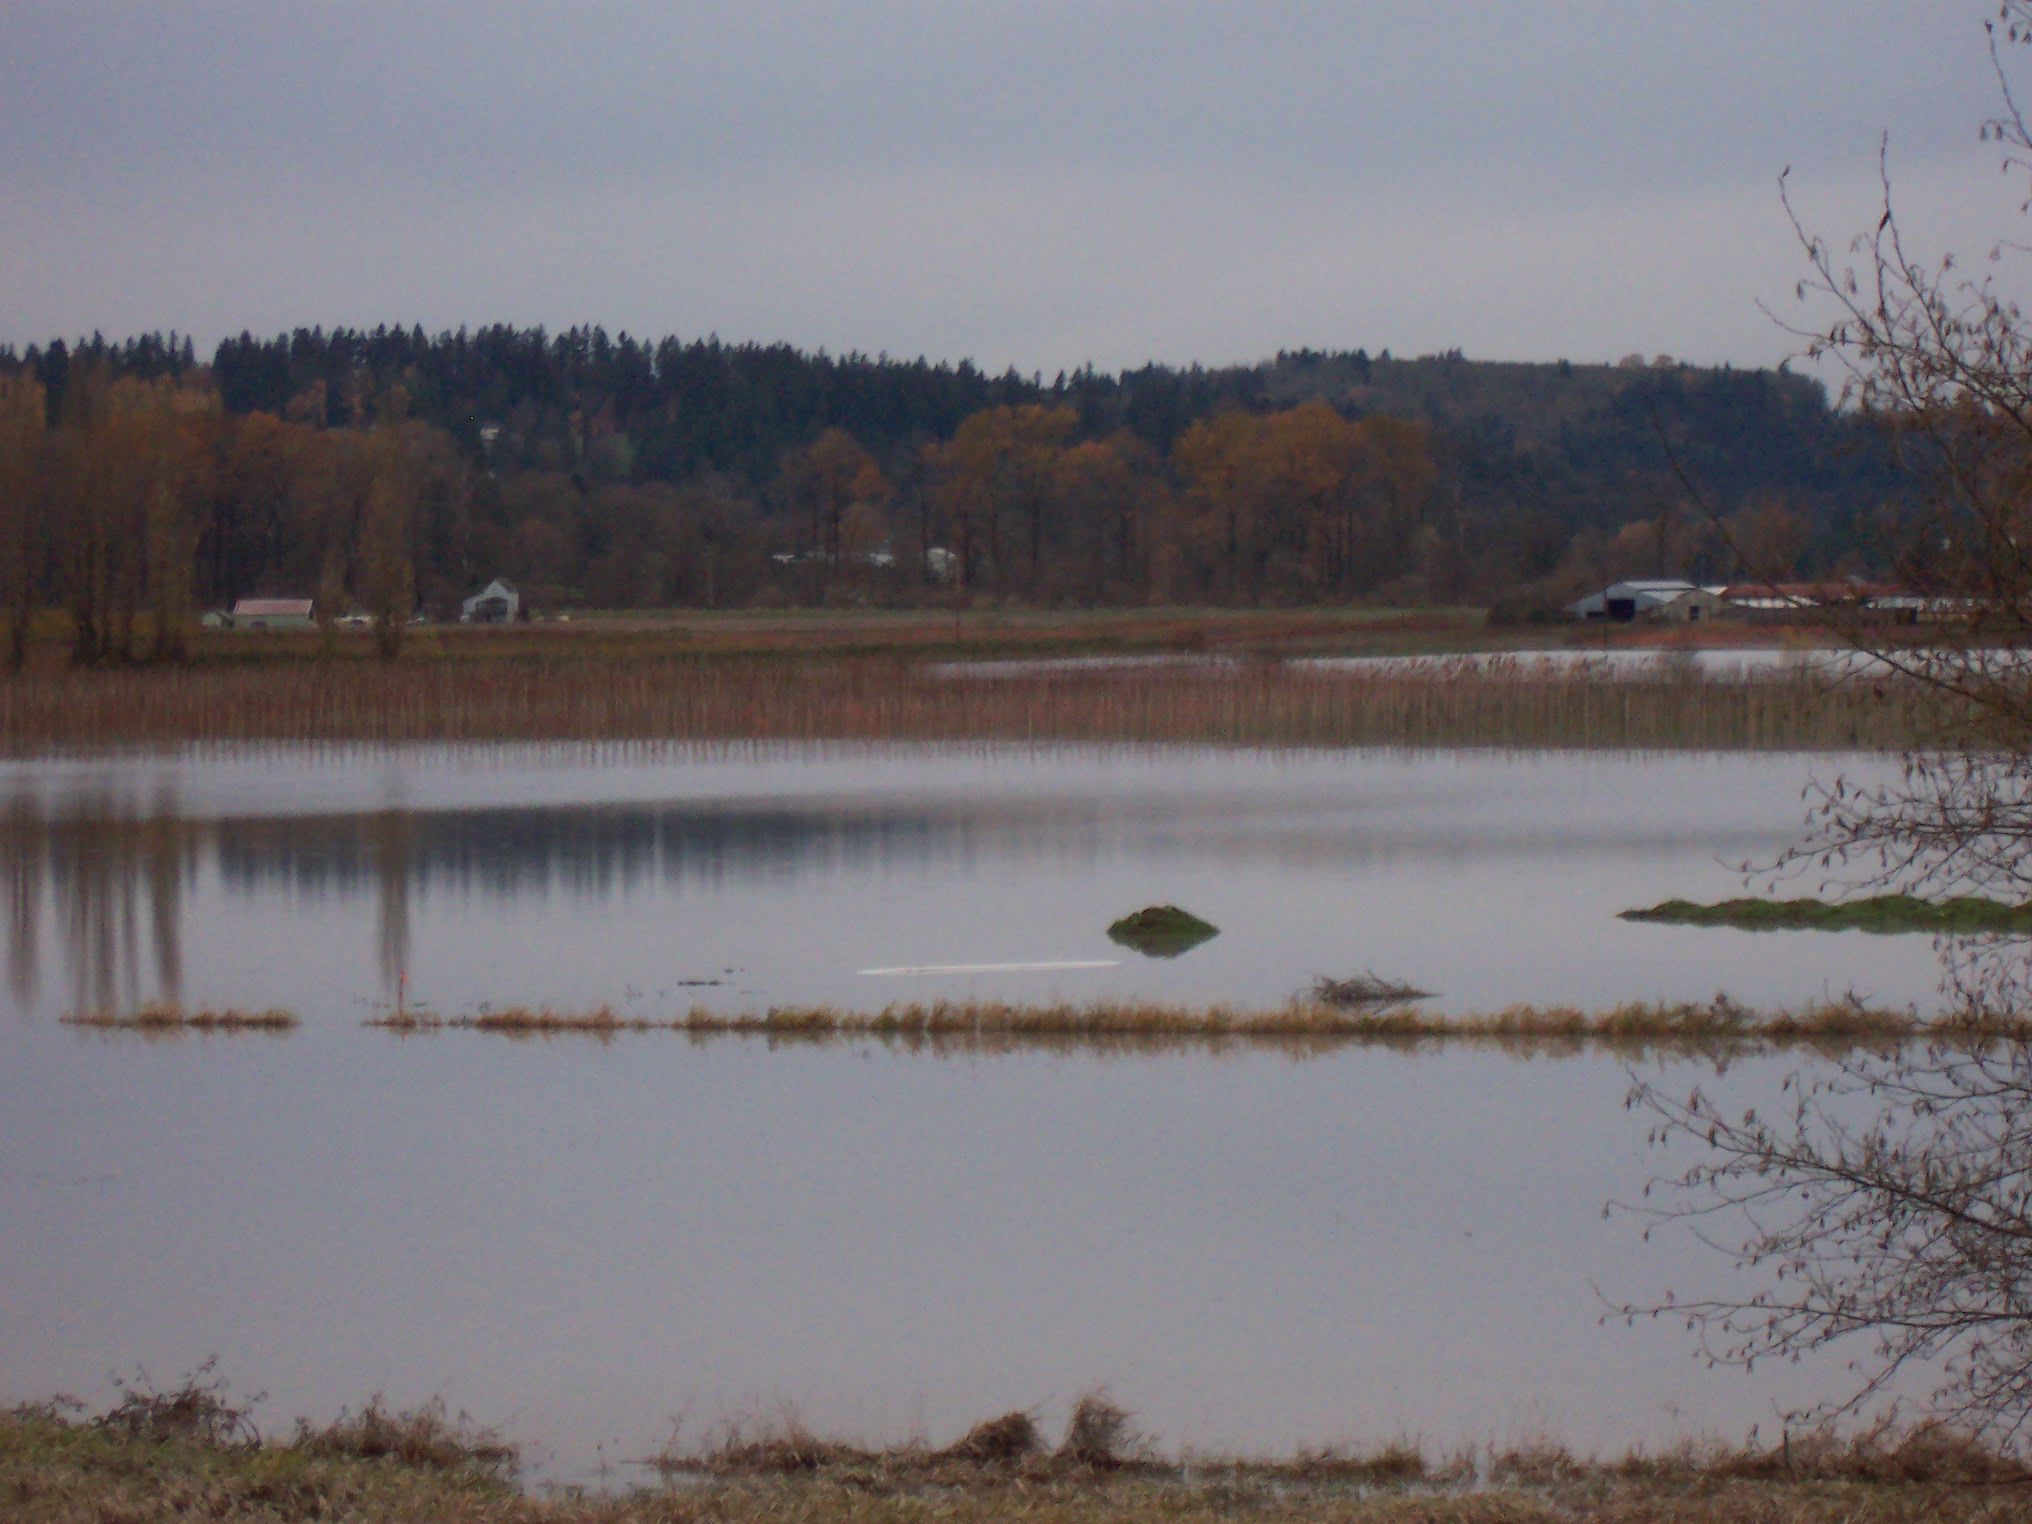
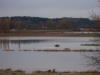
Some drainfield PVC floating, and my dirt/rock piles mostly submerged. They stayed put though! Harnden's trees are above water too.
|
|
|
|
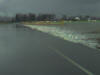
Water rushing over road, as designed, on a concrete curve to prevent pavement erosion.
|
|

|
|
Looking south from the road towards the river.
|
|
|
|
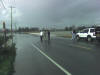
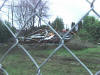
Road closed! I worried about my pasture driveway, it was the focal point of the current, but it survived.
|
|
|
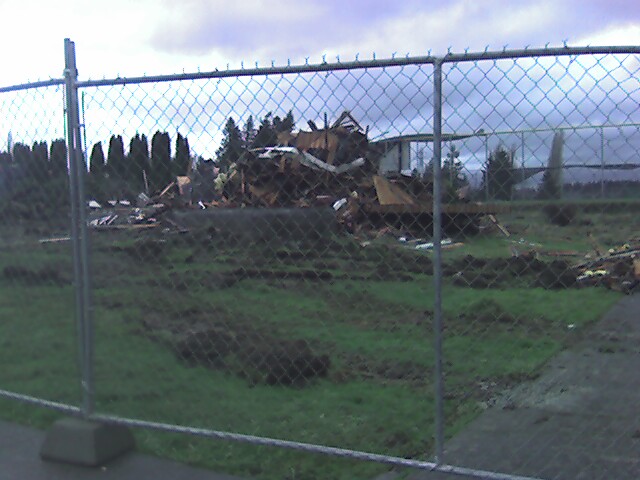
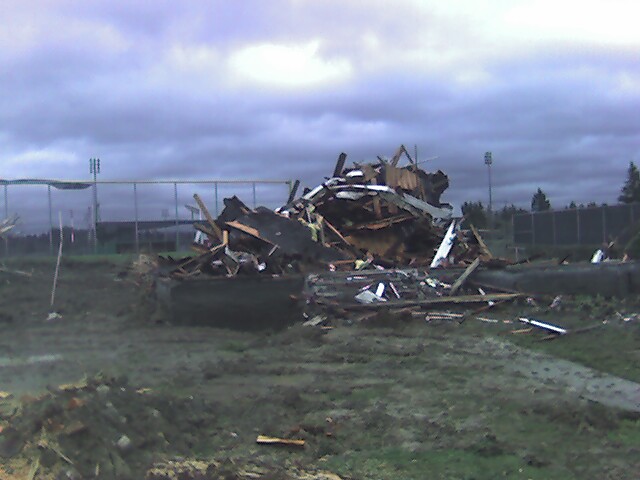
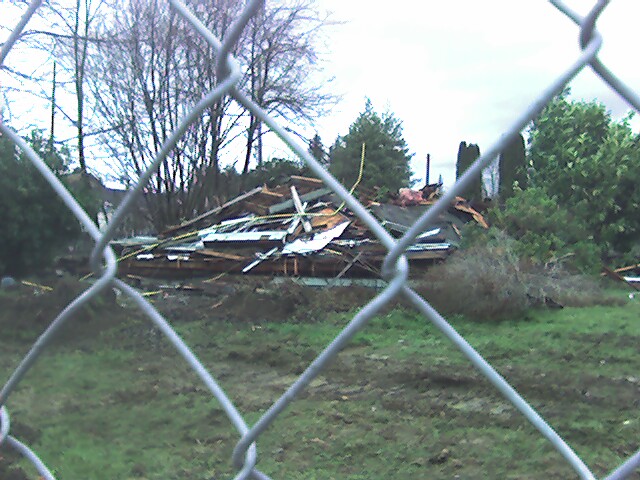
School demolition: at the old site, the three other houses that were purchased
didn't get moved in time. They, and two more structures, were demolished and
land-filled. The site is slated to be a staff parking lot.
|
|

|
|
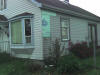
Little green 1950's ranch house. It had beautiful oak hardwood floors.
|
|

|
|
The big white Victorian. It had incredible 10" baseboards, fir floors, stained glass windows and was dripping in woodwork and period detail.
|
|
|
|
The red Craftsman Bungalow. I didn't see the inside, but it was beautifully architected and in nice shape.
|
|
|
|
The green house that was very similar to mine. I salvaged the floors, doors and windows out of this. It's big front windows are now my front windows!
|
|
|
|
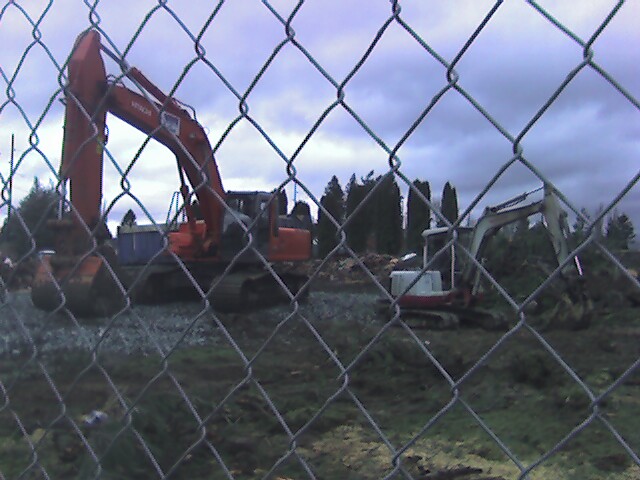
Tools of destruction.
|
|
|
|
|
|
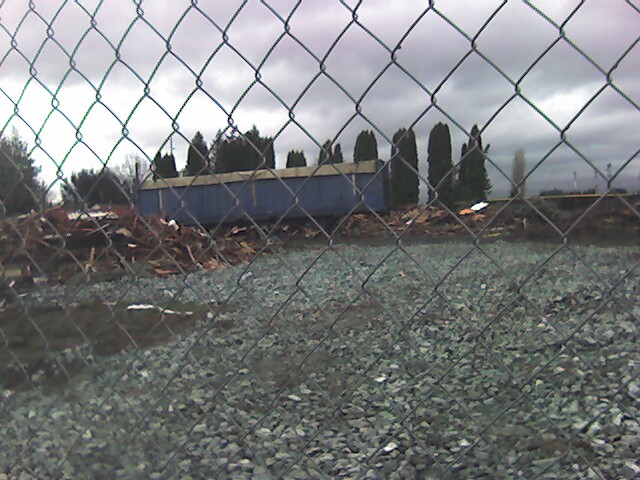
The graveled staging area was where my house once stood.
|
|
|
|
|
|
|
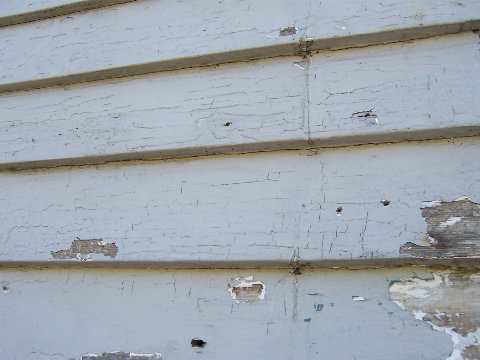
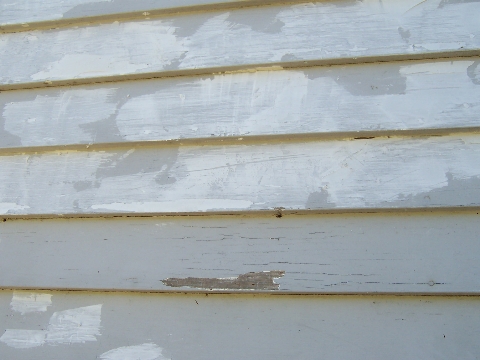
Example of the "spalling" of the old paint job-- needed a lot of work!
|
|
|
|
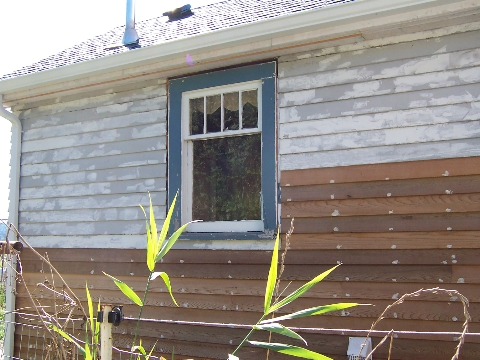
East side of house when I started.
|
|
|
|
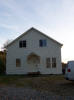
The front "before" shot; the house was "pinto" colored.
|
|
|
|
Filling the holes with exterior-grade spackle-type material. I spread this on, then sanded it off, several times.
|
|

|
|
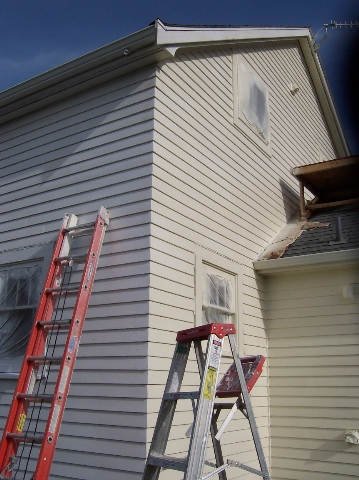
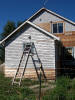
Side of laundry room, mostly prepped.
|
|
|
|
|
|
Back of house, mostly prepped.
|
|
|
|
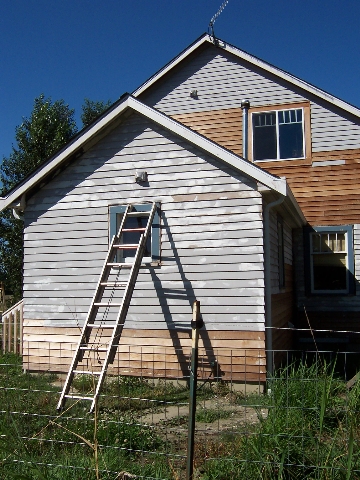
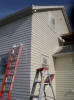
During painting. Lots of ladders required. I built a small scaffold on top of the laundry room roof to get the high peak in the back.
|
|

|
|
Done painting, masking still up.
|
|
|
|
The finished product! The window trim still needs re-doing, but I got the house painted just before winter weater set on.
|
|

|
|
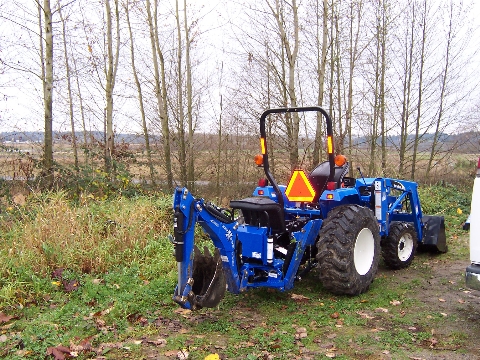
My just reward for finishing the painting: a new tractor!
|
|
|